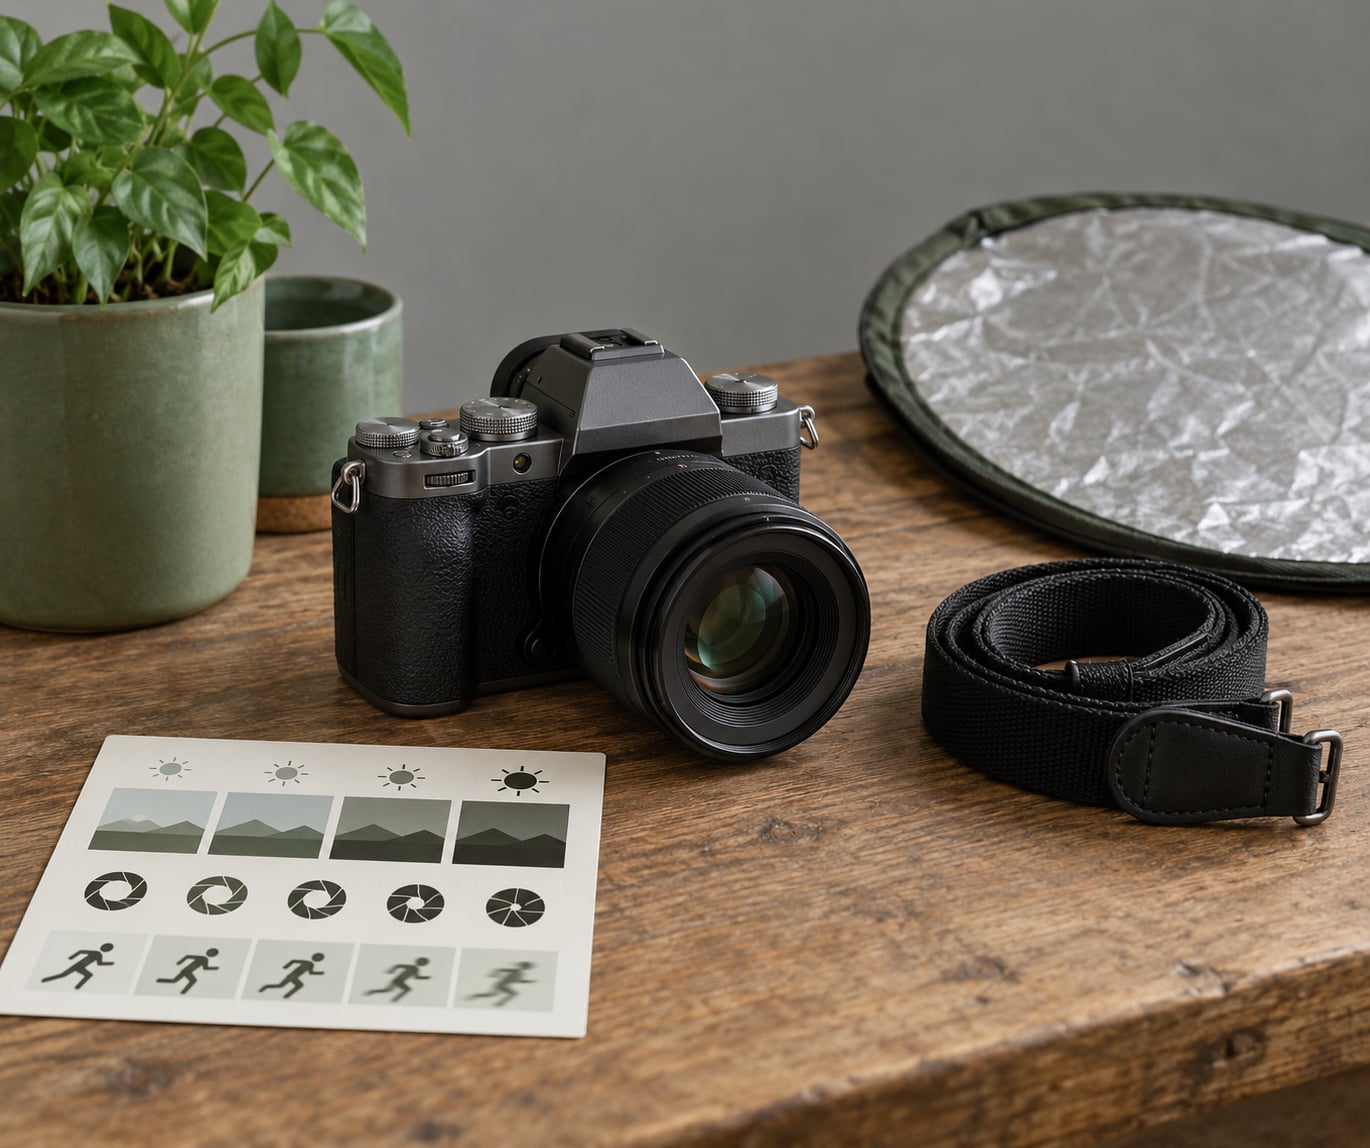
Aperture priority (A on most cameras, Av on Canon) is a semi-automatic mode where you choose the aperture, the f-number that sets depth of field, and the camera picks the shutter speed that matches the light. That single split is the whole reason to learn how to use aperture priority mode for portraits: you hold the setting that decides background separation, and the camera absorbs the one you would otherwise change between every frame.
In practice the recipe is three numbers: an aperture for the look you want, an ISO that matches the available light, and a minimum shutter speed the camera is not allowed to fall below. Set those once and you can spend the session watching faces instead of watching dials. This guide works on any camera with a mode dial, and it works whether you shoot a mirrorless body, an older DSLR or anything in between.
Table of Contents
What You Need
Any camera with a dedicated A or Av position on the mode dial is enough. Every DSLR and mirrorless body made in the last twenty years has one, and if yours does not, Program mode with a fixed ISO gets you very close.
The lens matters more than the body. Portrait work is a race to the widest aperture your glass offers, so a modest prime beats an expensive kit zoom in most cases. A 35mm, 50mm or 85mm prime gives you one wide f-number you can actually trust, while a kit zoom may top out at f/5.6 and leave you working too hard in low light. For portraits you also want something that focuses quickly and holds focus on a moving face, which on modern bodies usually means eye-detection autofocus.
Two optional tools earn their place. A reflector or a small bounce lets you lift a shadowed face without raising ISO. A tripod is worth carrying for any indoor or evening session, because it lets you drop the shutter speed before the noise goes up.
Step-by-Step
Six steps, in order, cover almost every portrait session. The order matters: dial in the mode, decide the look, check what the camera decided, and only then fix the focus and framing.
How to Use Aperture Priority Mode for Portraits in the Field
The full sequence looks like this. Set the aperture you want from the table below. Look at the shutter speed the camera chose and ask whether it is fast enough for what the subject is doing. Confirm the ISO is doing the job it should be doing. Compose the frame, place the focus point, take a test shot, and adjust once if it needs it.
That is a five-second routine once you have done it a few times. In the field I run the same loop every time, and the only thing that genuinely changes between shots is the aperture and the ISO.
Choose the Right Aperture
Aperture is the main creative decision in a portrait, and the f-number works backwards from what beginners expect. A wide aperture is a small number, because a large opening is a low fraction. f/1.4 is a wide hole, f/8 is a small one, and f/1.4 gives you far less depth of field than f/8.
| Aperture | Portraits it suits | What the background does | The catch |
|---|---|---|---|
| f/1.4 to f/2.0 | One subject, background far behind | Melts away completely | Focus plane is razor thin; one eye can drift out of sharpness |
| f/2.8 | The classic headshot | Strong separation, both eyes usually sharp | Needs real distance from whatever is behind the subject |
| f/4 | Two people, or a subject 1 to 2 metres from the background | Smooth falloff, forgiving on focus | Noticeably less blur than f/2.8 from the same spot |
| f/5.6 | Environmental portraits, doorway light | Background still reads, subject stays dominant | The portrait look fades at wider framings |
| f/8 | Group portraits where everyone must be sharp | Very little separation | f/5.6 is usually enough; go no wider without stacking depth |
So is f 2.8 or f 4 better? For a single subject with a distant background, f/2.8. For a couple standing near a wall, or anyone who will not hold still, f/4 buys you a noticeably wider plane of focus for one third of a stop of light. Neither is more correct; they are answers to different problems.
Aperture is not the only thing shaping blur. Focal length and distance do the rest of the work, which is why f/2.8 at arm’s length often looks worse than f/4 taken from two metres back. A 200mm lens at f/4 from across a room will separate a background more than an 85mm at f/2.0 from the same spot.
Set A or Av Mode
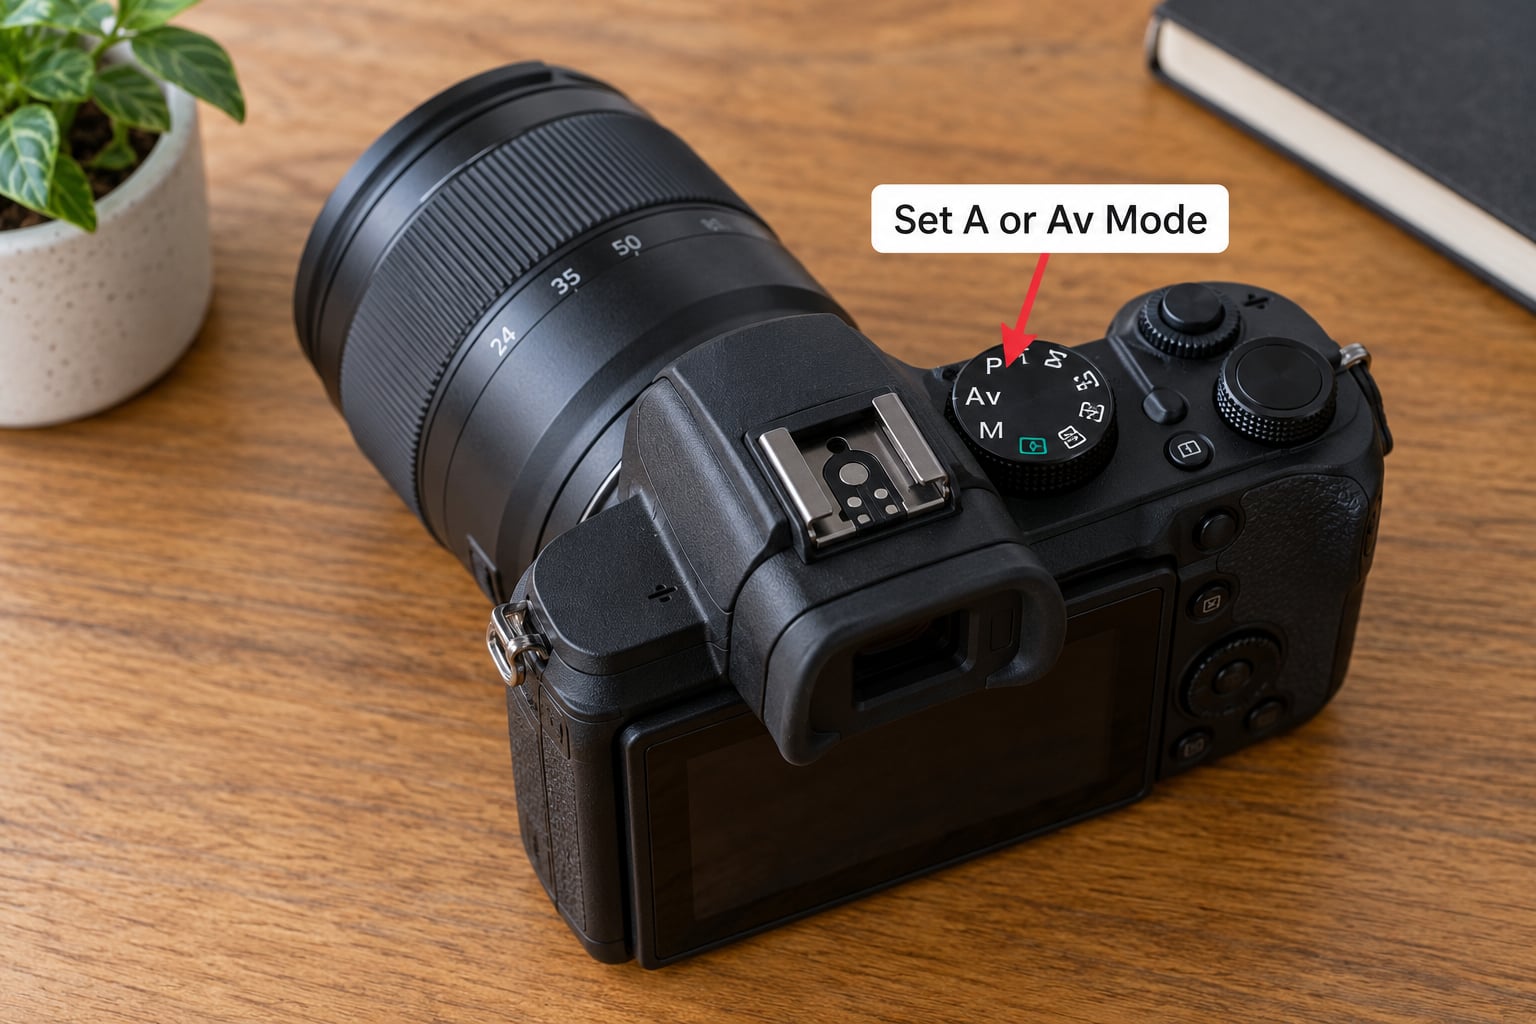
Turn the mode dial until A is lined up with the mark. Canon calls the same mode Av, and the difference is only the lettering. On Sony, Nikon and Fujifilm bodies it is A. Some newer Canon and Nikon models put it on a button or a screen menu instead of a dial, but the label is still A or Av.
Turn the front or rear command dial to set the f-number. Watch the number on the top plate or the rear screen change, because the shutter speed will move with it. If the camera is in a mode with a small A on the mode button rather than the dial, that is the electronic version of the same thing.
Check the Automatic Shutter Speed
The number the camera settles on is not a suggestion you have to accept. Read it and judge it against what your subject is doing.
| What the subject is doing | Shutter speed to stay above |
|---|---|
| Sitting or standing still, camera held in your hands | 1/125 |
| Leaning, gesturing, shifting weight | 1/250 |
| Walking toward you | 1/250 to 1/320 |
| Children running or playing | 1/800 |
| Fast action, jumping, quick movement | 1/800 to 1/4000 |
Two things about that readout surprise people. A shutter speed faster than you need is never a problem; it just means the lens is more capable than the light required, and the image is simply sharper. A shutter speed slower than the table says is a real problem, because the blur comes from the subject moving during the exposure, not from a bad lens.
When a number is too slow, you have exactly two levers. Open the aperture one stop, or raise the ISO one stop. Each buys back half the light and buys one doubling of shutter speed, and the choice is about which trade you would rather make: less depth of field or more noise.
Better still, tell the camera your floor so it stops drifting below it. Nikon bodies put this under Custom Settings, d4, Shutter Speed. Sony bodies bury it under Exposure, ISO, then ISO Setup as Min Shutter Speed. Canon has no matching option on most models, so most Canon shooters get the same result with Auto ISO set to a sensible ceiling. Menu names drift between model years, so check the manual for your body before hunting for a setting that is not there.
Set ISO for Light and Image Quality
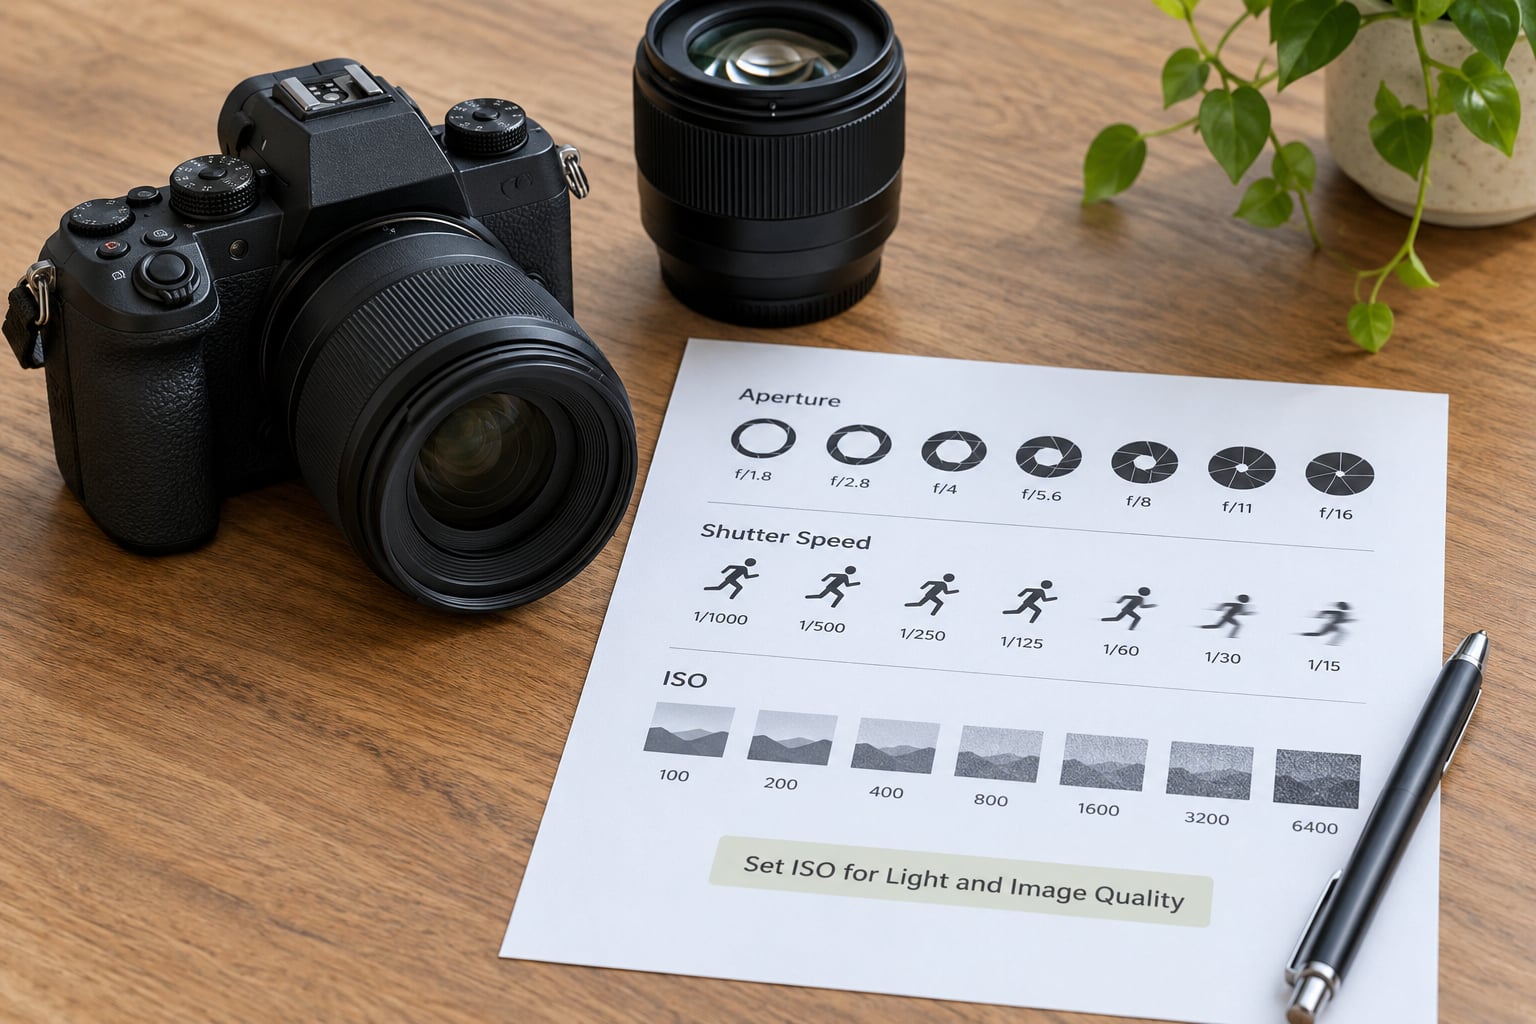
ISO is the third side of the exposure triangle, and in aperture priority it is the setting most people handle badly. A common habit is to leave ISO at 100 outdoors, be baffled by a slow shutter speed, and then panic-raise it to 6400 with no plan.
A calmer approach is to set ISO for the light you expect and leave it there. In open shade, ISO 400 to 800 is normal and looks fine on any current body. Indoors after sunset, ISO 3200 may be necessary and the noise is manageable. Below ISO 400 outdoors, extra headroom means more freedom to open the aperture, which matters more to a portrait than a clean file does.
Auto ISO removes the guessing. Set a range instead of a single value, pair it with your minimum shutter speed, and the camera decides how much sensitivity the moment needs while never dropping the shutter below your floor. That combination is the closest thing to run-and-gun portrait work there is, and it is what experienced shooters reach for when a session moves fast.
Focus, Compose, and Make the Final Adjustment
With exposure handled, focus becomes the last variable. Single-shot autofocus is fine for a sitter who holds still. Continuous autofocus is the right choice the moment the subject is a child, a pet or a person walking, and one-shot is the wrong one because it locks and then hunts.
Put the focus point on the nearest eye. If the camera has eye detection, switch it on and let it find the face for you, but keep it on a single eye if your subject turns profile. If the background is bright and the face reads dark, switch to spot metering on the face and the exposure will follow the skin rather than the sky behind it.
Shoot one test frame and zoom in on the screen at 100 percent. Check the eyes first, then the highlights on the forehead and cheekbones, then the background. One adjustment is usually all it takes: a third of a stop, a different aperture, or a step closer. That final loop is the difference between a setting that is technically right and a frame that works.
Common Mistakes
The portrait came out blurry. In almost every case the shutter speed was too slow, and the subject moved. Check the readout first. If it is below your floor, raise ISO one stop or open the aperture one stop. A tripod fixes the camera-shake half of the problem but not the half caused by your subject.
The shutter speed keeps changing between frames. That is the mode working as designed, because the light is changing. If the shifting number is above your floor, ignore it. If it is dipping below, set the minimum shutter speed in the menu and the camera will raise ISO to stay above it.
ISO climbed into the thousands. Often the fault is the aperture, not the ISO. If you are shooting a group at f/1.8 because you read it somewhere, stop down to f/5.6 and the noise problem largely disappears.
Focus landed on the wrong thing. The camera metered and focused on the brightest or nearest area, usually the sky or a shirt. Turn on eye detection or place the single point on the eye yourself rather than letting the camera choose.
The background is blurred past usefulness. At f/1.4 with a wide lens, only a narrow slice is sharp and a blink can lose an eye. Stop down to f/2.8 or f/4 before reaching for a faster lens.
You assumed aperture priority is a beginner crutch. It is not. It is a semi-automatic mode that leaves you in charge of the decision that matters most, and plenty of working portrait photographers shoot available-light sessions in A or Av every week. The r/AskPhotography thread on aperture priority versus manual for portraits keeps landing on the same practical answer: A mode outdoors and on location, manual when the flash and lighting are fixed.
Portrait-Specific Tips
A few habits make a noticeable difference and cost nothing.
Move closer instead of opening up. Two steps forward at f/2.8 usually beats the same shot at f/1.4, and it gives you more of the face in frame.
Choose a faster safe shutter speed for children. They move between one frame and the next, so 1/500 or 1/800 is a better floor than the 1/125 a still sitter would need.
Protect skin highlights. Underexposing by a third of a stop is standard practice, because skin is easy to recover and blown highlights on a cheek or forehead are not.
Take test shots before the session starts, and again when the light changes or you move indoors. Thirty seconds of checking costs less than a reshoot.
| Situation | Exposure compensation | Why |
|---|---|---|
| Bright sky or window behind the subject | -1/3 to -2/3 | The camera meters the background and leaves the face too dark |
| Subject in shade under an open sky | +1 to +1 1/3 | Meters the brightness of the whole scene and underexposes the face |
| White shirt, pale wall or bright background | -1/3 | Keeps white clothing and skin from clipping |
| Even light, no bright or dark edges | 0 | Metering is already accurate; check the histogram anyway |
The compensation control is a dial or a button near a thumb on most bodies, and the direction differs by brand, so turn it one notch and watch the exposure indicator rather than assuming which way is negative.
Frequently Asked Questions
What aperture should I use for portraits?
Start at f/2.8 for a single subject with a background far behind them, and stop down to f/4 when the subject is only a metre or two from what is behind. Use f/5.6 to f/8 for groups where everyone has to be sharp, and f/1.4 to f/2.0 only when the background is distant and you can afford a very thin focus plane.
Is aperture priority better than manual mode for portraits?
For outdoor and available-light portraits, aperture priority wins, because the light changes constantly and the camera handles the variable while you protect depth of field. Manual is better for tethered studio work, flash with fixed power, or a subject standing in exactly the same light for an hour. Most photographers end up using both in the same week.
What is a safe shutter speed for portrait photography?
A shutter speed of 1/125 second is the floor for a sitter who holds still, and for keeping camera shake off the frame. Use 1/250 or faster when the subject leans or gestures, and 1/800 for children running around. If your camera keeps dropping below the number you need, set a minimum shutter speed in the ISO or custom menu.
Should I use Auto ISO in aperture priority mode?
Yes, as long as you set a range rather than a single value and pair it with a minimum shutter speed. The camera then raises or lowers sensitivity as the light changes while refusing to drop below your shutter floor. Set an upper limit low enough that the noise stays acceptable, and leave ISO on a fixed value for controlled studio lighting.
How do I keep the background blurred without making the focus too shallow?
Stop down to f/2.8 or f/4 instead of shooting wide open, and increase the distance between the subject and the background. A longer focal length from further away separates the background just as well while giving you a wider plane of focus on the face. Both changes cost a little light, so expect to raise ISO or use a reflector.
Start with the smallest useful change. Learning how to use aperture priority mode for portraits comes down to four numbers: put the dial in A or Av, set an aperture that suits how many people are in the frame, set ISO for the light in front of you, and give the camera a shutter speed floor it has to respect. Everything else, from exposure compensation to where you stand, follows from those four numbers.