Back button focus is a camera setup that moves autofocus activation off the shutter button and onto a button on the back of the body, usually the AF-ON button or the AE-L/AF-L button. Because focusing and taking the picture become separate actions, you can place the focus point where you want, release the button to hold that distance, reframe, and shoot without the camera refocusing underneath you.
That is the whole idea. The rest is just learning where the button is on your particular body, turning shutter-button autofocus off so the setup actually does something, and picking a focus point that survives the recompose. This guide walks through all of it for portrait work, whether your subject is holding still for ten minutes or turning their head at the exact moment you press the shutter.
If you are coming from years of half-pressing the shutter, expect about three days of mild frustration before it starts to feel ordinary, and a few weeks before you stop thinking about it. That timeline is normal, not a sign that you are bad at this.
Table of Contents
- What Is Back Button Focus?
- How Does Back Button Focus Work?
- Back Button Focus vs. Shutter Button Autofocus
- Which Camera Settings Should You Use?
- How Do You Choose the Right Focus Point?
- How Do You Focus on Moving Portraits?
- How Do You Keep the Subject Sharp After Reframing?
- What Are the Common Back Button Focus Problems?
- A Simple Back Button Focus Portrait Workflow
- Frequently Asked Questions
- Conclusion
What Is Back Button Focus?
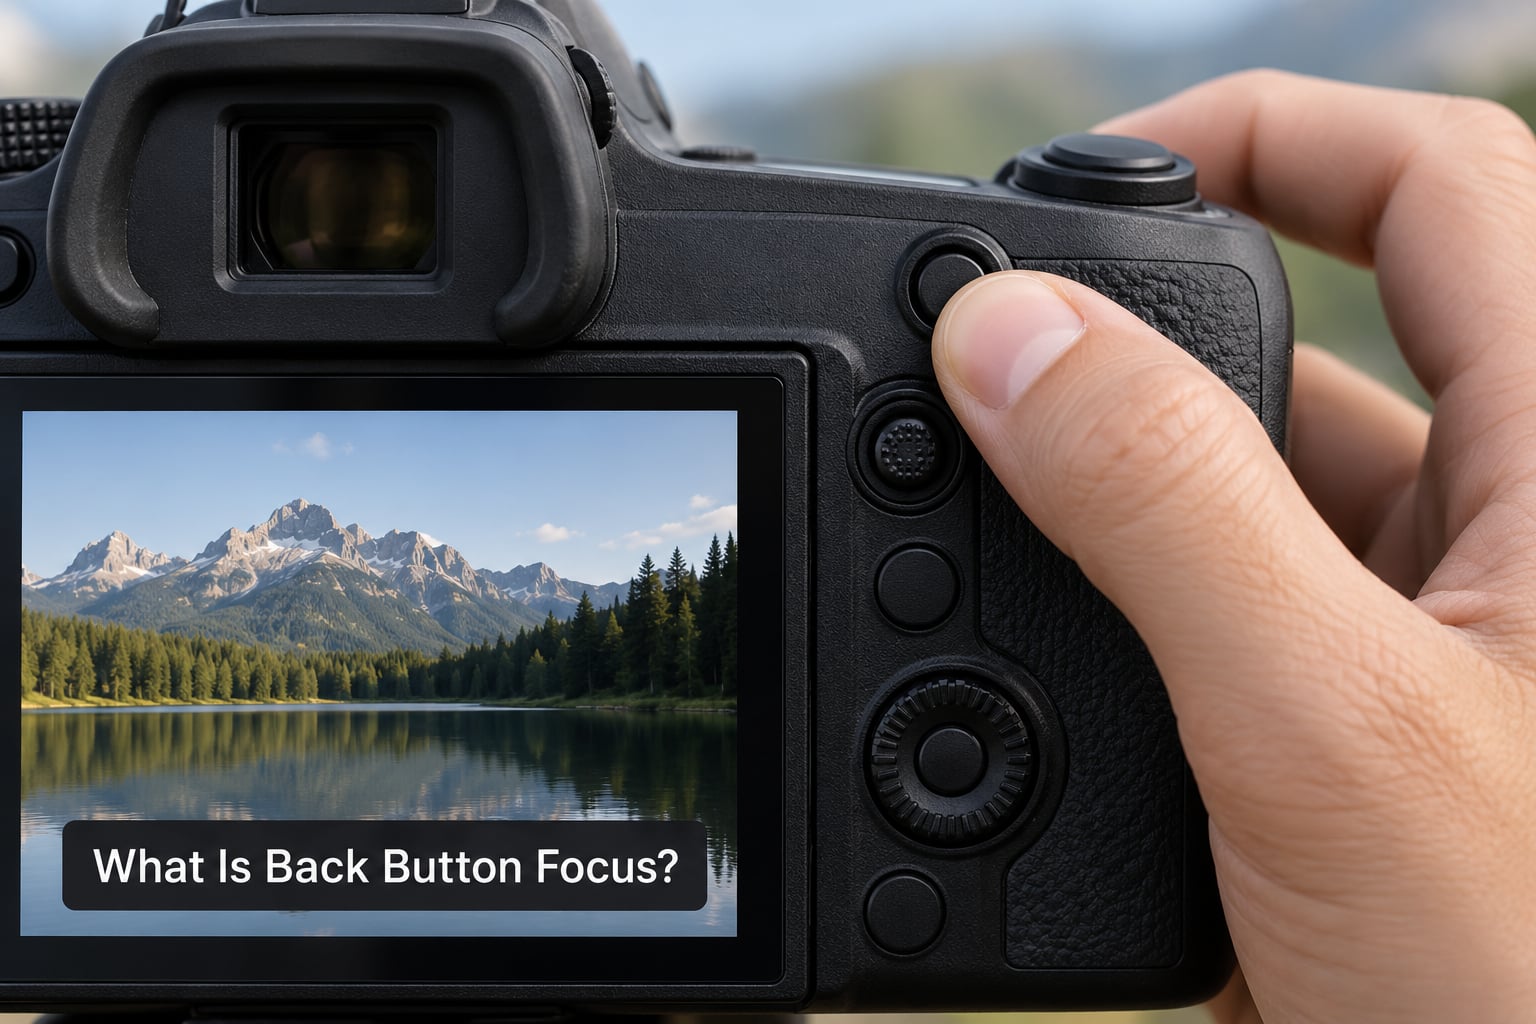
Back button focus is when you assign autofocus to a rear button and switch autofocus activation off the shutter button. You press and hold that rear button to focus, let go to hold the distance, and then use the shutter purely to capture.
Every interchangeable lens camera ships with at least one button on the back that was not designed to take a photograph. On Canon bodies it is usually labelled AF-ON or marked with a star. On Nikon it is AE-L/AF-L, sometimes duplicated. On Sony it is usually AF-ON, and on Fujifilm it is typically AF-ON or assigned to a custom button. Exact names change between models, so check the button closest to your thumb.
Two things happen when you make this change. First, half-pressing the shutter stops starting a new focusing operation, which is the part that causes focus hunting and sudden refocuses mid-sentence. Second, you gain an explicit hold, meaning the camera keeps the distance you set until you ask it to do otherwise.
It is worth separating back button focus from back focus, which is an unrelated term. Back focus describes a lens focusing behind the intended plane rather than on it, a mechanical fault you would fix in servicing, not a menu setting.
How Does Back Button Focus Work?
The mechanics are the same on every brand, even when the menu labels differ. Understanding the sequence is what makes back button focus explained for portrait shooters a practical technique rather than a trick to memorise.
- The camera is set so the shutter button no longer starts autofocus.
- A rear button is assigned to start autofocus instead.
- You choose a focus-area mode, usually a single point, small zone or a flexible point you can move yourself.
- You put that point on the part of the face you want sharp, usually the nearest eye, and press the rear button.
- The camera acquires focus and, depending on the mode, holds it or keeps tracking while you hold.
- You release the button, adjust the frame, and press the shutter to shoot. No new focusing happens.
Subject detection sits on top of this. If eye detection or face detection is switched on, the camera may place or correct the focus point itself and can override your manual placement, which is useful with a moving subject and annoying when you deliberately framed on a different eye.
Back Button Focus Explained for Portrait Shooters
Say you are shooting an environmental portrait, subject standing near a doorway about four metres away with a busy street behind. You set a single flexible point, aim it at the near eye, and press the AF-ON button with your thumb. The camera locks in a moment later, usually with a small beep or a green dot on the screen.
You release the button and step half a pace sideways to include more of the doorway. The focus stays where it was. Because you did not touch the shutter button until the frame was right, there is no chance of the camera snapping back onto whatever passed in front of the lens on the way.
Then you shoot several frames. Each one keeps the same focus distance, so you can pick the expression you like and the eyes are still sharp in all of them. That repeatability is the real payoff: once focus is deliberate, several frames from one moment become usable instead of one lucky frame.
In a studio where the subject barely moves, that is the entire workflow. Outdoors with a walking subject, the same button becomes a tracking control you hold down for the whole sequence.
Back Button Focus vs. Shutter Button Autofocus
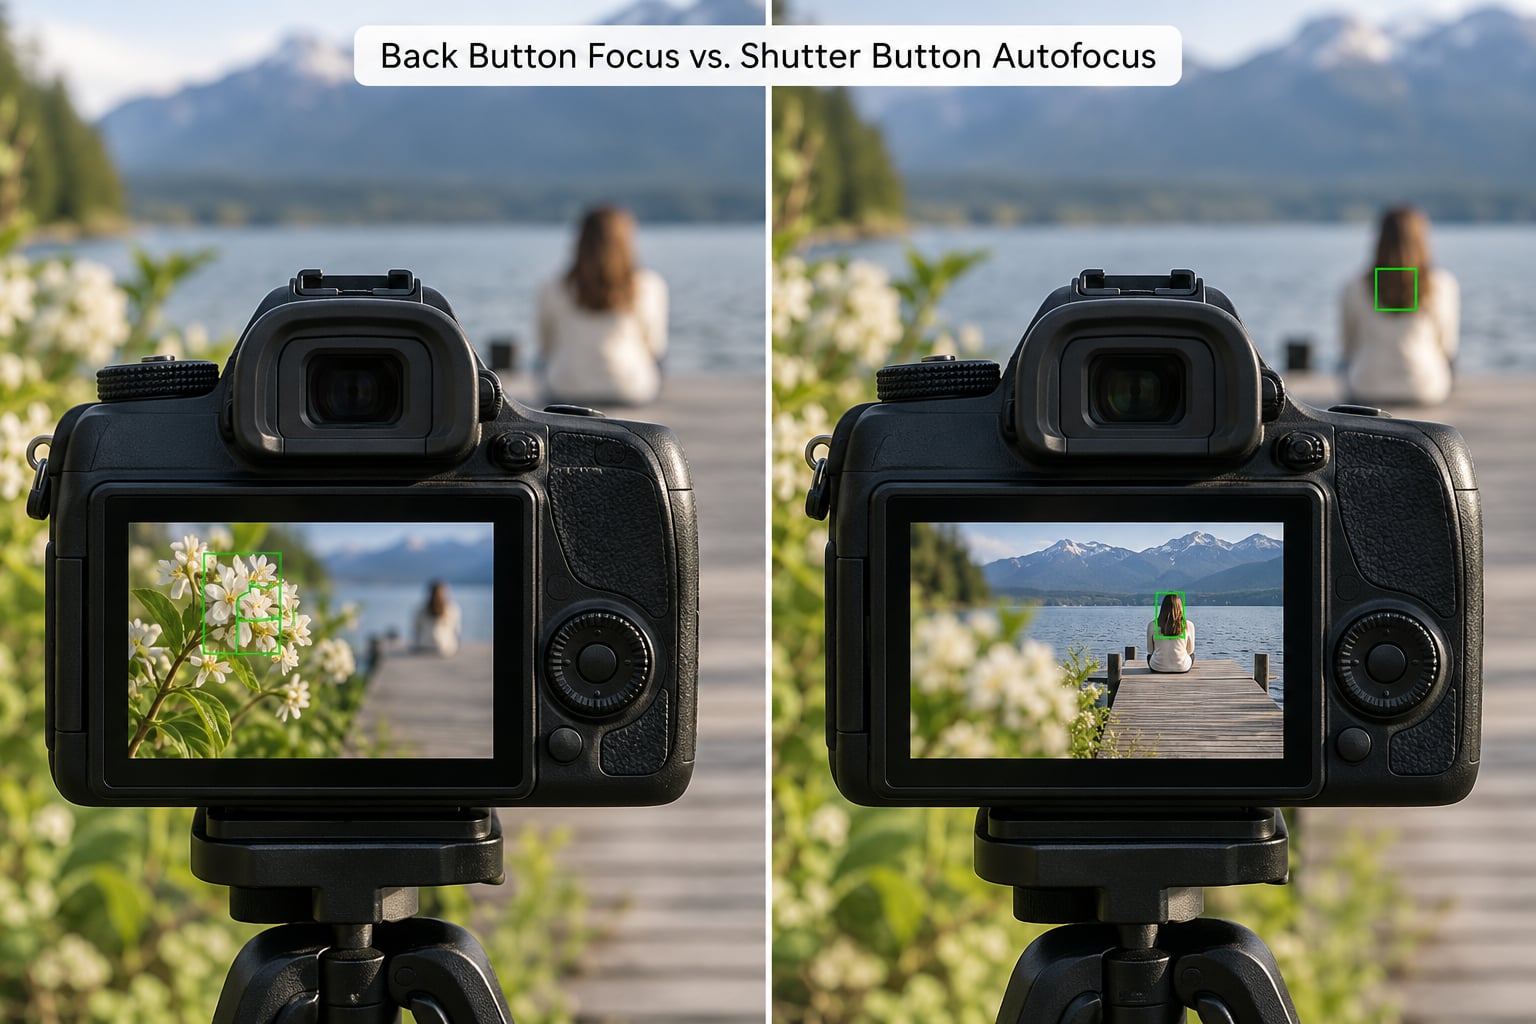
Neither method is wrong. The difference is where the camera expects your hands to be and how much control you want over the moment focus happens.
| Criterion | Back button focus | Shutter button autofocus |
|---|---|---|
| Activation method | Dedicated rear button held with the thumb | Half-press of the shutter button |
| Focus point control | Set before focusing, then held | Re-evaluated on every half-press |
| Behaviour when reframing | Focus distance stays where you put it | May refocus on whatever is now under the point |
| Speed for a static subject | Very fast once the habit is trained | Fast immediately, no training needed |
| Speed for a moving subject | Fast when tracking is on the rear button | Equally fast if tracking is on the shutter |
| Learning curve | Days of practice to feel natural | None, it is the factory default |
| Best for | Wide apertures, environmental portraits, deliberate compositions, group and detail work | Fast candid shooting, quick events, sharing a camera with someone else |
If you only shoot wide open at f/1.8 with people walking toward you, the difference matters a great deal. If you mostly point a camera at a moving child and let the tracking do the work, modern subject detection already does the job and back button focus is optional.
Which Camera Settings Should You Use?
There is one correct starting point for portraits and a lot of menu vocabulary wrapped around it. Set single autofocus or one-shot behaviour for still subjects, continuous autofocus or servo for anything that moves, and a focus-area mode small enough that you are choosing the point deliberately.
AF mode
For a seated or standing subject who is talking, one-shot autofocus (AF-S on Canon, Sony and Fujifilm, AF-S or Single-Servo on Nikon) focuses once and holds. You release the rear button, reframe, and the distance is fixed. This is the mode where focus and recompose works exactly as advertised.
For a subject who is turning, walking or gesturing, use continuous autofocus (AF-C on Canon, Sony and Fujifilm, AF-C or AI Servo on Nikon). The camera keeps adjusting while you hold the button. You can still release and shoot; the distance simply freezes at whatever it had reached.
Focus area mode
Pick something in the middle of the range. A single flexible point that you move with the joystick or rear dial gives the most control and is the fastest way to learn. A small zone is a good compromise when you are working fast. Wide or auto area modes let the camera decide, which is comfortable but largely defeats the purpose.
Subject detection
Human eye detection and face detection are worth keeping on for candid and movement work. Turn them off when you are composing deliberately, for example a three-quarter pose where you want the far eye sharp, or a portrait where glasses or a hand across the face confuse the detector.
Drive, metering and image quality
For portraits, single frame or low-speed continuous is fine. Metering does not change because of your focusing method, so use whatever gives you consistent skin tones, usually evaluative or matrix. Raw capture is worth it if you are lifting shadows in post, but focusing behaviour is identical either way.
Combining it with eye detection
This is the part most guides skip, and it changes how much the technique matters to you. On a modern mirrorless body, holding the rear button with subject detection on gives you a hybrid: you start the focusing with your thumb instead of your index finger, and the camera decides which eye to use and keeps following it between frames.
That combination is genuinely good for candid family work, where you are one-handed on the camera, moving around a room, and nobody is standing still. It is worse for a posed portrait where you have decided the far eye is the right choice, because the detector will keep insisting on the near one.
On the electronic viewfinder you can also turn on focus peaking or a focus highlight, which draws a colour outline on anything in focus. Peaking is quiet, works in bright light where manual focus would be hard to judge, and lets you confirm focus without changing any other setting.
So a workable rule: subject detection on for movement and candids, off for deliberate compositions. Back button focus is the common thread either way, because you still decide when focusing starts and stops.
Where the setting lives on each brand
Menu paths move around between generations, so treat these as starting points and search the manual for the function rather than the wording.
- Canon: look for the shutter-button AF-on/off option in the custom function or shooting menu, then assign AF start to the AF-ON or star button in the custom controls screen.
- Nikon: the setting is usually a menu item controlling AF activation by the shutter release, and the AE-L/AF-L button starts AF once you assign it that way in the custom controls area.
- Sony: find AF activation shutter/AF-on or a similar option, then set the AF-ON function in the key or button assignment menu.
- Fujifilm: look for shutter button AF on or off, then assign AF-ON or an existing button to AF-ON in the button assignment menu.
The one step people miss is the first one. If shutter-button autofocus stays switched on, your rear button works but the shutter quietly overrides it the moment you shoot, and the whole setup feels broken.
How Do You Choose the Right Focus Point?
Start on the nearest eye for most head-and-shoulder portraits, because that is where the depth of field is thinnest and where sharpness is judged first. Then move it when the pose or the light tells you to, not out of habit.
Move to the far eye when the subject is turned far enough that the near eye is significantly closer to the lens than the face plane, and a wide aperture leaves the near eye soft anyway. Move to the eyeline or the brow when the subject is looking off-camera and you want a sharper read of the expression. Move to the near shoulder or the front of the hair when the face is turned away from the camera.
Point size changes what you are allowed to do. A tiny point needs precision to land on an eye, which suits a tripod or a still subject. A larger point is more forgiving but might straddle an eyebrow and a cheek, and at f/1.4 the difference matters more than most people expect.
The near eye is a starting point, not a best answer. Plenty of portraits look better with the far eye sharp, and plenty of environmental shots want the whole face sharp at a stopped-down aperture anyway. Treat the rule as a default you can override.
How Do You Focus on Moving Portraits?
For movement, the rear button becomes a tracking control. Switch to continuous autofocus, enable subject detection if the camera has it, put the point on the subject, and hold the button down while you shoot instead of tapping it. Focus then updates between frames rather than being set once and frozen.
Three situations need three different answers. A turning head is the easiest: focus distance barely changes, so continuous autofocus holds it and your shutter speed can stay low. A walking subject changes distance steadily, so track the near eye and keep the point on the face rather than letting it drift ahead. Unpredictable movement means releasing and re-acquiring, a quick tap of the button each time the direction changes.
Shutter speed matters more than settings. Below roughly 1/250 at portrait focal lengths, head movement alone will soften eyes during a turn. 1/500 or faster handles a subject who is genuinely moving toward you, and you will need to open the aperture or raise ISO to get there.
Focal length changes the game too. Long focal lengths compress distance and magnify both movement and focus errors, so a subject walking across frame at 135mm moves more in the frame than at 35mm. Wide apertures shrink your margin for error to centimetres rather than tens of centimetres.
A point that has drifted onto a bright background will follow the wrong thing. If tracking feels late, check whether the subject turned away from the camera and the detector lost the face.
How Do You Keep the Subject Sharp After Reframing?
Keeping focus through a recompose comes down to the mode you chose and the point you chose. Single autofocus holds the distance after the button is released. Continuous autofocus holds the distance only while the button is held, then freezes where it was at release.
Use the focus confirmation your camera gives you. That green dot or beep is the signal that focus is acquired, and shooting before it appears is the most common cause of a soft frame in an otherwise correct workflow.
Flexible or movable focus points let you place the point anywhere, which means you can compose first and focus second, or focus exactly where your composition needs rather than accepting a fixed centre point.
Some setups will shift focus regardless of what you do. If subject detection stays on and finds a face elsewhere in the frame, or if you are in a mode that prioritises release over focus, the camera can override your choice. Turning detection off for deliberate work solves most of these cases.
What Are the Common Back Button Focus Problems?
Focus hunting on every frame. Usually shutter-button autofocus was never switched off. Go back to the menu and confirm the setting took; some cameras apply custom function changes only after you confirm the screen.
Sharp frames and soft frames in the same burst. This is focus priority doing its job in a continuous mode with a low shutter speed. Set the priority option to focus instead of release, and raise the shutter speed until the sequence is sharp throughout.
Missed eyes on a straight-on face. The focus point was too large, or the detector grabbed the wrong eye on a three-quarter pose. Shrink the point and use a flexible position, or turn on eye detection for that specific shoot.
Focus jumps while you shoot. You were holding the rear button down instead of releasing it, so continuous autofocus kept adjusting. Release before the shutter, not after.
Accidentally reactivating autofocus. The shutter was still set to start AF, so pressing it restarted the process you had just finished. This is the same root cause as hunting, seen from a different angle.
Thumb fatigue over a long session. Rear buttons are small and sit at an angle. If your hand cramps, move the assignment to a different rear button, or use the camera in single frame mode so you are not holding the button for every frame of a burst.
Sharing the camera with someone else. The next person half-presses the shutter and nothing focuses. Tell them, or keep shutter-button AF on and use the rear button as an addition rather than a replacement until you are confident with it.
A Simple Back Button Focus Portrait Workflow
Here is the repeatable sequence I would teach a new portrait shooter.
- Set up once. Shutter-button autofocus off, AF assigned to the rear button, one-shot autofocus, a single flexible point.
- Choose the pose first. Decide roughly where the face will sit in the frame before you raise the camera.
- Place the point. Aim at the near eye unless the pose or the light says otherwise.
- Press and hold. Wait for the focus confirmation signal rather than guessing.
- Release, then reframe. Adjust your position or zoom without touching either button.
- Check the frame edges. Watch for a hand, a shoulder, or a bright background stealing the point.
- Shoot. One frame or several, the focus distance stays fixed across all of them.
- Reset. Release the button fully, go back to step 3 for the next portrait.
Two drills shorten the learning curve faster than reading about it. First, in a stationary setup, shoot twenty portraits of a fixed subject, forcing yourself to reframe every time and never touch the shutter before the button. Second, have the subject walk toward and past you while you hold the button and track the face, using continuous autofocus and a single point only.
On timing: expect awkward for roughly the first three days, competent by the end of the first week with regular use, and automatic after a few weeks. Forum shooters report the same range, with the most common complaint being not the technique itself but forgetting to press the button after a camera change.
Skip back button focus entirely when you are sharing the camera with someone who will not know it is set up, when you are shooting fast events and leaning fully on subject detection, or when you are still choosing lenses and mounts. Learn it once you are comfortable with manual focus and depth of field.
Frequently Asked Questions
Which button should I use for back button focus?
Use the rear button closest to your thumb, which on most cameras is the AF-ON button on Canon, Sony and Fujifilm, or the AE-L/AF-L button on Nikon. That position lets you focus with your thumb while your index finger stays on the shutter button. You can reassign any other rear button to start autofocus if the default one is awkward, and if your camera has no separate button, look for a programmable rear or top-plate control.
Does back button focus work with eye detection?
Yes, and for portraits they work well together. With subject detection enabled, holding the rear button starts autofocus and lets the camera place or correct the focus point on a detected eye, then track it. Turn detection off when you want to compose deliberately, such as a three-quarter pose where you want the far eye sharp. Detection combined with a manual point is the main cause of the camera choosing a different eye than you intended.
Should I lock focus before changing the composition?
Yes for a still subject. Use one-shot or single autofocus, place the point on the eye, press and hold the rear button until focus confirms, then release and reframe. The distance stays where you set it. With a moving subject, hold the button instead of releasing so continuous autofocus keeps updating, and accept that the distance changes while you are composing.
Is back button focus better than pressing the shutter button to focus?
Neither is universally better. Back button focus gives you explicit control over when focusing happens and keeps the distance fixed while you reframe, which matters at wide apertures and with deliberate compositions. Shutter autofocus is faster to start with and works well for fast candids when subject detection is doing the tracking. Many working shooters use back button focus for posed and environmental work and the shutter for movement.
Will back button focus make my portrait photos sharper?
It makes sharp frames more consistent rather than changing image quality. Sharpness is still governed by aperture, shutter speed, lens and sensor. What changes is that you choose exactly where the camera focuses and that it stops refocusing at unpredictable moments, so fewer frames are wasted on the wrong distance. On a static subject the improvement is obvious; on fast movement the tracking settings matter more.
Conclusion
Back button focus explained for portrait shooters comes down to one idea: you decide where the focus goes, the camera stops second-guessing you, and every frame from that moment shares the same focus distance.
Start with a single action. Remap your AF-ON or AE-L/AF-L button, switch shutter-button autofocus off, set one-shot autofocus with a single flexible point, and photograph one stationary subject twenty times without touching the shutter before you focus. Do that for three days and the rest of the workflow will follow.