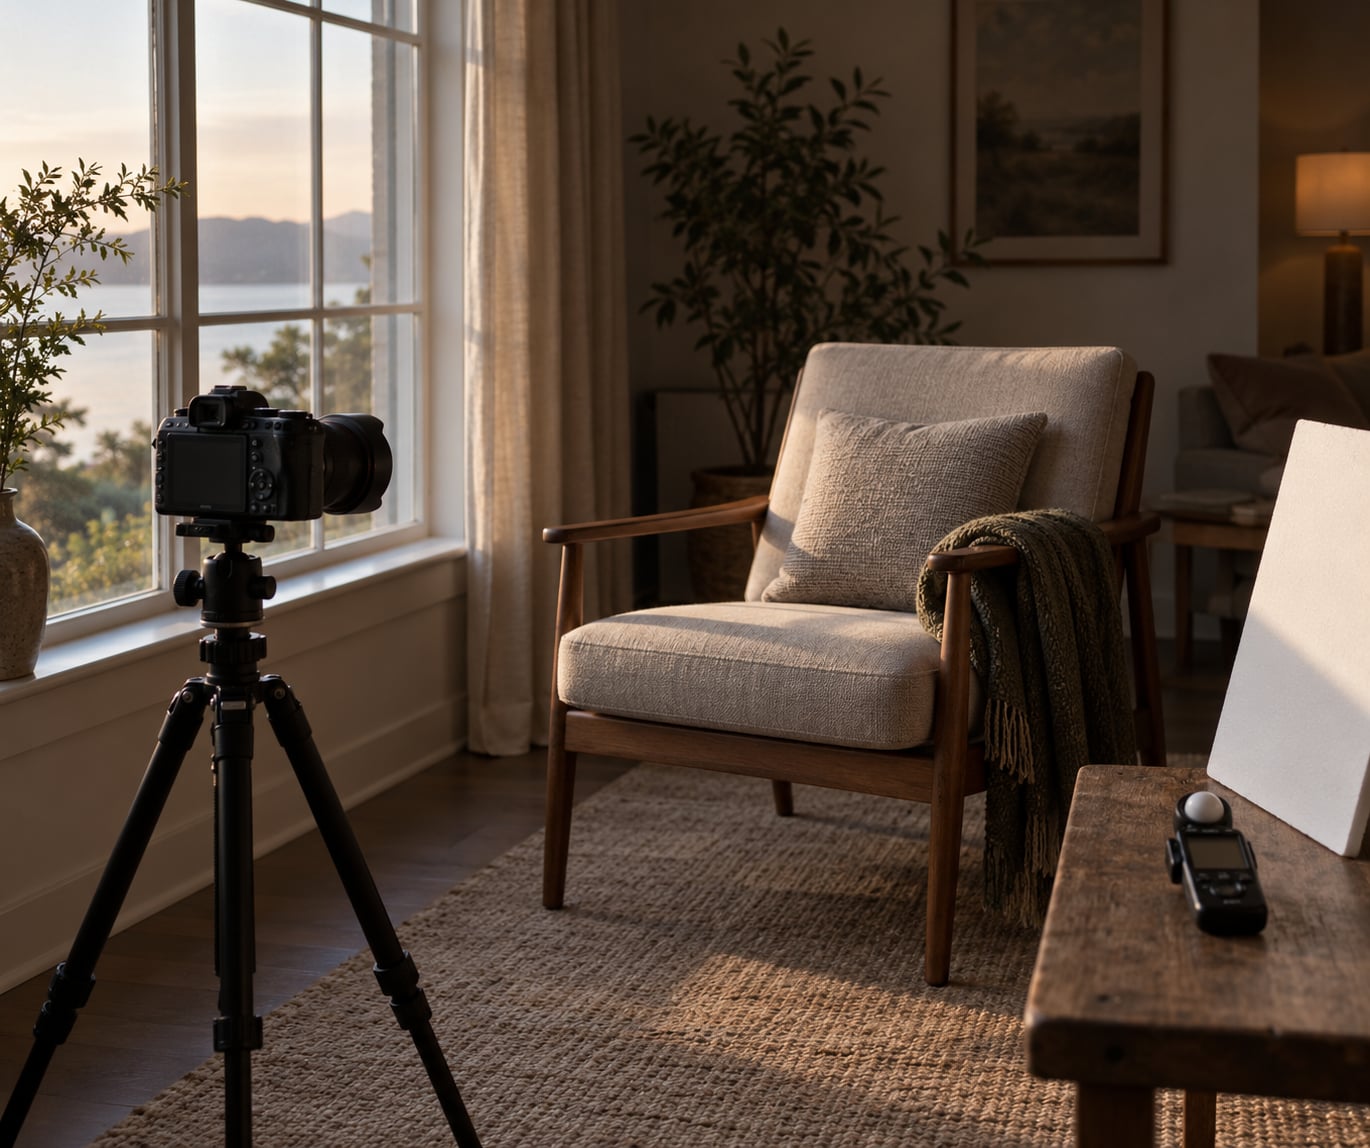
ISO settings for indoor portraits without flash follow one rule: use the lowest ISO that still lets you hold a shutter speed your subject cannot outrun. Near a large window that number is usually 400 to 800. In a dim living room, 800 to 1600. Go past 3200 only when the light gives you no other choice.
ISO is the last stop on the exposure triangle, not the first. Open the aperture as wide as your lens allows, set a shutter speed that keeps the face sharp, then raise ISO to cover whatever light is still missing. A slightly noisy portrait of a smiling person beats a clean, grain-free frame of a blur.
This guide walks through the whole sequence, including how to find your own camera’s usable ISO ceiling rather than trusting the number printed on the box. It takes about fifteen minutes to read and about ten seconds per shot once the order is in your head.
Table of Contents
What You Need — Camera, Lens, and Light Prep
You do not need a fast lens to shoot indoor portraits without flash, but you need to know exactly how fast your lens is before you set anything else. A wide aperture is the one control that lowers your ISO without adding blur or noise, so it goes first.
- A camera you can set manually. Manual mode, shutter priority, or aperture priority with Auto ISO all work. A phone in auto mode will not give you control, though many phones now expose a manual ISO control in their camera app.
- A lens with a known maximum aperture. Check the barrel or your camera’s lens info screen. f/1.4, f/1.8, and f/2 primes are ideal indoors. An 18-55mm kit lens that tops out at f/5.6 is workable, but it forces ISO to do all the work.
- Something to steady the camera. A tripod, a stack of books, or a wall to brace against. Image stabilization helps with hand shake, not with subject movement, so it does not free you up to drop the shutter speed much.
- A plan for the room. Find the window, open the curtains, and turn off overhead lights that add color without adding much brightness. Mixed tungsten and daylight is the hardest white balance situation, and removing one source often beats fixing it later.
- RAW capture. Not optional if you plan to push past ISO 1600. RAW keeps the shadow detail you need for noise reduction.
No flash does not mean no light control. Turning off a ceiling fixture, moving a lamp closer to your subject, or putting them an arm’s length from a window changes the exposure far more dramatically than any ISO setting. Treat the room as part of the gear list.
Step-by-Step: ISO Settings for Indoor Portraits Without Flash
Step 1: Find a Stable Starting ISO
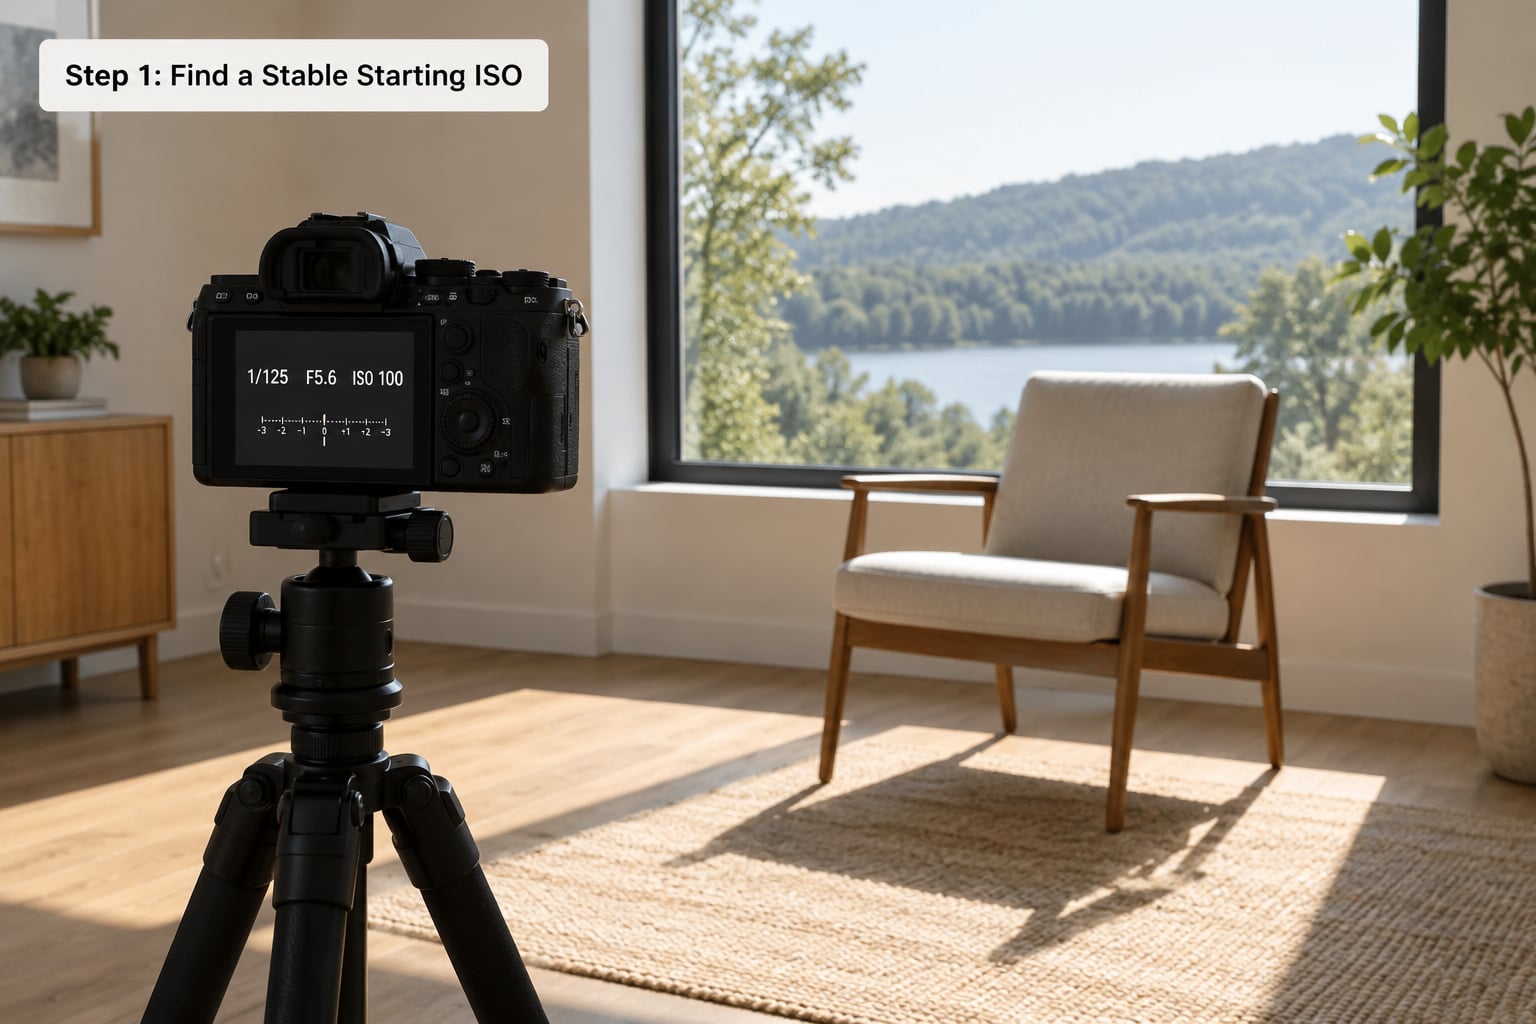
Start by measuring the room instead of guessing. Put the camera on your subject, switch to manual, set the aperture wide open, pick a shutter speed, and take a test frame. The ISO the camera asks for on the light meter is your starting number for that situation, and it is almost always higher than people expect.
For dim indoor portrait conditions, a practical baseline is ISO 800 to 1600 for a still subject with a fast lens near a window, and ISO 1600 to 3200 in a dim room with no window or a small kit lens. Shooters on photography forums treat ISO 800 as the community starting point rather than a compromise, and that matches what the test frame usually shows.
| Light situation | Aperture | Minimum shutter | Target ISO range |
|---|---|---|---|
| Subject beside a bright window, daytime | f/1.8 to f/2.8 | 1/125 sec | ISO 400 to 800 |
| Overcast or winter daylight through a window | f/1.8 to f/2.8 | 1/125 sec | ISO 800 to 1600 |
| Dim living room, lamps on, no window | f/1.8 to f/2.8 | 1/125 sec | ISO 1600 to 3200 |
| Restaurant, cafe, or evening event | f/1.4 to f/2.0 | 1/160 sec | ISO 3200 to 6400 |
| Still pose, subject holding very still | f/1.4 to f/2.0 | 1/60 sec | ISO 800 to 1600 |
| Kit lens at f/5.6, indoor | f/5.6 | 1/160 sec | ISO 3200 and up, RAW essential |
Treat the right-hand column as a target range, not a rule. If the test frame comes out clean at a lower number, shoot at the lower number. If it needs more light, take it.
Step 2: Set the Shutter Speed First
Shutter speed protects the one thing ISO cannot fix: the sharpness of a moving face. A noisy but sharp photo is usable in editing. A clean photo of someone mid-turn is not.
- Still subject, seated and posing: 1/60 sec is a reasonable floor. 1/125 sec gives you a safety margin for a head turn.
- Subtle movement, a smile or a lean: 1/125 to 1/200 sec.
- Children, candids, anyone talking or gesturing: 1/250 sec and faster. Shoot in burst and pick the sharp frame.
Handheld at 1/60 sec with a 50mm lens, you are already at the edge of camera shake. The reciprocal rule — keep the shutter at least 1 over the focal length, so 1/50 sec for a 50mm — is a floor for hand shake, not for subject movement. A tripod, a braced elbow, or the self-timer buys you a lower ISO, which is why support matters more here than the extra stops of in-body stabilization most cameras advertise.
One thing to internalize before moving on: raising ISO cannot rescue a frame with motion blur. The blur is already in the file. Set the shutter floor, then let ISO do the rest.
Step 3: Choose an Aperture That Fits the Situation
Open the aperture first because it costs you nothing but depth of field. f/1.4 versus f/2.8 is a stop of light, and one stop of light often saves you a full ISO step, which is the difference between clean and visibly noisy.
Wide apertures such as f/1.4 to f/2 also give you the shallow depth of field that separates a portrait from a snapshot. The cost is focus: at f/1.4 on a fast lens, the sharp zone on a close-up face can be extremely thin. If the eyes are tack sharp and the ears are not, that is correct. If the near eye is soft, the focus point was misplaced.
For group portraits or environmental portraits where you need face and background readable, f/2.8 to f/4 is more forgiving and only costs about one to one and a half stops of light. Push ISO up by the matching amount. If you have a kit lens that only opens to f/5.6, accept that ISO will land at 3200 or above in most indoor rooms and plan to shoot RAW.
Depth of field is the only thing standing between you and a low ISO, so decide what the frame needs before you decide how much light it takes.
Step 4: Set ISO to Complete the Exposure
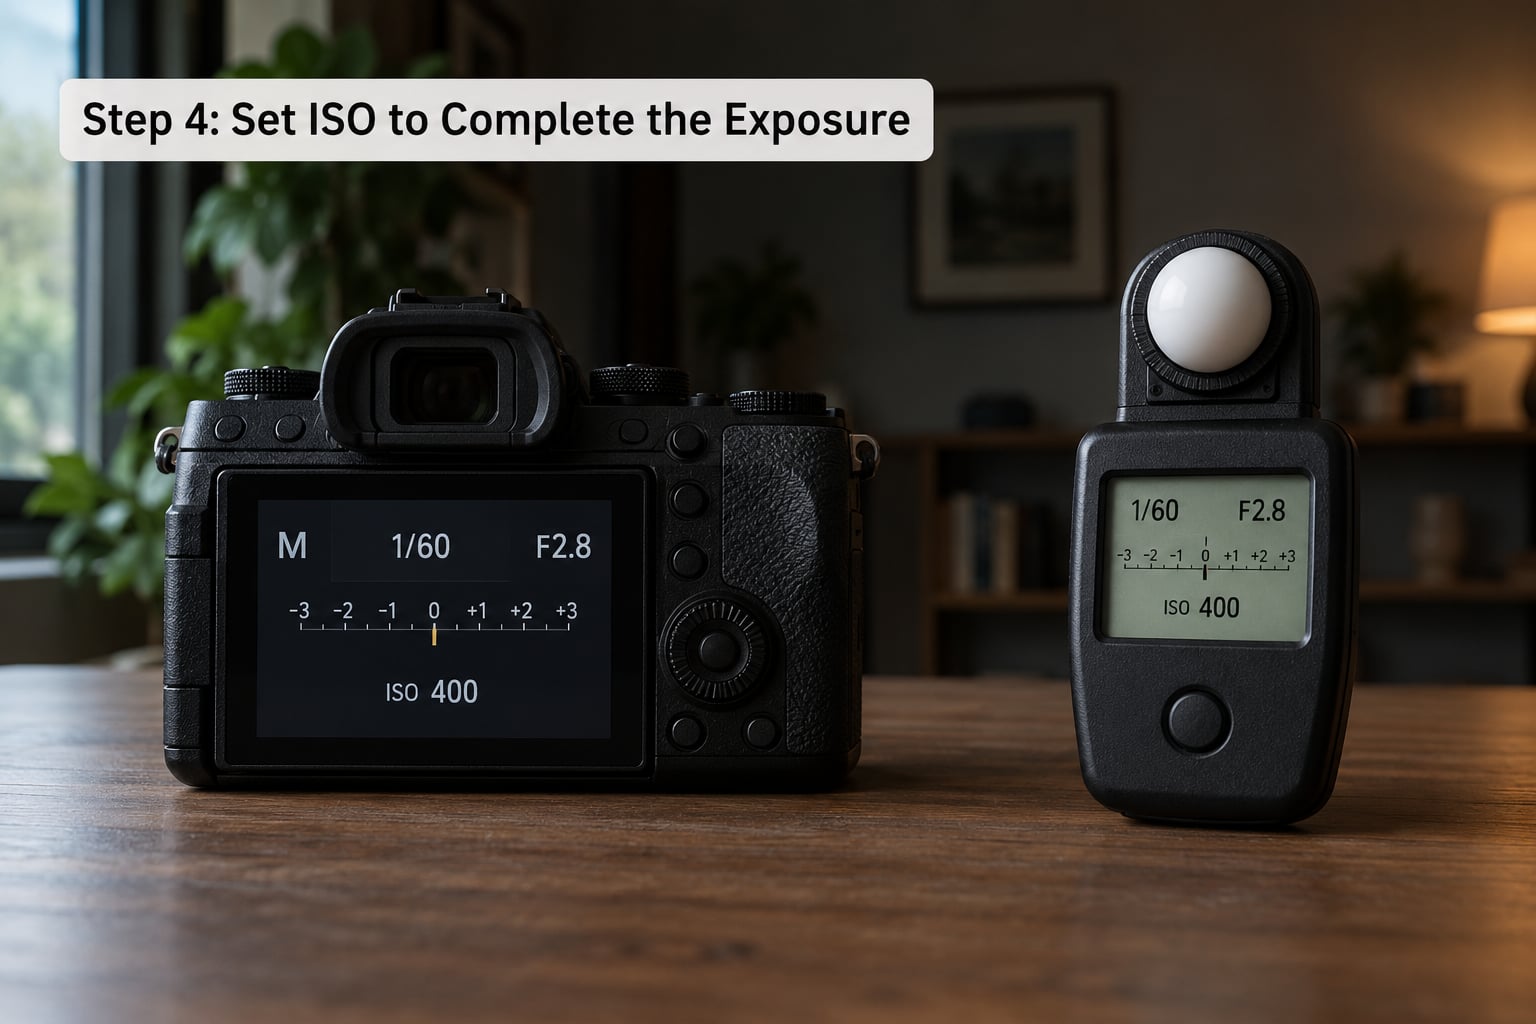
With aperture and shutter set, ISO is simply the value that makes the exposure land. On most cameras you do this with the exposure compensation scale: take a frame, watch the meter, and move ISO until the indicator sits near zero. Moving from ISO 1600 to 3200 to gain 1/80 to 1/160 sec is a normal adjustment, not a failure.
In manual mode you set the number yourself. In shutter priority with Auto ISO, the camera picks it and you set the limits:
- Canon: Shoot in Tv or P, set ISO Auto in the shooting menu, then set Auto ISO range under Image quality or Custom shooting functions. Set the maximum to your usable ceiling and the minimum shutter speed to 1/125 or 1/160.
- Nikon: Shoot in S mode, set ISO sensitivity to Auto, then open ISO sensitivity settings to define Maximum ISO and Minimum shutter speed.
- Sony: Shoot in shutter priority, set ISO to Auto, and set ISO with AUTO ISO Max. and Min. shutter sp. in the camera settings menu.
- Fujifilm: Shoot in Shutter Priority, set ISO to Auto, then set ISO Auto range in the shooting menu.
Capping Auto ISO matters. An uncapped Auto ISO in a dim room will happily climb past the point where your files turn grainy, and it will do it without warning you. A ceiling is not the target, it is the boundary beyond which you should change something else instead.
One warning about underexposure: if the histogram sits hard against the left wall and you plan to lift the shadows in post, you will amplify noise badly. Expose so the histogram has data across the range, and lift gently afterward.
Step 5: Check Noise, Focus, and Motion
After each frame, zoom to 100 percent and diagnose what actually went wrong. Most “bad indoor portraits” are one of three separate problems, and the fix is different for each.
- Lumpy color and mushy microcontrast in flat areas — ISO is too high. Check the actual ISO, not the base ISO range. Add light or accept a slightly higher number only if the file still looks acceptable at 100 percent.
- Face sharp but outline soft — missed focus in low light. Use a single AF point on the nearest eye, switch to eye autofocus if your camera has it, and get a contrast edge for the AF system to lock onto. Focus on a bright edge, then recompose.
- Everything soft in the same direction — camera shake or subject movement. This is a shutter speed problem, not an ISO problem. Raise the shutter speed and let the ISO climb.
To find your own usable ISO ceiling rather than guessing, do this in five minutes. Pick a dim room and a static subject. Shoot the same frame at ISO 400, 800, 1600, 3200, 6400, and one stop above your camera’s stated maximum. View each at 100 percent, not on the camera screen, and note the highest ISO where shadows still look smooth. That number is usually one to two stops below the advertised maximum, and it will be higher on a modern mirrorless body than most forums claim.
| Body class | Comfortable range | Usable ceiling, not the target |
|---|---|---|
| Micro Four Thirds | ISO 800 to 1600 | ISO 3200 to 6400 |
| Crop sensor (APS-C) | ISO 800 to 1600 | ISO 3200, maybe 6400 |
| Full frame | ISO 1600 to 3200 | ISO 6400 and beyond on recent bodies |
Micro Four Thirds shooters face the tightest budget, since f/2.8 is usually the widest their kit glass opens. Live-band and event shooters on r/M43 run 1/250 sec at f/1.4 with Auto ISO and no flash, which tells you how much of the work an f/1.4 prime moves onto the sensor.
Step 6: Improve the Room Before Increasing ISO
The cleanest way to avoid high ISO is to add light you were already ignoring. Before reaching for ISO 6400, spend a minute on the room.
- Move the subject closer to the window. Place them 60 to 90 degrees from it for shape and soft catchlights, and turn the window behind you for a flat, bright, evenly lit face.
- Open curtains and move furniture. A blocked window is often two stops darker than an open one.
- Bounce. A white ceiling, a pale wall, or a piece of white foam board opposite the window fills shadows without adding a lamp or a flash.
- Use practical lamps as key light. Put the subject a foot or two from a table lamp and turn off the ceiling fixture. A single defined light is easier to expose than a flat, weak room.
- Change your angle. Face the brightest part of the room instead of the darkest corner.
Each of these can cut ISO by a stop or more, and one stop of light is roughly one stop less noise. That trade is almost always worth more than noise reduction in Lightroom afterwards.
Common Mistakes to Avoid
Leaving Auto ISO uncapped. The camera will climb past the point where your files stop being usable, without telling you. Set a maximum that matches your tested ceiling, and set a minimum shutter speed so the camera raises ISO instead of slowing down.
Choosing a shutter speed that protects you, not the subject. Stabilization and steady hands stop camera shake. They do nothing for a talking face. If the subject moves, the shutter floor moves with them.
Treating high ISO as the cause of underexposure. A dark frame with a closed-down aperture is an aperture problem. A dark frame with a slow shutter is a shutter problem. Only when aperture is wide and shutter is fast does ISO become the correct fix.
Underexposing and lifting shadows later. Shadow noise gets multiplied every time you brighten those areas. On crop sensor bodies this is the single biggest reason indoor edits look worse than the histogram suggested.
Ignoring white balance. Mixed light affects the edit, not the ISO, but it changes how you read noise. Skin lit by tungsten plus daylight shifts color across the frame, and the compensation eats detail that you needed. Set white balance deliberately to the dominant source, shoot RAW, and correct the rest in post.
Not watching the highlights. Bright windows behind a subject clip easily. Check the histogram’s right edge and use exposure compensation if the face is correct but the window is blown. A blown window is recoverable; a blown face is not.
Blaming ISO for focus hunting. Autofocus needs contrast and light, and a dim flat wall gives it neither. Get a bright edge in the frame, use a single point, or switch on eye autofocus before you decide anything about ISO.
Frequently Asked Questions
What ISO is best for indoor photos?
For most indoor portraits without flash, ISO 800 is the honest starting point. Beside a bright window you can often stay at 400 to 800, in a dim room with lamps, 1600 to 3200 works, and a restaurant or evening event may need 3200 to 6400. Test a frame and let the meter tell you rather than picking a number in advance.
Is 400 ISO good for indoors?
ISO 400 is good indoors when your subject is genuinely close to a window and you are not moving. It is the right answer for a bright living room in the afternoon. In a room lit only by lamps, ISO 400 forces the camera to open the aperture wider or slow the shutter until the image turns blurry, so treat 400 as a bright-room number rather than a default.
Is ISO 3200 too noisy for portraits?
On a full frame body, ISO 3200 is usually fine, especially in RAW where noise reduction has real shadow data to work with. On a crop sensor body it is usable but getting soft in flat areas, particularly skin. On Micro Four Thirds it is close to the practical limit. Shoot a test chart at your own ceiling and judge it at 100 percent, not on the camera screen.
Is flash necessary for portrait photography?
No. Window light and a fast lens cover most indoor situations, and candids of children or guests are almost always better without flash because nobody flinches. Flash earns its place at large events, in a room with genuinely bad light, or when you need to freeze a moving subject at a fast shutter in a very dim space.
Does image stabilization let me use a slower shutter speed for portraits?
Only for camera shake, and only a few stops. In-body or lens stabilization steadies the frame, not your subject, so a talking face still needs roughly 1/125 sec or faster. You can usually lower the shutter a little further when shooting a still subject on a tripod, and that is where the ISO savings actually come from.
Start with the room, not the dial. Open the aperture, set a shutter speed that matches how much your subject moves, and let the meter name the ISO. Once you know the number your own body handles cleanly, set it as the Auto ISO ceiling and stop second-guessing it in the moment.