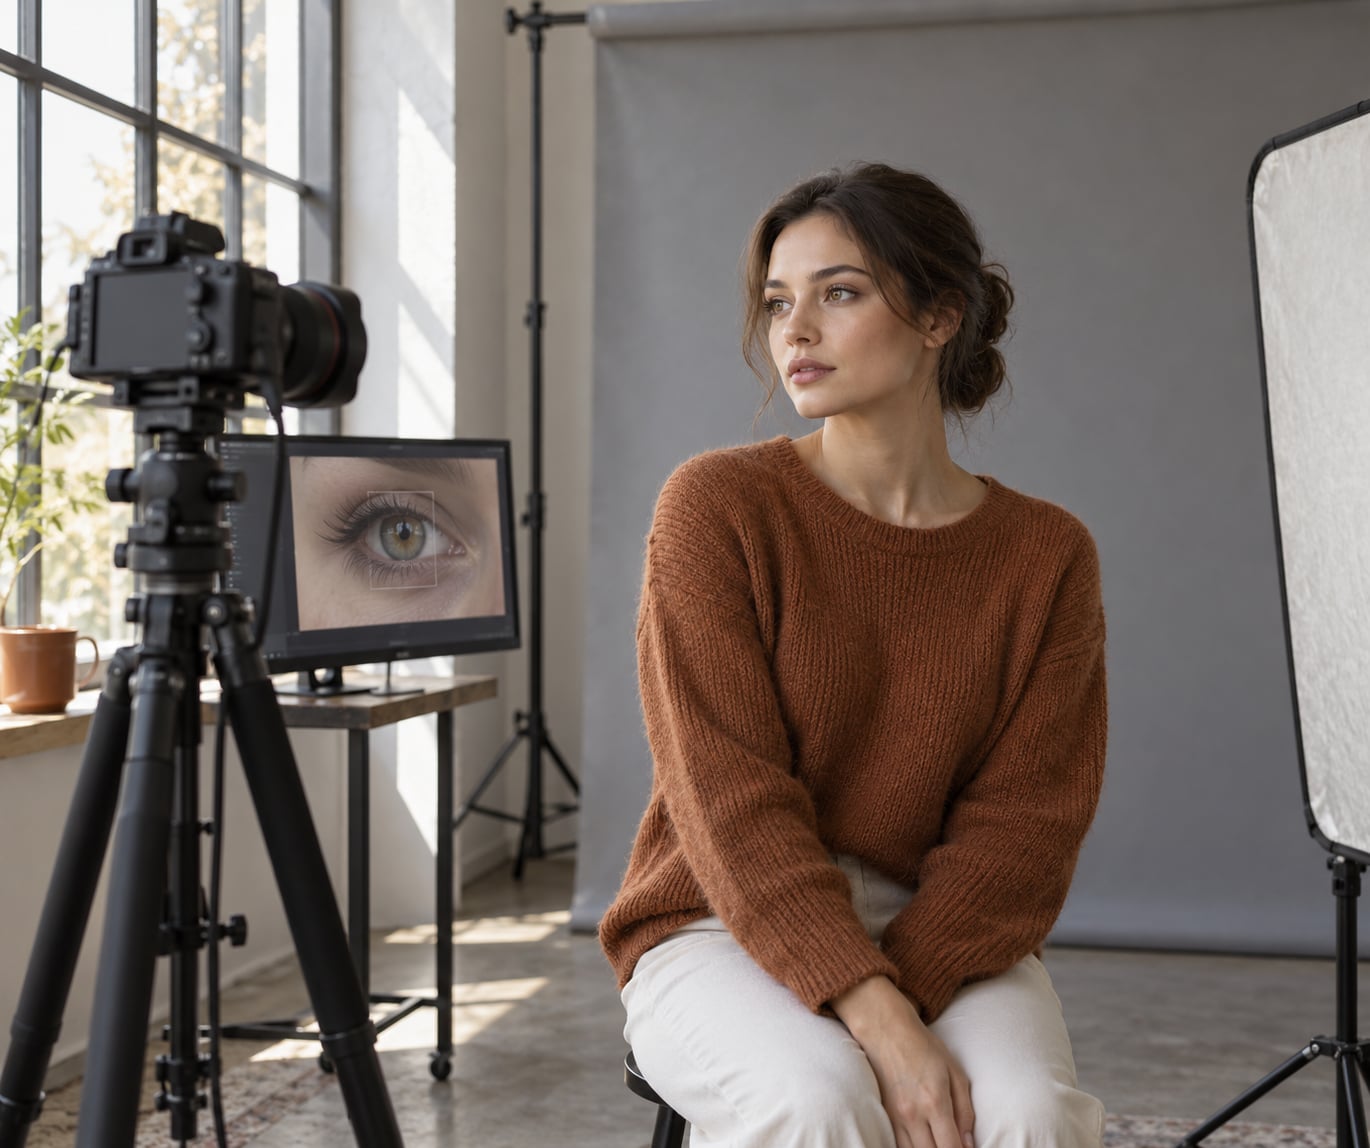
To focus on the eyes in portrait photography, place a single precise focus point or an eye-detection area over the eye closest to the camera, then check sharpness at 100% magnification before you shoot. That takes about ten seconds of setup and it is the whole difference between a portrait that feels alive and one that looks slightly off without anyone being able to say why.
Sharp eyes carry the connection in a portrait. If the eyes are soft, the viewer reads the frame as unfinished no matter how good the light, the pose or the background blur. The rest of this guide is the workflow I use, in the order I use it, plus the specific mistakes that cause missed focus and how to fix each one.
A note on equipment before we start: none of this needs an expensive camera. It needs a repeatable process, and most of the improvement comes from the process rather than the gear.
Table of Contents
What You Need
You need three things: a camera with a dependable autofocus system, a lens that focuses quickly, and one support tool that steadies the setup when it matters.
On the camera side, any recent mirrorless body handles eye focus well. The systems are named differently across brands but do the same job. Sony calls it Real-time Eye AF, Canon uses Dual Pixel AF II with subject detection, Nikon markets Eye Detection AF, and Fujifilm labels it Face and Eye Detection. Older DSLRs usually have a usable single autofocus point instead, which is enough if you know where to put it.
A phone is a legitimate starting point. Modern phones hold focus on a face and expose for skin tones without any input from you, so you can practise subject positioning and the nearest-eye idea before adding a manual focus step.
For lenses, aperture matters more than brand. A fast prime between f/1.4 and f/2.8 gives you the shallow depth of field that makes portraits look like portraits, but it is also the reason eyes go soft. A kit zoom at f/4 forgives far more focus errors, which makes it the better teacher for your first hundred sessions.
The third item is support. A tripod is the least glamorous piece of equipment here and the one that most improves your hit rate at wide apertures, because it removes your own movement from the equation while you learn where to place the focus point. A remote release or the two-second self timer prevents the shutter press from nudging the frame. Neither is glamorous and both are worth the drawer space.
Useful extras if you already own them: a reflector or small bounce card to lift shadows under the eyes, and a lens cloth. A smudged front element produces haze that looks deceptively like a focus problem, and I have chased soft images that turned out to be fingerprints.
Step-by-Step: How to Focus on the Eyes in Portrait Photography
The workflow below runs in the same order every time. Repetition is what turns a technique into a habit, and habits survive a bad light situation or a subject who will not sit still.
How to Focus on the Eyes in Portrait Photography on Camera
Turn on eye detection autofocus if your camera has it, place the area over the nearer eye, and confirm the camera has locked on before you shoot.
Start with the AF mode. Put the camera into single-servo autofocus, called One-Shot AF on Canon, AF-S on Sony, Nikon and Fujifilm, and AF on Panasonic. It focuses once when you press the shutter button halfway or the AF-ON button, and it holds that distance instead of drifting.
Next, set the focus area. On most bodies the default is a small group or a cluster of points, and that cluster is almost always bigger than you want for a portrait. Look for a setting named Spot AF or Flexible Point 1, which gives you a single movable box. On a Canon that is Spot AF, on Sony it is Flexible Point, on Nikon Flexible Point, on Fujifilm Single Point.
Now decide how the focus area is placed. Two options matter here. The first is to move the point itself: the box sits wherever you put it, and it does not fight you during the shot. The second is focus and recompose, where you focus in the centre and rotate the camera afterwards to frame the portrait. Moving the point is more reliable and I use it as the default, because the second option shifts your focal plane when you rotate at wide apertures and that shift is exactly what softens eyes.
With eye detection enabled, the camera draws a box over a detected eye and usually shifts it on its own as the subject moves. You can usually choose which eye it favours. The setting lives in the same detection menu, and the name varies by brand.
With a single point, the placement is yours. Put the box on the pupil or the iris of the eye nearest the camera, not on the brow and not on the bridge of the nose. The small point gives you the least margin for error, so if the point feels too twitchy for a subject who is not holding still, step up to a small flexible point or a zone rather than a single dot.
You can tell it worked when a small box turns solid and the edges highlight, and the focus distance in the bottom corner of the viewfinder stops hunting. If the point blinks between solid and outlined, the camera has not committed. Half-press again or move a few centimetres and the situation usually resolves.
If your eye detection seems to be locking onto the lashes, the brow or the bridge of the nose instead of the eye itself, the setting is usually buried deeper in the menus than the top screen suggests. On most bodies it sits under a focus or AF menu, in a face and eye or subject detection entry, with a second option that decides whether the camera detects people, animals or general objects. Every brand groups it differently, so search the manual for eye detection or subject detection rather than reading tab by tab.
Two more options on the same menu are worth setting once. Eye priority decides which eye the camera locks to when it finds two, and setting it to match the side your subject usually turns saves you from a second adjustment in every frame. On some bodies you can also drop the tracking sensitivity or the subject change setting so a person glancing off to the side does not make the camera abandon them mid-shot.
If you shoot video as well as stills, the same menu is where the eye tracking options for movies live, and the rules differ. The tracking speed and sensitivity controls that make a moving face hold on during video will often be too slow for a still subject, so set them for the kind of motion you film rather than copying a stills setting across.
Positioning the Subject and Camera
The angle between the subject’s face and the camera decides how much depth of field you need, and that is a positioning decision far more than a settings decision.
When the subject faces the camera square on, both eyes sit at almost the same distance from the lens and a narrow aperture range keeps them both sharp. Turn the head 30 to 45 degrees and the far eye moves behind the near one, deeper into the blur. That look is the reason portrait photographers pose at an angle, and it is also the reason they focus on the near eye and accept that the second eye is soft.
Some cameras let you choose which eye the autofocus locks to, a near-eye or far-eye priority setting. If yours does, set it. If it does not, keep a mental note of which eye is nearest whenever the subject crosses your shooting position.
Speaking distance is the other half of the equation, and it is a habit rather than a setting. Find the working distance first, roughly the distance where the subject’s head fills the frame with a little air around it, and stay at that distance instead of creeping forward for every detail. When you step in, you change the perspective and the depth of field at the same time, and both change again when you step back. Fixing the distance makes the rest of the frame predictable.
Longer focal lengths shallow the depth of field at any distance. A short focal length close to the face keeps more of the head in focus and forgives a focus point placed a centimetry off. Beginners often do well with a wider lens held further back while the habits settle. A prime is easier still, because the zoom ring gives you a second thing to accidentally move while you are adjusting your stance.
For a two-person shot, focus on the near eye of the person closest to the camera, and if both faces need to read sharply, ask them to sit side by side at the same distance from you rather than one behind the other. The same logic applies to a group: arrange people in an arc of even distance rather than in rows, or stop down until the depth of field covers the back row.
There is one more positioning trick worth knowing. Moving the camera slightly to one side, so you shoot across the face rather than straight on, reduces the visible plane the eyes sit on and buys back some apparent depth of field. It also gives you more options for where to place a catchlight in the eye, which is what makes eyes look alive in a portrait.
Choosing the Right Focus Mode
Match the focus mode to how much your subject is moving. Holding still calls for one-shot autofocus, constant movement calls for continuous autofocus, and a tripod with a long lens calls for manual.
Single-servo autofocus, or AF-S, locks when you press and holds. Use it for posed portraits, headshots, and anything where the subject holds a position for more than a second. It is the most accurate mode available because it never re-evaluates and never drifts.
Continuous autofocus, called AF-C on Sony, Nikon and Fujifilm, Servo AF on Canon, and AFC on Panasonic, keeps adjusting as long as you hold the button. It is the right choice for children, pets, and anyone talking and gesturing. The trade-off is that it hunts when it loses contrast, so pair it with a small focus area and give the subject something to look at.
Manual focus, driven by magnification, is the most precise option and the least forgiving. It earns its place on a tripod, or with fast wide-aperture primes where a few millimetres of ring movement decide whether an eye is sharp. It also works in situations where autofocus has no idea what to do, such as a subject in heavy backlight with rim light around the face.
Back button focus is the habit that ties the other three together. It moves focusing off the shutter button and onto AF-ON on the back of the body, and it separates focusing from the moment you capture. You focus with your index finger on the rear button and shoot with your index finger on the shutter, which is a different finger on most bodies. Set it once in the button assignment menu and it stops feeling like a trick within a session.
The practical result: AF-ON held down with AF-C lets you keep the camera tracking while a burst fires, and every frame in the sequence has a real chance of being sharp. That is the cheapest insurance in portrait photography, especially at f/1.4.
Aperture sets the rules the focus mode has to work inside. Between f/1.4 and f/1.8 you have very little room, so focus accuracy and technique matter more than anything else in the frame. Around f/2.8 you gain enough depth of field that both eyes often read clearly in a three-quarter pose, and the frame stops feeling like a test. At f/4 and f/5.6 the background blur softens noticeably, and most of the pressure comes off your focus technique entirely.
For a group of three or more, stop down rather than fight the autofocus. Pick f/5.6 or f/8, focus on the nearest face, and raise ISO or the light level to hold a fast shutter speed, because people shift and talk and a slow shutter will undo careful focus with a blurred half-blink. In a studio with strobes you can sit at f/8 and drop the ambient light right down, which keeps ISO low and the whole group sharp.
Confirming Sharpness Before Shooting
Check focus at 100% magnification and look at the eyelashes. Eyelashes are the finest detail on a face, so if they resolve into separate strands rather than a soft line, the focus is where you want it.
Find the magnification control in your viewfinder or on the rear screen, usually a button marked with a magnifying glass, and press it once or twice until the display shows the eye at 100%. Most bodies jump straight to the area around the active focus point, which saves you hunting for it.
Magnification beats focus peaking as a sharpness test, and the reason is worth knowing. Focus peaking paints coloured outlines on areas it considers in focus, and it can paint them on an image that is slightly soft, because it has no way to judge fine detail at a glance. Magnification shows you the actual pixels, so you see whether the lashes separate. Peak the highlights as a coarse aid when you are setting a focus distance in dim light, then confirm with magnification before you shoot.
Do not trust the focus indicator alone. A solid green dot means the camera thinks it locked, and the camera can lock confidently on the wrong plane when contrast is low. The green dot also tells you nothing about how much depth of field you have left.
Do not trust an unzoomed image either. A portrait looks acceptably sharp on the back screen at normal viewing size and turns soft the moment you open it on a monitor, which is why so many missed frames only reveal themselves during culling. Browsing at 100% is the check that catches them.
Two habits finish the job. Shoot a short burst, three to five frames, rather than a single frame, and keep AF-ON held while the burst runs. Then look at the eyes in the sequence and pick the sharpest frame, rather than hoping the first one worked. Portrait photographers cull anyway, and a burst costs nothing but card space.
If you shoot RAW and find the eyes slightly soft anyway, a light sharpening pass in post with a small radius and a masking layer limited to the eye area usually recovers them. It is a patch, not a fix. Fix it at the point of capture.
Common Mistakes
Placing the focus point on the forehead or the brow. This is the most common miss and it looks obvious in hindsight. The point needs to sit on the iris or pupil. If your single point feels too small to land reliably, step up to a flexible point or a small zone, or let eye detection take the task.
Using a focus area that is too large for the frame. Wide area modes assume you are tracking a subject across a busy scene. In a portrait, that same mode hands focus to a lash, a highlight on the nose, or the background. Use single point or a small flexible point.
Focusing and recomposing at a wide aperture. Rotating the camera around its centre moves the subject relative to the sensor, so the plane you just focused on is no longer the plane you shot. This is the reason the technique fails most visibly at f/1.4. Either move the focus point instead of the camera, or stop down to f/4 or so when the framing forces you to focus centrally.
Shooting too wide open for the light you have. At f/1.4 the depth of field on a head is measured in millimetres, so a subject leaning toward you during the exposure puts an eye out of focus. Use f/2.8 or f/4 in dim light, or add light so you can stop down.
Letting the eyes fall into shadow. A face in shadow with a bright background is a low-contrast target and the autofocus will struggle or drift. Turn the subject so the window or the light source is off to one side of the camera and angled across the face, or use a reflector to put a little light back into the eye sockets.
Ignoring glasses. Reflective lenses, dark tints and thick frames confuse eye detection, and the camera may default to the frame. Ask the subject to tilt the glasses down slightly so the lens is not catching the light source, angle yourself so the reflection of your lights or your own body is not bouncing straight back, and confirm the eye box is on the eye and not the rim. Antireflective coating makes a real difference here.
Moving after you confirmed focus. The moment you confirm sharpness, your own weight shift or a bumped tripod moves the focal plane. Lock your elbows, breathe out before the exposure, and for tripod work use a remote or the two-second self timer so the shutter press does not wobble the frame.
Not checking the result. Zoom to 100% on the eye before you show anyone the frame. Ten seconds of checking on the back screen saves a reshoot that nobody can undo later.
Running manual focus on a fast wide-aperture lens in dim light. Bright focus magnification, which many cameras raise automatically to help you, makes the viewfinder grainy, and small movements of the ring translate into large focus shifts at f/1.4. Above ISO 3200 or so, autofocus is usually the more accurate tool. If the light is that poor, add light rather than fight the ring.
Expecting adapted lenses to behave like native ones. Autofocus and eye detection depend on the lens communicating distance and aperture information correctly. Manual adaptation or a dumb adapter on an older lens often means no electronic communication, and the camera falls back to a single slow point that cannot be steered. Check the manual for your lens on your system before you judge the camera.
If you want a drill, this one works. Pick a single subject in good light and shoot one hundred portraits at f/2.8 with a single point, checking every frame at 100% magnification and logging whether the focus landed on the near eye. You want 90 percent or better before you move to f/1.4. Most people sit near 60 percent on their first session, and the number tells them far more than any rule of thumb.
Two more drills, each aimed at a specific habit. For placement, shoot the same head and shoulders frame fifty times, moving the single point from the forehead down to the pupil between shots. You are training your hand, not your eye, and the number of frames it takes before you stop thinking about it is usually lower than you expect.
For verification, review a finished set at 100% and mark every soft eye before you look at the camera settings. The pattern in the marks is the diagnosis. Frames missed only when the subject turned away point at glasses or a head angle. Frames missed only in a second or two of a burst point at a subject who was moving. Frames missed across the whole set point at a focus point placed a few centimetres off, or light that gave the autofocus nothing to grip.
Frequently Asked Questions
What is the best autofocus setting for portrait photography?
For a posed subject who holds still, single-servo autofocus with a single small focus point over the near eye is the most accurate combination, because it locks once and never drifts. For children, pets or anyone talking and moving, switch to continuous autofocus and keep the same small focus area, then hold the back-button focus while a short burst fires. Eye detection autofocus, when your camera has it, handles both cases and removes the placement step entirely.
What is the best focus point for portraits?
The eye closest to the camera. When a subject faces you square on, both eyes sit at almost the same distance and either works. Turn the head 30 to 45 degrees and the far eye falls behind the near one, deeper into the blur, so the near eye gets the sharpness and the expression still reads. On cameras with left and right eye priority settings, set the camera to favour whichever side the subject turns toward.
Should I use focus and recompose for portraits?
Only when the composition forces the subject to the edge of the frame and the focus point will not reach the eye. Focusing in the centre and then rotating the camera moves the subject relative to the sensor, which shifts the plane you just focused on, and the shift grows as the aperture widens. This is why the technique falls apart at f/1.4. Moving the focus point to the eye instead of moving the camera avoids the problem entirely.
How do I focus on the eyes when the subject wears glasses?
Reflective lenses, dark tints and thick frames both confuse eye detection and catch stray light. Ask the subject to tilt the glasses down a little so the front of the lens is not aimed at your light source, and move your own position so nothing bright reflects back at the subject. Check on the rear screen that the detection box sits on the eye rather than the frame. Antireflective coating is the simplest fix if the subject owns a better pair.
How do I focus on the eyes in low light?
Low light costs you two things: focus accuracy, because contrast drops, and depth of field you can afford to work with. Add light rather than fighting it. Turn the subject so a window or lamp is off to one side of the camera and angled across the face, which puts light into the eye sockets and gives autofocus something to grip. Then stop down to f/2.8 or f/4 so the depth of field is wide enough to absorb small errors.
Do both eyes have to be sharp in a portrait?
No, and chasing that goal is what ruins a lot of otherwise good frames. With a three-quarter head turn, the far eye sits behind the near one, well outside the plane of focus at any normal portrait aperture, and no amount of skill changes that. Aim for the near eye to be tack sharp and the far eye to be recognisable. When both eyes must read sharply, shoot face-on or use a wider aperture like f/4 or f/5.6.
Conclusion
Start with one action on your next portrait: find the eye closest to the camera, put a single precise focus point or an eye-detection area over it, and confirm sharpness at 100% magnification before the shutter fires. Everything else, the focus mode, the aperture, the lighting and the burst, is a variation on that one habit.
Build it a hundred times with one subject and a keeper rate, and the soft-eye portraits disappear without any new gear.