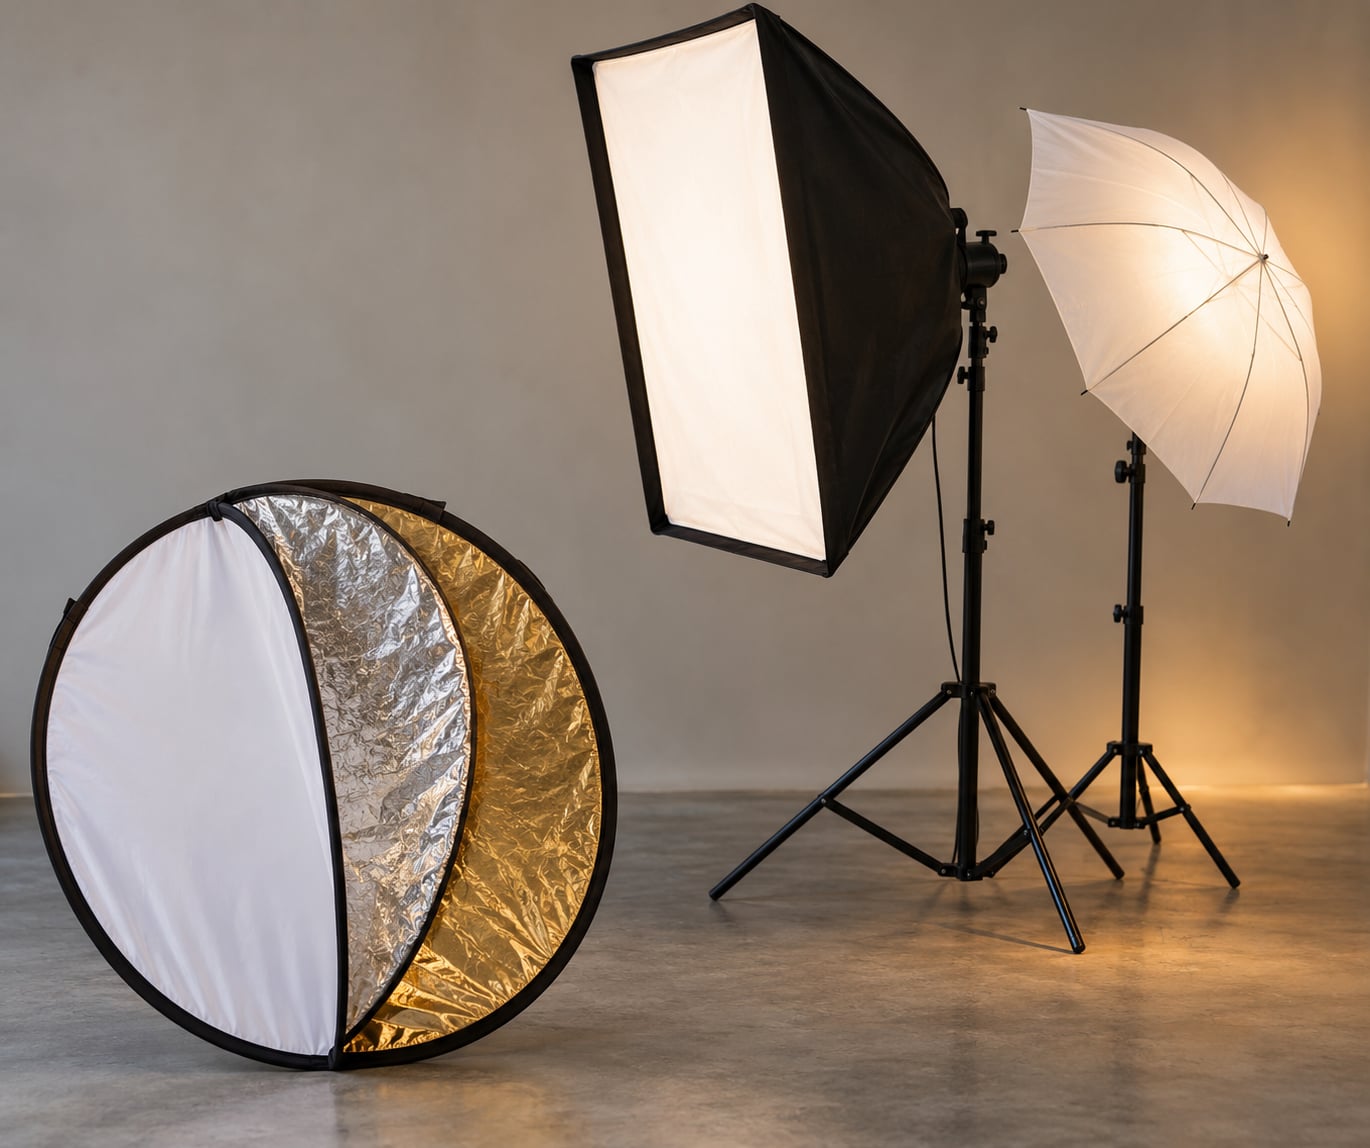
A photography reflector is a lightweight panel with one or more surfaces — white, silver, gold, black or translucent — that you hold near your subject to bounce light that is already in the scene back into the shadow side of the face. Because it adds no light of its own, it can only ever be as bright as your key light.
That single fact is the whole technique. How to use a reflector for portraits well comes down to three things: judge how hard your main light is, pick the surface that matches it, and place the panel close to the subject on the side opposite the key. Any photographer can do it, the gear costs almost nothing, and it adds no weight to your bag. This guide is updated for 2026 and covers the positioning, the surface choices, and the cases where you should leave the reflector in the bag entirely.
Table of Contents
- What You Need
- Step-by-Step: How to Use a Reflector for Portraits
- Common Portraits Reflector Mistakes
- Frequently Asked Questions
- Why do photographers use reflectors?
- When to use a silver reflector in photography?
- When to use a white reflector in photography?
- What can I use as a reflector for photography?
- Do you use the reflector if you have softboxes?
- When should you not use fill light?
- How far away should a reflector be from the subject?
- Does a reflector work as a main light?
- Conclusion
What You Need
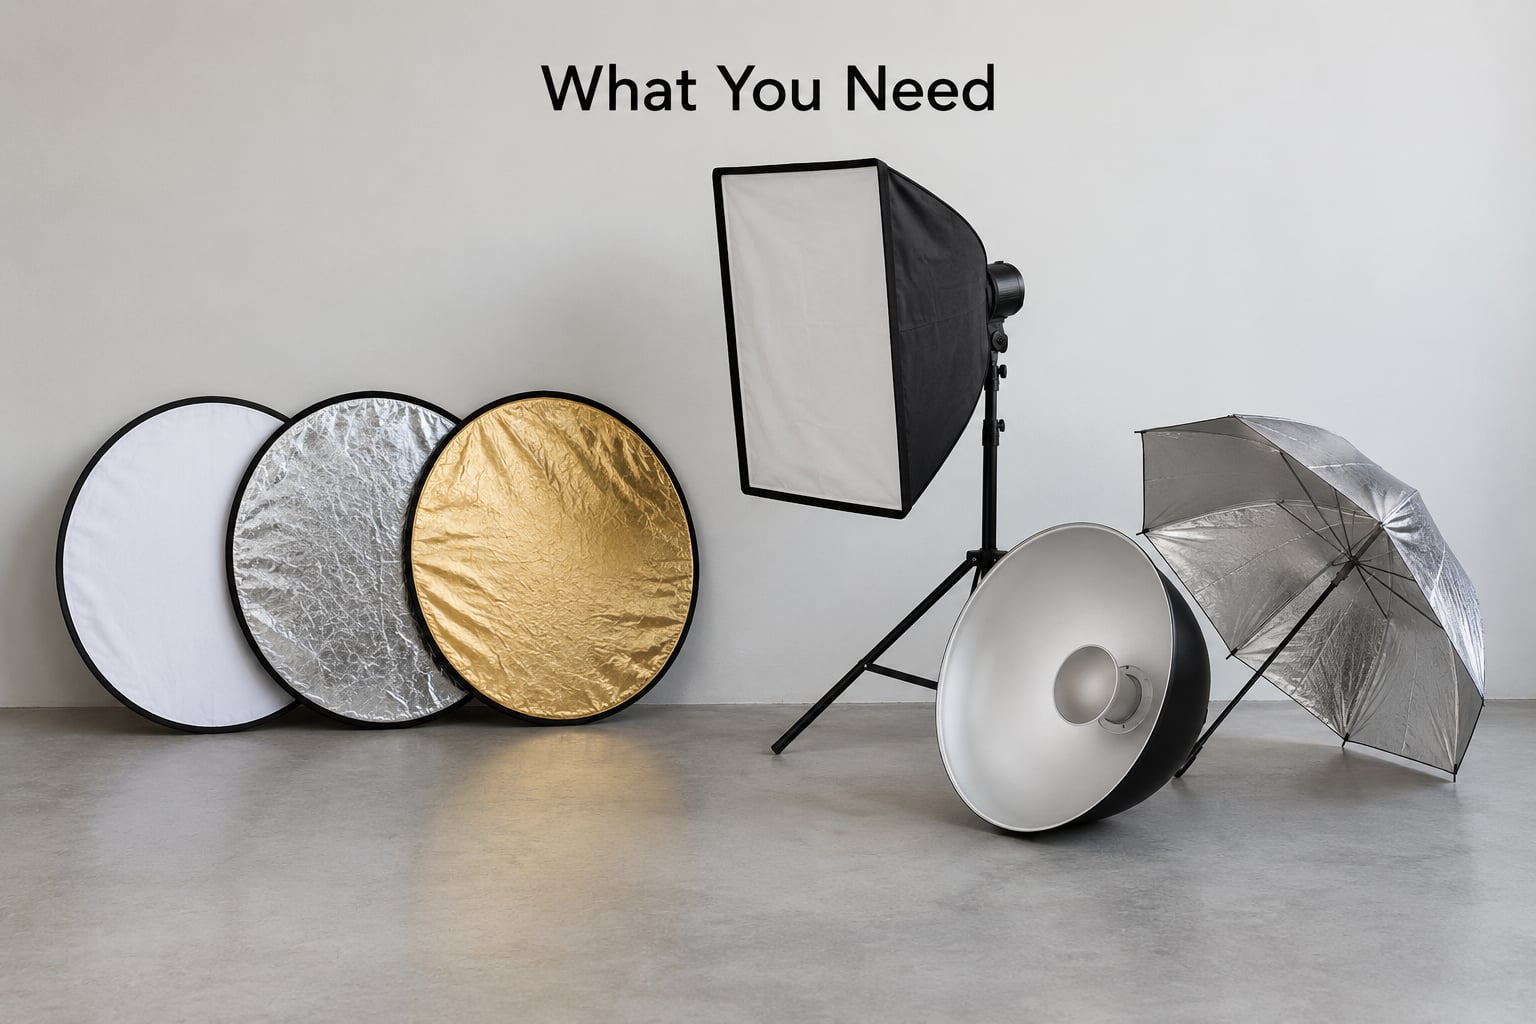
A reflector is the only piece of lighting gear that is genuinely optional — but everything else in this list just makes placement easier.
- A 5-in-1 reflector. The gold, silver, white and black faces cover almost every situation, and a translucent panel is usually part of the same frame.
- A size that matches your framing. A head-and-shoulders portrait needs roughly a 60 cm (24 inch) disc. For a half-body or waist-up shot, start at 80 cm (32 inch) — a disc smaller than that cannot cover the subject’s whole torso from a usable distance.
- A collapsible frame if you work on location. A rigid 5-in-1 disc that folds down like a parachute is the most portable option, and it also pops open as a self-standing support.
- Diffusion material for a different job. A white bed sheet, a collapsible scrim or a translucent shower curtain turns a hard source into something softer — that is diffusion, not reflection, and it is covered in more detail below.
- A mount. A light stand with an alligator clip lets you position a foam core board hands-free. A softbox, beauty dish or silvered umbrella is worth having if you shoot indoors, because a reflector is a companion to a key light, not a replacement.
Nothing shiny or mirror-like belongs in the kit. A car window or a glass patio door throws specular highlights across skin, and no amount of repositioning fixes that.
Step-by-Step: How to Use a Reflector for Portraits
Step 1: Assess the Direction and Quality of Your Main Light
Find where the light comes from and how hard it is before you touch the reflector. Hard light — direct midday sun, a bare flash, a small speedlight with no modifier — throws sharp-edged shadows under the brow, nose and chin. Soft light — open shade, an overcast sky, a north-facing window — already fills the shadow side on its own, and adding a reflector will flatten the face.
Ask one question: is the shadow side darker than I want it to be? If it is, the reflector has a job. If it isn’t, put it down and shoot.
Step 2: Choose the Right Reflector Surface
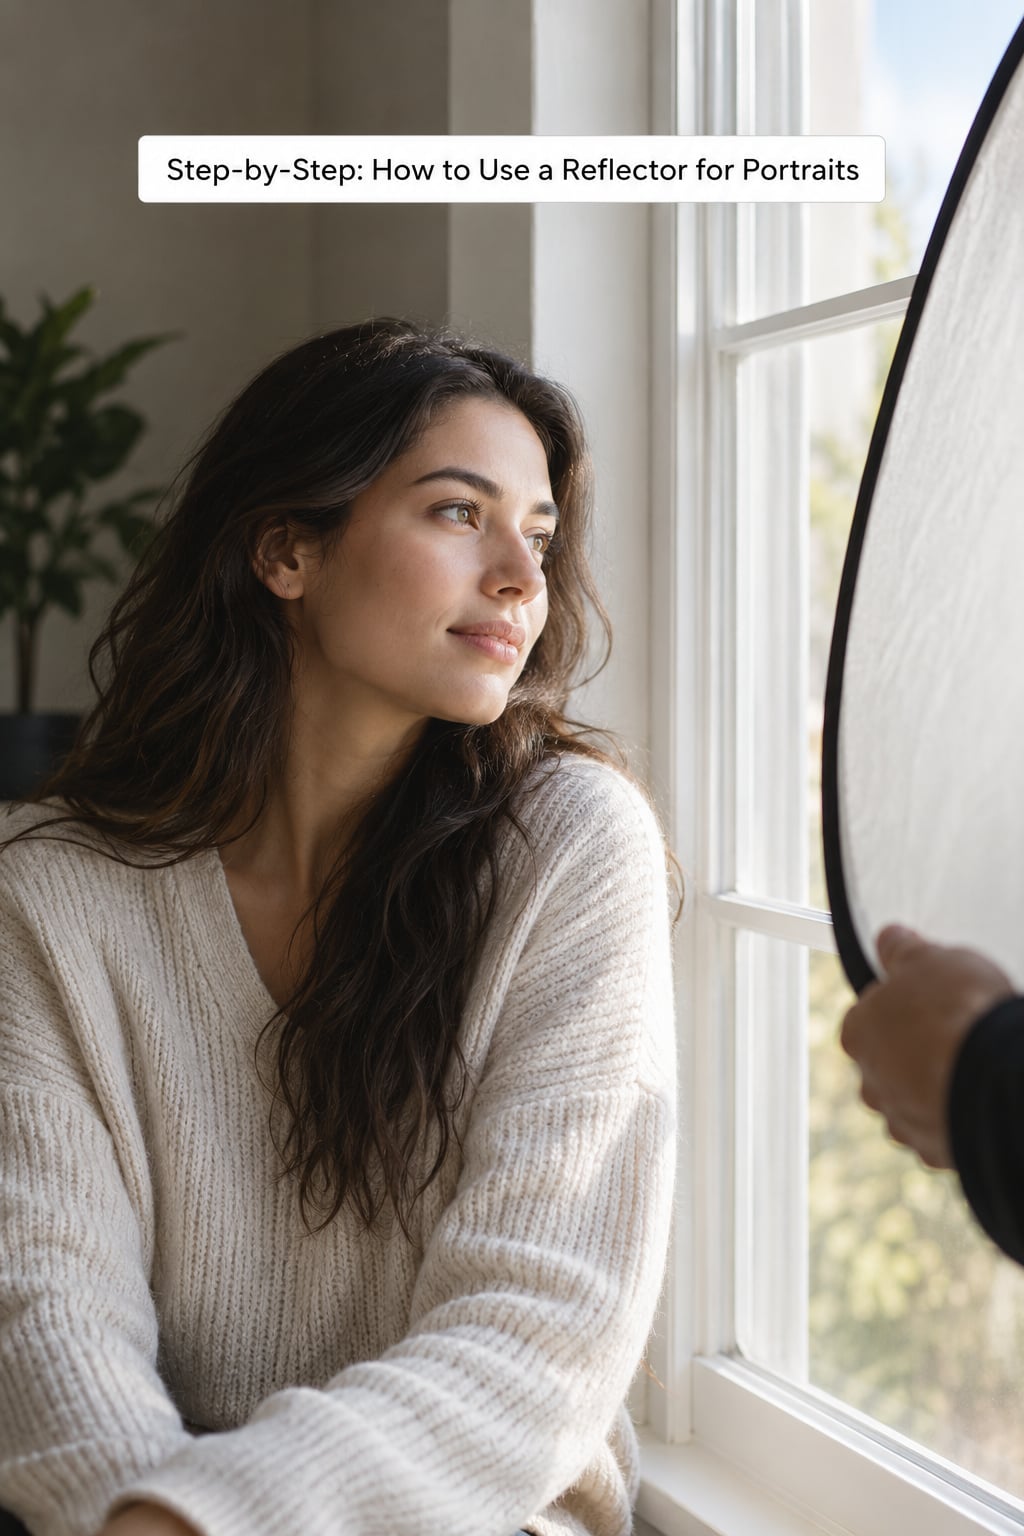
Put the reflector opposite the key light, at roughly 45 degrees to the camera, and slightly below eye level. That position is the single most useful habit in portrait lighting: it returns light to the cheek and eye socket on the shaded side without bouncing straight back into the lens.
The five surfaces do very different jobs, so compare them before choosing one.
| Surface | Return strength | Tone added | Best for | Watch out for |
|---|---|---|---|---|
| White | Moderate, soft | Neutral | Soft key light, open shade, most indoor work | Too weak for hard midday sun on its own |
| Silver | Strong, with a slight specular edge | Neutral, slightly cooler | Hard key light, shadow under the brow or jaw, weddings in sun | Blown highlights and hot spots on the cheekbone if held too close |
| Gold | Moderate | Warm | Golden hour, cooler skin tones, autumn light | An orange cast that reads as artificial after sunset |
| Black | None — it absorbs | None | Negative fill, adding contrast and shape back into a flat face | Using it when you actually needed fill |
| Translucent | None — it passes light through | None | Holding a hard source in front of the subject to soften it | Expecting it to brighten anything; it cannot |
Most people start by reaching for silver because it is the brightest. The better rule: match the strength to the key. Silver under a hard key, white under a soft one.
Step 3: Place the Reflector Close to the Subject
Distance is your contrast control. A reflector close to the face returns a lot of light and flattens the shadows; push it away and the fill weakens, the shadows deepen, and the face regains shape. Move it twice as far and you lose roughly a stop and a half of fill.
A practical target is a 2:1 lighting ratio, meaning the shadow side sits about one stop under the lit side. That reads as natural on almost everyone. Drop toward 4:1 for a dramatic or corporate look, and go lighter still for beauty work where skin texture should disappear.
Step 4: Angle the Reflector to Control Shadow Density
Rotate the panel rather than sliding it around the subject. Edge-on to the camera, it fills narrowly and keeps contrast; turned to face the subject more directly, it opens the shadows and you can see the light level on the face rise. The brightness changes far more than the position does, so this is the control to reach for when you need a fraction of a stop.
Keep the panel just outside the frame edge, and check that you cannot see its own shadow thrown onto the background wall.
Step 5: Check the Face, Eyes, and Skin Texture
Before you commit, look at three things. Catchlights should be soft and roughly rectangular, not tiny hard dots, which means the reflector is working and the source is still large. Shadow detail should be present but darker than the lit side. Skin texture should survive — if pores and fine lines disappear under the shadow side, you have gone too far.
For a backlit subject, expose for the face and accept a bright background: switch to aperture priority, drop to your lowest native ISO, open the aperture as far as you can live with, and dial in minus 0.3 to 1 EV. The reflector does nothing for you if the exposure clips the skin.
Common Portraits Reflector Mistakes
Almost every disappointing reflector shot comes down to one of four things.
The reflector is too close. The face goes flat and the specular highlights on the cheeks and forehead come back hard. Fix: move it back a metre and re-check the ratio.
Using silver against a soft key. You end up with a brighter, harder result than the light you were trying to tame. Fix: switch to the white side.
The reflector casts its own shadow, or bounces your own kit back at you. A black camera body or a tripod leg behind the panel will show up as a dark patch. Fix: turn the panel a few degrees or move it further off-axis.
Skipping the reflector altogether. Pulling the reflector close to the lens axis washes out the face and leaves the background shadow untouched. It only mirrors light that already reaches the panel.
When to leave the reflector out of the setup
Skip the fill when you want shape. Low-key portraits, strong rim or kicker light, silhouettes and shadow-heavy corporate headshots all depend on the shadow side staying dark. You can also flip the logic and use the black face for negative fill, deliberately removing light from the side of the face you want to recede.
And if you already own softboxes, keep the reflector. A large white panel opposite a small softbox is what stops a modifier-lit face from looking lit by a lamp. Hybrid setups — natural light or a strobe for the key, foam core for the fill — are standard practice among working portrait photographers.
What you can use instead of a reflector
- A 4 by 8 foot sheet of white foam core, weighted with a sandbag and clipped to a light stand.
- A white bedsheet on a frame, for large soft fill indoors.
- A white patio umbrella held upside down, open toward the subject.
- A car windscreen, for a large hard bounce — useful only for a bold, editorial look.
- A net curtain or shower curtain, as diffusion in front of a hard source.
Avoid mirrors, bare glass, polished metal and anything with a printed pattern. If you own a collapsible reflector and the fabric has gone hazy or milky, replace it: a tired panel returns a fraction of the light and quietly underexposes the shadow side.
Frequently Asked Questions
Why do photographers use reflectors?
A reflector redirects light that already exists rather than generating any of its own. That makes it the cheapest way to lift the shadow side of a face, soften harsh sun or window light, and add a catchlight without carrying a second flash. It is also the only lighting tool that fits in the side pocket of a camera bag.
When to use a silver reflector in photography?
Reach for silver when your key light is hard and strong: direct midday sun, a bare speedlight, a spot at an event venue. It returns a punchy, slightly cool fill that opens shadows under the brow and jaw. If your key is already soft, silver will look harsher than the light you were trying to soften, so switch to the white side instead.
When to use a white reflector in photography?
White is the default for most portraits, especially under open shade, overcast skies and large north-facing windows where the key is already soft. It returns a neutral, diffuse fill that keeps skin colour accurate. It also matters with deeper skin tones, where a neutral surface avoids shifting hue in the midtones.
What can I use as a reflector for photography?
A sheet of white foam core is the most common improvised solution, weighted and clipped to a light stand. A white bedsheet on a frame gives large, soft fill indoors. An open patio umbrella bounced toward the subject works outdoors, and a net curtain or shower curtain in front of a hard source acts as diffusion rather than reflection. Skip mirrors and bare glass.
Do you use the reflector if you have softboxes?
Usually yes. A softbox often lights a face more narrowly than you want and leaves a visible edge on the shadow side. A large white panel opposite the softbox evens that out and adds a soft, rectangular catchlight. The reflector stays subordinate: the softbox is your key, and the panel fills only what the modifier missed.
When should you not use fill light?
Leave the fill out when contrast is the point: low-key portraits, silhouettes, strong rim or kicker light, and corporate headshots with deep shadows. Fill in those situations and the face loses its shape and the background separation disappears. If the shadow side already has enough detail, adding light takes away depth for no gain.
How far away should a reflector be from the subject?
Close enough to cover the area you are filling, which is roughly within a metre or so for a head-and-shoulders shot, and further back as the framing widens. Distance is your contrast control: move the panel twice as far from the face and you lose about a stop and a half of fill, which deepens the shadow side without changing its quality.
Does a reflector work as a main light?
It can light a face, but it will never look like a key light. A reflector only returns what already reaches it, so in anything but very even light the result is a flat, washed-out face with the original shadows still hanging elsewhere in the frame. The reflector behind the camera is also close enough to throw specular highlights across the skin.
Conclusion
Start with the shadow side. Find which side of the face the key light is not reaching, hold a white or silver face at 45 degrees opposite that key and slightly below eye level, and bring it close enough to cover the shadow without spilling onto the background. Then step back a little until the shadow keeps its detail and its shape — that is the frame you keep.