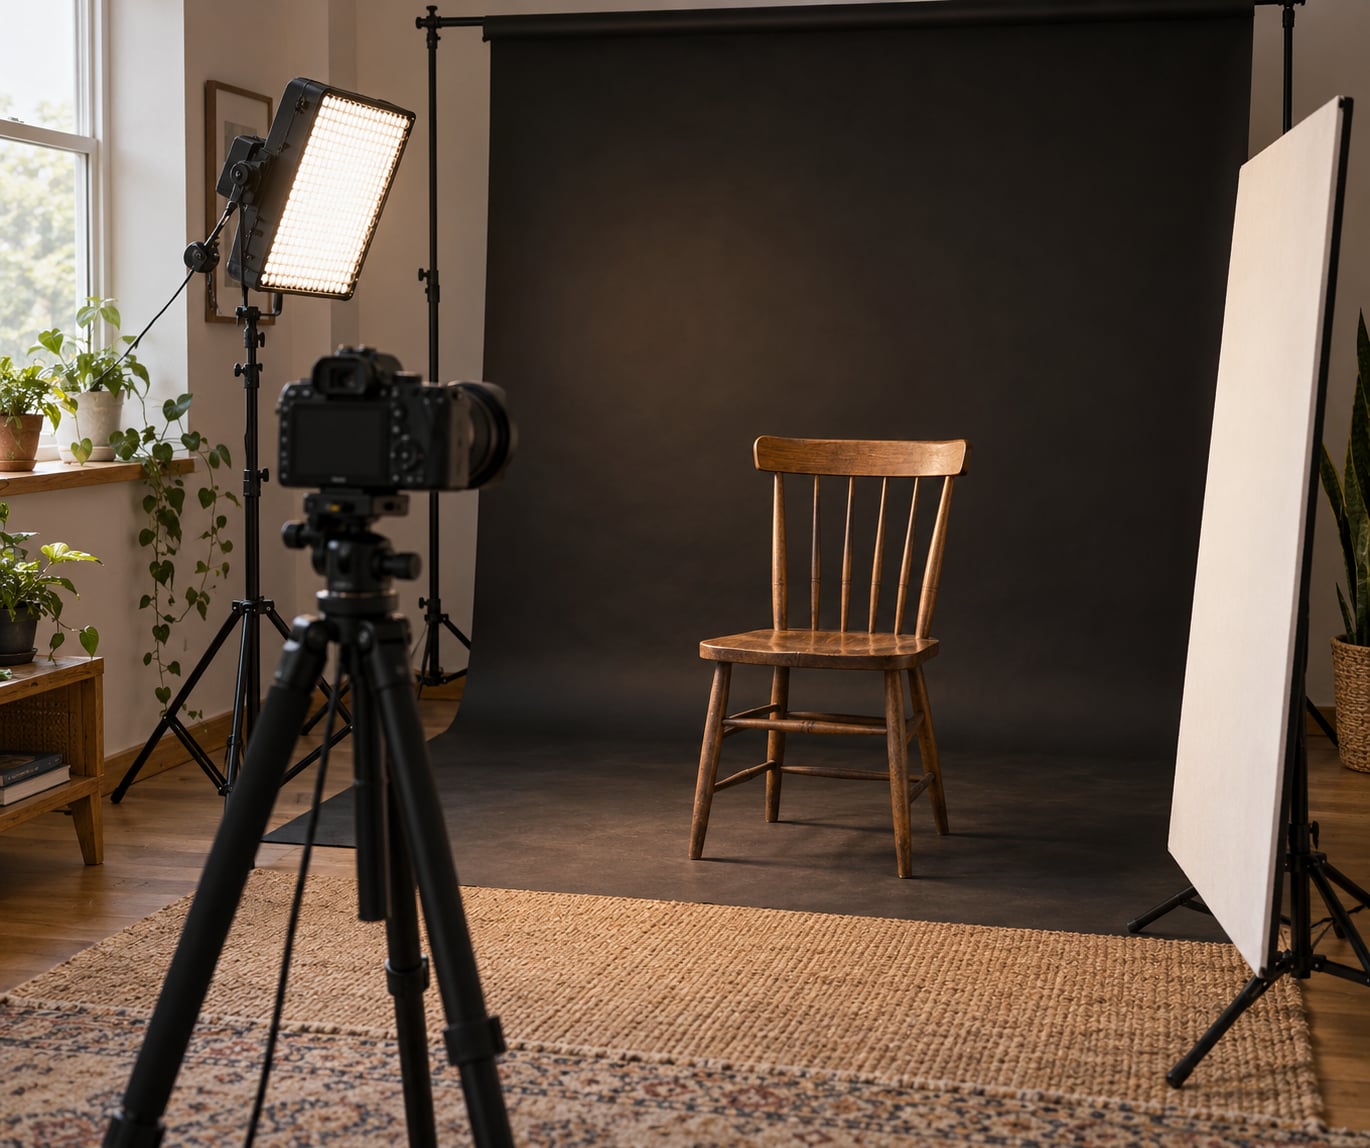
Portrait lighting setups for beginners come down to one thing: where the light sits relative to the face. Start beside a window with a white board opposite, then raise a single light and push it further to the side to walk through butterfly, loop and Rembrandt patterns. All five recipes below can be practised in an afternoon with a single light and a reflector, and none of them need studio experience to start.
New photographers tend to assume they need better gear. They do not. A portrait that looks flat or harsh is almost always a placement problem, not a camera problem, and moving one light ten degrees solves more frames than any lens upgrade will.
Table of Contents
What You Need
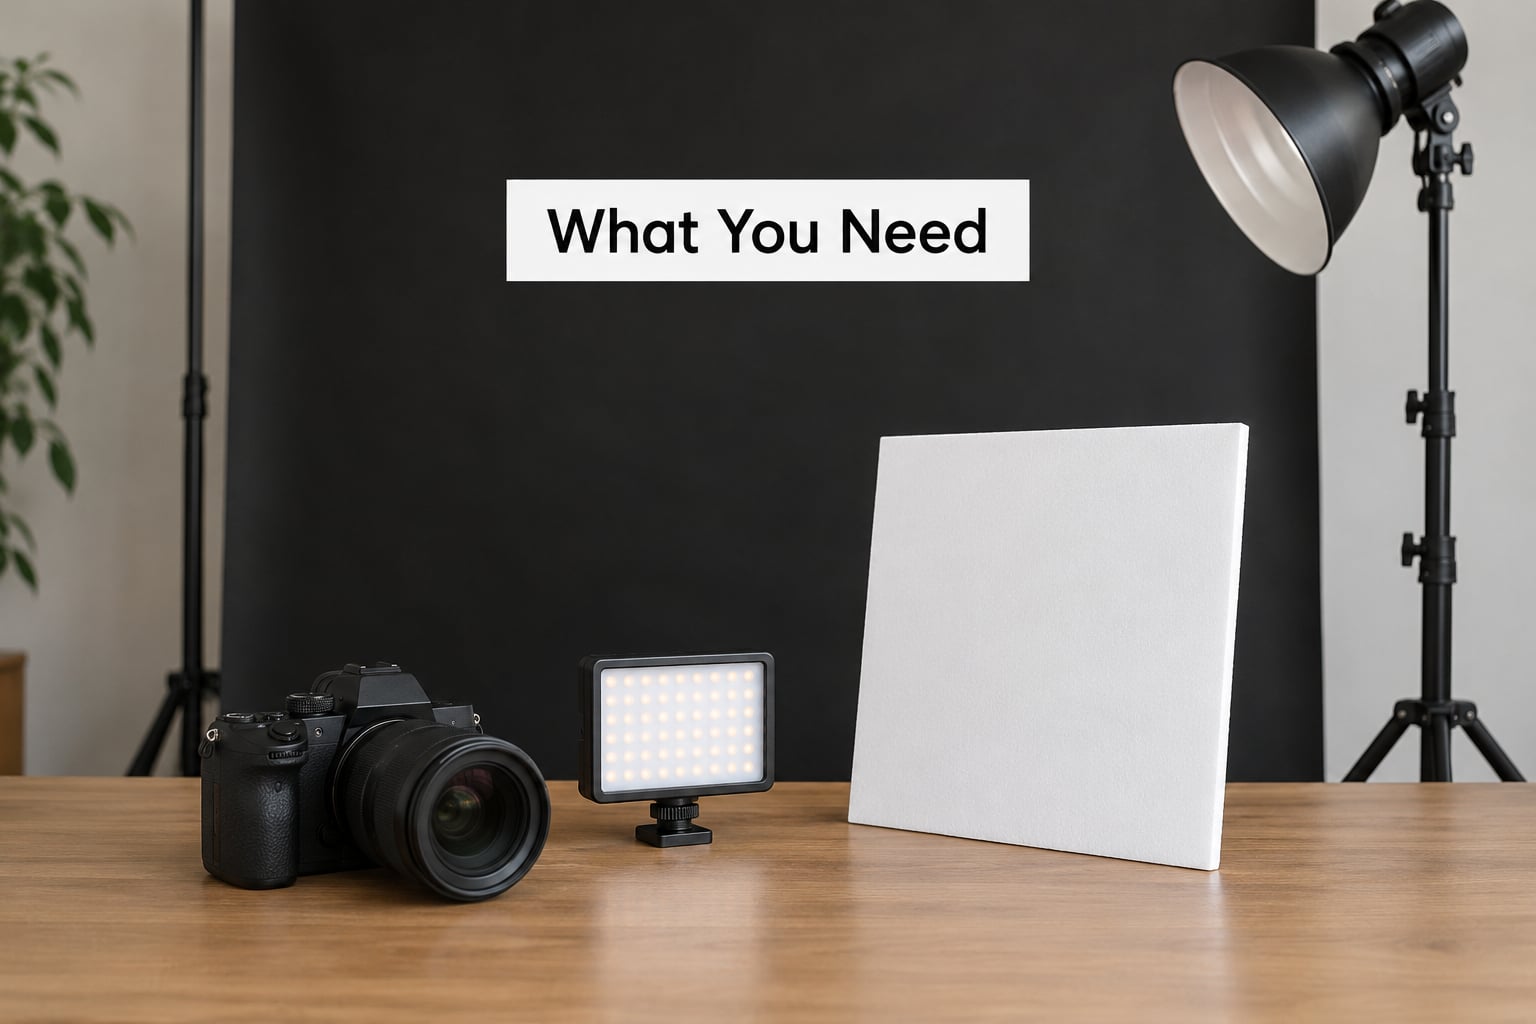
Keep the kit list short, because the recipes only use a few things and you can swap almost all of them.
- A camera and lens. A 50mm or 85mm equivalent keeps you a comfortable distance from the subject and avoids distorting the face. A phone works fine for learning the patterns.
- One light source. A window, a continuous LED panel, or a manual flash head on a light stand. For location work, forum regulars consistently describe a single strobe, a stand and a cheap white shoot-through umbrella as a kit that genuinely gets used.
- A reflector. A collapsible reflector or a piece of white foam board. This is the cheapest light in the room and it counts as a real light source for the ratio maths.
- Something black. A black card, a dark jacket, or black foam board for negative fill. Pulling light off one side of the face is the cheapest contrast you can buy.
- A clamp and tape, plus sandbags for the stand. An unweighted stand with an umbrella on it tips, and it takes the flash head with it.
- A posing tool. A chair, a small step, or a stack of books to get the subject to a comfortable height and angle.
A backdrop is optional. A dark wall or a sheet of black card behind the subject separates them just as well while you are still learning where the light goes.
Step-by-Step: Five Portrait Lighting Setups for Beginners
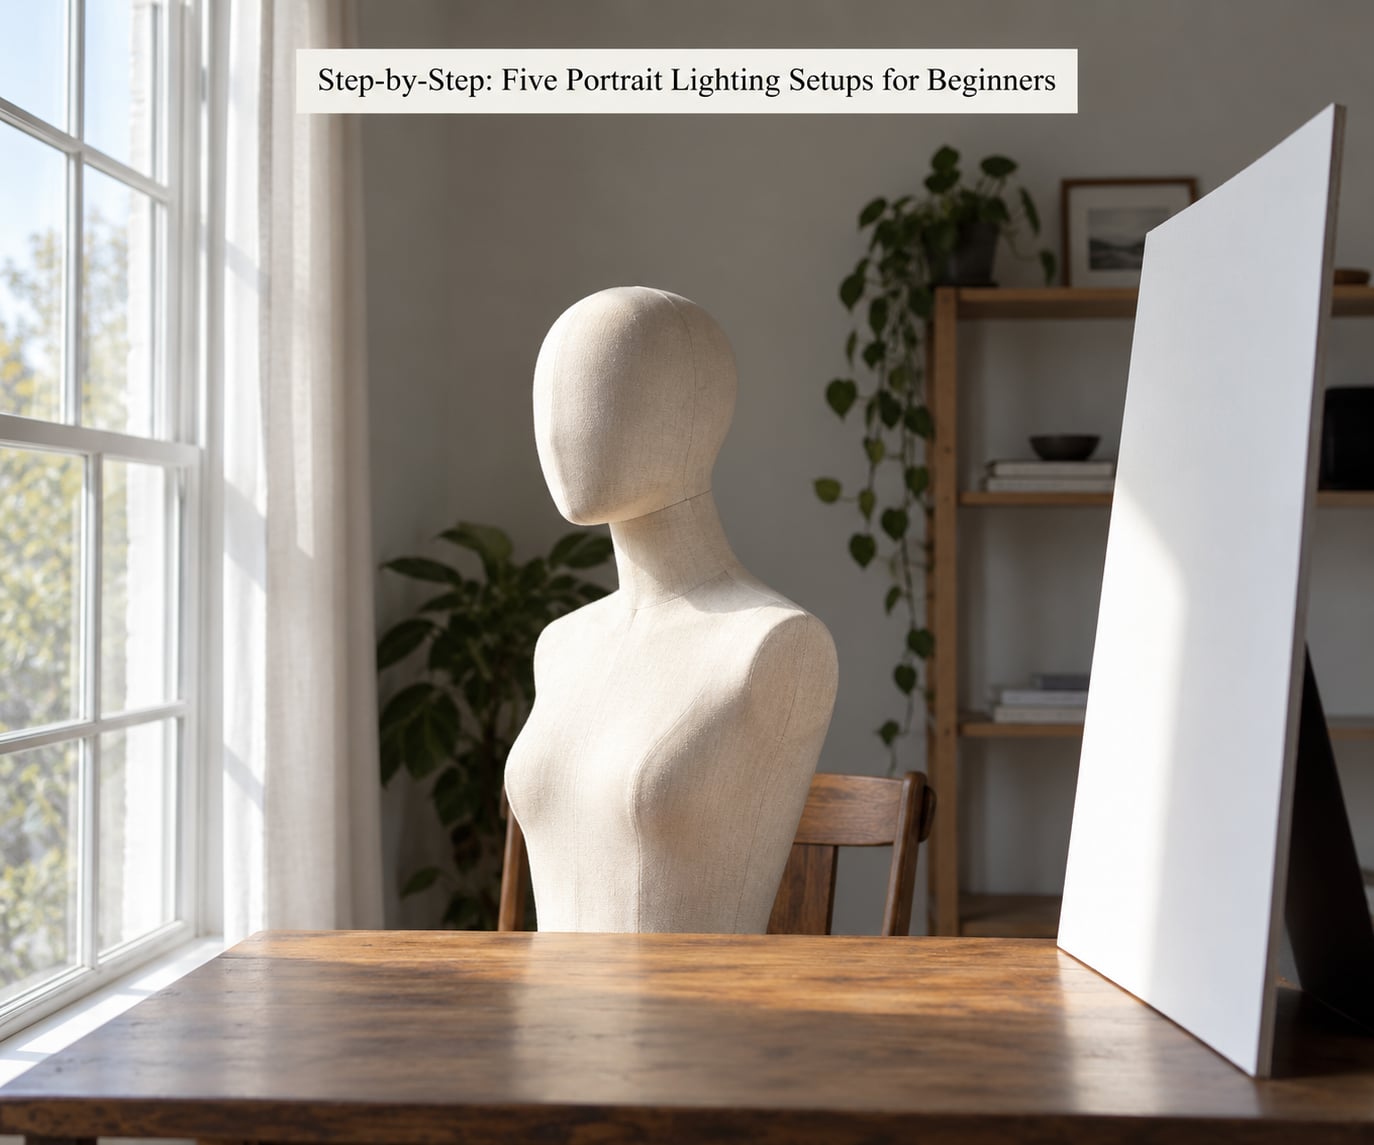
The five recipes below are arranged as a progression. Each one is the previous setup with the light moved a little further to the side or a little higher, so you learn them as small adjustments to a setup you already know.
Step 1: Set Up Window Light
Put the subject about a metre from a large window and turn their face roughly 45 degrees toward it, so one side of the face is lit and the other falls into soft shadow. Place the white board on the shadow side, close in, and angle it so the light bounces back into the dark half of the face.
Turn off every room light. Overhead bulbs and lamps fight the window and produce a second, harder shadow under the nose that no amount of repositioning will explain away. If the window is in direct sun, hang a sheer curtain to soften the edges; the shadows will go from hard-edged to gradual.
You know it worked when the shadows on both sides of the nose are similar in weight and you can see a rectangle or window shape in the eyes. If the face is too dark, the board is too far away. Move the subject away from the window rather than opening the aperture, because a brighter window will blow out and drag your attention out of the frame.
Step 2: Use One Light for Side Lighting
Move indoors and place your single light about 45 degrees off the camera axis, slightly above eye level, roughly a metre and a half from the subject. Put the reflector opposite, angled at the shadow side. This is the most-repeated answer on photography forums for a reason: it is forgiving, fast and almost impossible to get wrong.
Check the shadow on the shadow-side cheek. A small loop that hangs off the side of the nose means you are there. If the light feels flat, walk the light a little further round toward profile and the loop grows; that is loop lighting, and it is the safest single-light look for most faces.
Control brightness with the shutter speed, not the aperture. Set an aperture wide enough for the depth of field you want, drop the ISO as low as the light allows, and then balance exposure on the shutter. Doubling the distance from the subject quarters the light on the face, so moving a step back is roughly a one-stop change and gives you a natural way to soften or tighten a setup.
Step 3: Create Butterfly Lighting
Raise the light directly above and slightly in front of the subject, close in, and tilt it down at about 45 degrees toward the face. The nose now throws a small symmetrical shadow onto the upper lip, which is the butterfly shape. Lower the reflector to just under the subject’s chin so the light bounces up and the shadow under the chin does not turn into a second dark band.
The shadow is the dial. Raise the light and it shrinks into a neat triangle; drop it and it stretches into a long shadow running down the cheek. When it starts reaching the corners of the mouth, you have gone too low.
Watch the eye sockets. A light that is too high and too close pushes them into shadow while the forehead and nose stay bright, which is why this setup flatters cheekbones and is less kind to deep-set eyes. It is the classic beauty and headshot pattern, and it needs a large, close source to stay soft.
Step 4: Make Rembrandt Lighting
Take the same light and move it up and further to the side, to roughly 60 to 75 degrees off the camera axis and well above eye level. The shadow from the nose now reaches the cheek, but a small triangle of light stays on that cheek. That triangle is the entire difference between Rembrandt and loop lighting, and once you can see it, you can place it by feel.
The reflector is your contrast control here. Hold it close to the shadow side and the triangle softens into a gentle low-key look. Move it away, or take it out entirely, and the ratio opens up into something moody and directional.
Rembrandt hides one eye on some faces, so angle the head a few degrees toward the light rather than straight at the camera. The triangle stays visible and the face gains dimension. This is the pattern to reach for when the brief says dramatic, editorial or moody, and the least forgiving one when the subject has very uneven skin texture.
Step 5: Combine Key, Fill, and Hair Lights
Once the one-light setups feel automatic, add a second and third source. The key light is the main light and sets the exposure. Place it at 45 degrees, slightly above eye level, and it stays your brightest source in the frame. The fill light goes on the opposite side, one stop under the key, or stays as a reflector. The rim or hair light sits behind and above the subject, aimed at the back of the head and shoulders, and draws a bright edge that lifts them off the background.
Set the fill first and the rim last, and keep the rim below the key. A rim brighter than the key is the most common beginner mistake in the whole discipline; the edge of the head becomes the brightest thing in the picture and the face goes muddy. If you cannot tell whether the rim is overcooked, dial it back one stop and look again.
You are finished when the subject separates cleanly from the background, both eyes still have detail, and the brightest part of the frame is the face. If the background is pulling attention, flag the light so it stops spilling backward, or push the subject a half step further from the wall.
How to Choose the Right Setup for the Portrait
Work through three questions in order. What light do I actually have, what mood does the portrait need, and what does this face do under contrast? If you answer those in that order you will never build a three-light setup for a job that a window could have done.
Facial structure is the variable beginners skip. A round face looks narrower under split or Rembrandt lighting, because the light falls away from the outer edge of the cheek. A square face with a strong jaw usually prefers broad lighting, where the lit side of the face is the side turned toward the camera, because the shadow softens the jawline. Older skin and visible texture want the softest, most frontal source you can manage.
Glasses are their own decision. Glare appears when the lens finds a reflection of the light source, so light the side of the face turned toward the camera and angle the glasses slightly instead of pushing them up the nose. If the glare returns, move the light further to the side or raise it before you start tilting the subject’s head.
Which Portrait Lighting Setups for Beginners Fit Your Situation?
- No equipment at all, today: window light with a white board. It teaches you to see direction and softness, which is the part most people never learn.
- Fastest possible session, one light: 45-degree key with a reflector fill. Corporate headshots and quick family sessions live here.
- Beauty or symmetry-led framing: butterfly lighting, with the reflector under the chin.
- Everyday flattering default: loop lighting, the small movement sideways from butterfly that suits the widest range of faces.
- Mood, character or editorial: Rembrandt lighting, reflector pulled back or removed.
- Texture, jawlines and round faces: split lighting, light at 90 degrees, no fill at all.
- Full control and separation: the three-light key, fill and rim setup, and nothing more until this one is boring.
Common Mistakes
Every one of these shows up repeatedly in portrait critique threads, and every one has a quick fix.
- The key light is dimmer than the rim. The brightest source defines the face. Bring the rim down until the face is brighter than the edge.
- The light sits too low. Anything at or below eye level throws long shadows down the face and deepens every line. Aim for a touch above the eyeline.
- Too much fill. Filling every shadow produces the flat, lifeless look beginners complain about most. Keep the fill a stop or more under the key, or take it away.
- The light is too close. Close means small, hard and hot, and a bare reflector held near the face will burn a visible hot spot onto the cheek. Step back and soften it.
- Mixed colour temperatures. Daylight through a window runs far cooler than a tungsten or flash head, and mixing both on the face gives you a blotchy colour split. Set a fixed white balance or gel to match the warmer source.
- Background spill. A light with nothing stopping it will spray the wall behind your subject. Use barn doors, a flag, or simply stand the subject further forward.
- Unweighted light stands. An umbrella on a bare stand is a loaded lever. Sandbag the base every time, cables running across the floor are a trip hazard too.
- Changing two things at once. Moving the subject and the light together teaches you nothing. Change one variable, take the shot, change the next.
- No negative fill. In a bright room everything is flat because nothing is being taken away. Hold a black card close to the shadow side and contrast appears for free.
Tips for Consistent Beginner Portraits
Meter the face, not the room. Spot meter the skin on the lit side and expose for it, then shoot RAW so you have room to lift the shadow side later. Whatever you do, keep the white balance fixed between shots or every frame will need a separate correction.
Check the catchlights before you shoot the sequence. They are the window into the face, and moving them means moving either the light, the subject, or the camera. Tilting the subject a few degrees toward the light is usually faster than moving the stand.
Write down what worked. A phone note with four words, window left, board right, one metre, f/4 1/125, turns a lucky frame into a repeatable setup. Consistent portraits come from repeating a position you already know works, not from improvising each time.
Feather the light. Aiming the centre of a softbox slightly past the subject, so the far edge of the modifier spills onto the background, gives you a graduated shadow transition across the face instead of a hard line. It is the single most useful trick once the basic setups are solid.
Frequently Asked Questions
What is the 3 lighting rule?
Three-point lighting uses three roles, not three brands of gear. The key light is the main source and the brightest thing on the face. The fill light lifts the shadows, usually a reflector or a source set one stop under the key. The rim or hair light sits behind the subject and separates them from the background.
What are 6 common portrait lighting patterns?
The six most common patterns are butterfly, loop, Rembrandt, split, broad and short. Butterfly comes from a high, centred light. Loop is butterfly moved slightly sideways. Rembrandt adds height and side angle until a triangle appears on the shadow cheek. Split puts the light at 90 degrees. Broad and short describe which side of the face the light favours.
Do I need a fill light for portraits?
No. A white reflector held close to the shadow-side does the same job as a fill light for most beginner work, and it costs almost nothing. Add a real fill light only when you are working with fast shutter speeds, shooting a subject who cannot hold a pose, or want the fill to sit at a specific angle the reflector cannot hold.
What is broad lighting vs short lighting?
Broad lighting lights the side of the face turned toward the camera, so the lit area appears wider and the shadow side recedes. Short lighting lights the side turned away, which makes the face look narrower. Short lighting is the safer default because it flatters almost everyone, and it is the one to use when the subject wears glasses.
How do I light a portrait with one light?
Place the light about 45 degrees off the camera axis and slightly above eye level, roughly a metre and a half from the subject, and put a white reflector opposite the shadow side. If the result looks flat, walk the light further toward profile until the nose shadow forms a small loop. That single move covers most of the setups beginners need.
What is the 20 60 20 rule in photography?
The 20 60 20 rule is a composition guideline about where attention goes: roughly 20 percent of the frame carries the main subject, 60 percent supports it, and 20 percent is breathing room. It is a framing rule rather than a lighting rule, but it pairs well with lighting because a controlled key light is what makes one part of the frame read as the subject.
Conclusion
Start with the window and a white board today. Tomorrow add one light at 45 degrees and learn to move it sideways until the loop appears, which is the single biggest jump in quality most beginners will make. Only after that does the third light earn its place.
Keep the key light the brightest thing in the frame, change one variable at a time, and write down the positions that worked. That habit alone will make your portraits look deliberate.