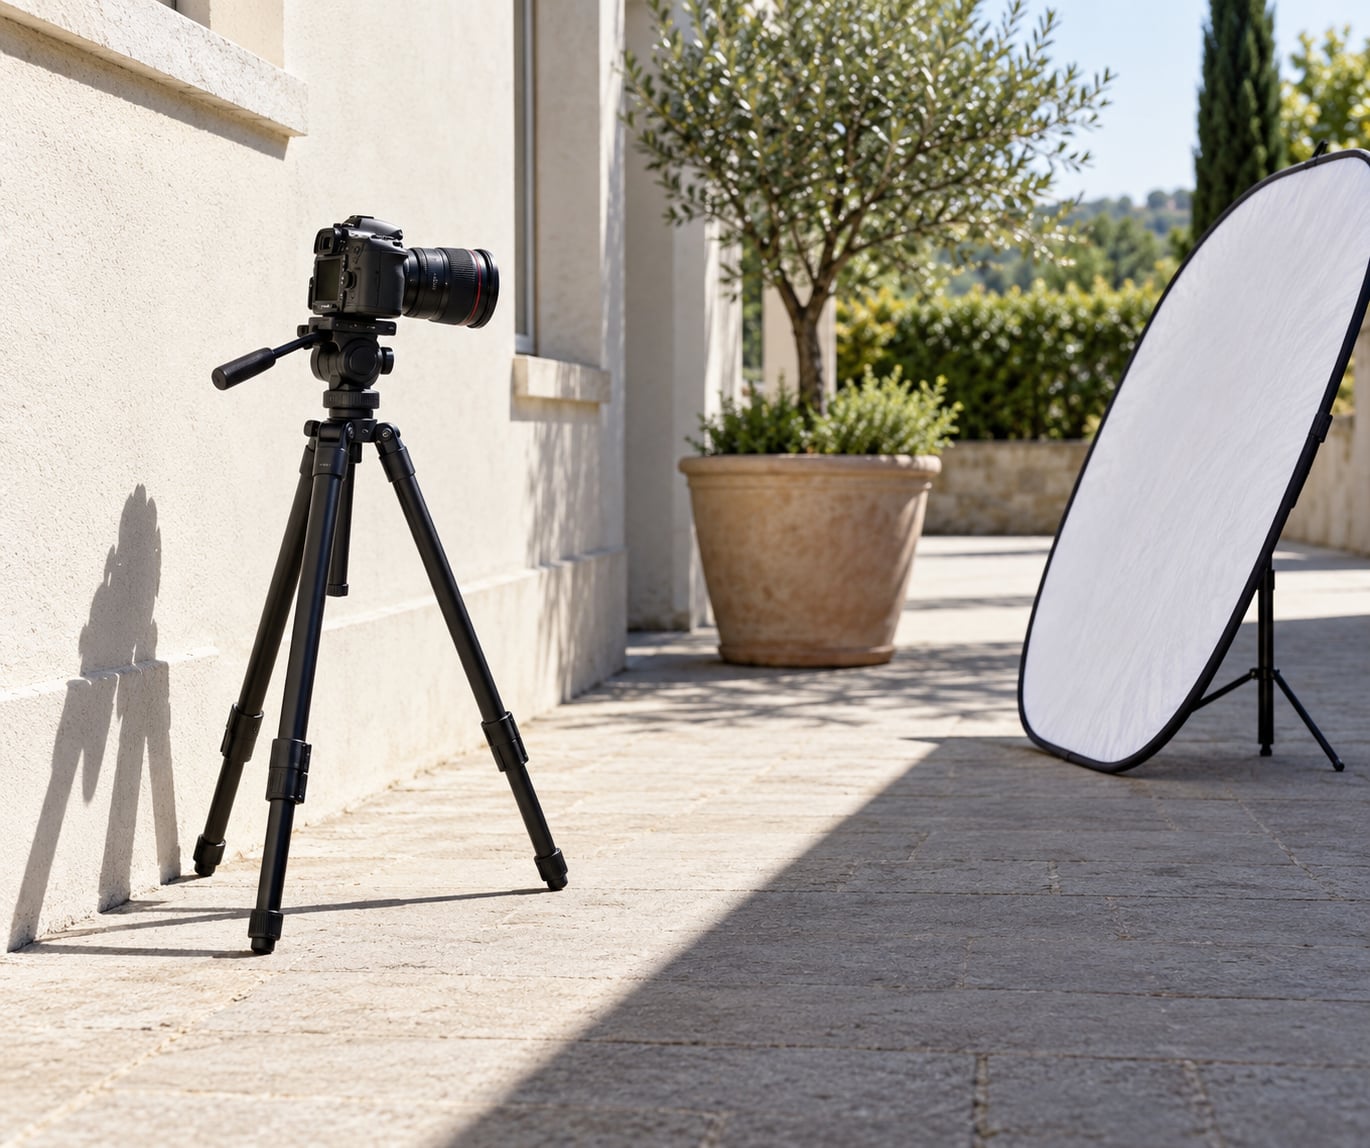
To shoot portraits in harsh midday sun, put your subject in open shade with the sun behind them, then meter for skin instead of background. That single move fixes most of what makes noon light look brutal: the dark sockets under the eyes, the squint, and the blown-out wall behind them.
Harsh light is direct, unfiltered sun falling from roughly 11am to 2pm, when the sun sits high and slightly in front of whoever you are photographing. It drops hard shadows under the brow, nose and chin, and the contrast range between sunlit skin and shadowed skin is far wider than any sensor can hold. You cannot fix that in the edit, because the pixels are gone.
Most of this takes under ten minutes of setup once you know where to look. What it needs is a plan for shade, a way to fill the shadow side, and settings that protect skin tone. You rarely get to pick the hour: weddings, reunions, graduations and client bookings all land at noon, so learning to work with hard light is a working necessity rather than a nice-to-have.
Table of Contents
What You Need
None of this is specialised kit. You can do the whole technique with a camera, a wall and a piece of white card.
- A camera with manual exposure. Any interchangeable-lens body, or a phone that lets you lock exposure and pull compensation down. Manual mode matters because the meter will fight you the whole time otherwise.
- A lens you can zoom. Wide focal lengths earn their keep here. Shooting at 35mm and stepping back turns ugly overhead shadows into one element of a larger scene instead of a close-up of a nose shadow.
- Something that blocks or softens light. A 5-in-1 reflector, a collapsible reflector, a white poster board from a stationery shop, or a large umbrella. All of these sit in the same category: they change the size of your light source.
- Something that stands in for a softbox. Open shade counts, and so does a north-facing wall, a deep doorway, a car park under a building, or a room with a window. If you are shooting alone, choose gear you can hold with one hand.
- A sun-position app on your phone. Before you start, check where the sun will be in thirty minutes. A shadow that looks generous at 12:10 is a puddle of dappled light at 12:40.
- Water, a hat, and a hand towel. Heat is a production problem, not a detail. A miserable subject gives you a tight, stiff expression no lighting trick rescues.
Step-by-Step
1. Find the Best Shade Before the Shoot
Open shade is shade with no direct sun on the subject and a wide, even spread of light across the face. The sun is somewhere off to one side or above, and the brightest thing in frame is the ground or a wall, never the skin itself. That is the light you are looking for.
Face the sun when you arrive and walk to the north side of the building, the tree line, or the structure. The photographer’s version of the shade-line test: note where the edge of the shadow falls now, then add thirty minutes and check whether your subject will still be inside it. Deep shade under a dense canopy is worse than no shade at all, because it is uneven and it throws a green bounce onto skin.
Good midday shade has soft edges and no second set of shadows. A building’s north wall, an awning, a colonnade, or the flat span of a bridge over a path all work. Dappled tree shade does not, unless you are hunting for a spot where the leaf pattern falls on the background and not the face.
2. Turn the Subject Away from the Sun
Ask them to look down, find their own shadow, then turn their face toward it. That is the shadow trick photographers repeat in every forum thread about noon light, and it takes about four seconds to explain.
With the sun behind them you get a rim of light along the hair and shoulders, no squint, and a face lit by bounce rather than by direct sun. The trade is the background: shoot toward the sun and the background goes bright, which is often fine for a head-and-shoulders frame with a shallow depth of field.
Small moves are enough. Rotate the subject thirty degrees so the sun sits behind one shoulder rather than dead centre, and they keep their eyes open. If the sun is still crossing their face, wait two minutes and try again. The angle changes fast at midday, and that is a good thing.
3. Use the Shade as a Giant Softbox
Treat open shade as an enormous softbox rather than as absence of light. Its size is what makes skin look smooth, and you cannot buy that softness with a flash head. Move the subject closer to whatever is creating the shade and the light gets a little softer still; step three metres out and the wall goes back to being a hard light source.
Portraits made on a shaded street look completely different from portraits made in the same street at 3pm, and the shade is the entire reason. Watch for a second set of shadows, though: a subject standing in open shade with a half-lit face beside them will show both, and it looks like a mistake.
If there is no shade anywhere, a room with one large window is the backup plan. Turn off every other light in the building, put your subject two metres back from the glass, and shoot with the window on one side only. Mixed light sources are what produce the colour problems people complain about, not the window itself.
4. Control Contrast with Reflectors and Fill
A reflector bounces the sun or the bright ground back into the shadow side of the face, cutting contrast without adding a light you have to power. Hold a white or silver panel at torso or chin height, just outside the shadow, angled to catch light from the sun side. That position, not a flat panel held straight in front, is what makes it work.
Leave it out when the light is already even. Filling every shadow in open shade produces a flat, shadowless face that reads as lifeless, and it throws away the shape that made the frame interesting. Bring the reflector in when the shadow under the jaw is darker than the lit cheek by more than about a stop.
Know where a reflector stops helping. On a large group, a single panel cannot cover everyone, and against a white wall or a pale dress the bounce has nothing to bounce off and the background stays brighter than the faces. That limitation comes up constantly in photographer forums, and it is the honest limit of the technique. For big groups you need scrims, umbrellas, or shade, not a bigger reflector.
Cheap substitutes work: a white poster board, a bedsheet on a broomstick, the white side of a parked van. Keep shiny silver surfaces angled away from the subject’s eyes, and never bounce the midday sun straight back at someone holding still for you.
5. Expose for the Brightest Part of the Face
Meter the skin, not the scene. Highlight-weighted metering or a spot reading on the brightest cheek area is the right instinct, and pulling exposure down by a third to two-thirds of a stop protects skin tone from looking bleached. Watch the highlight warning in the viewfinder and the blinkies in live view; if skin starts blinking, you are clipping and no amount of recovery in post will bring texture back.
| Setting | Starting point in full midday sun | Reason |
|---|---|---|
| File format | RAW | Holds the most room for highlight recovery in post |
| Aperture | f/2.8 to f/4 | Soft background in abundant light, without starving the shutter speed |
| Shutter speed | 1/1000 s or faster | Freezes blinking and small movement, and keeps the option of adding flash |
| ISO | ISO 100 to 200 | Daylight is bright enough that anything higher is buying noise you do not need |
| Metering | Highlight-weighted, or spot on the brightest cheek | Stops skin highlights from clipping when the background is far brighter |
| Exposure compensation | -1/3 to -2/3 EV | Keeps skin tones from going washed out or orange |
| White balance | Daylight, or Shade and Cloudy to hold warmth back | Direct sun skin reads too warm on most cameras |
The sunny 16 rule fits here as a starting point, not a rule. Sunny 16 means setting the shutter to 1 divided by the ISO, then opening the aperture to the corresponding f-number, which lands you close to a correct exposure in full sun. Useful for a first frame, useless once the subject is in shade, because shade needs several stops more light than the meter assumes.
6. Watch Skin Tone, Highlights, and Squinting
Squinting is a light problem, not a directing problem. The fix is to change what the eyes are facing, not to ask people to relax. Turn the head away from the sun, tilt it very slightly up so the brow stops shading the eyes, or position yourself lower so you are shooting up into a face that is already turned away.
Check skin between frames. When forehead highlights start to look flat and papery, drop another third of a stop and let the background go bright. Bright background with good skin almost always beats good background with dead skin, and you can crop the frame afterwards.
Heat works against you quietly. Photograph people in short bursts of a few minutes, give them water between setups, and put the waiting time in the shade. Hair that has collapsed with sweat will not photograph well no matter what the reflector is doing.
7. Make the Look Intentional
Once the sun is behind the subject and the face is clean, the hard light becomes an asset. A rim along the hair, a hard-edged shadow thrown across a wall, or a silhouette with a bright background are all stronger images than a soft, evenly lit frame, because they look chosen.
Go wide when the environment is worth having. Shooting at 24mm or 35mm from further back puts the harsh shadow patterns into a scene rather than filling the frame with them, and the same harshness reads as graphic design rather than as a problem.
Black and white is worth trying when the contrast still feels extreme after the fill, because it removes skin colour distractions and lets the shapes do the work. Convert a copy rather than the original, and judge it at normal size before you commit.
Common Mistakes
Most ruined midday portraits come from one of seven habits, and every one of them has a quick fix.
- The reflector is lying on the ground. A panel flat at your feet reflects ground light, not light from above, so the face stays dark. Hold it at chest or chin height, just outside the shadow edge.
- You exposed for the background. A wall at noon is far brighter than a face. Meter the skin, underexpose a third of a stop, and let the background blow out or crop it out.
- You waited in deep tree shade. Dense shade gives you uneven light and a green colour cast from bounce. Move to the edge of the canopy, or bring white card into frame to keep the green out of the fill.
- The silver side is pointed at the subject. Midday bounce off polished silver is genuinely painful at eye level. Use the white side, or turn the panel.
- You expect a speedlight to beat the sun. Direct sun is roughly equivalent to flash at 1/8 power and above, and the balance shifts through the day. Below that, a flash adds nothing but a flat, artificial-looking face. Turn it off and fill with reflector instead, or use it at high-power as a rim light with a darker background.
- You set up at the edge of the shade and stay there. The shade line moves several feet in twenty minutes. Re-check it before each setup, and photograph the difficult frames first while everyone is fresh.
- You use one reflector for eight people. Reflectors do not scale. For groups, bring the subject into shade, or place scrims and umbrellas across the group rather than trying to fill from one position.
Two smaller habits help more than any gadget. Shoot RAW so the skin highlights you protected still have somewhere to go in post, and check the result at full size on the back of the camera rather than on a three-inch screen.
Frequently Asked Questions
What camera settings should I use for shooting in the midday sun?
Start at ISO 100, f/2.8 to f/4, and 1/1000 s or faster, shoot RAW, and pull exposure compensation down by one-third to two-thirds of a stop. Use highlight-weighted metering or spot-meter the brightest cheek area so skin does not clip. The fast shutter also leaves room to add fill flash without worrying about motion blur.
Can you use flash in bright sunlight outdoors?
Only in specific ways. Direct midday sun is roughly equal to flash at 1/8 power and above, so ordinary fill flash adds a flat, artificial face next to very bright ambient light. It works as a rim or hair light against a darker background, or as a genuine light source in open shade where ambient light is low. In full sun, a reflector is almost always the better tool.
How do you keep subjects from squinting?
Change the angle rather than the direction. Turn the head so the sun sits behind the shoulder, raise the chin very slightly so the brow stops shading the eyes, and shoot from a lower position. Short shooting bursts help too, since blinking and heat fatigue both build up. If they still cannot open their eyes, back off and use a longer focal length rather than pushing them.
Is open shade good for portraits?
Open shade is the best light available at midday. It is broad, soft, even light, which is exactly what skin needs, and it does not require a single piece of equipment. Judge it by the edges: soft edges and no second set of shadows means good open shade, while deep, dappled shade under trees gives uneven light and a green colour cast.
Should I shoot harsh light portraits in black and white?
It is a reasonable option, not a fix. Black and white removes skin colour distractions, so extreme contrast and shiny highlights matter less, and hard shadow patterns often look stronger as shapes. Shoot RAW in colour, then convert a copy and compare it with the colour version at full size. If the face still looks harsh in monochrome, the light placement is the problem.
How do you fix overexposed photos taken in bright sun?
If the skin clipped in the file, texture is unrecoverable and no slider brings it back, so pull highlights down and see what you have left. If the highlights held, dropping exposure and whites in the edit recovers most of it. A graduated filter or a darker crop of the background often finishes the frame, since blown skin in a sharp face is the only unrepairable case.
Start with the shade, not the camera. Walk to the north side of the nearest building, check where the shadow edge will be in thirty minutes, turn the subject so the sun is behind them, and set ISO 100 at f/2.8 and 1/1000 with compensation down a third of a stop. Everything else in this guide is refinement on top of that first move.