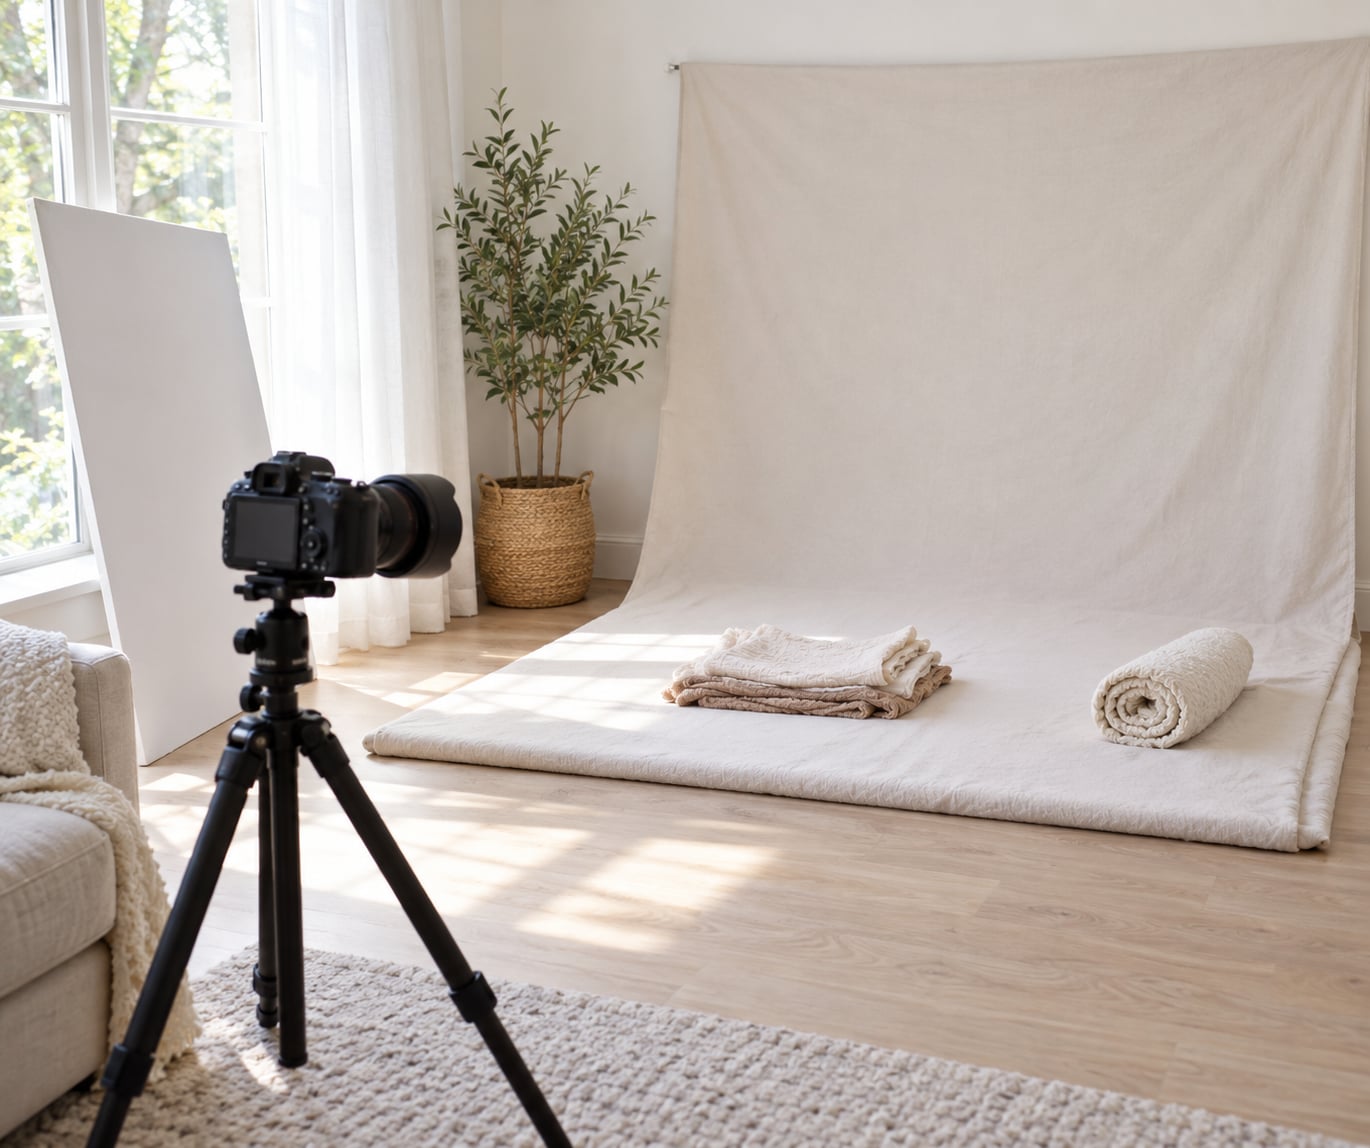
To photograph newborns safely at home, work on a firm flat surface, keep one hand on your baby’s head and neck at all times, and shoot in short bursts while your baby is calm and warm. You do not need a studio, a backdrop, or a list of fancy poses. A window, a plain sheet, and a swaddled baby on the floor are enough.
Most parents who try this say the same thing: the photographs are less about the shot list and more about the setup. Clear the space first, keep the session short, and let the baby’s comfort decide how far you get. Everything below follows that approach.
Table of Contents
What You Need for How to Photograph Newborns Safely at Home
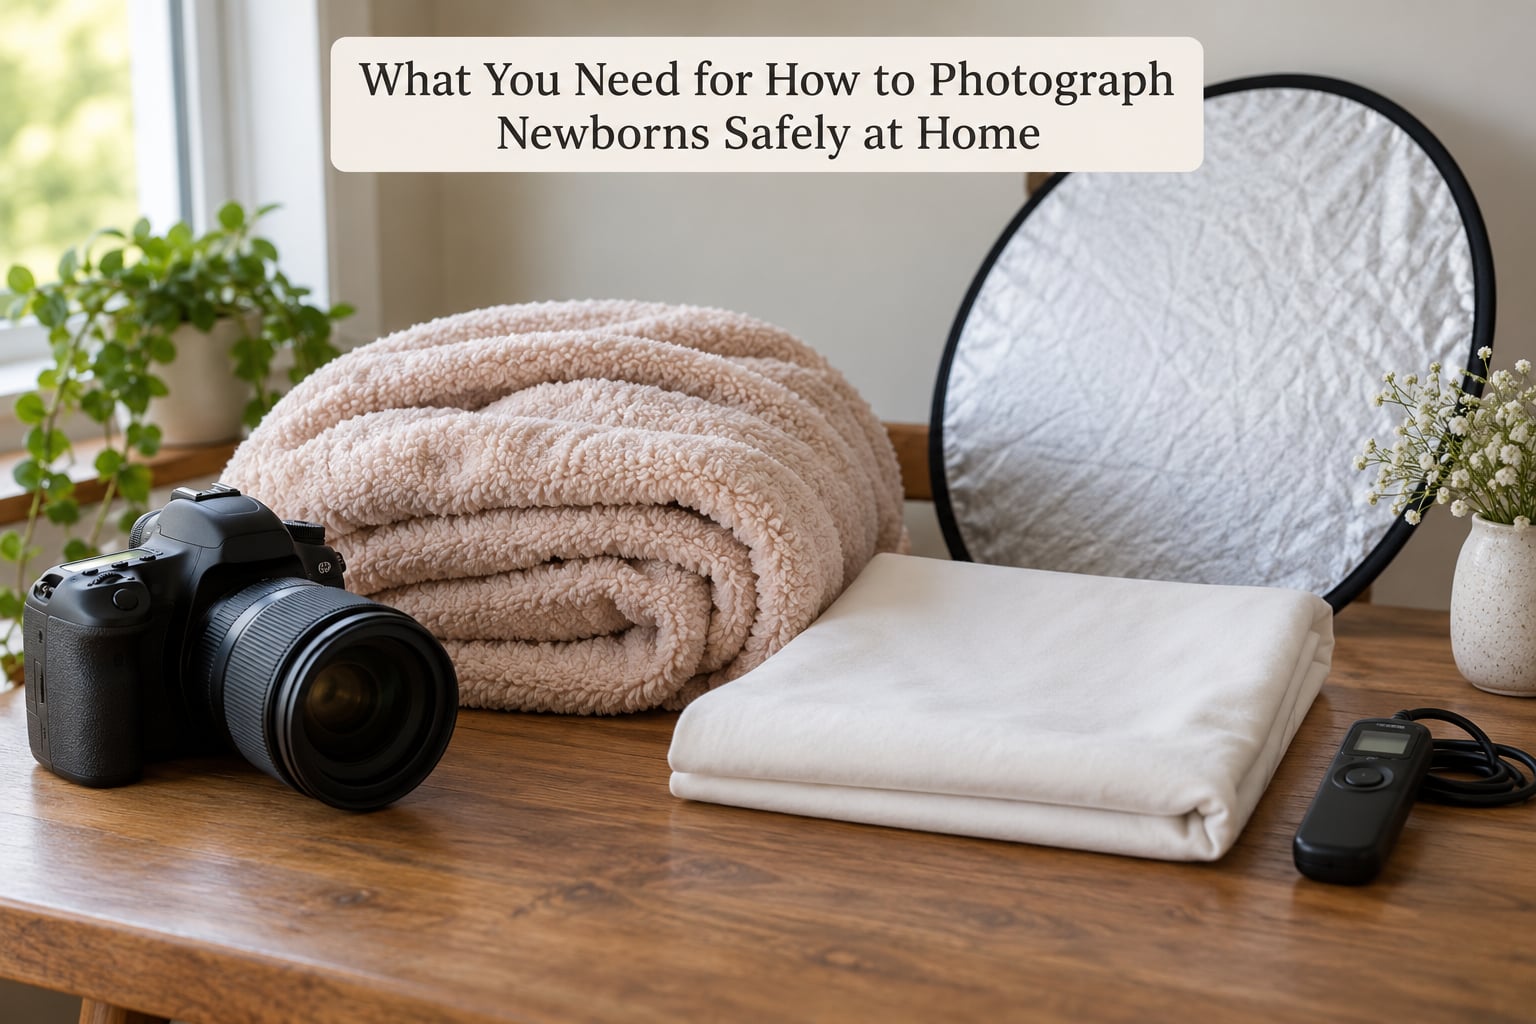
A short list is enough, because what you need here is safe and simple rather than extensive. Most parents already own every item.
- A camera or a phone. Either works. A phone held in one hand while the other hand stays on your baby is fine for the first few frames.
- A firm, flat surface. A foam floor mat, a clean countertop, a table, or a sheet of plywood covered with a plain sheet. A bed, a couch, a beanbag, or a nest of blankets does not qualify.
- A plain backdrop. A smooth sheet or a rolled paper backdrop pinned to a wall behind the surface, in a single neutral colour.
- A white reflector. A sheet of foam board, a piece of white poster board, or even a white bedsheet held up by a helper fills the shadow side.
- Wraps and blankets. One or two soft muslin wraps and a small rolled blanket edge to support the head.
- A tripod and a timer or remote. Needed only if you are shooting alone. They free your hands to stay on the baby.
- A second adult if you have one. Not as a photographer. As a spotter whose only job is to keep a hand on the baby.
Room conditions matter as much as equipment. Warm the room before you bring the baby in, since newborns lose heat quickly and cannot shiver reliably. Turn off overhead lights, keep pets and siblings out of the room during setup, and move anything with a cord, string, loop, or small detachable part well away from the surface.
What you do not need matters just as much. Skip the pose boards, the wooden bowls, the flower crowns, the string lights, the baskets with loose fabric, and the headbands with ties. Skip the plan for a three-hour shoot. Those props and that length are where home newborn photography stops being safe and starts being a production.
Step-by-Step: How to Photograph Newborns Safely at Home
1. Prepare a Safe, Comfortable Space
Pick one room and one corner of it, then work there for the whole session. Changing rooms mid-shoot is how cables get stepped over and how babies end up on a surface nobody checked.
Clear a patch of floor about four feet wide. Move lamp cords, chargers, houseplants, and anything with a sharp edge. Push furniture back so you can move around the surface without looking down at your feet. Lay your backdrop flat or smooth, then check that nothing loose is within reach of the baby.
Warm the room to the point where an adult feels comfortably warm in a t-shirt, then wait 20 minutes before bringing the baby in. Babies cool down slowly, and a room that felt fine to you will not feel the same to a three-day-old.
One distinction worth stating clearly: this surface is a photoshoot surface, not a sleep surface. Pediatric safe-sleep guidance puts babies on their backs, on a firm flat mattress with nothing else in the cot or bassinet. A posing blanket on the floor, no matter how neat it looks, is not a place to leave a sleeping baby, and you should not get used to the idea of the two being the same thing.
2. Keep the Newborn Warm and Comfortable
Your baby is on the surface for a few minutes at a time, not for the whole session. Everything else in this step follows from that.
Before you start, check how the baby is dressed. One layer more than you would pick for yourself is usually right. Skin should feel normal, not flushed or damp. If your baby is sweating, has damp hair, or looks flushed pink, move the baby off the surface, remove a layer, and cool the room before trying again.
Time the session around feeding and sleep. Newborns in their first two or three weeks sleep most of the day, which is exactly why this age is the easiest to photograph, and the reason parents ask whether two weeks is too late. It is not too late, but it is the calmest window you will get. Shoot roughly an hour after a feed, before the next one is due.
Check the baby’s colour and temperature between every few frames. Pale, blotchy, mottled, or unusually warm skin, or a baby who is arching and will not settle between breaks, all mean stop now. Photographing an unwell baby is not worth the pictures, and if anything about your baby concerns you before or after a session, that is a conversation for your pediatrician, not for a camera manual.
3. Choose Simple, Supported Poses
Newborns have no head control. Their neck muscles cannot hold their own heads up, and their bodies cannot support any weight on their hands. Every safe pose is built on that fact, which means the shot list you can safely shoot yourself is short.
- Swaddled and side-lying on the surface. The easiest and safest starting pose. The wrap does the supporting, your lower hand rests against the baby, and the head sits on the rolled blanket edge.
- Curled on the back. Baby on their back, legs tucked to one side, arms folded. Shoot from above with your hand resting lightly on the hip or the wrap.
- Seated with full support. Baby sitting between your legs, your hands around the chest and the back of the head. Only when the baby is genuinely calm and holding their own head.
- Wrapped and held. Some of the best frames are simply your baby in your arms against the window. A hand under the head and neck, full stop.
Skip the advanced head-and-hand poses, the standing poses, the hanging basket, and anything that puts a baby on their stomach without your hand under the chest. Those poses are genuinely for trained, insured photographers with a second person assisting, and most of them are also a fall risk even for professionals.
4. Use Soft Natural Light
One window is the whole lighting plan. Put the surface perpendicular to the window, or slightly angled, so the light falls across the baby from the side and gives you a soft shadow to lift with the reflector.
Never put the baby in direct sun. Direct sun through a window is hot enough to raise a baby’s temperature and far too contrasty for a newborn’s skin, and it makes the shutter speed guesses wildly. Choose a window that gets bright, indirect light instead, and turn off every overhead light in the room.
Fill the shadow side with the white reflector, held by your helper or propped on a chair. Nothing else is needed. If the window is small, move the whole setup closer rather than turning lights on.
As for flash, you can leave it off. Newborns squint and flinch at a sudden bright light, direct flash on a newborn’s eyes produces an ugly red reflection that will not process out, and continuous flash drains the battery. If a room is genuinely too dark, bounce a flash off a wall or white sheet instead of pointing it at the baby.
5. Set the Camera for Gentle Portrait Shots
Start in aperture priority or manual exposure, whichever your camera makes easy. The goal is a soft background and a shutter speed fast enough to freeze small movements, because newborns are never fully still.
- Aperture: f/2.8 to f/4. Wide enough for a soft background, wide enough that the whole face is inside the sharp zone even when the baby shifts.
- Shutter speed: 1/160 second or faster. Go to 1/250 if the baby is squirming or you are shooting in a dim room.
- ISO: 400 to 800 in a normal living room, higher if you have to. Modern cameras handle 1600 without a problem.
- White balance: Daylight or Cloudy, not Auto. Auto drifts warm when you shoot RAW and you end up correcting every frame later.
- Format: RAW, so exposure mistakes are recoverable.
- Focus: Continuous autofocus with a single point, or back-button focus if your camera has it. Single autofocus is fine if you are working with a tripod and the baby is settled.
- Drive mode: Low-speed continuous, three to five frames at a time.
If you are shooting alone, set up a tripod, frame the shot, and use a two-second timer or a wireless remote. That gives you a steady camera and two free hands, which is the whole reason solo shooting works at all. Getting into position for each frame by hand is how babies end up unsupported.
6. Take Short Bursts and Check Frequently
Shoot in bursts of five to eight frames, then stop and look. Check that the eyes are sharp and open, that the focus landed on the near eye, and that the whites are not blown out. Most newborn portraits need the exposure pulled back slightly, by about a third of a stop, because bright skin and white blankets read as blown highlights.
Change one thing at a time: a small rotation of the head, a hand moved a centimetre, a fold in the wrap pulled straight. Working in small moves is what keeps the session calm, because each reset takes seconds instead of minutes.
Give the baby a break every few minutes. Feed, change a position, change a layer if they are warm, and let them settle again. A baby who has cried hard for ten minutes will not give you better frames by being photographed longer.
Keep siblings and pets out of the immediate shooting area. If you want them in the photographs, have another adult hold the sibling while you work, with one hand on the baby. Never let an older child be the spotter, and never put a pet’s paw, leash, or collar near the baby or the posing surface.
7. End the Session Safely
Stop when the baby tires, not when you finish the shot list. When you call it, say it out loud so a helper understands.
Return your baby to a caregiver’s arms or to a safe cot on their back before you put the camera down. Never carry a baby while looking through a viewfinder, and never step away from the surface with the baby still on it, even for a second to fetch something.
Check skin colour and warmth once more, and look for any marks on the cheek, the hip, or the arm where the wrap or the edge of the surface pressed. A temporary mark is worth mentioning to your pediatrician if it does not fade within an hour.
Then clean up slowly. The urgency has left the room, so take the surface down, wash the wraps, and put the room back. Stacking your gear while tired is how a tripod ends up across a doorway.
Common Mistakes
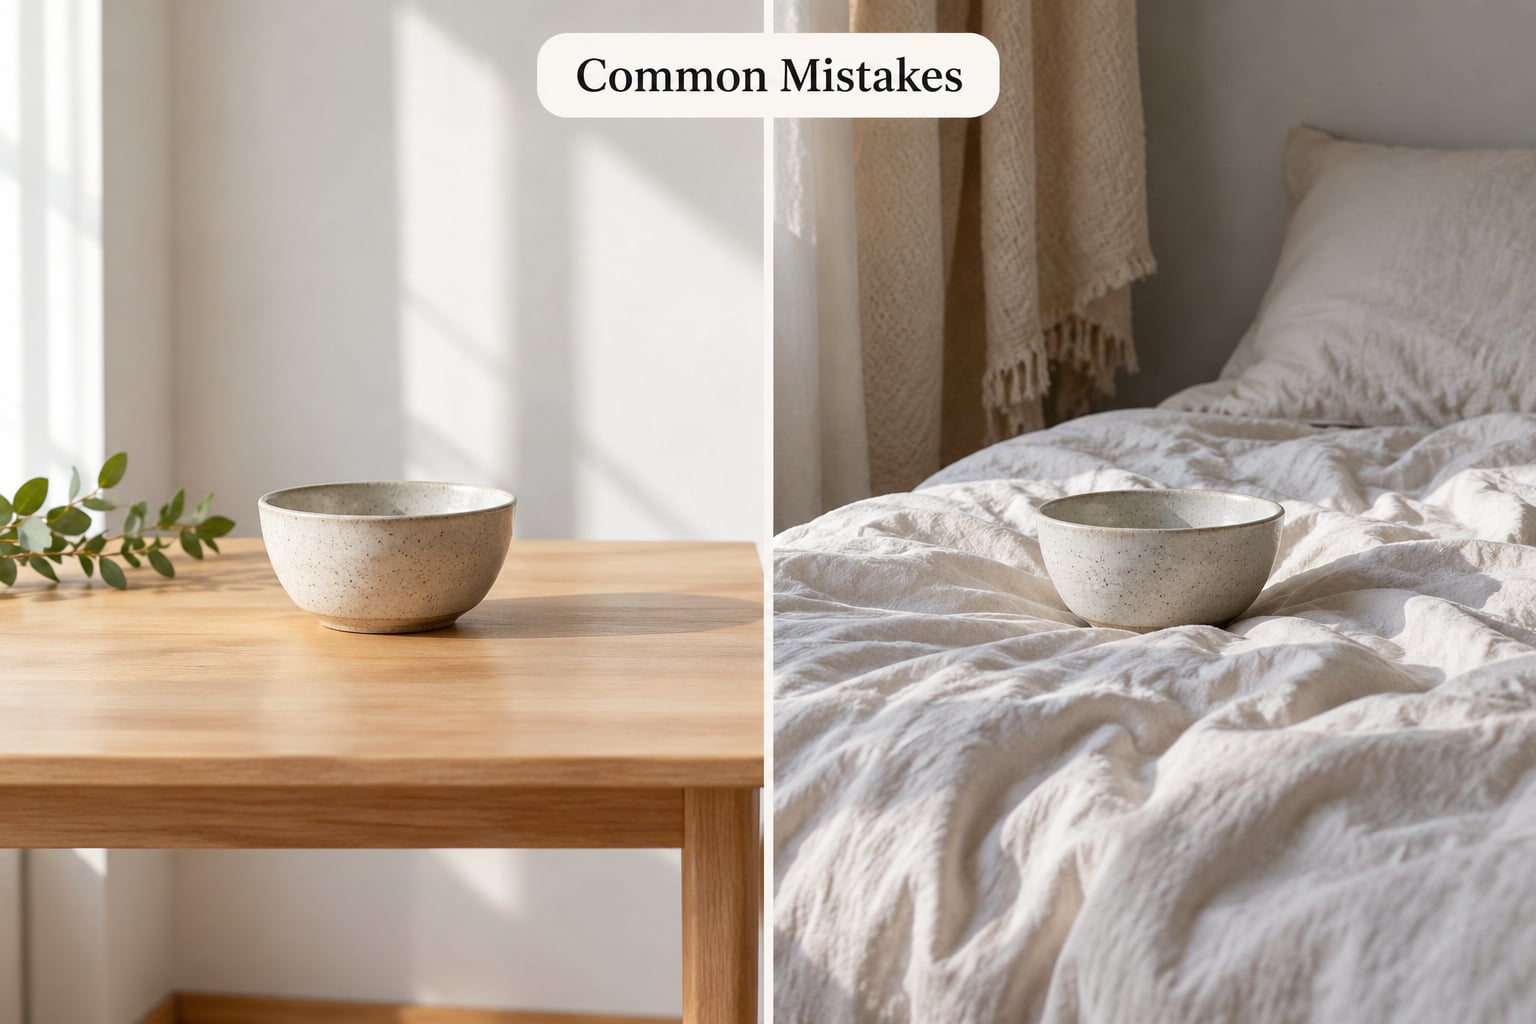
These are the mistakes that show up again and again in home newborn photographs, and most of them are safety problems rather than picture problems.
- Photographing on a bed or a couch. Soft, uneven surfaces let a newborn sink, roll, and slump the head. It is the most common setup and the one most worth changing. Use a firm flat mat, countertop, or table instead.
- Treating a photoshoot surface like a sleeping spot. Poses look sleepy, and sleepy leads to parents leaving the baby where they are. Safe-sleep guidance is about a firm flat mattress with nothing else in it, in a clear space, on the back. A blanket floor setup is not that, even for a moment.
- Unsupported poses. Any frame where the head is held up by a prop, a wrap fold, or nothing at all. If your hand is not there, it is not safe.
- Loose blankets piled around the baby. Fabric around a newborn’s face is the risk that worries parents most, and rightly. Wraps go under the baby and around the body, never over the head.
- Hanging props and fabric in frame. String lights, floral hoops, drapes, and ribbons read as strangulation hazards in a photo, and they are one. If it hangs, it is not near the baby.
- Flash pointed at the face. Harsh, unnecessary, and it bothers the baby. Use the window.
- A warm bath to settle the baby. Very common in portrait setups, and a real risk because newborns cannot reliably regulate temperature in water. A feed, a clean nappy, and a warm room work better.
- Shooting alone without a tripod and timer. One hand is not enough for the baby and the camera. Set up a tripod, or get another adult.
- Overworking a fussy baby. If the crying is not settling with a break, the session is over. That is not a failure and it is not a lost window.
- Comparing the results with a professional set. A styled studio frame with fabric, baskets, and a posed body is a different job done by trained hands. You are making the same photographs your family will keep, in your own home, on a day you were both there for.
Frequently Asked Questions
How soon after birth can I photograph my newborn at home?
Wait until both you and your baby are ready, usually in the first two to three weeks after birth. Newborns sleep most of the day in that period, which makes posing far easier than it will be later. Ask your pediatrician first if the birth was complicated, and skip the session entirely if your baby is feverish, jaundiced, or unusually fussy.
Is it safe to use flash when photographing a newborn at home?
You can use flash, but you rarely need to. Direct flash pointed at a newborn’s eyes gives a harsh reflection and red-eye, and babies squint and flinch at sudden bright light. Use the light coming through the window instead, switch off the built-in flash, and bounce or diffuse any flash off a wall or white sheet. Continuous flash also drains the battery quickly.
Should I swaddle my baby for newborn photographs?
A loose swaddle gives you the easiest safe pose: the baby stays on their side or back, curled, with the head supported by a rolled blanket edge. Keep the wrap loose around the hips, never pin or tuck it tightly, and stop if your baby kicks free or shows signs of overheating. Many families get better results by skipping the swaddle and using a wrap only to support the head.
How long should a newborn photo session at home last?
Plan for 20 to 45 minutes of actual photography, in short bursts of five minutes or less, with breaks for feeding, warmth, and a change of position. Total time in the room runs longer because of setup and settling, but your baby should be on the posing surface only a few minutes at a time. If the baby tires before you get the shots, you already have enough.
When should I stop photographing or seek medical advice?
Stop the moment your baby cries hard enough to change colour, goes pale or blotchy, sweats, feels hot to the touch, or will not settle between breaks. Also stop if the wrap or the surface leaves a mark on a cheek or limb. Talk to your pediatrician before any session if your baby has a fever, feeding problems, jaundice, or a difficult delivery, and raise any concern afterwards.
Conclusion
Start with the safest first step, which is the setup rather than the shot list. Warm one room, lay out a firm flat surface beside a window, clear everything with a cord or a loop out of reach, and have a hand ready to stay on your baby’s head and neck. From there, shoot a few supported poses in short bursts, stop when the baby stops enjoying it, and leave the advanced poses to a trained professional. The photographs you will actually keep are the ones your baby was calm for.