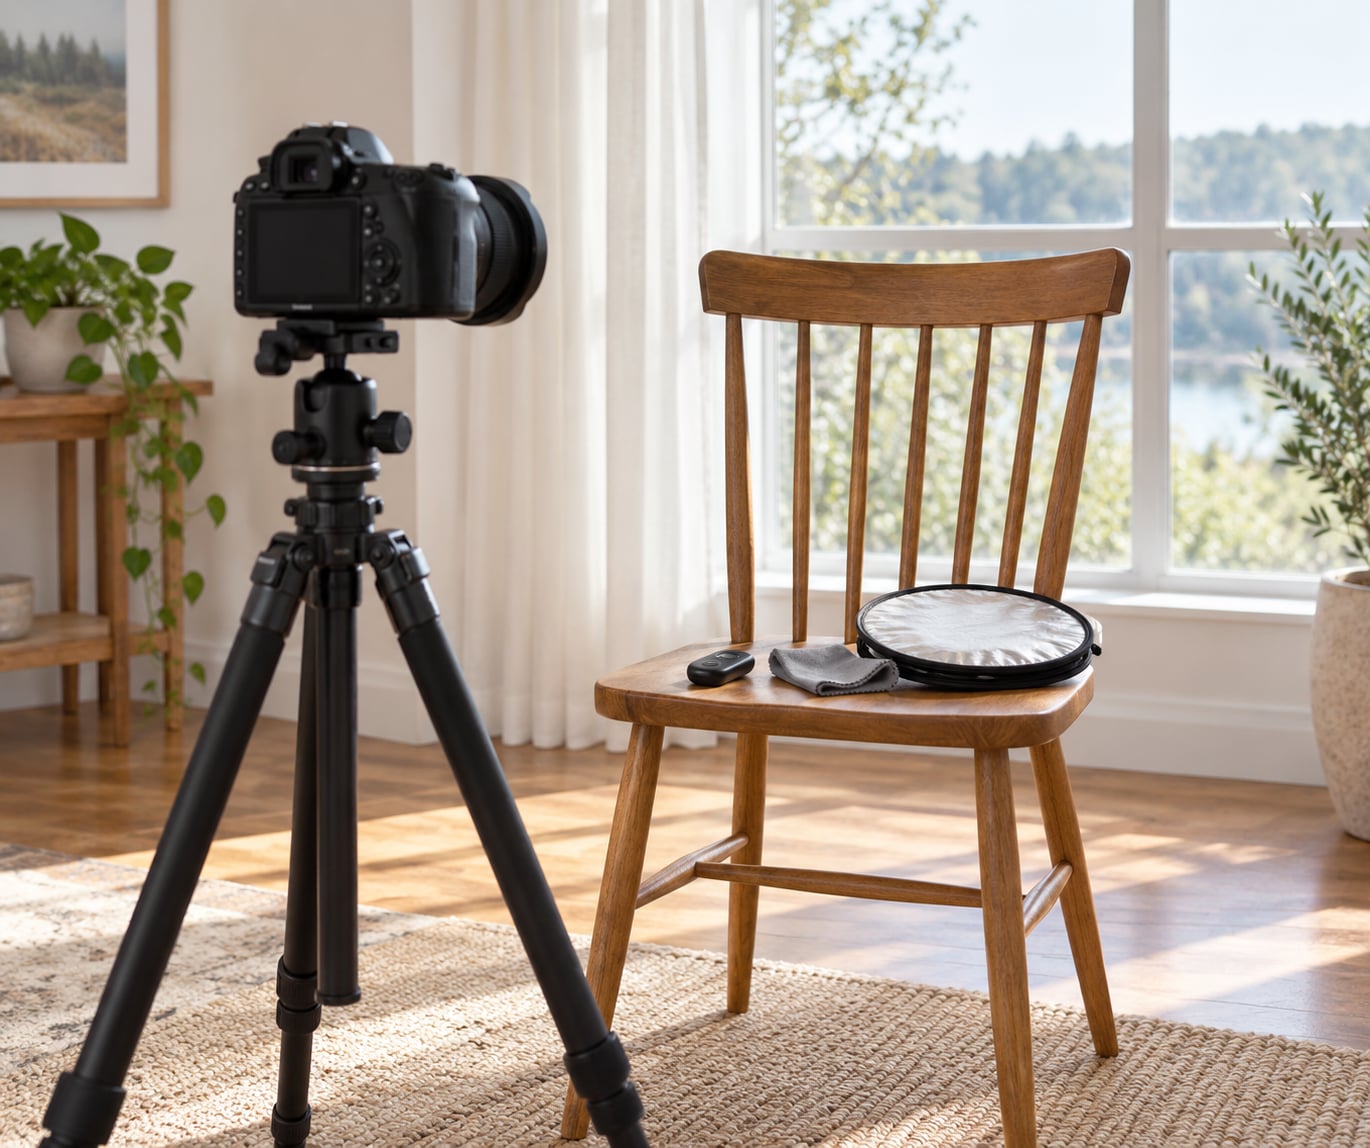
To take self portraits with a tripod, mount the camera at about belly-button to chin height, focus on a placeholder object sitting where you will stand, switch the lens to manual so it cannot hunt back to the background, then release the shutter with a 10-second self-timer, a wireless remote, or an interval timer. Once that is set, most of the work is deciding where to stand and how to fill the frame.
The whole method exists to solve two problems. A tripod removes camera shake, and a locked focus point removes the guessing that comes from having nobody behind the lens to focus for you. Get those two right and the rest is framing, light, and not flinching when a jogger passes.
A full session takes about 20 minutes once you have done it a few times, and the physical difficulty is low. The fiddly part is the walk back into frame, which is why the trigger method matters more than most guides admit.
Table of Contents
- What You Need
- Step-by-Step: How to Take Self Portraits with a Tripod
- Common Mistakes
- Frequently Asked Questions
- Can I take a self portrait with a tripod without a remote?
- What is the best focus mode for tripod self portraits?
- How long should I set the timer on my camera?
- Should I use live view or the viewfinder when framing a self portrait?
- How do I prevent my tripod from moving during the exposure?
- Can I use a phone to control my camera while taking self portraits?
- Conclusion
What You Need
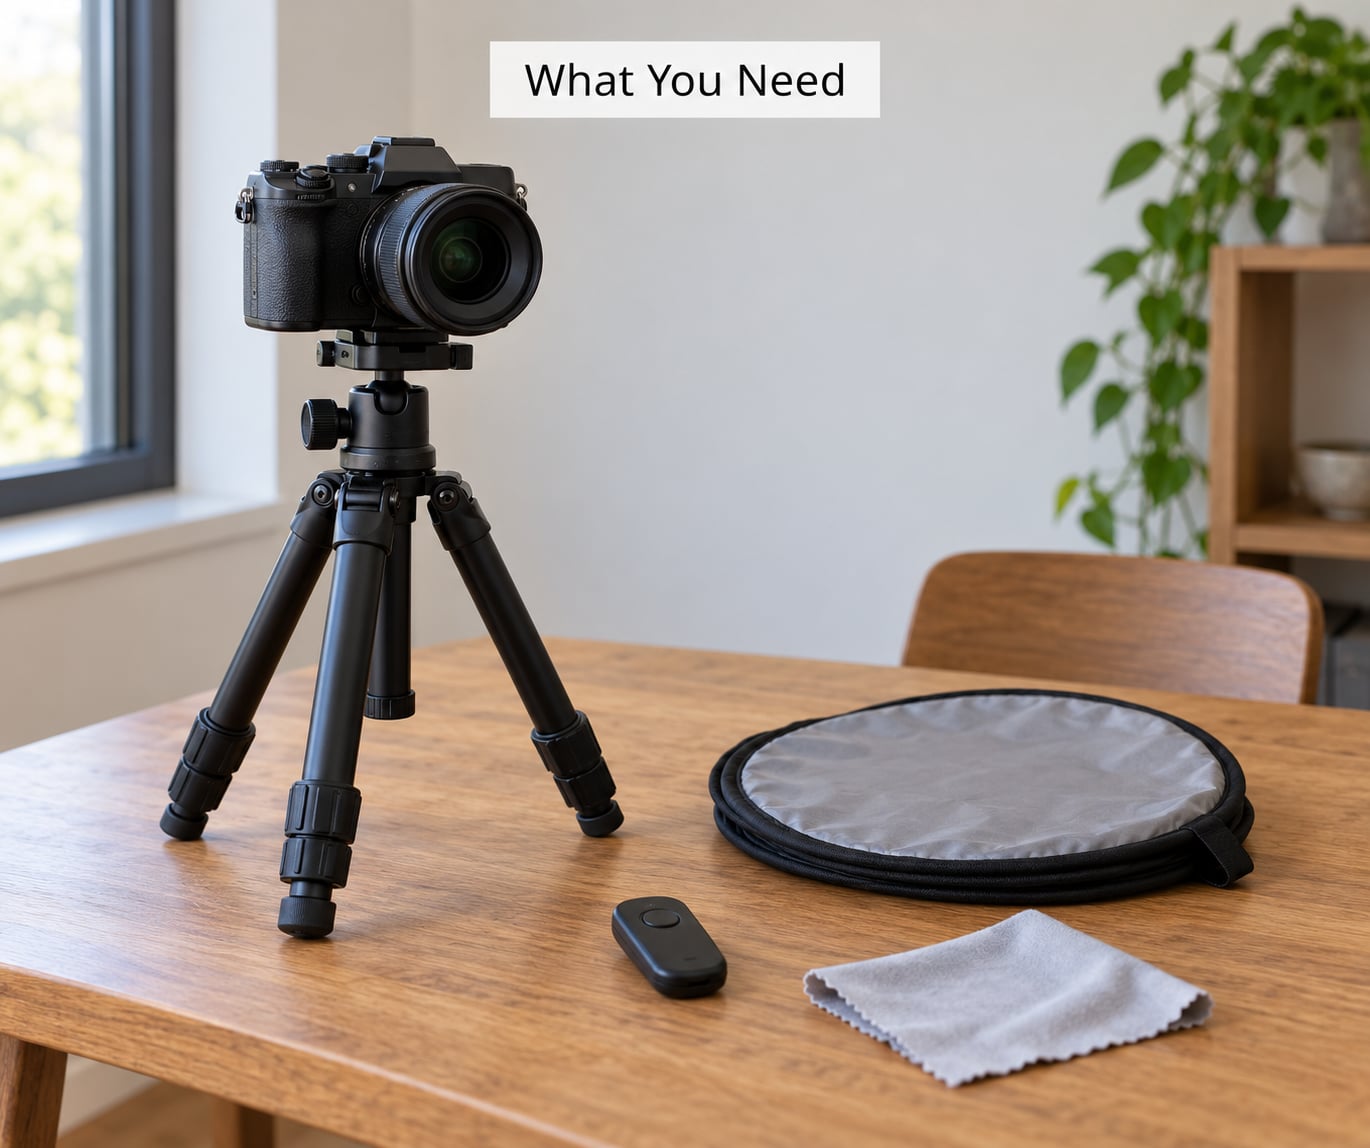
A tripod, a way to fire the shutter without touching the camera, and something to focus on. That is the whole kit, and the three items are genuinely essential rather than nice to have.
- A tripod that is tall enough. Travel tripods often top out around five feet, which is too short for anyone over six feet. Before a session, open the legs and raise the centre column, then check whether the camera ends up near your face height or well below it. A tripod that cannot get high enough is a real limit, not a small inconvenience.
- A trigger. The built-in self-timer needs nothing extra, so start there. A Bluetooth remote costs little, sits in your palm, and lets you take a frame without holding your arm out.
- A placeholder object. A chair, a bag, a jacket over a stand, or even a water bottle on the ground. It only has to occupy roughly the spot your face will fill.
- A light source, optional. A window works, as does a reflector or a small LED panel. You need one more than you might expect, because a tripod does nothing for bad light.
- A soft cloth, optional. Fingerprints on the front element cost you more frames than anything else in this guide.
If you are working from a phone, a small clamp tripod plus the phone’s own timer covers the whole setup. If you are on a mirrorless or DSLR body, a ball head makes framing adjustments far quicker than a pan-tilt head once you are out of the tripod.
Step-by-Step: How to Take Self Portraits with a Tripod
1. Prepare the Camera and Tripod
Mount the camera, spread the legs, and level the head before anything else. On uneven ground the bubble level or the camera’s own level indicator is worth using, because a tilted horizon is obvious in every frame and hard to fix later.
Wind the legs out fully, then push in on each joint with some weight. If a leg creeps under pressure, tighten it. Wipe the front element, switch to single shot drive mode so you are not firing a burst into your own face, and turn off anything that adds a second exposure like auto bracketing.
Now test the stability. Push firmly on the top of the camera with a firm shove and watch the viewfinder. If the image shifts, the legs are loose or the ground is soft, and a soft patch of lawn will sink a few millimetres under a full-length tripod.
2. Frame the Portrait Before Stepping Into Position
Compose the shot while you are still standing behind the camera. This is where the tripod earns its keep, because the frame stays exactly as you left it after you walk away.
Turn on the grid lines and place yourself on a third-line intersection rather than dead centre. Aim for a little room above your head and, if the shot is full length, below your feet. For a head-and-shoulders frame, put your eyes on the upper third.
Mark the spot with a piece of tape, a small stone, or the placeholder object itself. Live view or a companion app on your phone makes this much easier, since you can see the frame from ground level instead of crouching behind the viewfinder. A photographer on the dpreview.com forums autofocuses on the tripod head itself when their body will sit roughly the same distance from the lens, which saves a step.
3. Set Focus and Exposure
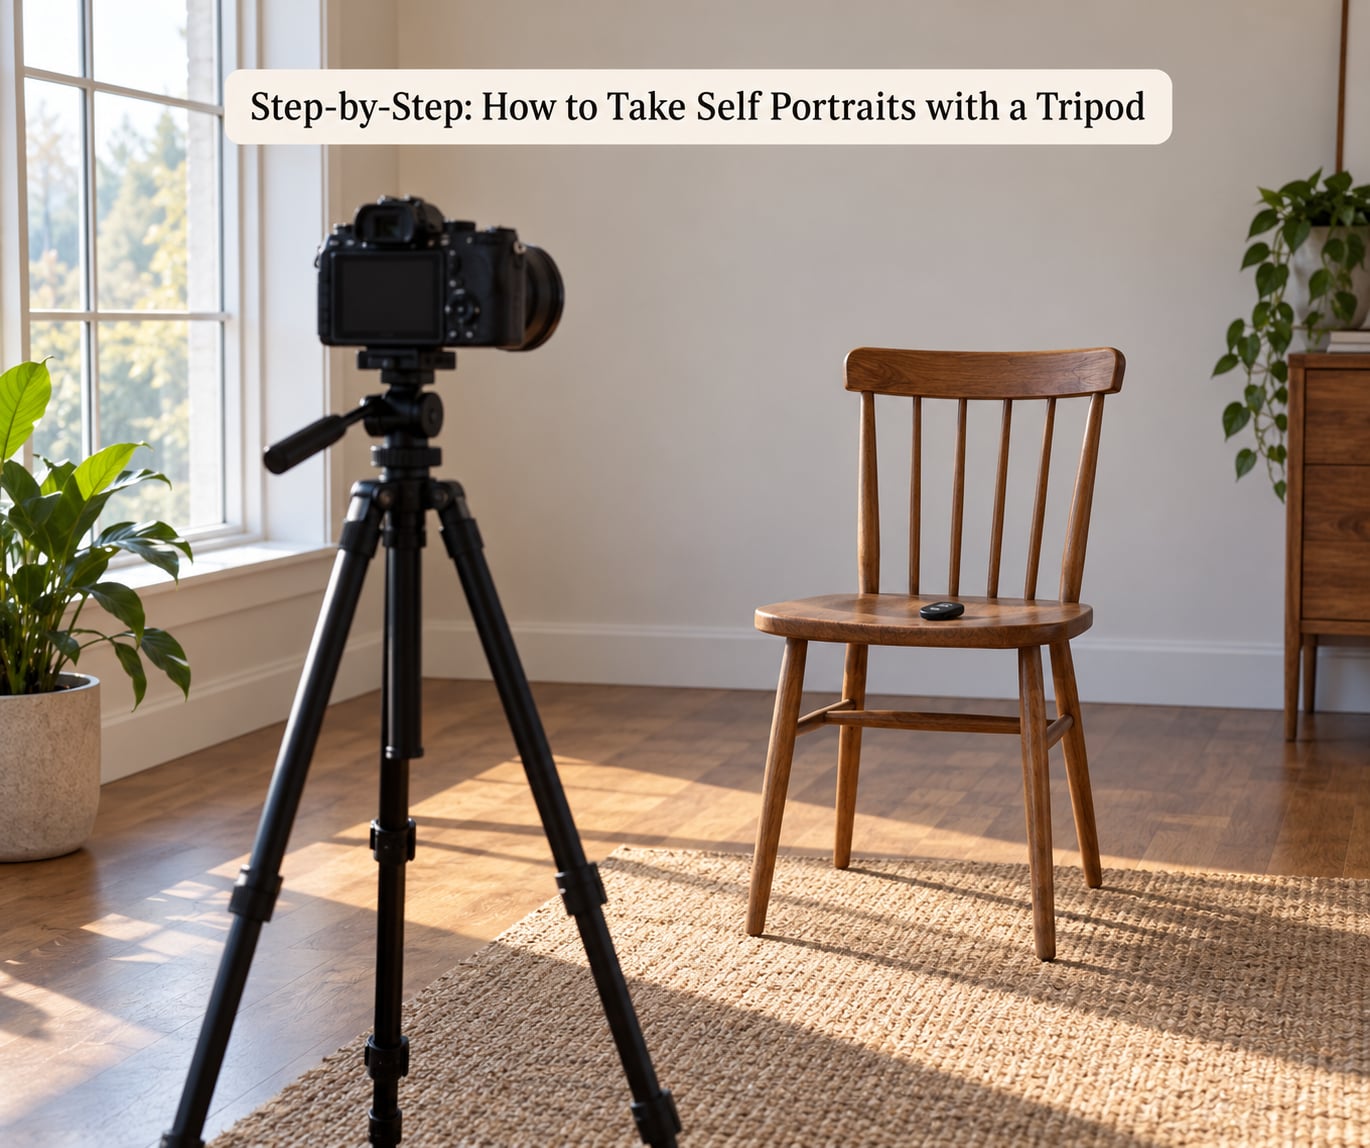
Focus on the placeholder, then switch the lens to manual. That is the single most repeated piece of advice across photography forums, and it is the one step that fixes the most frames. On photo.stackexchange the standard method is to place a dummy object where you will stand, start the timer, then run in and replace the dummy with yourself.
On a camera with a physical AF/MF switch this takes a second. On a mirrorless body you may have to hold a button to override autofocus, which can be awkward with one hand, so check it once before you set the camera down.
Back-button autofocus is worth using even for this. It is the habit photographers on r/photography push hard, and it separates focusing from the shutter button so a nudge does not trigger a frame mid-adjustment. Face detect and eye autofocus can work if your camera holds focus on an empty mark, but behaviour varies by model, so test it rather than trusting it.
For exposure, an aperture around f/4 to f/5.6 gives you a sharp face with some background separation, and most people who open up wider regret it as soon as they lean toward the camera. In bright daylight, start near 1/250 s and ISO 100. In shade or indoors near a window, drop to 1/125 s and raise ISO as needed, then check a test frame at full size before committing to a pose.
4. Use a Timer, Remote, or App to Release the Shutter
The 10-second self-timer is the right default. It gives you time to walk into position and settle your hands before the shutter fires, and every camera has it. The 2-second timer exists for shooting alongside someone else and is too short for solo work unless you already know your mark to the centimetre.
A Bluetooth remote removes the scramble entirely: you press the button once the pose is right, so a frame is never wasted on arriving. The catch is hiding it. Turn the camera, tuck the remote into a back pocket, or hold it in the hand nearest the frame edge, and check the first few frames at full size.
An interval timer fires repeated shots on a schedule, so you can try several poses while the camera keeps working. That is its real advantage, and it is why people who shoot outfit posts move to it. It costs nothing on most cameras via an intervalometer function, or a small app on some models. One candid warning from the intervalometer.app guide is worth repeating: autofocus behaviour during interval shooting is camera-dependent, so manual focus is the reliable path.
Whichever you choose, the walk-in is where soft frames come from. Take two or three normal steps, pause, settle your shoulders, breathe out, and only then trigger. That pause does more for sharpness than any shutter speed setting.
5. Make Several Varied Portraits
Keep the setup fixed and change one thing at a time. Move a step closer, turn your shoulders instead of your whole body, look past the lens for one frame, then change the crop tighter. Changing everything at once means you cannot tell which change helped.
Review at 100 percent rather than on the camera screen, which lies about sharpness on most bodies. The face is the first place to look; if the eyes are soft, the frame is not usable no matter how good the light was.
On a tripod you can afford long exposures, so one set worth trying is a slower shutter with a small movement: a turn of the head, or a shift across the frame. It adds a few frames to the session and gives you something the ten-shot run of near-identical poses cannot.
Common Mistakes
Out of focus is a focus error and it looks crisp at the edges, just wrong where your face should be. The cause is almost always autofocus returning to the background after you stepped in. Fix: focus on the placeholder, switch to manual, and confirm with a test frame before you commit to a pose.
Blurry is movement, and it looks soft everywhere. Even a solid tripod does not help if you shift weight during a slow shutter, or if the centre column is extended. Fix: retake the legs fully, shorten the centre column if you can, keep the mirror-up or electronic shutter behaviour in mind, and hold still for the exposure.
A dark face with a bright background means the meter exposed for the sky. Turn your body toward the light rather than standing with your back to it, or meter off your face with a spare exposure and lock it in manual.
Cropped head or feet usually means the frame was composed from a crouch. Step back, reframe, and check the edges on live view before you leave the camera alone. Leave a thumb-width of space above your head.
Missing the timer happens when the countdown begins while you are still walking. Trigger the timer from where you are standing rather than from behind the camera, or use the remote.
A stiff expression is a posing problem, not a camera problem. Scout spots with few passers-by, have two or three go-to positions ready, and treat the first ten frames as a warm-up. The frame you were worried about is usually the 24th.
Two more worth carrying with you: clean the front element before each session, and level the tripod on uneven ground. Most soft, dark or crooked self portraits come down to one of those two.
Frequently Asked Questions
Can I take a self portrait with a tripod without a remote?
Yes, and for most people the built-in self-timer is the better starting point because it needs no extra gear and no pairing. Set the drive mode to a single shot with a 10-second self-timer, focus on a placeholder, and trigger it before you walk into position. The ten seconds is what lets you settle your hands before the shutter fires. A remote only becomes worth it when you are reshooting the same pose repeatedly.
What is the best focus mode for tripod self portraits?
Manual focus, set on a placeholder object placed where your face will be. Autofocus cannot lock onto a person who is not yet in the frame, so it hunts back to the background the moment you step in. Back-button autofocus is a good habit to build if your camera has it, but the manual switch is the part that makes tripod self portraits reliable.
How long should I set the timer on my camera?
Ten seconds for solo tripod work. That is long enough to walk into position, plant your feet and settle your shoulders before the shutter fires. The two-second timer is for group shots where you are standing next to someone, and it is too short to run to a mark from the camera. If you are using a remote, the timer length barely matters.
Should I use live view or the viewfinder when framing a self portrait?
Use live view, or a companion app on your phone. It shows the frame at arm’s length, so you can compose the shot without crouching behind the camera each time you check. Turn on the grid lines while you are there and place yourself on a third-line intersection. The optical viewfinder is fine for the final check, but it is a poor tool for adjusting a frame you are about to walk away from.
How do I prevent my tripod from moving during the exposure?
Spread the legs fully, push weight onto each joint to check for creep, and retake them if the ground is soft, since turf or soil sinks under a full-length tripod. Extend the centre column only as a last resort, because it adds shake. On uneven ground, level the head before the shot. A firm push on top of the camera that moves the viewfinder means the setup is not ready yet.
Can I use a phone to control my camera while taking self portraits?
Yes. Most cameras now pair with a phone app that can fire the shutter or start interval shooting, and phones with a clamp tripod can run the whole session on their own timer. A caution from the intervalometer.app guide applies here too: autofocus behaviour during interval or remote shooting varies by model, so switch to manual focus on a placeholder before you start. Test the pairing before you rely on it in the field.
Conclusion
Start with three things at your next session and nothing else. Set the camera at belly-button to chin height, focus on a placeholder and switch to manual, then fire a 10-second self-timer and walk in with a two-second pause before the shutter.
Once those three are automatic, the improvements come from the unglamorous parts: levelling the tripod, cleaning the lens, and shooting twenty frames instead of five. That is also the honest answer to how to take self portraits with a tripod. The gear list is short, and the technique is what carries the picture.