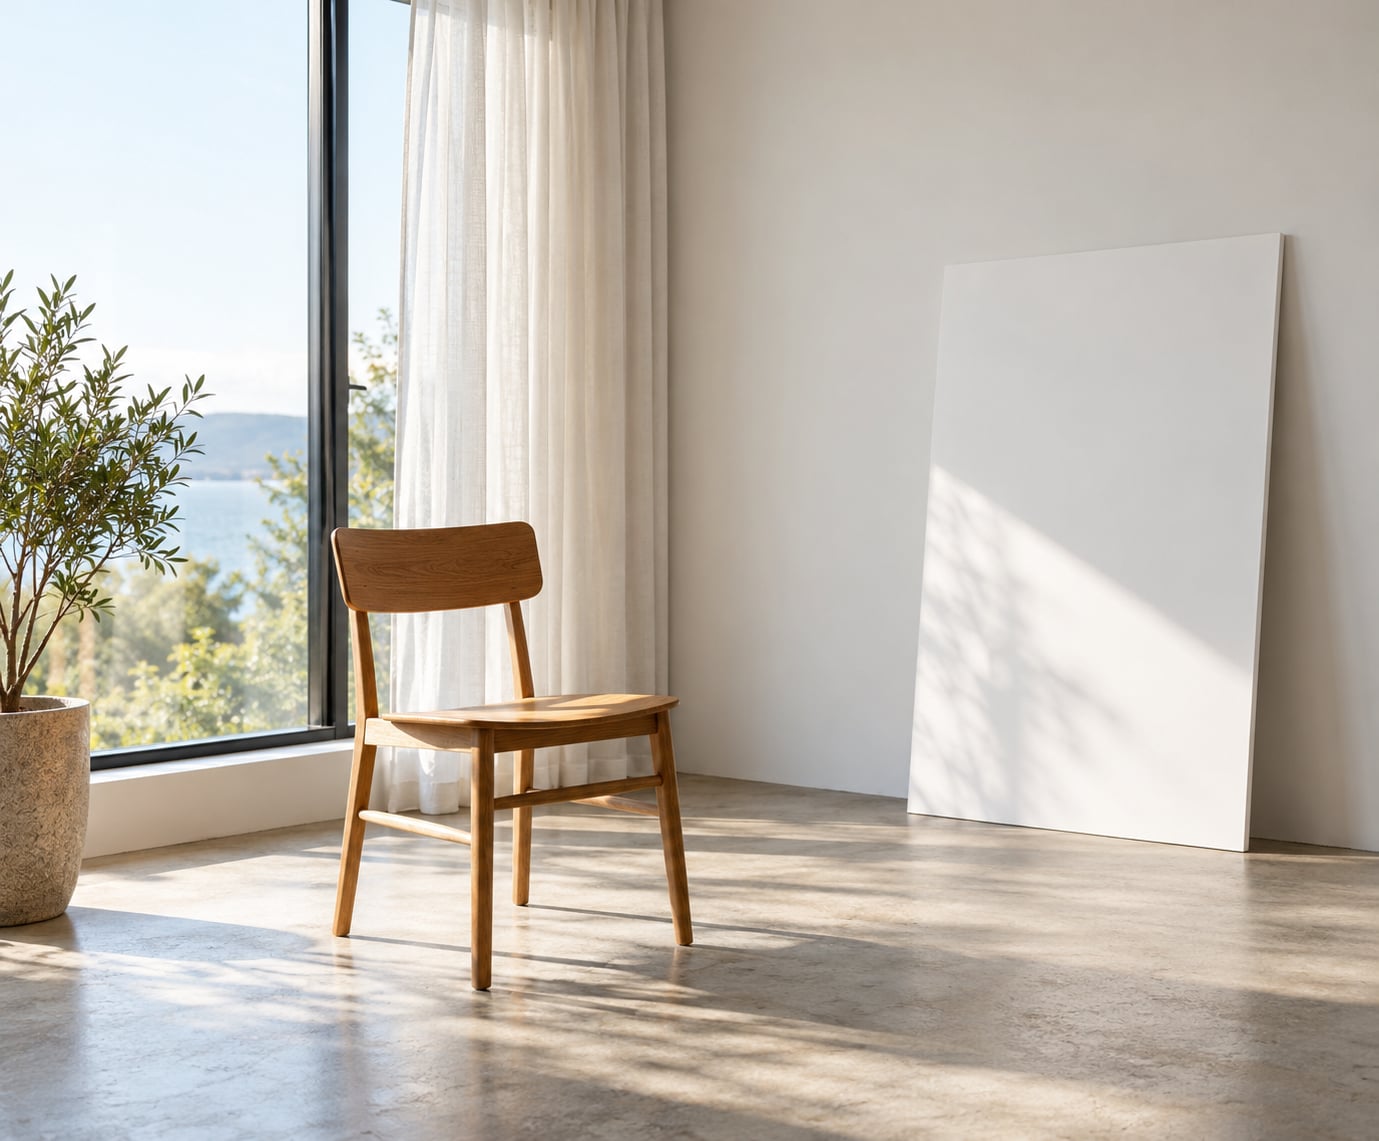
Learning how to take portraits with natural light indoors comes down to four decisions: which window you use, where the subject stands relative to it, what fills the shadows, and how you expose. Get those right and you have the setup of a studio lighting rig, for free. The whole thing takes about 20 minutes to set up, and most of that is moving a chair.
The window is a very large soft light source. It wraps around a face instead of hammering it, which is why window light portrait photography flatters skin in a way on-camera flash never does. The catch is that you cannot move the window, so you move the person and the camera.
Here is the workflow I use, followed by the problems that trip up beginners and how to fix each one.
Table of Contents
- What You Need
- Step-by-Step: How to Take Portraits with Natural Light Indoors
- 1. Find the Best Window and Time of Day
- 2. Turn Off or Control Competing Light
- 3. Position Your Subject Near the Window at 45 Degrees
- 4. Use the Window as Your Main Light
- 5. Set Exposure Without Losing the Face in Natural Light
- 6. Focus on the Nearest Eye
- 7. Direct the Portrait, Not Just the Pose
- 8. Make Small Adjustments and Check the Result
- Common Mistakes
- Frequently Asked Questions
- Conclusion
What You Need
The honest answer is that you need a camera and a person to photograph. Everything else is optional, and the version below is what I actually use for portrait photography at home sessions.
- A camera with any kit lens. A 35mm or 50mm works in almost any room. An 85mm is nicer, but only if you have space to stand back.
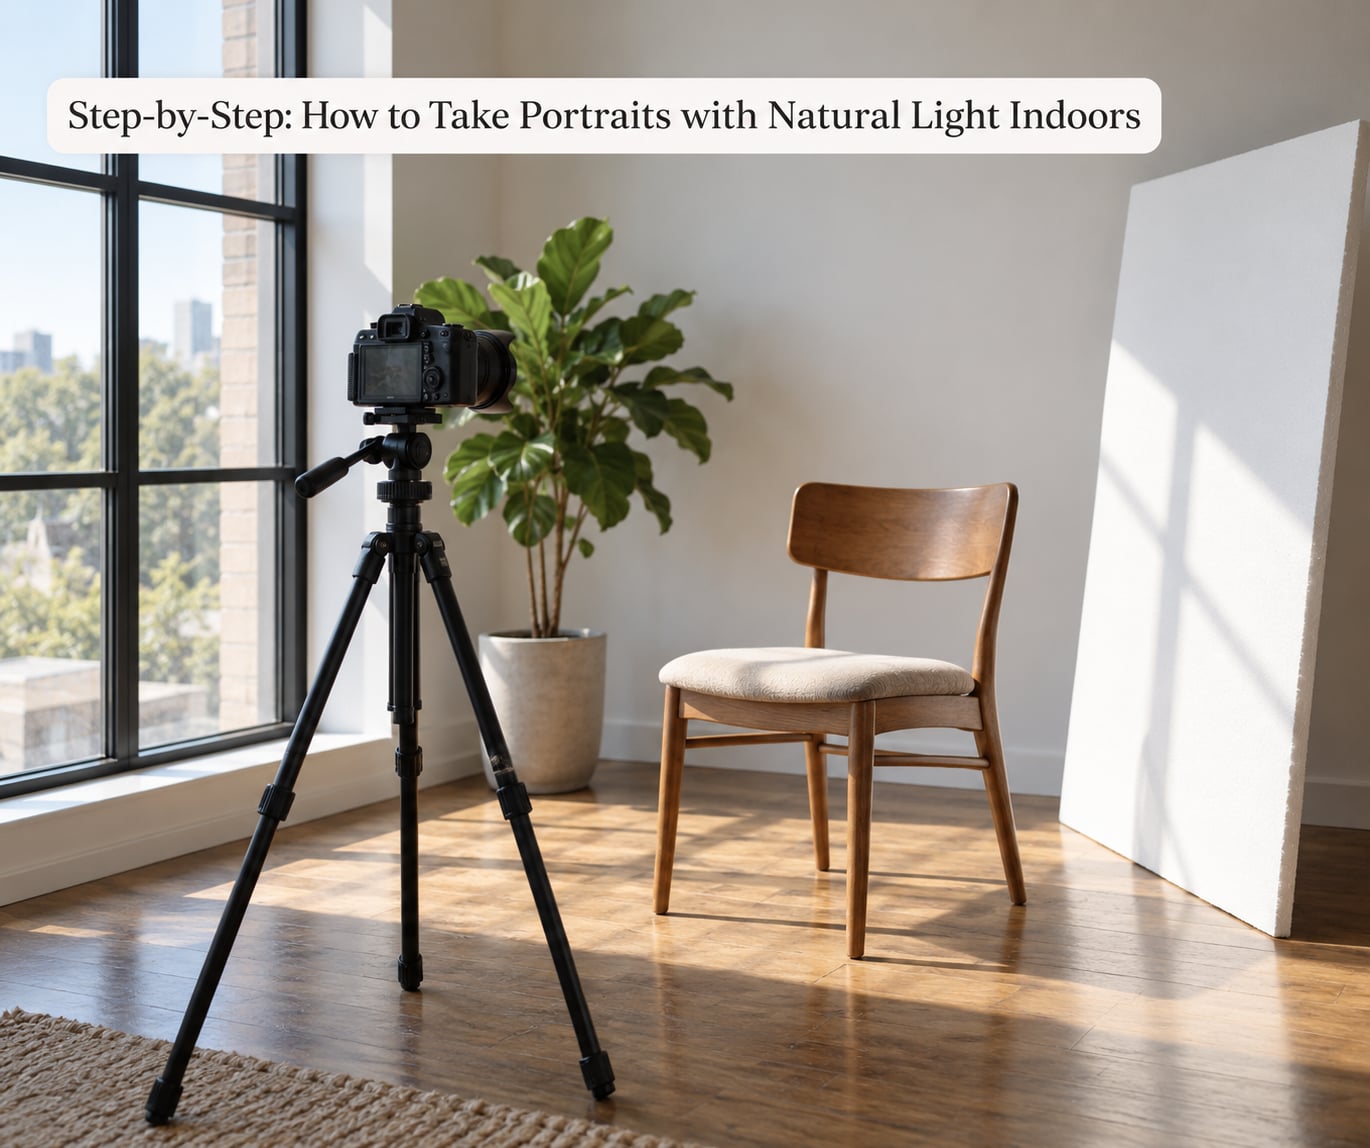
- A tripod or a stable surface. Interior light is dim enough that hand-holding at 1/60s is a coin flip. A tripod also frees you to move a reflector instead of holding it.
- A white foam board or reflector, roughly 20 by 28 inches. This is the single highest-impact cheap tool indoors. It fills the shadow side and opens up the eyes.
- A black card or dark towel for negative fill, which darkens the lit side on purpose to add depth.
- A sheer curtain to hang over the glass when direct sun makes the light too hard.
- A lens cloth and a small step stool so you can shoot level or slightly down without bending.
Two minutes of tidying matters more than any of that gear. Clear the surface behind your subject, push stray chairs out of the light path, and turn off patterned lamps that would throw odd shadows onto the wall.
Step-by-Step: How to Take Portraits with Natural Light Indoors
1. Find the Best Window and Time of Day
Pick the biggest window in the house and stand in front of it to check the view. What you are looking for is a clean stretch of outdoors: a tree, a hedge, or open sky. If you see a fence, a road, or a parked car two metres away, that is your background whether you like it or not.
Orientation matters more than most people expect. North-facing windows give steady, indirect light all day, which is why photographers in the northern hemisphere treat them as the reliable choice. East-facing windows are soft in the morning and harsh after midday sun moves across them. South- and west-facing rooms swing the other way: gentle early, then a bright hard beam later on.
Overcast days look disappointing but photograph well, because the cloud acts as a giant diffuser. Overcast window light is dimmer and greyer than most beginners expect, so plan to open the aperture or raise ISO. Direct midday sun is the harder problem, because it burns the background and throws hard-edged shadows across the face.
2. Turn Off or Control Competing Light
Switch off every ceiling light, every lamp, and the television. Two light sources at different colour temperatures is the number one reason indoor portraits come out with grey, lifeless skin.
If you genuinely need a lamp on, keep it behind the subject so it acts as a hair light, and accept that you are mixing colour temperatures. Otherwise the window should be your only light. This is the single piece of advice that shows up most often in photography forums, and it is the one people skip.
3. Position Your Subject Near the Window at 45 Degrees
Stand your subject about one to three feet from the glass and turn their body roughly 45 degrees toward it. This angle gives you light that falls across the face rather than straight down the nose, which is what creates shape. Move them closer to the window and the light gets harder and brighter. Move them further into the room and it softens and dims.
| Subject position | Lighting pattern | What you get |
|---|---|---|
| Facing the window directly, camera beside the window | Flat lighting | Even, low-contrast look, good for passport and ID style frames |
| Turned 45 degrees to the window | Loop lighting | Small shadow beside the nose, the safe default for most faces |
| Turned away from the window, face toward camera | Short lighting | Shadow falls on the side of the face turned from the light, slimming effect |
| Face at an angle to the window, camera to the shadow side | Rembrandt lighting | Triangle of light on the shadow cheek, moody and dimensional |
| Subject centred on the window axis | Split lighting | Half the face lit, half in shadow, dramatic and unforgiving |
Work out your working distance too. In a small room a 35mm keeps you a metre or so from the subject; an 85mm at f/1.8 gives the background separation people want but needs two metres or more. If the room is tight, shoot wide and get separation by moving the subject away from the background instead.
4. Use the Window as Your Main Light
Treat the glass as a giant softbox at key position. Keep the camera between the window and the subject, roughly on the same axis, so your own body does not block the light. The brightest part of the window should sit just off the side of the subject’s face, slightly behind the plane of their cheek.
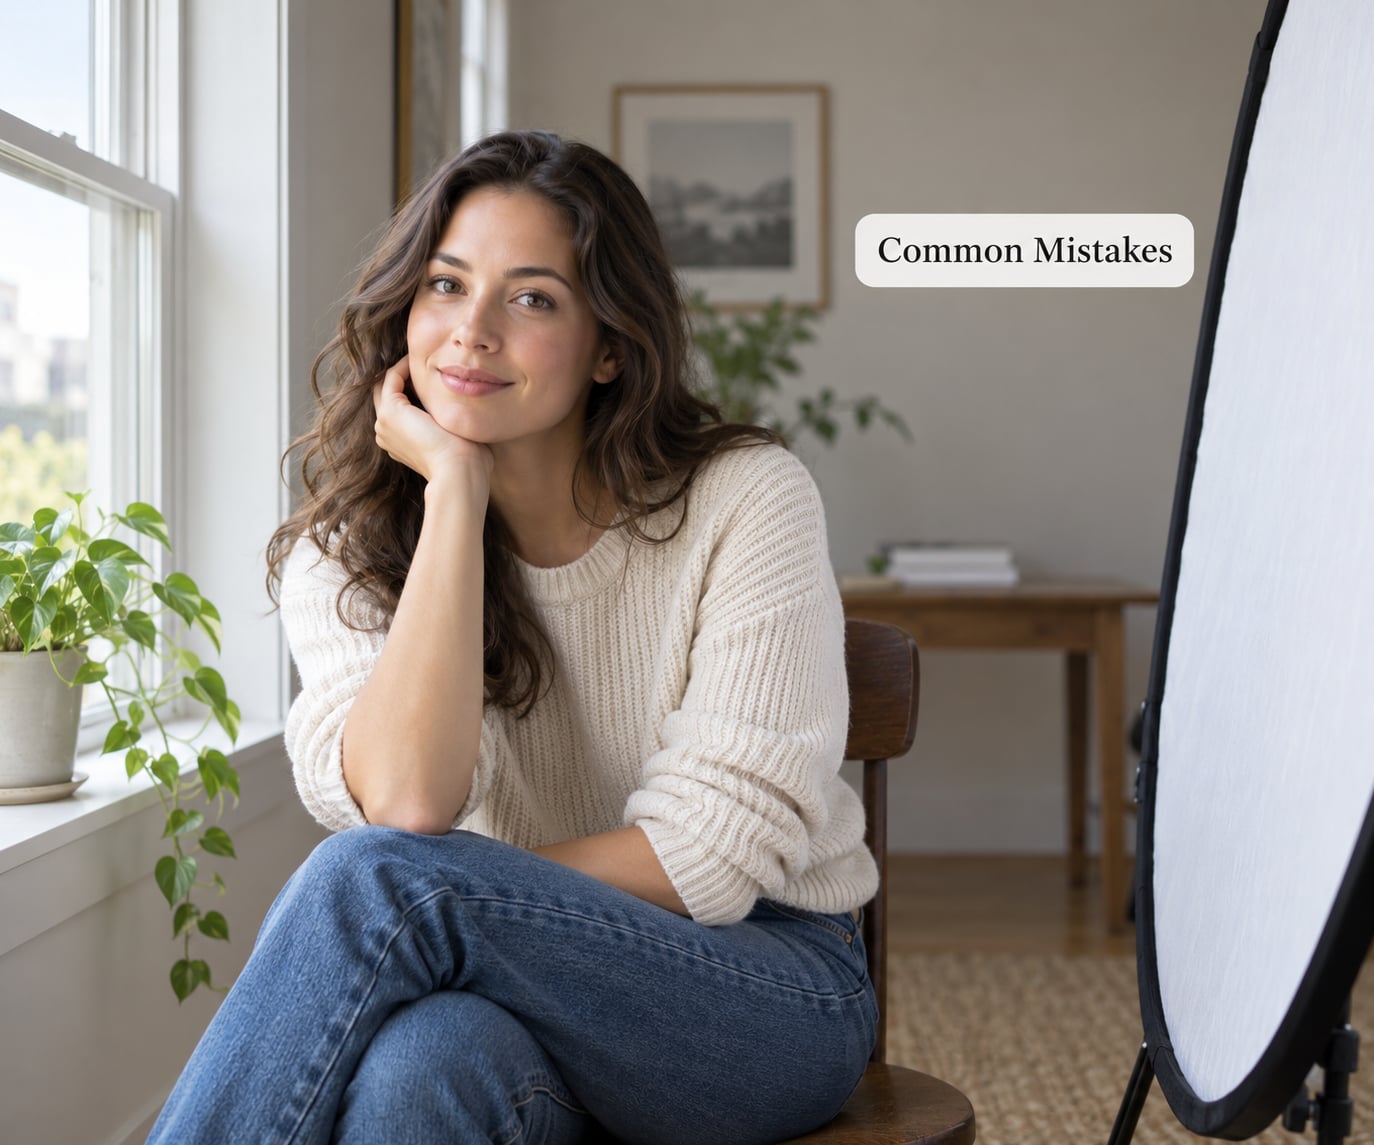
Then put your reflector on the shadow side, close in, and watch the ratio tighten up. Fill to about one stop under the key and you have a natural look. Fill it too much and the portrait turns flat and grey, which is the single most common complaint about window light in online critique threads.
For more ideas, treat a second window as a kicker light raking across the far shoulder, or bounce light off a pale wall or white ceiling behind the camera when you have no reflector at all.
5. Set Exposure Without Losing the Face in Natural Light
Start at f/2.0 or f/2.8 for a portrait, 1/160s as your shutter floor, and the lowest ISO your camera still handles cleanly. Shoot RAW. White balance on Daylight or Cloudy so the tone stays roughly consistent between shots, because a window changes colour noticeably as the sun moves.
Meter off the face. Exposing for the window will give you a bright background and a face that is two stops under, which is why so many first attempts have a black window and grey skin. If the face and window cannot both hold detail, take the face and let the window blow out. That contrast is the look, not a mistake.
| Setting | Start here | Change it when |
|---|---|---|
| Aperture | f/1.8 to f/2.8 | Go to f/4 or f/5.6 if the camera struggles to focus in dim light |
| Shutter speed | 1/160s | Drop to 1/125s or 1/100s only with a tripod, or when the subject holds still |
| ISO | Lowest clean value, often 100 to 800 | Raise it when the shutter speed will not hold, or when light drops fast |
| White balance | Daylight or Cloudy | Switch to Shade or set a custom value under warm household light |
| Focal length | 50mm, 35mm in tight rooms | 85mm when you have at least two metres of space |
If you have a tripod, dial the shutter to 1/30s or slower, set ISO low, and take the sharpness and noise win. That trade is worth it more often than people expect indoors.
6. Focus on the Nearest Eye
Use a single autofocus point or manual focus, placed on the eye closest to the camera. Face detection and wide-area modes hunt badly in dim window light, especially on older mirrorless bodies and at wide apertures where the focus plane is paper thin.
Zoom in to check sharpness on the eyelashes before you fire a full set. A slightly soft portrait is the one thing no editing pass can fix later.
7. Direct the Portrait, Not Just the Pose
Window light does most of the work, but position still decides the frame. Have the subject turn their chin toward the window to open the shadow side of the face. Then have them angle their shoulders away from the camera to break the symmetry.
Ask for expression rather than a fixed pose. Tell them to look past your shoulder for two seconds, then back to you, then give them a genuine smile. You will get three usable frames out of that and forget the pose entirely.
8. Make Small Adjustments and Check the Result
Shoot one frame, look at it on the back of the camera at full size, and check four things. Highlights on the forehead, the depth of the shadow side, the brightness of the background, and the white balance on the skin.
Most people who search how to take portraits with natural light indoors get stuck on this loop, and it is rarely the camera. Fixing the background is usually a small nudge: half a stop darker to bring it down, or shift the subject two feet left to put a cleaner patch of wall behind them. Then shoot a short series while the light holds. Window light changes fast as the sun moves, so plan a 30 to 45 minute block rather than an afternoon.
Common Mistakes
Mixed light sources. Ceiling lights on plus window light gives you two colour temperatures fighting each other, and skin that looks muddy in every shot. Fix: turn the lights off.
Standing in front of the window. Your own shadow lands straight across the subject. Move sideways until your shadow is off the face, or hold the reflector in that position instead.
Shooting straight into the glass. You get reflections of the room, a black background, and a face that is far too dark. Step to one side so the brightest part of the window sits just behind the subject’s shoulder.
Subject pressed against the window. Light from one metre away is hard and directional, and you lose falloff on the shadow side. A metre or two into the room gives you the softness you were after.
Hard direct sun. Bright patches, dark shadows, and a face split between the two. Hang a sheer curtain over the glass, or wait for a cloud to pass.
Grey overcast light. Overcast is not bad light, it is dim light. Open the aperture, raise ISO, or use the tripod, and lean on the reflector harder than usual to keep the face bright.
Messy background. The window lights your subject and leaves the room behind in near darkness, which turns clutter into noise. Push the subject away from the background and shoot wide open, or move to a plain wall.
Blurry, noisy frames. Shutter too slow at too high an ISO. Stabilise the camera and fix ISO before you fix anything else.
One more habit worth keeping: before you call it a failure, check that white balance is right. A perfectly exposed portrait looks bad purely because it is tinted blue or orange.
Frequently Asked Questions
What are the best camera settings for indoor natural light?
Start at f/2.0 or f/2.8, 1/160s, and the lowest ISO your camera handles cleanly. Shoot RAW, set white balance to Daylight or Cloudy, and meter off the face rather than the window. Use a tripod and drop the shutter to 1/30s when light is too dim, which beats raising ISO every time.
Should I shoot with the room lights on or off?
Turn them off. Window light and household bulbs run at very different colour temperatures, and mixing them produces skin tones no white balance setting fully rescues. One clean light source means predictable shadows and consistent results across a whole series. A lamp is worth keeping only when it sits behind the subject as a hair light.
How far should my subject be from the window?
One to three feet works for most portraits. Closer gives brighter, harder, more directional light with strong falloff. Further into the room softens it and dims it, which is useful for wide apertures and moody looks. The deciding factor is contrast: if you need a reflector anyway, step the subject back to soften the light first.
How do I stop my own shadow appearing in the frame?
Move out of the light path. Stand beside the window axis rather than in front of it, so your body stops casting a shadow onto your subject. If your position is fixed, use that shadow as negative fill deliberately, or hold a reflector between yourself and the model to replace the light you blocked.
Why does my window light portrait look flat?
Usually the reflector or wall opposite the window is doing too much, filling the shadows almost as brightly as the key. Aim for a ratio about one stop under the lit side. Flat portraits also come from shooting straight on to the window, which removes all modelling from the face, and from lighting the subject evenly with a second source.
What time of day is best for window light portraits?
North-facing windows work all day and are the safest bet. East-facing rooms are softest in the morning, south and west facing rooms are softest early and go hard once direct sun hits the glass. Overcast days give the softest light of all, just dimmer. Avoid the hours right around solar noon, when direct sun creates the hardest shadows.
Conclusion
Start with three things: find a window with a clean view, place your subject a metre or two in at 45 degrees to it, and test your exposure on the nearest eye before anything else. That is how to take portraits with natural light indoors in three moves. Everything after that, the reflector, the tripod, the focal length, is a refinement on those three decisions. Shoot RAW, turn the house lights off, and work in a short block while the light is good.