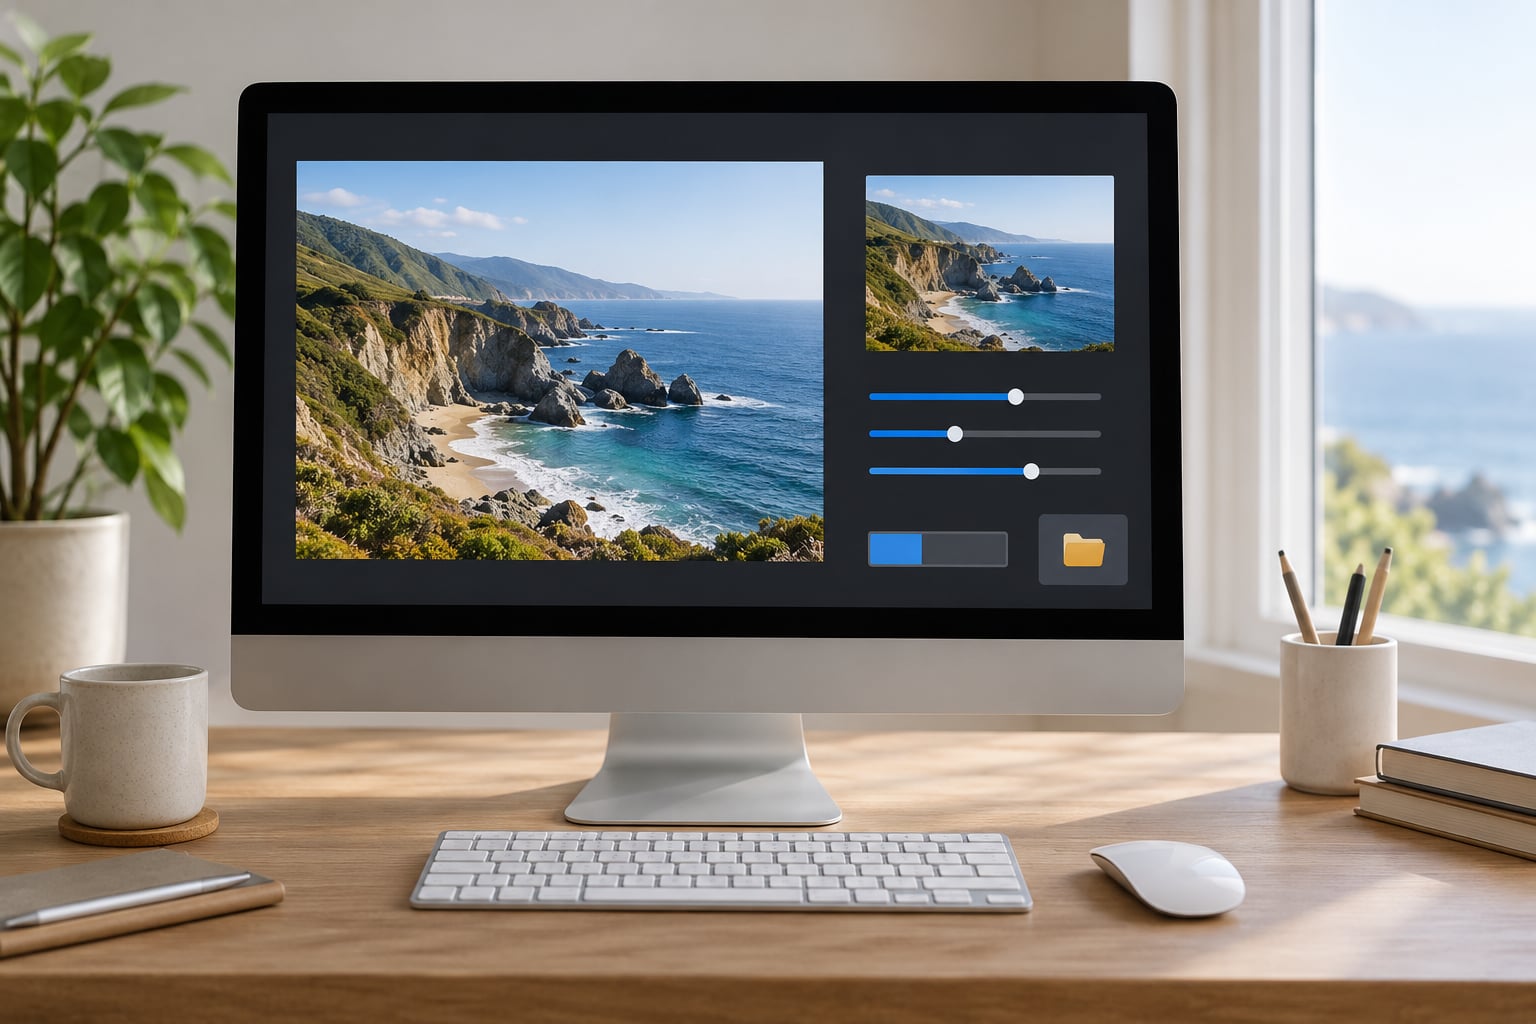
Compress photos for a website without losing quality by resizing each image to the largest size it will actually display at, exporting it as WebP or AVIF, then lowering the quality setting until the picture still looks clean at 100%. Resize first, compress second. That order matters far more than which tool you pick.
An 8-megabyte file from a modern camera is being asked to render in a 700-pixel column. The browser scales it down, the file still costs the same to download, and the visitor on mobile waits for pixels nobody will ever see. Fixing that gets you most of the weight reduction with no visible change.
Images are usually the heaviest thing on a page, often more than half its total bytes. Trim them and the Largest Contentful Paint improves, the page stops shifting as content loads, and the site performs better on a phone than on a fibre connection. I have rebuilt my own export workflow several times as formats and browser support have shifted through 2026, and the sequence has stayed the same every round.
Table of Contents
What You Need

Nothing here is specialist equipment. You need an image editor you already own, the original files, a way to see the result at real size, and the ability to check the finished page.
- An editor. Adobe Photoshop, Affinity Photo, GIMP, or a free browser tool such as Squoosh. If you shoot RAW, Lightroom Classic exports web copies straight from the catalogue.
- Your original files. Keep the camera or RAW originals untouched. Every web version should be a new file, never an overwrite.
- The largest display size for each image. The column width of your blog, the full width of your hero banner, the pixel width of your product grid. You cannot compress well without knowing this number.
- A comparison view. Any editor that opens two images side by side, or the split-slider you get in most online compressors.
- A page-speed check. PageSpeed Insights takes a URL and tells you which images are oversized and which are missing modern formats.
- An sRGB colour profile on the export, so colours match what you saw in the editor.
Step-by-Step: How to Compress Photos for a Website Without Losing Quality
How to choose the right dimensions for your website
Measure the largest size the image will render at, then export at one-and-a-half to twice that width for high-density screens. Exporting a 6000-pixel original into a 1200-pixel column is the single most common mistake, and it is the most expensive one.
Open the page on a desktop browser, right-click the image and choose Inspect. The panel shows the rendered width in pixels. Multiply that by 2 for phones with dense screens, and round to a tidy number. A 1200-pixel-wide hero on a 600-pixel layout becomes a 1200-pixel export, not a 4000-pixel one.
DPI matters less than almost everyone thinks. A 1200-pixel image shown at 600 pixels is effectively 144 ppi, which is already above what a screen needs. The pixel dimensions are what the browser cares about; the DPI number stored in the file is mostly a printing hint and adds nothing to how the photo looks.
| Placement | Largest display width | Export width (2x) | Target file size |
|---|---|---|---|
| Grid thumbnail | 400 px | 800 px | 40 to 80 KB |
| Inline blog image | 760 px | 1520 px | 120 to 250 KB |
| Blog cover image | 1200 px | 2400 px | 200 to 400 KB |
| Hero or banner | 1920 px | 2400 to 3200 px | 250 to 500 KB |
| Product gallery image | 1000 px | 2000 px | 150 to 300 KB |
These are starting points, not rules. A flat product shot on white compresses far smaller than a wide landscape with foliage, so treat the file-size column as a ceiling you can often beat.
Which format should you use for web photos?
Use WebP for almost every photograph, AVIF when you can accept slower encoding, and JPEG only as a fallback for older browsers. PNG is for transparency, and SVG is for logos and icons rather than photographs.
Two kinds of compression exist. Lossless compression removes redundant data with zero visible change and typically saves 10 to 20 percent, mostly by stripping metadata and unused colour information. Lossy compression discards detail the eye is least likely to notice, and it saves far more, but it is not free.
| Image type | Use | Format | Starting quality |
|---|---|---|---|
| Photograph, no transparency | Blog, gallery, product | WebP | 75 |
| Photograph, older browsers in the audience | Fallback | JPEG | 70 to 85 |
| Photograph, maximum savings, encode once | Static site, CDN | AVIF | 50 to 60 |
| Screenshot, flat UI, text | Docs, tutorials | PNG or WebP lossless | Lossless |
| Cut-out, logo with transparency | Banners, product images | WebP or PNG | 80 to 90 |
| Icon, simple vector shape | Interface | SVG | N/A |
Those quality numbers are starting sliders, not verdicts. WebP at 75 usually matches a JPEG at 85 in perceived quality while landing 25 to 34 percent smaller. AVIF at 50 is roughly 50 percent smaller again, and it can produce blocking that only shows up on the hair along a subject’s forehead, so check it carefully before committing.
Transparency and lossy compression are a poor match. Every alpha channel adds data, and PNG handles it cleanly. If you must use a lossy format with transparency, WebP is far more forgiving than PNG.
How to export a compressed copy and keep the original file
Always export to a new file rather than saving over the original, and let the editor strip EXIF data on the way out. The camera file stays untouched, and the version you upload carries no GPS coordinates or lens details.
In Photoshop, use File then Export As, choose WebP or JPEG, then set quality in the export dialog. Under the format menu, uncheck “Save As” metadata options so EXIF is dropped while the sRGB profile stays. In Affinity Photo, the same idea lives under File then Export As, with a quality slider in the dialog.
From Lightroom Classic, select the images, right-click and choose Export. Set the long edge to your final pixel width, limit the sharpen amount to the standard sharpening, check sRGB, and switch off “Save Metadata” if you do not want location data attached to client portraits. You get a folder of correctly sized, correctly compressed copies in one pass.
For a handful of images, Squoosh in the browser is hard to beat. Drop in the file, drag the quality slider, watch the file-size counter and the live preview update together, and export the result. It runs locally rather than uploading to someone’s server, which matters when the subject is a private commission. TinyPNG and similar services are good for PNG-heavy work, and for Mac users ImageOptim and a folder of batch actions handle hundreds of files without thinking about it.
How to check whether the compression still looks good
Compare the export against the original at 100% zoom and then at the size it will actually display, looking at the areas where compression shows first. If it holds up in both, the file is finished.
Check the specific things that give it away: smooth gradients in a twilight sky banding into stripes, dark hair against a bright background picking up a pale halo, skin texture turning to mush, fine fabric weave dissolving, small text in a screenshot going soft at the edges. A portrait on a plain background is the easiest case. A wide landscape with foliage, a night sky full of stars or a reflective window is the hardest.
Zooming to 100% and seeing mush is not automatically a failure. What matters is whether anyone can see that mush at the size the image renders on the page. Judge at real size first, then at full zoom to know exactly how much headroom you have.
If it fails, change one thing at a time. Raise quality a few points before shrinking the image further, because a small quality bump is far less damaging than losing pixels a viewer notices. Hair, sky gradients and screenshots need a higher setting than a product shot on white, which will happily sit at a low number.
How to prepare the compressed image for faster website loading
Give the file a descriptive name, set the width and height attributes in your markup, and serve smaller images to small screens. Those three things do more for loading speed than any further compression.
A name like DSC_4821_final_FINAL.jpg tells a search engine and a screen reader nothing. Use a hyphenated description instead: harbour-fishing-boats-dawn.jpg.
Always write the width and height into the markup. Without them the browser cannot reserve space, and the page jumps when the image arrives, which hurts Cumulative Layout Shift.
<img src="harbour-fishing-boats-dawn-1520.webp"
     srcset="harbour-fishing-boats-dawn-760.webp 760w,
             harbour-fishing-boats-dawn-1520.webp 1520w"
     sizes="(max-width: 800px) 100vw, 760px"
     width="1520" height="1013"
     alt="Fishing boats on a calm harbour at dawn">
Add loading=”lazy” to images below the fold, and never to the hero or main content image. Lazy loading the element the page is waiting for delays the very thing it was meant to speed up. If you do support older browsers, a picture element with a WebP source and a JPEG fallback is still worth the few extra lines.
Finish by running the live URL through PageSpeed Insights. It names the oversized files and the missing modern formats by URL, which turns a vague sense of “this feels slow” into a short fix list.
Common Mistakes
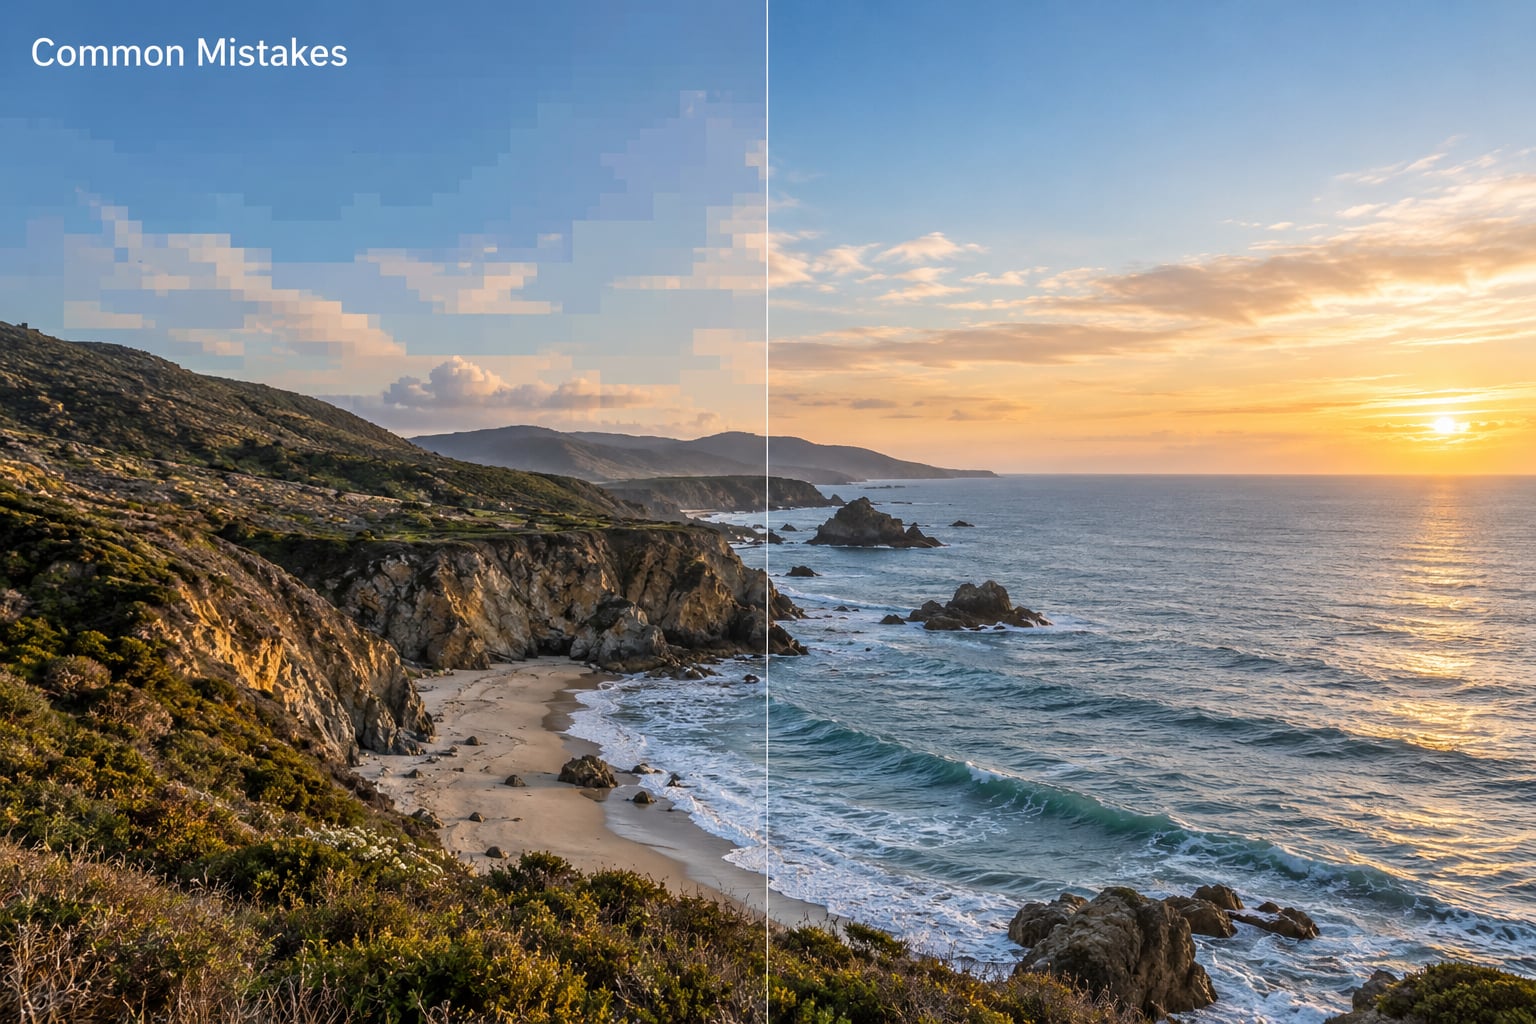
Most compressed images that look bad come from a small number of repeated errors. Each has a straightforward fix.
Compressing before resizing
Compressing a 6000-pixel file down to 700 pixels throws away almost everything you just discarded. Resize first, then compress. This is the habit that costs people the most quality for the least gain.
Judging by kilobyte count
A 30 KB file is not automatically good. Chasing a number produces the muddy, out-of-focus images photographers complain about. Decide the dimensions, set the quality, and accept whatever file size results.
Re-saving an already compressed file
Opening a web export and saving it again stacks two generations of loss. Always go back to the original, and if that is not possible, keep the best copy you have rather than degrading it further.
Dropping quality to an extreme
Anything below JPEG 50 or WebP 50 will show on skies, hair and faces. If the picture still looks wrong at that point, the format or the dimensions are the problem, not the slider.
Chasing DPI instead of pixels
Resaving at 72 ppi while keeping the same pixel count changes nothing at all on screen. Set the pixel dimensions the page needs; the DPI field is irrelevant to browsers.
Stripping more than you need
Some compressors remove the colour profile along with the metadata, which shifts the colours. Strip EXIF, GPS and camera data, but keep sRGB embedded.
Stacking optimisation plugins
Three WordPress plugins each re-encoding your images, and the CMS rewriting your carefully prepared files, undoes the work. Pick one approach, pre-optimise your uploads, and let the CMS upload them as they are.
Two habits prevent most of the rest. Check the image at 100% before you upload, and re-run PageSpeed Insights after the page goes live. A slow page is a much easier problem to trace when you know which files are on it.
Frequently Asked Questions
Is lossless image compression possible for the web?
Yes, for some images. Lossless tools shrink a file by 10 to 20 percent by removing metadata and redundant colour data, and the decoded image is identical to the original. That is not enough for a 12-megapixel camera file, though. For photographs you combine resizing with a high quality lossy setting, which is the closest practical equivalent to no visible loss.
Is PNG or JPEG higher quality for the web?
Neither is higher quality; they are built for different jobs. JPEG is lossy and far better for photographs, which is why you can push it to 70 to 85 and keep most of the detail. PNG is lossless and ideal for screenshots, text and anything with transparency, but a photograph saved as PNG can be several times heavier than the same image as JPEG.
What size should website images be in pixels?
Export at twice the largest width the image displays at. A 760-pixel blog column needs a 1520-pixel file, and a 1920-pixel hero needs roughly 2400 to 3200 pixels. Beyond that the extra pixels are never visible, and they only add weight. A thumbnail in a 400-pixel grid needs around 800 pixels, not 4000.
Why do my compressed photos look blurry?
Usually one of three things: you resized the image down and then let the page scale it back up, you pushed the quality slider far too low, or you re-saved a file that had already been compressed. Fix the first by exporting at the right dimensions, the second by staying at JPEG 70 to 85 or WebP 75, and the third by always starting from the original file.
Should I use WebP or AVIF for my website?
WebP is the safer default. It encodes quickly, saves 25 to 34 percent against JPEG at matched quality, and works in every current browser. AVIF saves roughly 50 percent more again but takes far longer to encode and can show blocking around fine hair. Use AVIF for static images you encode once, and WebP for galleries and anything updated regularly.
Does compressing images affect SEO?
Indirectly, and mostly through speed. Images are the largest share of page weight, so shrinking them improves Largest Contentful Paint and Core Web Vitals, which are ranking signals. Descriptive filenames, alt text and proper width and height attributes help too. Compression itself does not change what the image shows, so it is a performance win rather than a direct ranking factor.
Conclusion
Start by measuring the widest your image will ever display, then double it, then export from the original at that pixel width as WebP or AVIF. Open the result at 100% and look at the sky, the hair and the skin. Once it holds up, upload it with width and height attributes, a srcset and lazy loading on everything below the fold. The page gets lighter and the photograph still looks like the one you took.