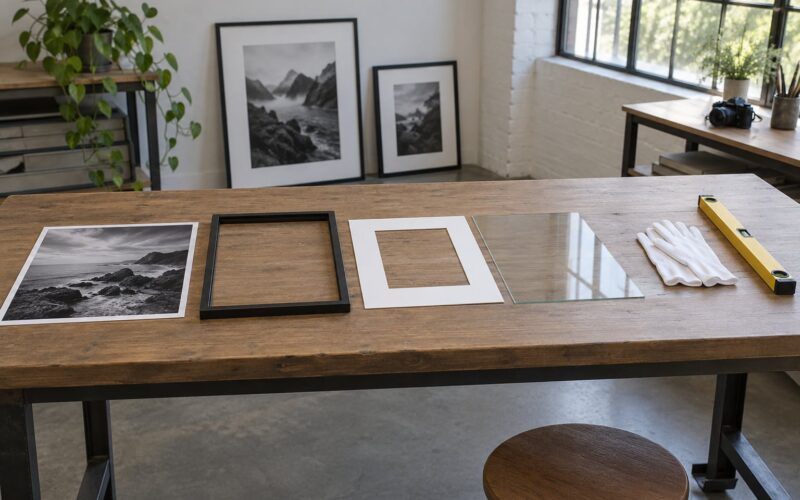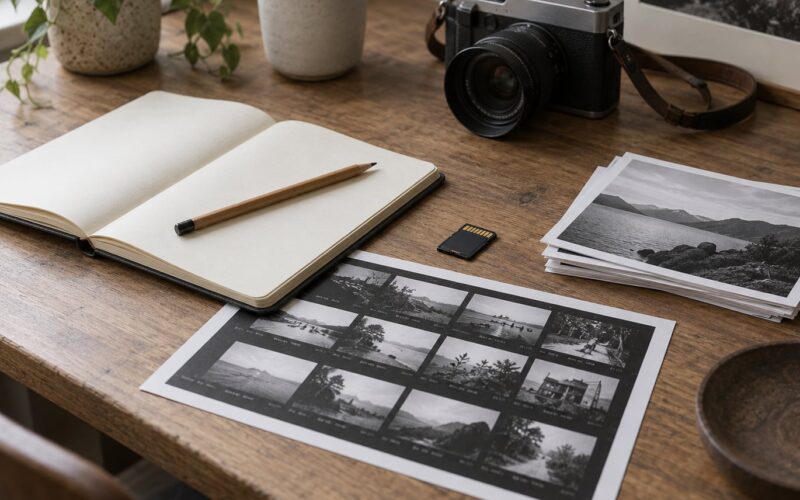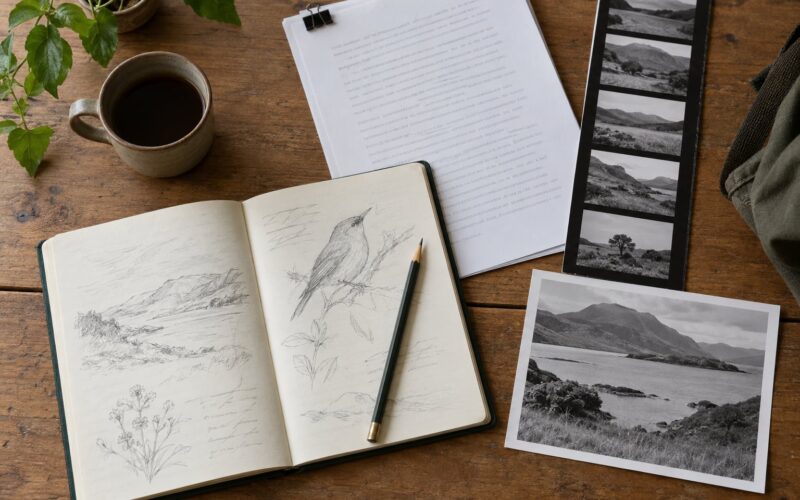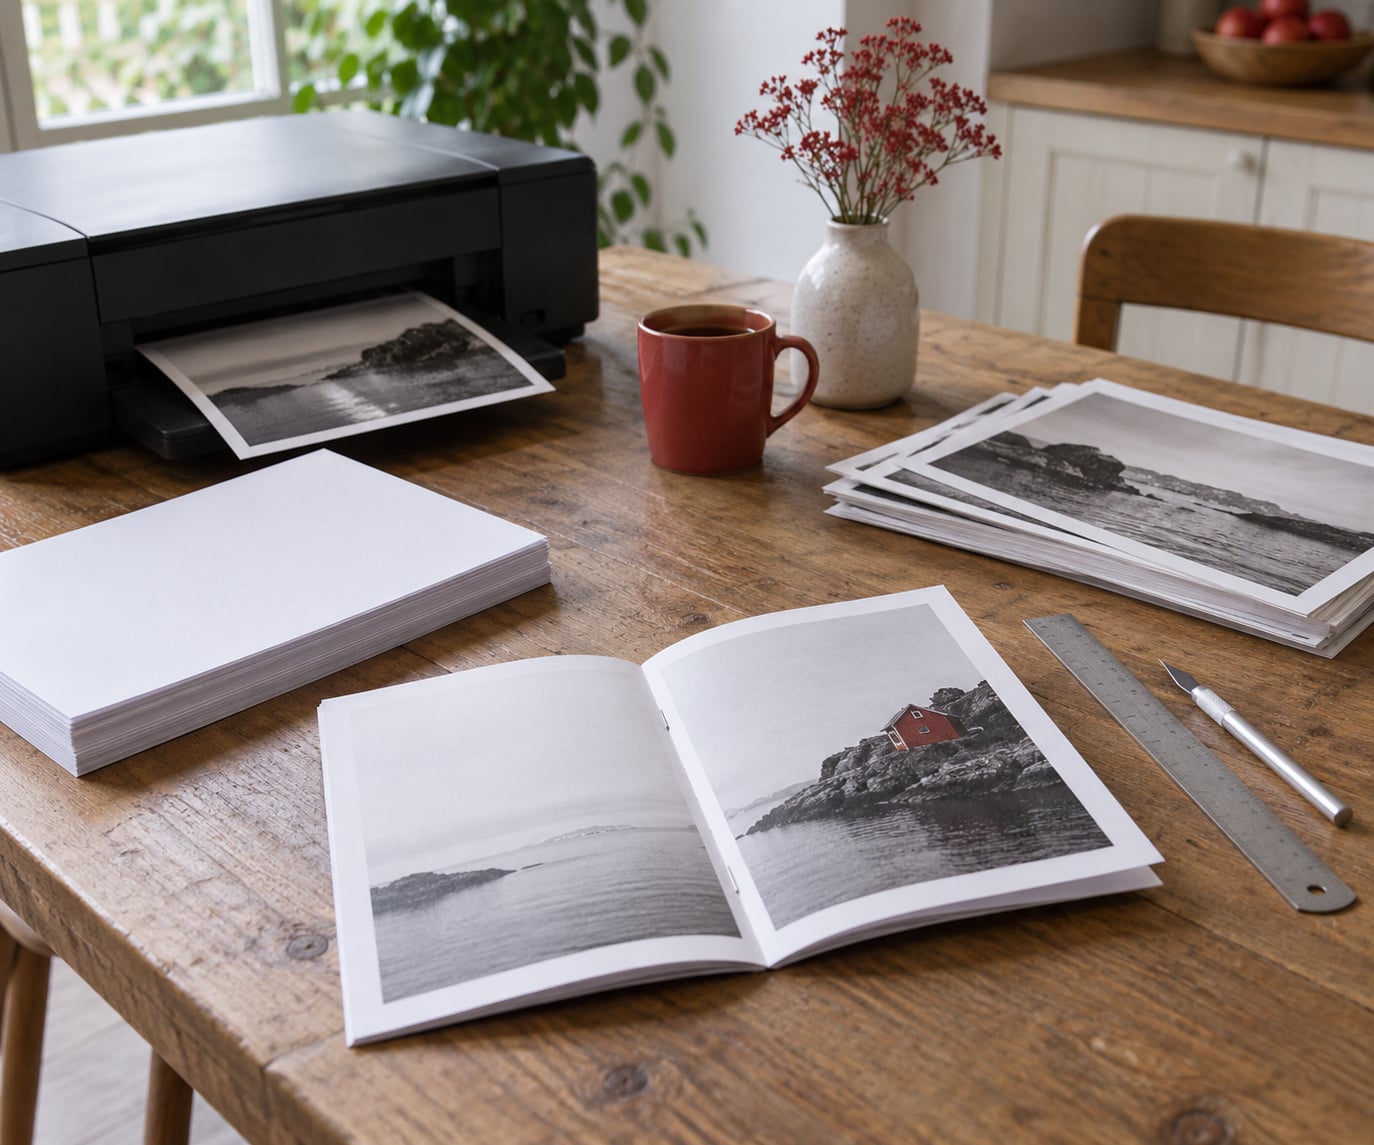
A photo zine is a small self-published booklet of your own photographs that you design, print, fold and bind yourself, usually from 8 to 32 pages. Learning how to make a photo zine at home takes one afternoon for the first version and a couple of evenings once you want the paper and typography to feel right.
The whole thing breaks into six moves: decide what the zine is about, edit and sequence the photos to fit your page count, lay the pages out, print them at the right scale, then fold and bind. Everything happens on a kitchen table with a printer, some paper and a stapler.
Nobody’s first one is good. That is genuinely fine. The fastest way to get past the planning stage is to pick one theme, cut it to eight pages, and print a single test copy.
Table of Contents
What You Need
The short answer is less than most people expect. If you have a folder of photographs, a printer and some paper, you can start tonight.
- Your photographs — ideally 40 to 80 candidates, since you will throw most of them away.
- An image editor — whatever you already shoot in is enough for the retouching stage.
- A layout tool — InDesign, Affinity Publisher, Canva or Google Slides all work. Free options are fine.
- Paper — plain office paper for a test copy, something heavier for the real run.
- A printer — an inkjet gives you full-bleed photos. A laser gives you cheaper pages and sharper type.
- Cutting and binding tools — a craft knife with a fresh blade, a metal ruler, a stapler, and optionally a bone folder or the back of a spoon to crease with.
Paper weight is measured in GSM, grams per square metre. It is the single decision that changes how a zine feels more than anything else, and it is also the one beginners overthink. A useful rule: anything up to about 120 GSM will feed through a normal home printer without drama, 160 to 200 GSM feels like a real book if your printer can take it, and above 250 GSM you are into card territory that most desktop printers will refuse.
| Weight | Feel | Home printer | Best for |
|---|---|---|---|
| 80 GSM | Thin, you see the print through the page | Fine | Fast test copies |
| 100 GSM | Standard document feel | Fine | Text-heavy zines, work copies |
| 120 GSM | Noticeably firmer | Fine | A solid first finished edition |
| 160 GSM | Book-like, holds a crease | Usually fine | Photo zines with small images |
| 200 GSM | Thick, pages barely flex | Check your printer spec | Full-page photos, small runs |
| 250 GSM and up | Card stock | Most will not take it | Covers and panels only |
Someone on r/zines described their first photo zine as printed on whatever the cheapest document paper was, six sheets of it, bound with thread from a heavier needle. That is a completely legitimate way to do this, and for a first attempt it is better than waiting until you own the perfect paper.
Step-by-Step
Here is the whole process in order, before the detail.
- Define one central idea for the zine.
- Select and prepare your photographs.
- Sequence them into a reading order.
- Design the page layout on a single consistent template.
- Proof, print and assemble a test copy.
- Fold, cut and bind the finished edition.
Define the Zine’s Central Idea
The idea comes before the photographs, not after. If you start by picking your favourite frame, the zine becomes a loose album and falls apart in the reader’s hands.
Write one sentence that names a subject, a feeling and a reader. “Rain on the tram windows in Lisbon, for anyone who has sat in a foreign city alone” is a usable sentence. “My travel photos” is not.
From that sentence, decide a visual rhythm. Mostly wide frames? Mostly close details? One frame per page, or pairs and grids? A rhythm is what makes eight images feel considered rather than thin.
Choose and Prepare the Photographs
Work out your page count first, because it dictates how many images you can afford. A one-sheet zine gives you 8 pages and no binding. An 8-page saddle stitch gives you 8 pages and needs a stapler. Both are the same arithmetic: pages always come in multiples of four, because each sheet holds four pages on the front and four on the back.
For an 8-page zine with one image per page, that is 6 images plus a cover and a back page. Doubling up to two or four images per page frees you to use the stronger frames and gives the rhythm somewhere to change.
Then edit. I do this in two passes. First pass, pick 30 and drop everything that is merely competent. Second pass, cut to exactly what the page count allows.
Prepare each image for print:
- Crop to the shape you actually intend to place, rather than cropping later in the layout tool.
- Match the crops so the eye moves across a spread instead of jumping.
- Match the colour across the whole set. Apply the same grade to every frame so a warm scene and a cold scene still belong to the same zine.
- Export at the final printed size at 300 DPI, in sRGB. A photo placed 10 cm wide needs roughly 1180 pixels on the long edge. Exporting at final size is what keeps the print sharp.
Work in sRGB rather than CMYK if you are printing at home. Your home printer is built for sRGB files, and converting early usually just muddies things.
Sequence the Images for Visual Flow
Sequence is the part that turns a set of photographs into something with a beginning, a middle and an end. Filename order is the wrong order.
Start with the frame that best explains the subject, not the one that happened first. That opening image is your argument. Then build the middle by moving between scales: a wide shot, a medium detail, a face or a texture, then back out again. Two similar frames in a row flatten the rhythm, and two very different frames side by side feel like a mistake.
Watch the facing pages. A spread where both sides are busy is exhausting, and a spread where one side is an empty white page with a single caption can be the calm moment that makes the next frame land.
End deliberately. A quiet final frame, or a detail that echoes the opener, closes the circle far better than the strongest picture in the set. The best way to test a sequence is to shrink all the images to thumbnails on one screen and look at the whole run at once. The gaps and the clusters show up instantly.
Design the Page Layout
Pick one format and commit to it. Mixing page sizes in one zine is a printing problem you do not need.
| Format | Pages | Binding | Skill needed |
|---|---|---|---|
| One-sheet 8-panel fold | 8 | None, or a single slit and staple | Careful folding |
| 8-page saddle stitch | 8 or more, in fours | One staple on the fold | Simple once you know the layout |
| A5 booklet, 20 to 32 pages | 20 to 32 | Saddle stitch, thread or glue | More work, more paper |
| Paper size | Dimensions | Finished zine from one sheet |
|---|---|---|
| A4 | 210 x 297 mm | About 74 x 105 mm, 8 pages |
| US Letter | 8.5 x 11 in | About 4.25 x 5.5 in, 8 pages |
| A5 | 148 x 210 mm | A5 book when folded and stapled |
The 8-panel fold works because A4 and Letter both divide cleanly into eighths. That is why one sheet of ordinary paper gives you eight pages.
Build the layout in whatever tool you have. InDesign and Affinity Publisher give you real grids and precise control. Canva and Google Slides are free, template-driven and completely fine for a first zine. Use a 2-column grid on a rectangular page or a 4-column grid on a square one, set your margins once, and never move them again.
Keep the typography boring: one typeface, two sizes, generous line spacing. Captions get one consistent treatment across the whole zine, placed in the same corner every time. Consistency is what makes a homemade object read as designed rather than assembled.
Decide about bleed early. If an image runs to the edge of the page, export that page 3 mm larger than the page itself and mark it as bleed, then print on the larger sheet and trim afterwards. If you would rather not trim, give every photo a white margin. A margin costs nothing and forgives a lot of small mistakes.
Proof, Print and Assemble the Zine
Proof the PDF at 100% zoom on screen and check the spreads, the crop on every image, and the fold positions. Then print a single page as a test rather than the whole run, which takes two minutes and saves the run.
Your printer settings decide whether the zine works:
- Set the scale to Actual Size or 100%, and turn off any “fit to page” or “shrink to fit” option. Scaling shifts every image and every fold line.
- For double-sided pages, use duplex with the long-edge flip setting on portrait A4 and Letter.
- Set quality to the highest or “best” mode so the printer does not drop detail to save ink.
- Check which side of your paper takes ink. Photo paper is usually glossy or matte on the coated face, and most printers need that side facing up. A blank or striped test page tells you within one sheet.
Full-bleed photos on a home inkjet are thirsty. A page covered edge to edge in colour uses far more ink than a page with white space, and that is a real cost consideration before you print twenty copies. If you have no colour printer, a black-and-white zine printed on a laser printer looks deliberate and costs very little. If you have no printer at all, a library print desk or local copy shop will print a PDF page by page for a few dollars, which is often less painful than fighting a printer.
For the one-sheet 8-panel fold, the sequence is:
- Lay the sheet portrait and fold it in half the short way, then reopen and crease firmly.
- Fold it in half the long way, reopen, and crease again. You now have a centre crease in both directions.
- Fold the top edge down to the centre crease and the bottom edge up to the same crease, creasing both. Then do the same from the left and right edges.
- Collapse the sheet into a small booklet by pinching the centre so the panels push apart and the edges come together.
- Run a bone folder or the back of a spoon along every crease, then staple once through the centre on the fold.
The panel order matters and beginners get it backwards constantly. Two panels come out mirrored, and if you place images by eye before folding, half your zine ends up upside down or facing the wrong way. Design your layout on the flat sheet as an 8-panel grid with the reading order printed small in the corner, so you always know which panel is which after the collapse.
For a saddle stitch, print all the pages, stack them in reading order, fold the stack down the centre, then staple once through the fold about 10 mm in from the spine edge. Check every page against the fold before you staple. Crooked staples are the single most common finishing fault and they are completely avoidable.
Keep photos clear of the fold line. An image running under the staple or crease gets creased and damages the paper, and no amount of careful pressing undoes it. Leave about 5 mm of clear space on any page that lands near the spine.
Common Mistakes
- Too many images. Twelve photographs across eight pages means nothing gets room to breathe. Cut to eight and let each one be a full page.
- Crowded pages. Two images and four lines of text on one small page is the standard beginner overload. Empty space is not wasted space.
- Ignoring the fold line. Design with a bleed line and a safety line marked in your template, then check both before every print.
- Weak contrast in print. Screens are brighter than paper. If a frame looks a bit flat on your monitor, it will look flat in print, so add contrast before exporting.
- Printing at fit-to-page. This is the most common technical fault by a distance, and it shrinks the whole layout by a few percent so nothing lines up.
- The wrong paper side up. Test one sheet. A page with no ink tells you the coated side is facing down.
- Stapling off the fold. Staple straight down the centre crease. If your staple sits on top of a photo, move the image instead.
- Inconsistent paper across the run. Mixing weights from different reams makes the finished zine look uneven. Buy one ream.
Frequently Asked Questions
What is a photo zine?
A photo zine is a small self-published booklet of your own photographs, usually between 8 and 32 pages, that you design, print, fold and bind yourself. Unlike a photo book, it has no fixed template, no company imprint and no minimum print run. Ten copies printed on your own printer are a legitimate edition, which is exactly why the format suits personal projects.
What kind of paper should I use for a zine?
Start with 120 GSM for your first finished copy; it feeds through most home printers and feels substantially firmer than office paper. Go to 160 or 200 GSM if your printer is rated for it and your images run full page. Keep 80 GSM for cheap test prints. Stay matte rather than gloss if you want a book-like finish, and gloss if you want the colours to pop.
Can a normal printer print on 200gsm paper?
Many can, but check your printer’s supported media weight before buying a ream. Desktop inkjets commonly handle up to 120 to 160 GSM without jamming, while office laser printers often cap out around 160 GSM. If your printer takes 200 GSM it will usually feed single sheets reliably but may struggle with automatic duplex, so feed those pages one at a time.
Does printing photos use a lot of ink?
It does. An inkjet page covered edge to edge in dense colour can use several times the ink of a page with white space and text. Two ways to cut usage: print at the highest quality setting so no ink is wasted on dithering, and give photos a white margin rather than full bleed. A black-and-white zine on a laser printer is the cheapest option by a wide margin.
What is the best program to make a zine?
For a first zine, Canva or Google Slides are enough: both are free, both handle multi-page PDF export, and neither needs a tutorial longer than ten minutes. Affinity Publisher suits you if you want real grids and print presets for a modest one-off cost. Adobe InDesign is the industry default and worth learning, but it is overkill for an eight-page project.
How many photos do I need for a photo zine?
Page counts work in fours. An 8-page zine from one sheet gives you a cover, six picture pages and a back page, so six to twelve photographs depending on how many you place per page. A 32-page zine needs eight sheets and comfortably carries thirty images. Write the page count down first, then edit to fit it, never the other way round.
Conclusion
Start small. Pick one theme, write one sentence about it, cut your candidates down to what an eight-page zine can actually hold, and print one test copy on ordinary paper before you spend anything on nicer stock.
Once that rough version exists in your hands, fixing it is easy. Better paper, a steadier grid, a sharper closing frame. If you want the fold mechanics in one place, the five-step sequence in the printing section above is the whole technique.