How to turn a photo project into a gallery show comes down to five concrete moves: decide what the photographs are arguing, cut the project down to a bounded edit, print them to one consistent format, hang them to a measured plan on a real wall, and give people a reason to show up. Most stalled projects aren’t short of images, they’re short of an endpoint.
This guide takes you from a folder of photographs to an opening night, with the numbers photographers usually only learn after the fact. Eye-line height of 57 inches (145 cm), a 14 pt minimum for label text, 12 to 30 images for a first solo show, and a 12-week reverse timeline that runs backwards from the opening.
Table of Contents
- What You Need
- How to Turn a Photo Project Into a Gallery Show: Step-by-Step
- Common Mistakes
- Frequently Asked Questions
- How many photographs should be in a solo photography exhibition?
- What size prints should I exhibit in a gallery?
- How much does it cost to put on a photography exhibition?
- How do I price photography prints for a gallery show?
- Do I need an artist statement for a photo series?
- How do I hang photos at eye level in a gallery?
- Conclusion
What You Need
Before you email a single gallery, you need seven things in place, and only two of them cost real money.
- A bounded body of work. A finished project with a clear endpoint, or an open one you have deliberately closed. A show needs a first photograph and a last photograph, and the reason the show stops.
- A statement. 150 to 300 words, written plainly, about what the series is looking at and why the pictures belong together.
- An edit. The final image list with a sequence attached, so anyone reviewing the project reads it the way you want it read.
- A print format decision. One size family across the whole wall, chosen to match the room you are aiming at.
- A budget with line items. Prints, mats, frames, hardware, labels, promotion, opening refreshments, insurance, and commission if a gallery is involved.
- A venue and a floor plan. Wall dimensions, ceiling height, hanging rules, and whether the venue supplies lights, hardware and a list of visitors.
- An install schedule. Transport, build day, opening, and a deinstall date with a week of slack after it.
What can wait: the promotion plan, the printed invitation, even the framed prints themselves. What cannot wait is the edit. Once the edit is fixed, everything downstream gets cheaper, because you stop reprinting frames for pictures you cut.
How to Turn a Photo Project Into a Gallery Show: Step-by-Step
The order below matters. Each step assumes the previous one is finished, and skipping ahead is the single most expensive mistake in a first show: people order twenty frames, then cut the show to fourteen pictures.
1. Define the Exhibition’s Central Idea
A project usually has a subject. A show needs an argument. Ask what the photographs are actually claiming, what tension they hold, or what question they refuse to answer, then write that in two or three sentences you could read aloud.
Then write the title. A working title such as Night Ferry is worse than Night Ferry: Twelve Crossings After the Last Sailing, because the second one tells a visitor what to expect and gives them something to remember. Photographers on the big critique forums keep returning to one point: open-ended projects get turned down because there is no endpoint, not because the pictures are weak.
Write your statement before you edit. If you cannot write the argument, the edit will show it to you within an hour.
2. How to Turn a Photo Project Into a Gallery-Ready Edit
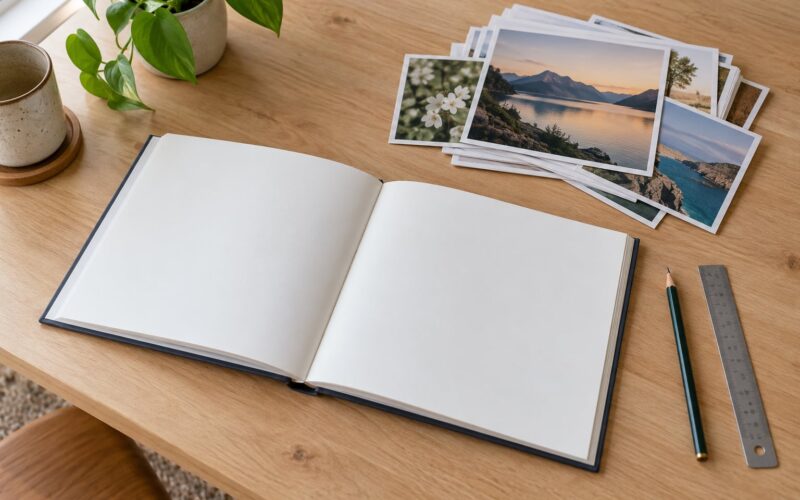
This is the step every competitor skips and every photographer dreads. Lay out every candidate image small, on one screen or in one printed contact sheet, and work by feel first.
Remove repetition first: if three frames show the same idea, keep the one where the light is doing the most work. Then choose an opening image, which should be a single picture that states the subject in one glance, not a busy establishing shot. Choose a closing image that answers, complicates or simply stops.
Between those two bookends, balance. Mixing one large picture with a run of small ones gives the eye a rhythm; six near-identical portraits in a row give it nothing. For a first solo show, land somewhere between 12 and 30 images. More than that and a visitor spends their whole time in front of the wall without ever seeing it twice.
3. Design the Viewing Flow
Sequence is what turns a set of photographs into a body of work. The best test is free: put the images in order on your phone at thumbnail size and swipe through as if you were a stranger.
Where you can, keep a family of images together so the visitor learns a visual grammar before you break it. Put the loudest picture early enough to hold attention, and give the wall somewhere to breathe before the densest section.
Decide the hang style too. A grid suits a consistent format and reads as considered and archival. Salon style gives you more freedom with scale but needs more care with spacing. Whatever you pick, write the floor plan before the prints arrive, because the order on paper and the order on the wall will not match by accident.
4. Prepare the Final Image Set
Lock the crops once, globally, and don’t crop differently for different sizes. Set the working space to a wide-gamut profile for anything going to a pigment printer, keep the files at full resolution, and write down exactly how much retouching you did, because the label medium depends on it.
Use a simple file naming scheme: sequence number, image title, edition number. Something like 07-night-ferry-03of25.tif saves an argument on install day.
Export two sets. One master set, complete and untouched, on at least two drives plus one cloud copy. One print-production set, flattened and sized to the format you chose. Reformatting on install day is how projects get delayed by a day.
5. Choose the Right Print and Display Format
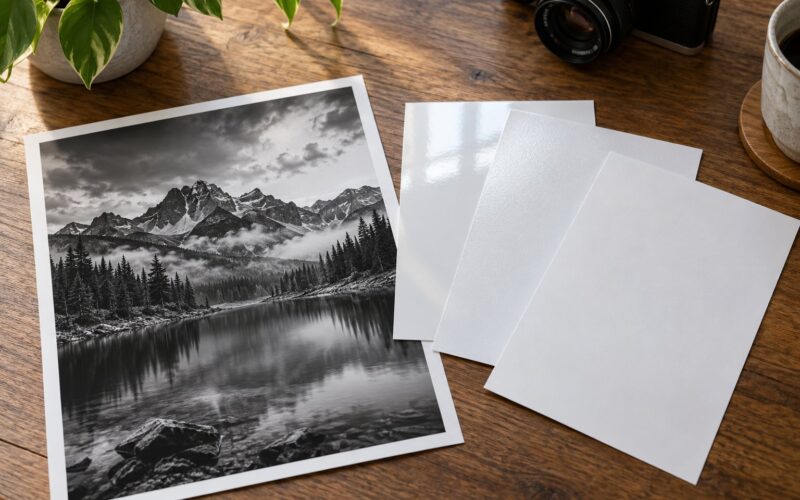
Match the print process to the original. Archival pigment prints suit colour work and most digital files; gelatin silver suits black-and-white negatives and reads beautifully at a distance; chromogenic prints have their own place if you are deliberately working with a lab process.
Match scale to room. A small room cannot carry very large prints without making the visitor feel crowded, and a large room swallows small ones. Decide a size family, such as all images at 20 by 30 inches on 24 by 36 inch sheets, and hold to it across the whole wall. Consistency signals intent.
Framing is a decision about tone. A thin metal frame and a white mat says archival and formal. Di-bonded face-mounted acrylic says contemporary and clean, and it reflects light, so test it on the actual wall under the actual lights. Matting needs acid-free board, and glazing needs UV filtering for anything with pigment in it.
Order one test print in the real size, hang it in the room for a day, then look at it from across the space and from six inches away. Colour, sharpness and depth all read differently at those two distances. Only then order the edition.
6. Build the Installation and Exhibition Plan
Now you have something to hang, so measure the room. Get the wall length, the ceiling height, the distance from the door, and the position of any radiators, sockets or vents that will blow dust onto a print surface.
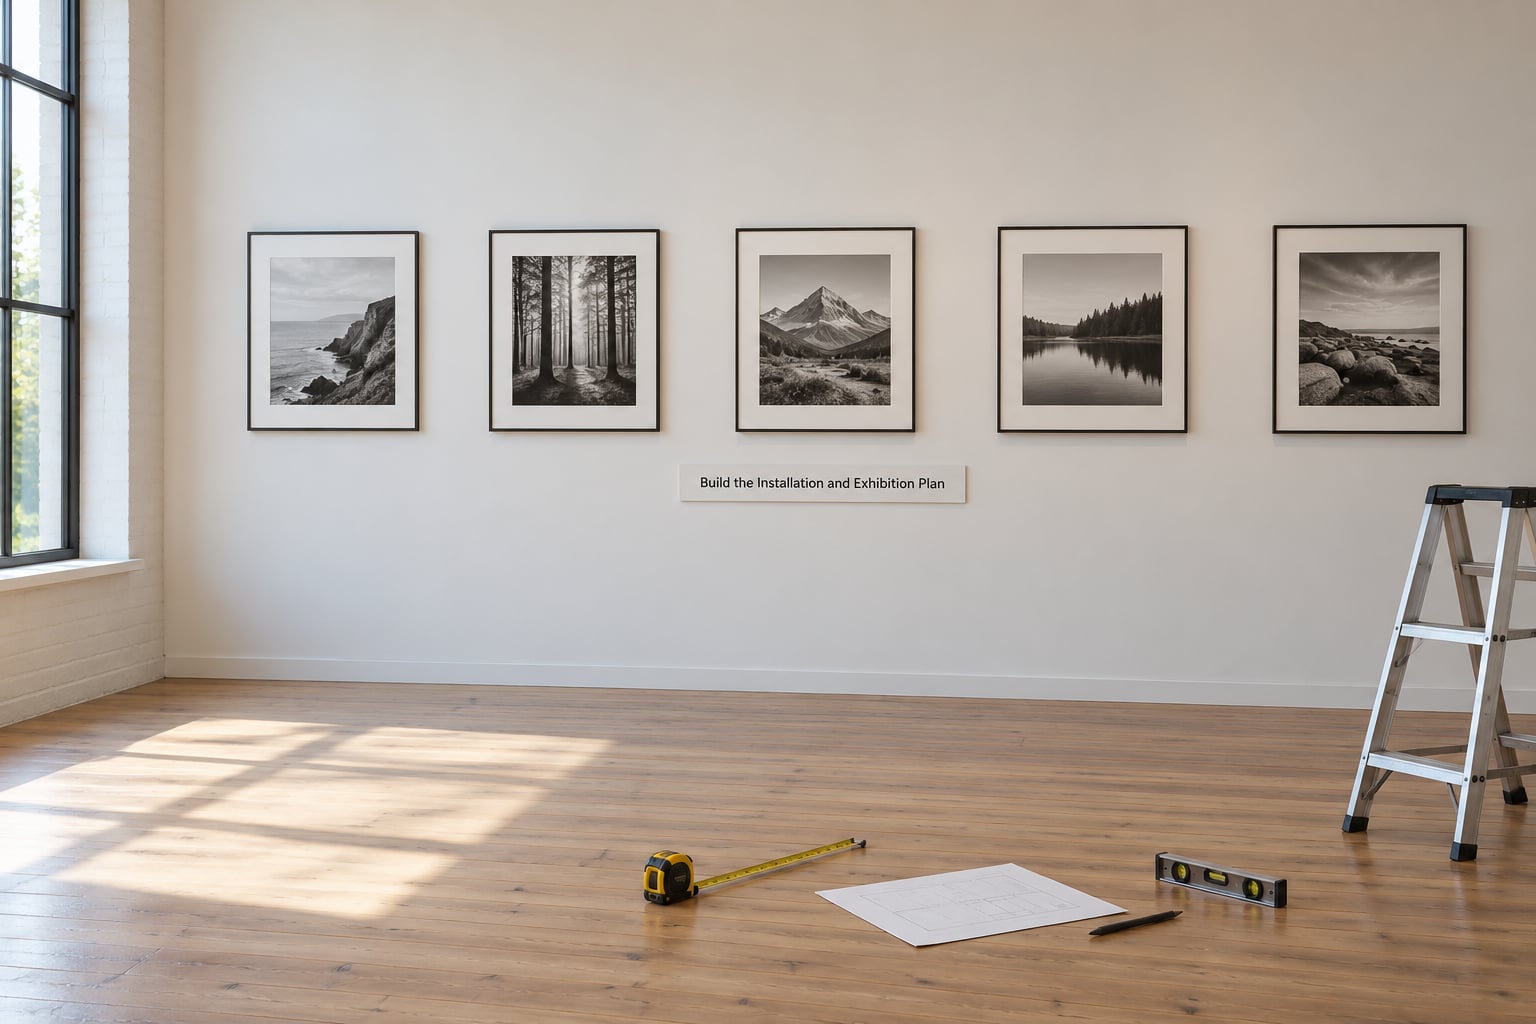
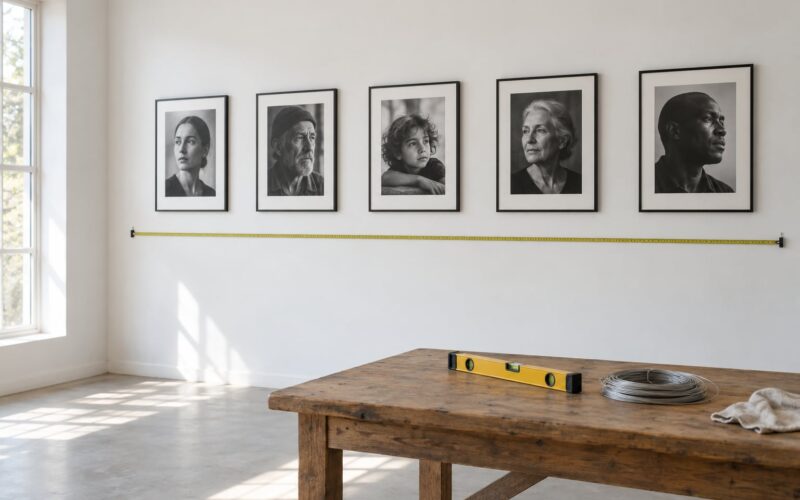
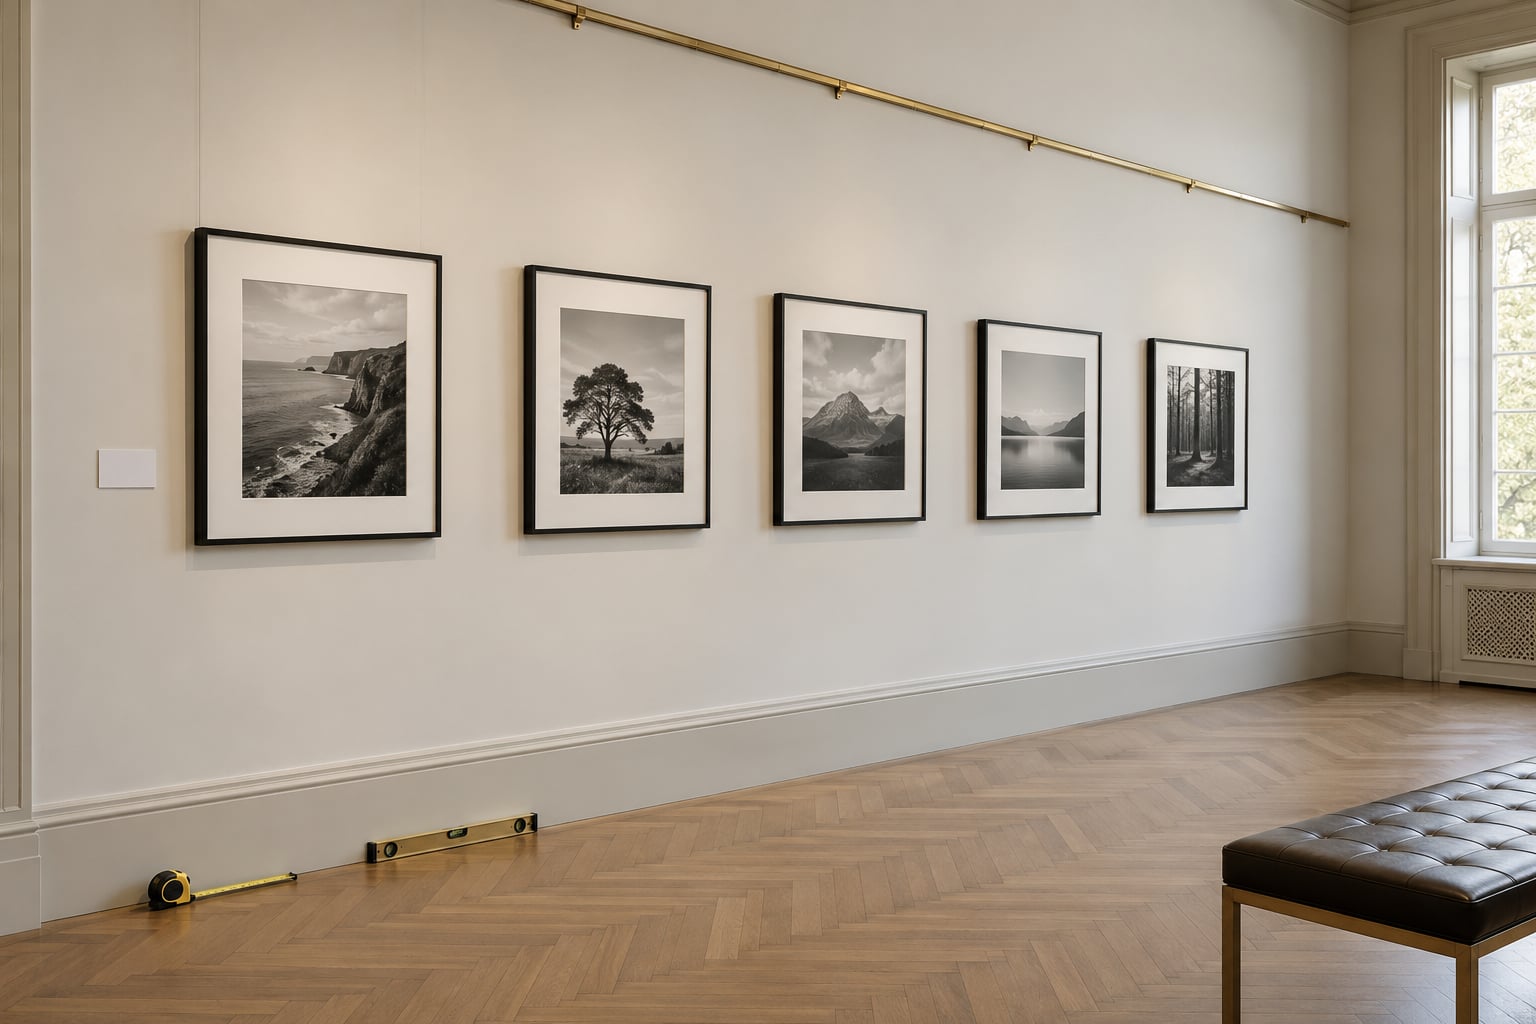
Hang to a centre line of 57 inches (145 cm) from the floor, which is the standard photographers and installers treat as eye level. Space equal-sized prints 5 to 8 cm apart, and give grids 10 to 15 cm gaps so the wall does not collapse into a block.
Place each label to the right of its work, hung level across the room at one consistent height, with text no smaller than 14 pt. A label carries the artist name, title, year, medium, dimensions, and edition number, with a price only where the venue expects prices.
Build the install plan as a floor plan with numbered positions matching the sequence. Add lighting: aim narrow beams at the wall, not the floor, and check for glare on glazing before you commit. Plan the visitor route, keep a clear path for wheelchairs and walking frames, and decide where the title wall and statement text go so the first thing a visitor reads is the argument, not a price list.
Finish with a schedule: transport day, build day, a lighting check the night before, opening, and a deinstall date. Leave a full week after the show closes. Frame returns travel slower than you think.
7. Promote and Open the Show
Promotion is the last piece of how to turn a photo project into a gallery show, and it works best when it starts before the images go up. Build an invite list of everyone who has critiqued the work, sold a print to, taught with, or printed for you, plus local press who cover openings rather than product launches.
Put one strong image and the statement online as the event page, and treat that as your press image. Photography of the show itself, shot square on, evenly lit, with no visitors’ heads in it, is what newspapers and bloggers need.
Send a short email and a social post with the same three facts: title, dates, address, opening time. Keep a printed run of the invitation for the people who never check their inbox, and post the invitation in the venue the week before.
On opening night, keep a list at the door. Write down names, emails and which work someone stopped at, and mark sold pieces with a small sticker rather than taking the piece off the wall. Most shows that sell anything do it in the first hour, and most of that happens to the person who was standing nearest the door.
Here is the reverse timeline that keeps the whole thing on track. Work backwards from the opening and treat the last two weeks as immovable.
- 12 weeks out: edit locked, statement drafted, venue approach sent.
- 10 weeks: venue confirmed, floor plan requested, test print ordered.
- 8 weeks: final edit locked, all prints and frames ordered, labels designed.
- 6 weeks: install plan drawn, prices set, insurance arranged.
- 4 weeks: event page live, press images shot or scheduled, invitations addressed.
- 2 weeks: hardware confirmed, access confirmed, print-production set exported and checked.
- 1 week: transport booked, opening plan final, invite list reviewed for names.
- Install day: hang, label, light, photograph the empty show.
Common Mistakes
Almost every weak first show comes down to one of these eight things, and each has a specific fix.
- Too many photographs. Cut to what survives without the caption. If an image only makes sense when someone explains it, it belongs in the artist book, not the wall.
- Editing for habit. You keep the frame because it took four months, not because it is strong. Fix: run the edit with the dates hidden.
- Choosing the venue first. You then hang a big-format project in a small room. Fix: pick the format before the room, and check the room’s dimensions against your print family.
- No test print. The wall looks wrong and you find out with guests present. Fix: one real-size print on the wall for 24 hours.
- Mixed sizes with no grid. Fix: pick one size family, or commit to a deliberate salon hang with measured gaps instead of accidental ones.
- Weak lighting. Overhead spots flatten every print. Fix: narrow wall-wash lighting, checked the night before with the room lights as they will be set.
- Labels that nobody can read. Fix: 14 pt minimum, one design across the show, placed level and to the right of each work.
- Promotion without a story. A post with no image and no statement gets scrolled past. Fix: publish the image plus the argument plus the dates, and treat photography of the show as content, not documentation.
One last check before the doors open: stand at the entrance, look down the wall, and ask whether you can name the argument in a sentence. If you cannot, the show is not ready, no matter how good the prints are.
Frequently Asked Questions
How many photographs should be in a solo photography exhibition?
Twelve to 30 images is the usual range for a first solo show, and most working photographers land between 16 and 24. Below twelve the wall can feel thin unless the format is very large, and above thirty a visitor rarely sees the whole body of work twice. Split the count into one opening image, two or three short sequences, and a closing image.
What size prints should I exhibit in a gallery?
Pick one size family for the whole wall and match it to the room. A common choice is images printed at 20 by 30 inches on 24 by 36 inch sheets, hung in a loose grid. Small rooms suit 16 by 20 inch work; larger rooms handle 24 by 36 and bigger without crowding. Test one full-size print on the actual wall before ordering the edition.
How much does it cost to put on a photography exhibition?
The honest way to budget is by proportion rather than a single figure. Prints, mats and frames usually take the largest share, often half the total. Promotional printing, labels and hardware add another tenth to a fifth, opening refreshments and printing a similar slice, and insurance, transport and commission take what is left. Reserve a contingency of ten percent for the frame that arrives damaged.
How do I price photography prints for a gallery show?
Price from your costs forward: print, mat, frame, hardware, insurance and commission, then apply a margin for your time. Edition size is the main lever, since an edition of 5 supports a much higher figure per print than an edition of 25. Galleries commonly take 10 to 30 percent, so build that in before you set the number rather than absorbing it later.
Do I need an artist statement for a photo series?
Yes, and it is short. One hundred and fifty to 300 words that say what the photographs are about, what the question or tension is, and why the images belong together. Avoid equipment lists and photography jargon. Write it before you edit, then read it against your final image list to check that the statement describes the show you actually hung.
How do I hang photos at eye level in a gallery?
Hang to a centre line of 57 inches (145 cm) from the floor and let that guide everything else. Space equal-sized prints 5 to 8 cm apart, use 10 to 15 cm gaps in a grid, and place labels to the right of each work at one consistent height. Mark positions on paper with tape before you drill, so you can fix a mistake without a second set of holes.
Conclusion
To turn a photo project into a gallery show, work in this order and the whole thing stays manageable: write the central idea in three sentences, cut the edit to 12 to 30 images with a clear opening and closing, then measure the room before you order a single frame.
Do those three things this week, not next season. The edit is free, the statement is free, and a tape measure costs almost nothing. Everything expensive downstream gets simpler once the wall in your head matches the wall in the room.