To write an artist statement for a photo series, start with one sentence naming the idea the whole set holds together, then describe what you photographed, how you made and sequenced the frames, and why the subject mattered to you. Budget two hours for the first draft and another hour for editing.
What is an artist statement for a photo series? A short first-person account of one specific body of work: what it is, how the images were made and ordered, and why you made them. It gives a viewer or jury panel an entry point into the photographs without explaining them away. Most good ones run 100 to 250 words.
Most people meet your photographs without you standing next to them. A reviewer flipping through a submission folder, a grant panel with forty PDFs, a gallery visitor reading a label on a wall, all of them meet the work alone, and the statement is the only thing telling them what to look at.
That is why a vague statement hurts more than no statement at all. A reader who finishes a paragraph about memory and identity without learning which people, which street, which years, moves on to the next proposal.
What You Need
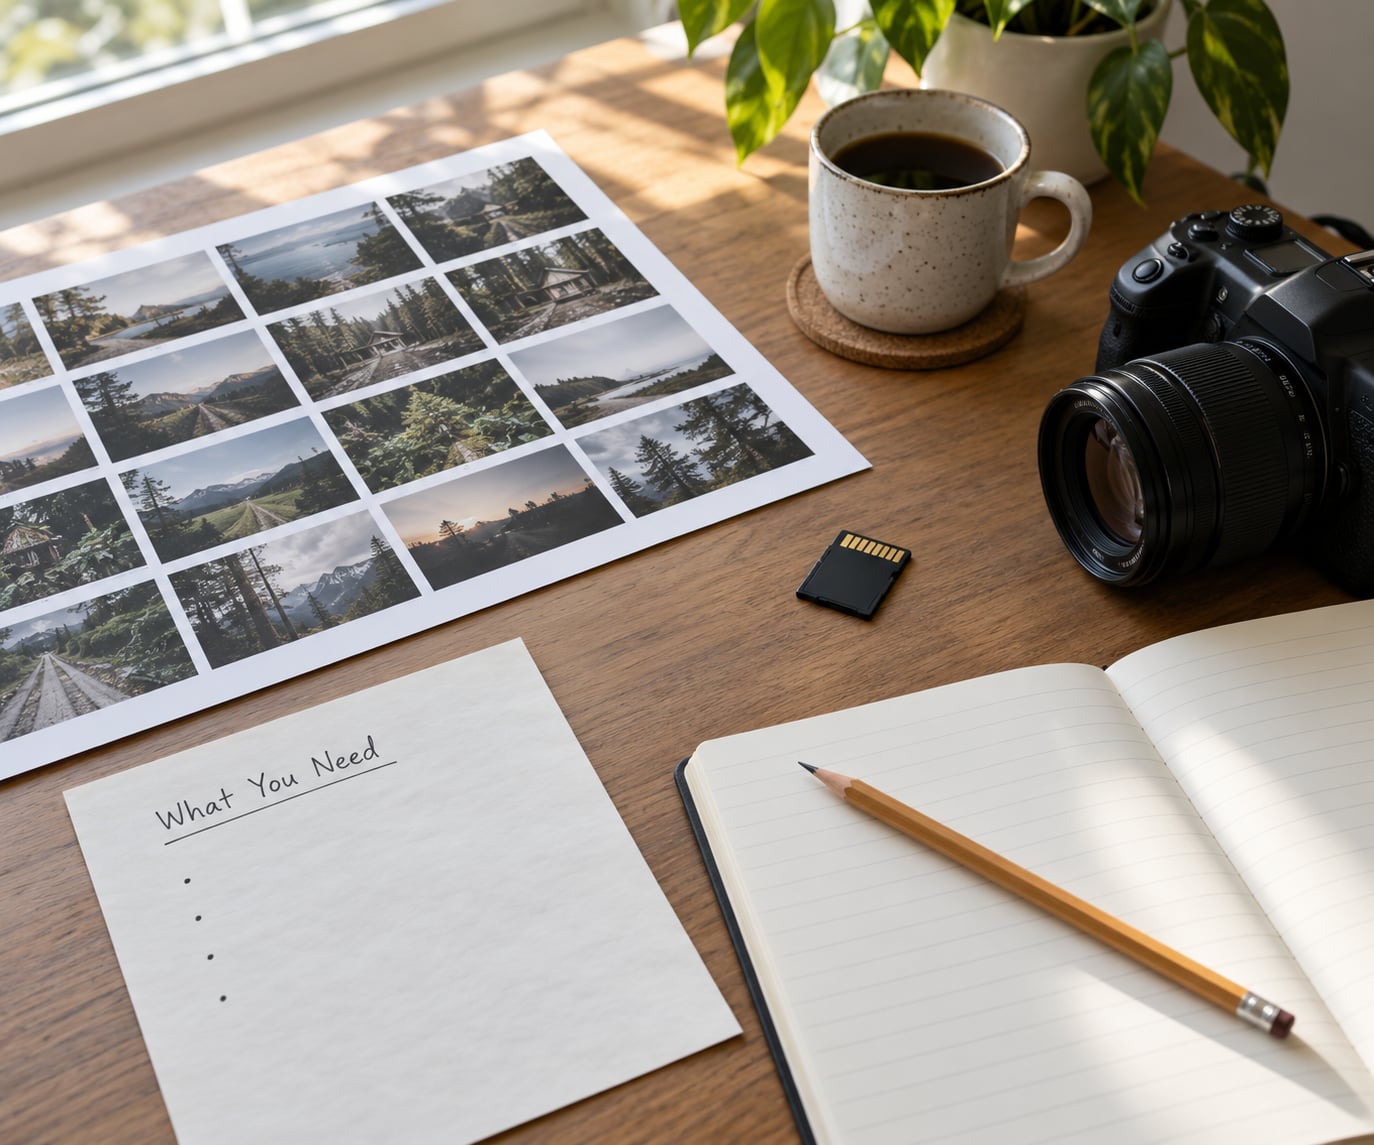
Gather these before you write a word. Drafting from scratch is what makes statements sound invented, because you end up describing the work from memory instead of from the record you already kept.
- The series title, exactly as it appears on your website and your submission.
- One-sentence concept, the question, tension or observation the set keeps returning to.
- The people or places photographed, plus rough dates and a rough count of frames.
- Your visual approach, framing, light, location, timing, whether it is black and white or colour, film or digital, and how you sequenced the edit.
- The reason the project matters to you, one true sentence, not a paragraph of justification.
- Where the statement is going, portfolio, gallery submission, grant application, residency, wall text, photobook, or a social post.
If you shot over two years across four neighbourhoods, note that down. Dates and numbers are what separate a statement from a mood.
Step-by-Step
Seven steps, in this order. Most of the work happens in steps one and two; the rest is trimming.
1. Start with the series’ central idea
Find the one question, tension or observation that connects every photograph in the set. If a photograph cannot be connected to it, it probably belongs to a different series.
Write that idea as a single sentence before you write anything else. A useful test: the sentence should be arguable. “These photographs explore the spaces between public and private life” is a topic. “I kept photographing the same bench at 6am because it is the only place in the city where nobody asks me to perform” is an idea.
People working on portfolio applications report the same thing from the other direction: photographers who write one generalised statement covering all their work end up with vague copy, while a separate statement per cohesive series comes out specific. Decide which series you are actually writing about.
2. Describe what you photographed and why
State the subject in plain terms. Name the people, the location, the years, the situation. Then move from what is visible to why you were there, and stop before you explain what it means.
The distinction matters. “Forty portraits of market traders at work” describes content. “I photographed the same stallholders on the same route for two years, learning their names and their schedules, until the trading day became something I recognised as a form of theatre” describes content and stakes.
A statement is a way in for the viewer. Consensus across photography forums is consistent on this: describe the work in a way that makes people curious to see more, and leave room. If the paragraph explains every image, the images have nothing left to do.
3. Explain your visual approach
Only talk about technique where it supports the concept. Add the decisions a viewer can actually see in the frames, not a full account of your workflow.
For a documentary series, that might be returning to the same three locations, working with available light only, photographing at the hour the market thins out, or refusing to direct anyone. For a constructed series, it might be a fixed camera position, a single lens, an edition size.
Sequencing belongs here. Why does the third image follow the first? An audience that understands the order you chose understands your argument, and that is often more persuasive than any sentence about intent.
4. Connect the personal and the larger context
Give the reason the subject matters to you, then place it inside whatever larger question the series touches: a community concern, a historical moment, a change you have watched happen.
Keep the personal to one or two sentences. The moment you describe your childhood, your therapy or your family history at length, the statement turns into a biography and the photographs take a back seat.
Be honest about what you do not know. A photographer writing about a neighbourhood they photographed from the outside can say so, and that admission usually builds more trust than a claim of authority the pictures do not support.
5. Write in a clear, specific voice
Move in this order: context, then method, then meaning. Three short paragraphs is a comfortable shape, and one page is plenty.
Use first person. Photographers tend to agree that the statement speaks in the first person and the bio speaks in the third, and the split is worth keeping clean. Write concrete nouns, short sentences, and present tense for what you do.
Here is a fill-in-the-blank skeleton you can copy straight into a document:
[Series title] is a body of [number] photographs made [where and when] of [who or what]. I [specific action that shaped the work], which is why the pictures [what that makes visible]. I returned to [place or subject] because [the honest personal reason]. The series is sequenced as [what the order does]. For me the project is a way of looking at [the larger question].
Fill in every bracket before you submit. An unfinished bracket is the clearest sign a statement was written in a hurry.
6. Edit for focus and authenticity
Cut everything that does not advance the series’ purpose. Then read it aloud, because the ear catches inflated phrasing long before the eye does.
Run this checklist:
- Does the first sentence name something specific, or could it belong to any photographer’s portfolio?
- Does every paragraph tell the reader something they could not get from looking at the photographs alone?
- Is there a named person, place, year or number anywhere in it?
- Have I removed adjectives that describe how I feel rather than what the work does?
- Does the last sentence land, or does it trail off into “and I hope you enjoy the work”?
- Would a stranger recognise this statement as mine and not as a template?
Then get two readers who do not shoot. One for grammar, one for meaning. Trust the person who asks “why?” at paragraph two, because that is the paragraph where the argument usually breaks.
7. Tailor the statement to its destination
Keep one core statement and adjust the length and the opening for each place it appears.
- Exhibition wall text: 50 to 80 words. One paragraph, present tense, no process detail.
- Portfolio or gallery submission: 100 to 200 words, alongside the images. This is the default length most people mean.
- Awards and juried calls: follow the stated cap exactly. A 250-word limit means 250 words, not 250 plus a biography.
- Grant and residency applications: often 300 to 500 words, with the context of the work carrying more weight than in a submission.
- Photobook or website: the longest version, 400 to 600 words, where you can discuss process and sequencing properly.
- Social posts: 40 words or fewer. The first line has to work alone.
Revisit the statement whenever the series changes. If you cut the edit from fourteen images to eight, the paragraph about pacing needs a rewrite too.
Common Mistakes
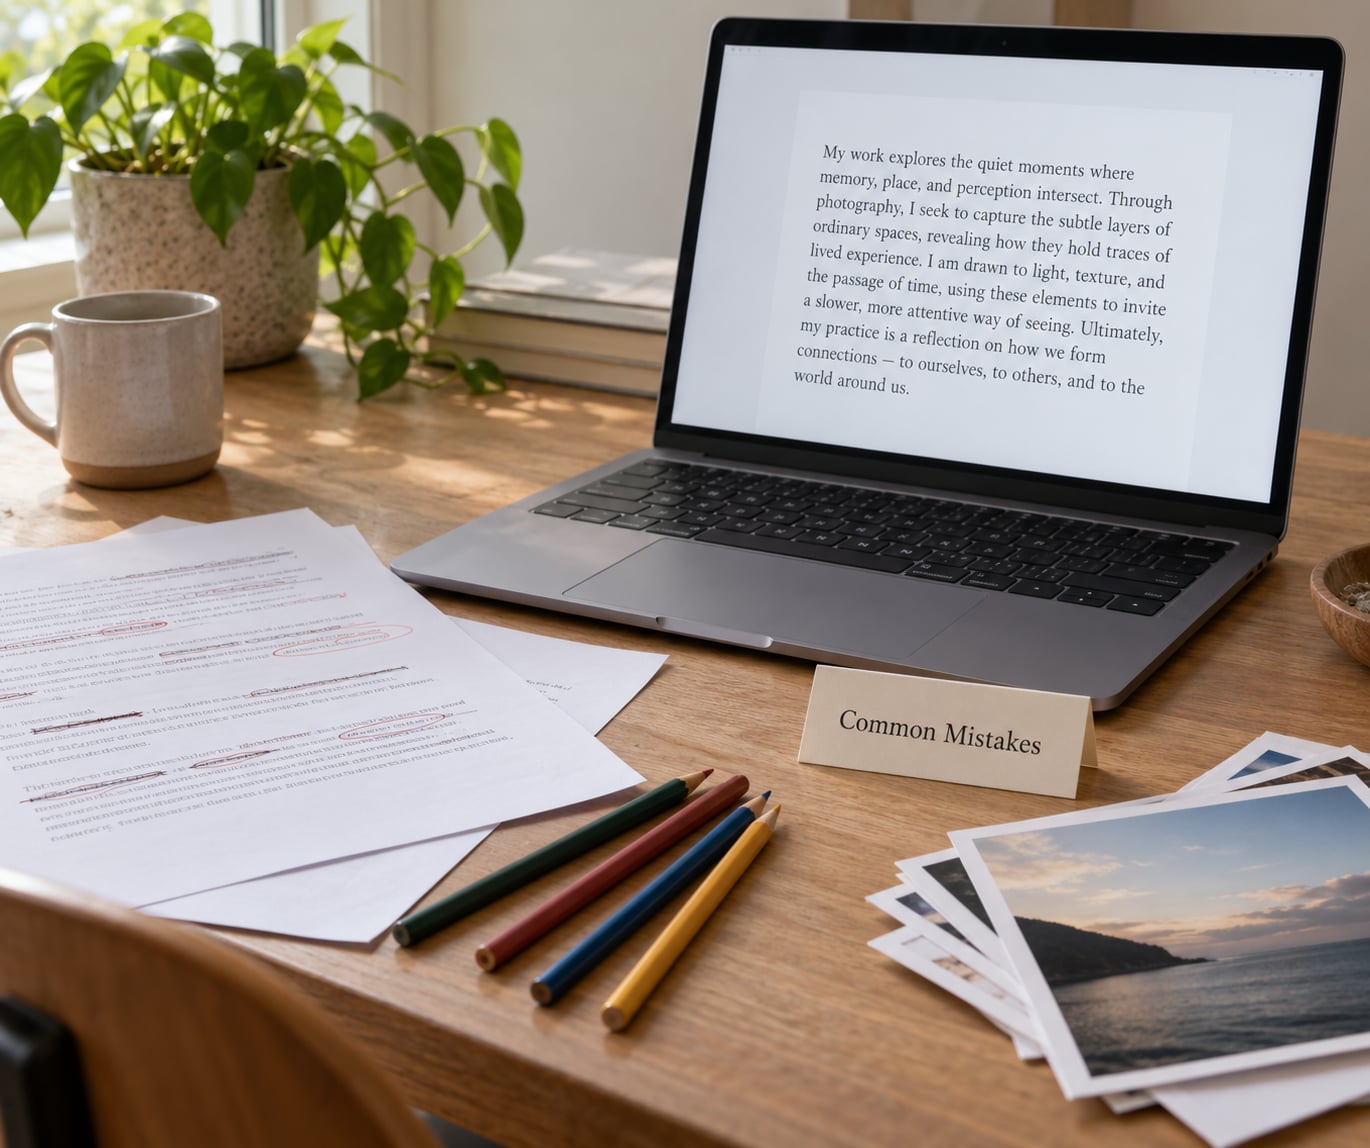
Six failures show up again and again, and each has a straightforward fix.
Opening with abstraction
“Photography has always been a medium of truth and memory” tells the reader nothing about your work. Start with the series itself, in a sentence that includes a place, a person or a timeframe.
Describing every image
Walking through the set frame by frame produces a caption list. Describe the pattern across the photographs and let the viewer do the walking. If a detail matters only in one frame, it belongs in that frame’s caption instead.
Making yourself the subject
Long passages about your process, your equipment or your feelings leave the series with no argument. Your biography has its own text, written in third person, and it does not belong here.
Leaning on art jargon
Words like “liminal,” “mediating,” “post-documentary” and “the sublime” do not make work read as more intelligent. Clarity is not the opposite of intelligence, and most jurors reading forty submissions are not impressed by vocabulary they have to translate.
Overselling
A statement that promises more than the photographs deliver actively damages them. The reviewer arrives expecting a certain kind of image and finds another, and the work loses before it is seen.
Ending without significance
Many drafts simply stop. Close by naming what the series asks of the viewer, or what it is trying to make visible, in one sentence that stays inside the evidence your pictures provide.
A useful trick: after each paragraph, ask whether it would change anyone’s mind if it were deleted. If not, delete it.
Frequently Asked Questions
How long should an artist statement for a photo series be?
For a portfolio or gallery submission, 100 to 200 words is the working default. Exhibition wall text needs 50 to 80 words, grant and residency applications often ask for 300 to 500, and a photobook or website allows 400 to 600. When a call sets a hard cap such as 250 words, treat it as exact. Write one core statement first, then trim or expand it to fit each destination rather than rewriting from scratch.
Should an artist statement be written in first person?
Yes, first person singular is the standard for the statement itself. Use I and describe what you made, how you made it and why. The artist bio is different: that one is written about you, in the third person, and covers exhibitions, teaching and published work. Keeping the two separate means neither document has to do the other’s job.
How do I start my artist statement?
Start with the work, not with you. Open your series folder and write down what keeps appearing across the frames: the same location, the same hour, the same people, the same constraint on how you could shoot. That pattern is usually your central idea in disguise. Draft one sentence from it, and only then decide which three paragraphs support that sentence.
What not to include in an artist statement?
Leave out your CV, exhibition history, awards list, gear details and long personal history. Skip inflated art jargon, claims the images cannot support, descriptions of every single frame, and any sentence that would fit equally well on a different photographer’s website. If a paragraph does not add context the photographs cannot give on their own, cut it.
What makes a good example of a photography artist statement?
A good example names the subject concretely, explains a decision the viewer can see in the frames, and closes by stating what the series is trying to make visible. It stays under 200 words for a submission, uses plain language, and leaves the viewer room to interpret. If the paragraph could be swapped onto any other series without a name change, it is not doing the job.
Conclusion
Open your series folder, write the one sentence that names the idea holding the photographs together, and stop there for today. That sentence is the hardest part; the rest of the statement is context, method and significance built around it, and it takes about an hour more.
Then trim it to fit wherever it needs to go, and rewrite it whenever the edit changes.