Hanging a photo show on a budget is a planning problem, not a gear problem. The photographs decide whether the show works, so your job is to control everything around them: pick a free or nearly free wall, print in standard sizes, mount with the cheapest method that still looks professional, and hang to one measured number. Most first-time exhibitors lose their budget in the frame shop and the gallery’s commission, not in the lab.
The whole process runs about four to eight weeks end to end, and most of that is lead time for printing and venue confirmation. Physical difficulty is low if you plan the wall on paper first. If you remember nothing else, remember this: the center of the middle photograph sits 57 inches from the floor, and every other position on that wall gets measured from there.
Table of Contents
- What You Need
- Step-by-Step
- Common Mistakes
- Frequently Asked Questions
- How much does it cost to hang a small photo show?
- What is the cheapest venue for a photography exhibition?
- How many photographs should a small photo show include?
- Can I hang photographs without damaging the wall?
- How do I light a photo exhibition on a budget?
- Do I need insurance for a small photography show?
- Conclusion
What You Need
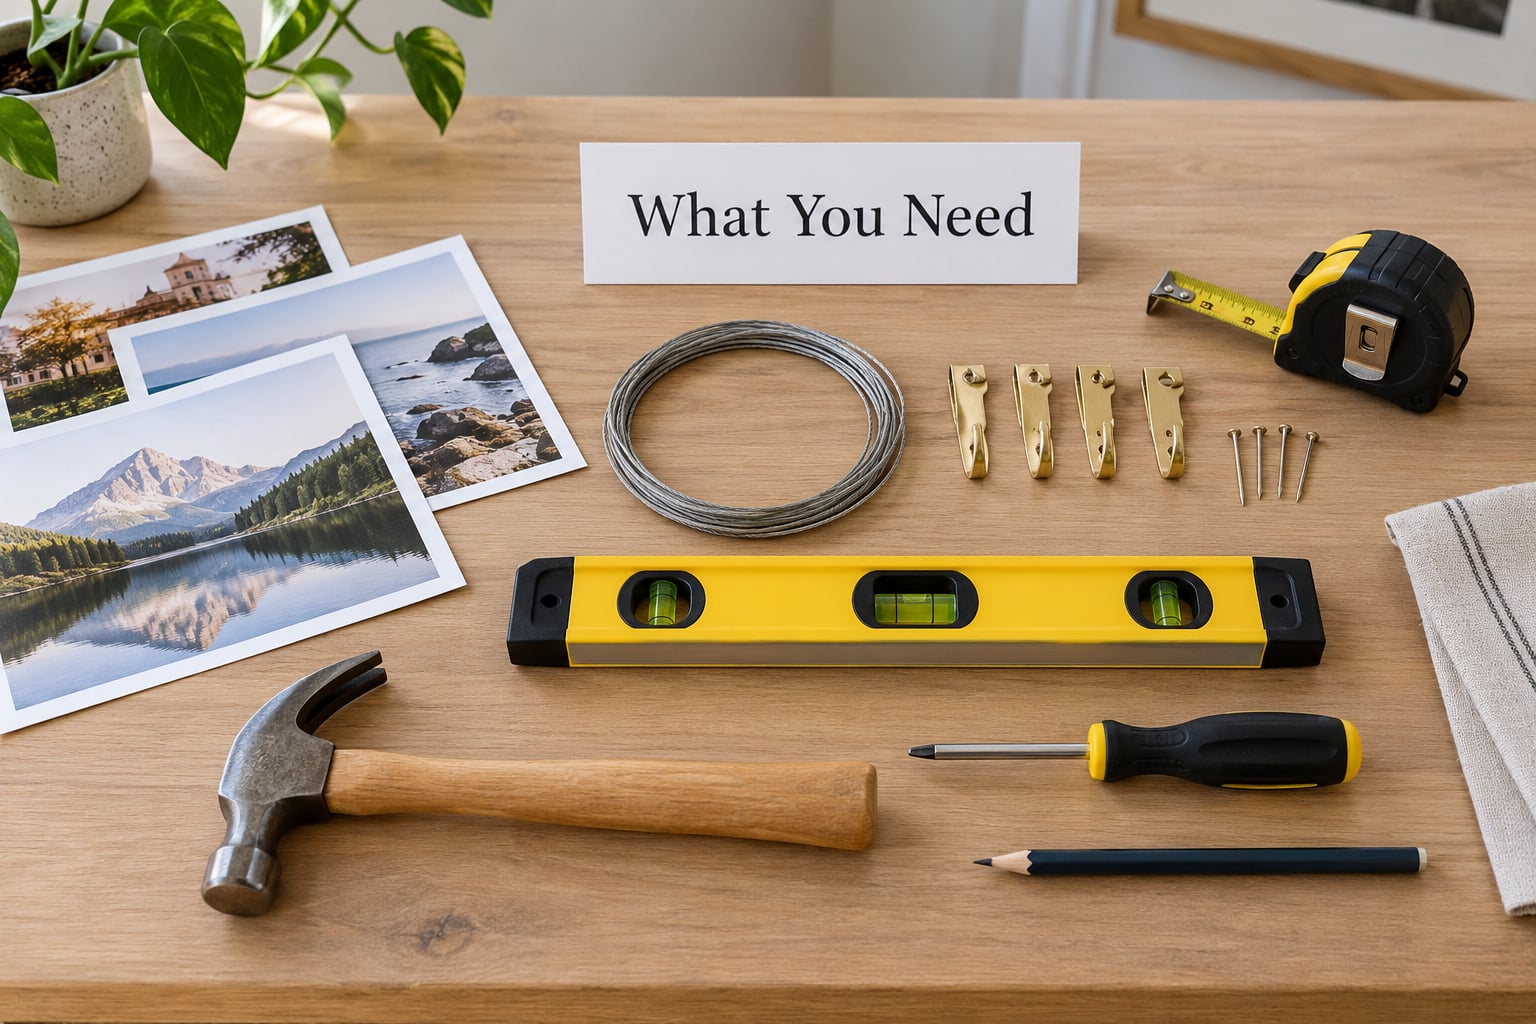
Gather everything before the wall is cleared, because a missing part on hang day means a half-finished row of photographs while people arrive.
- Your prints, plus one spare of each size you are reusing in another venue.
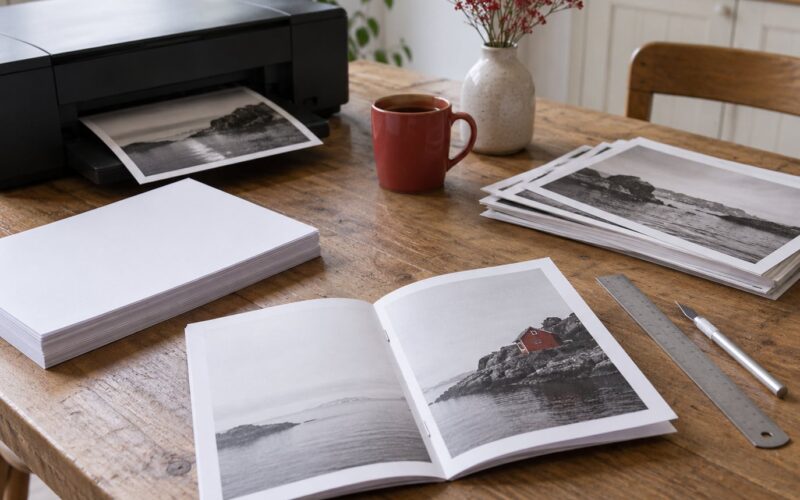
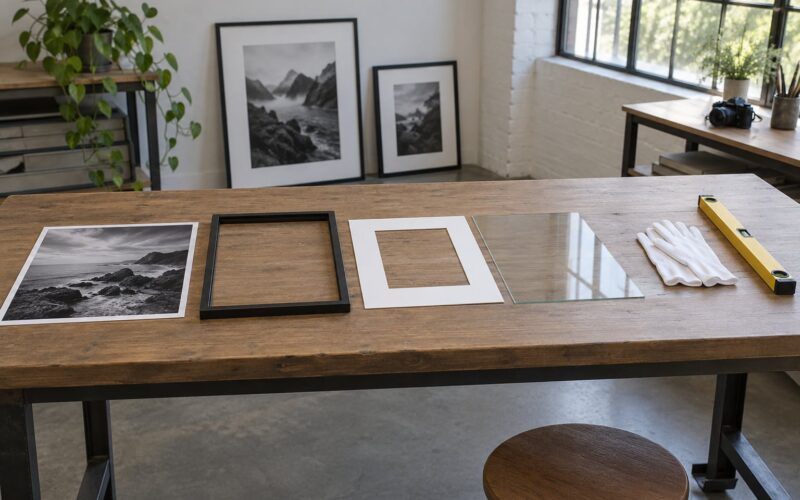
- Mounting materials: archival corner mounts and linen hinging tape for paper, or a rigid foam or dibond backing for anything that will travel. Acid-free mat board and a mat cutter if you are making your own mats.
- Hanging hardware: D-rings and hanging wire for framed work, sawtooth hangers for canvas, pin hooks plus wall anchors for drywall, and removable hanging strips for a damage-free rental wall.
- Measuring tools: a tape measure, a 24-inch level, a pencil, painter’s tape, and a stud finder.
- Lighting: daylight if the room allows it, plus two or three adjustable LED fixtures on clamp or plug-in bases.
- Paperwork: a one-page artist statement, printed labels for each photograph, and a written agreement covering commission, insurance, and removal dates.
- Transport: cardboard corners, a flat portfolio case or foam-padded bin, and a cart if the venue has stairs.
One item most people skip: a small pack of repair supplies. Spare wire, extra hooks, painter’s tape, a folding rule, and a clean cloth will save a show when a frame keyhole is the wrong shape for the hook you brought.
Step-by-Step
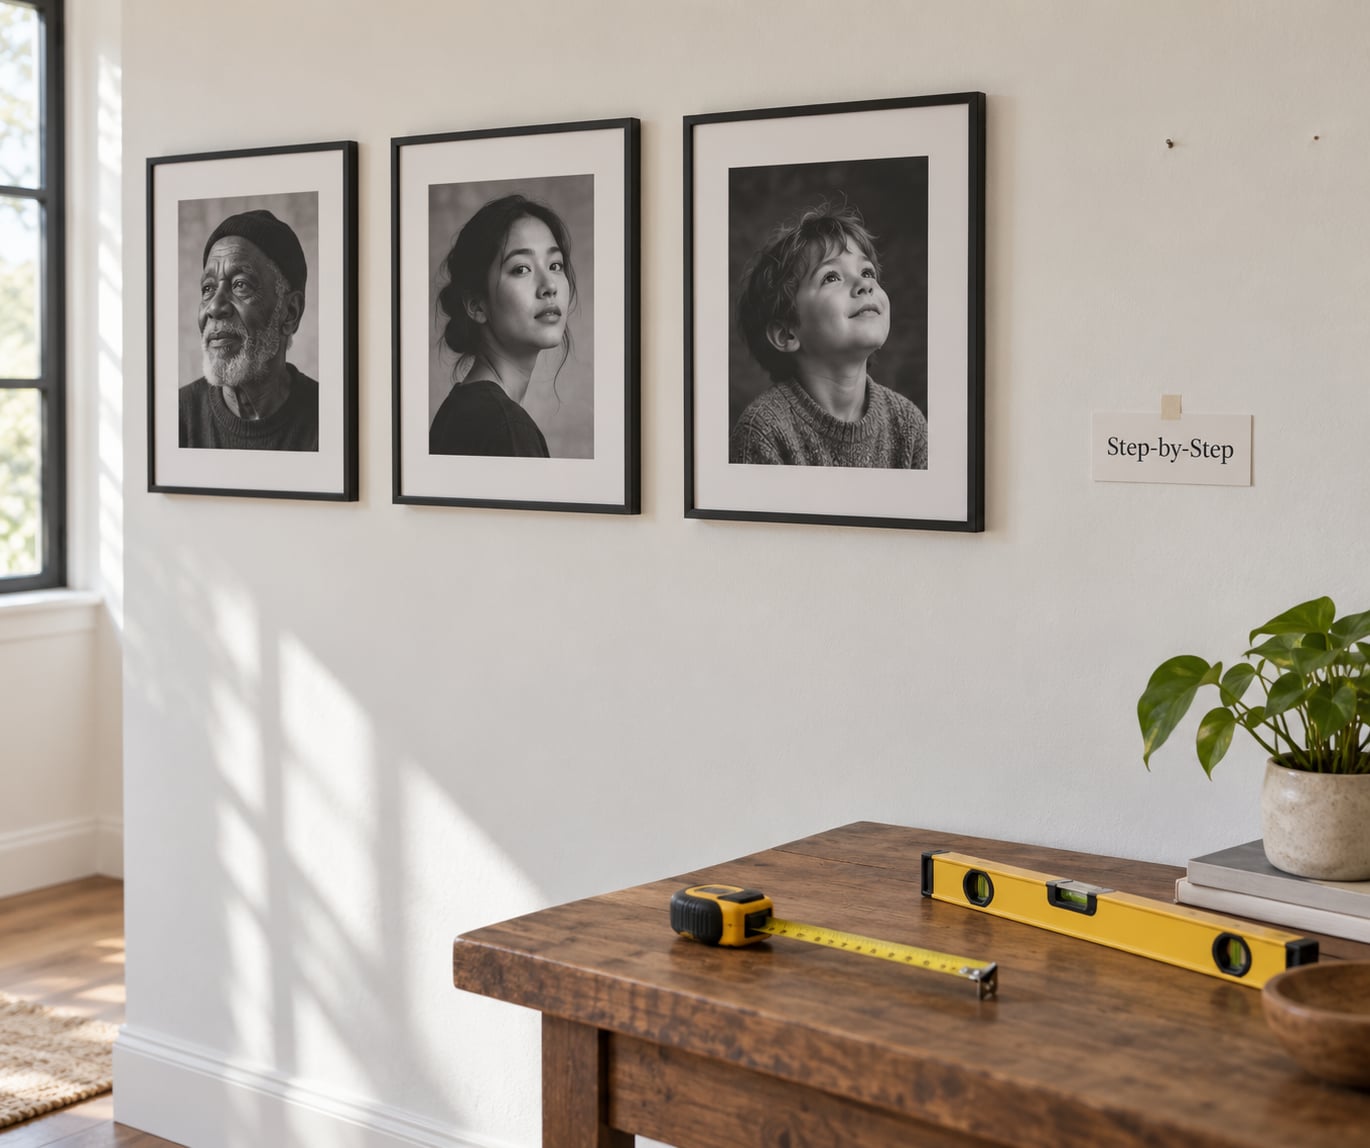
Eight steps, in this order. Moving them around is what turns a cheap show into an expensive one.
1. Define the Show and Set a Limit
Pick one theme with one visual argument, and write it in a single sentence before you look at a single venue. “Twenty-four portraits of night-shift workers, all shot on one street corner” is a theme. “My best work” is not.
Then set a hard ceiling for total spend before anything gets ordered, and split it into prints, mounting, hardware, signage, transport, and a contingency. Framing is usually the line that expands, so put a cap on it rather than letting it grow at the counter. Cheap presentation is not a compromise either. A set of Polaroids framed in a single matching style has been accepted into open calls that cost far more to enter.
Buy nothing until the numbers exist. A budget you wrote down is a budget; a budget you feel is a wish.
2. Choose a Small, Flexible Venue
The cheapest wall is usually not a gallery. A cafe, an independent bookshop, a library community room, a studio open house, or a shared space in a coworking lobby all work, and most of them care about foot traffic rather than your CV.
Before you commit, ask five questions: how long is the run, what percentage goes to the venue if work sells, is the wall paint allowed, who handles sales, and what happens to unsold pieces. Put the commission and the dates in writing before the first photograph is printed.
Watch for the classic red flags: a large registration fee, exclusivity rights over your whole body of work, an insistence that you buy frames from a specific vendor, or a “guaranteed sale” arrangement. A legitimate venue usually asks for commission in the range of 30 percent, sometimes more, and takes nothing at all for a group or non-selling show. A first show should never be a pay-to-exhibit deal.
Group shows are the cheapest way to test your wall: you pay one share of prints and mounting, and you meet other photographers you will want to know later.
3. Select the Photographs and Print Sizes
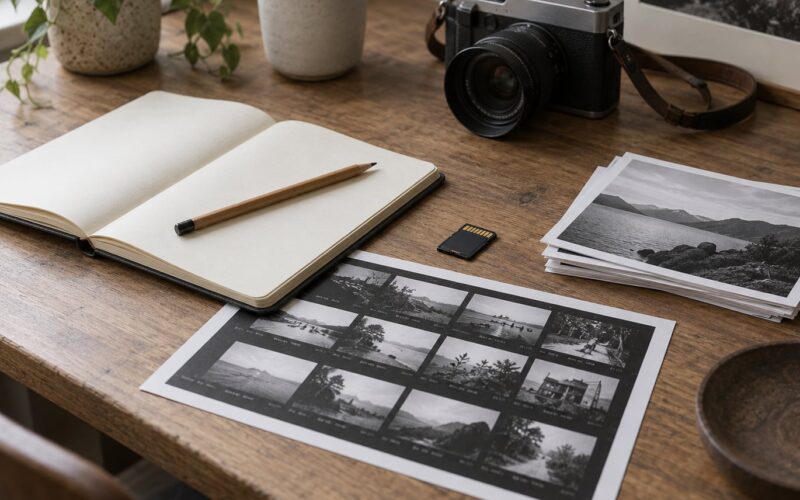
Choose a number you can actually finish. Between twelve and thirty photographs reads as a considered body of work on most walls; fewer can feel thin unless the space is small, and more gets expensive fast.
Standard sizes are the single biggest lever you have. Working in 8×10, 11×14, 16×20, or 20×24 inches means you can walk into a thrift store or a discount frame shop and buy something that fits, instead of paying a framer to cut custom moulding. Custom sizes look perfect and frequently cost several times more.
One deliberate exception is worth it: a single larger print at the entry point gives the eye somewhere to land. Just confirm the wall can hold it before you commit to the size.
Order one test print first and check it under the light the venue will use. Colour shifts between a bright lab profile and a warm cafe at night are common and worth catching before a full run.
4. Prepare the Wall and Installation Plan
Sketch the wall to scale on paper. Mark every door swing, outlet, switch, radiator, window, and anything already mounted, then decide the exact hanging area and write that dimension on the plan. The gap between your estimate and reality is where hang time disappears.
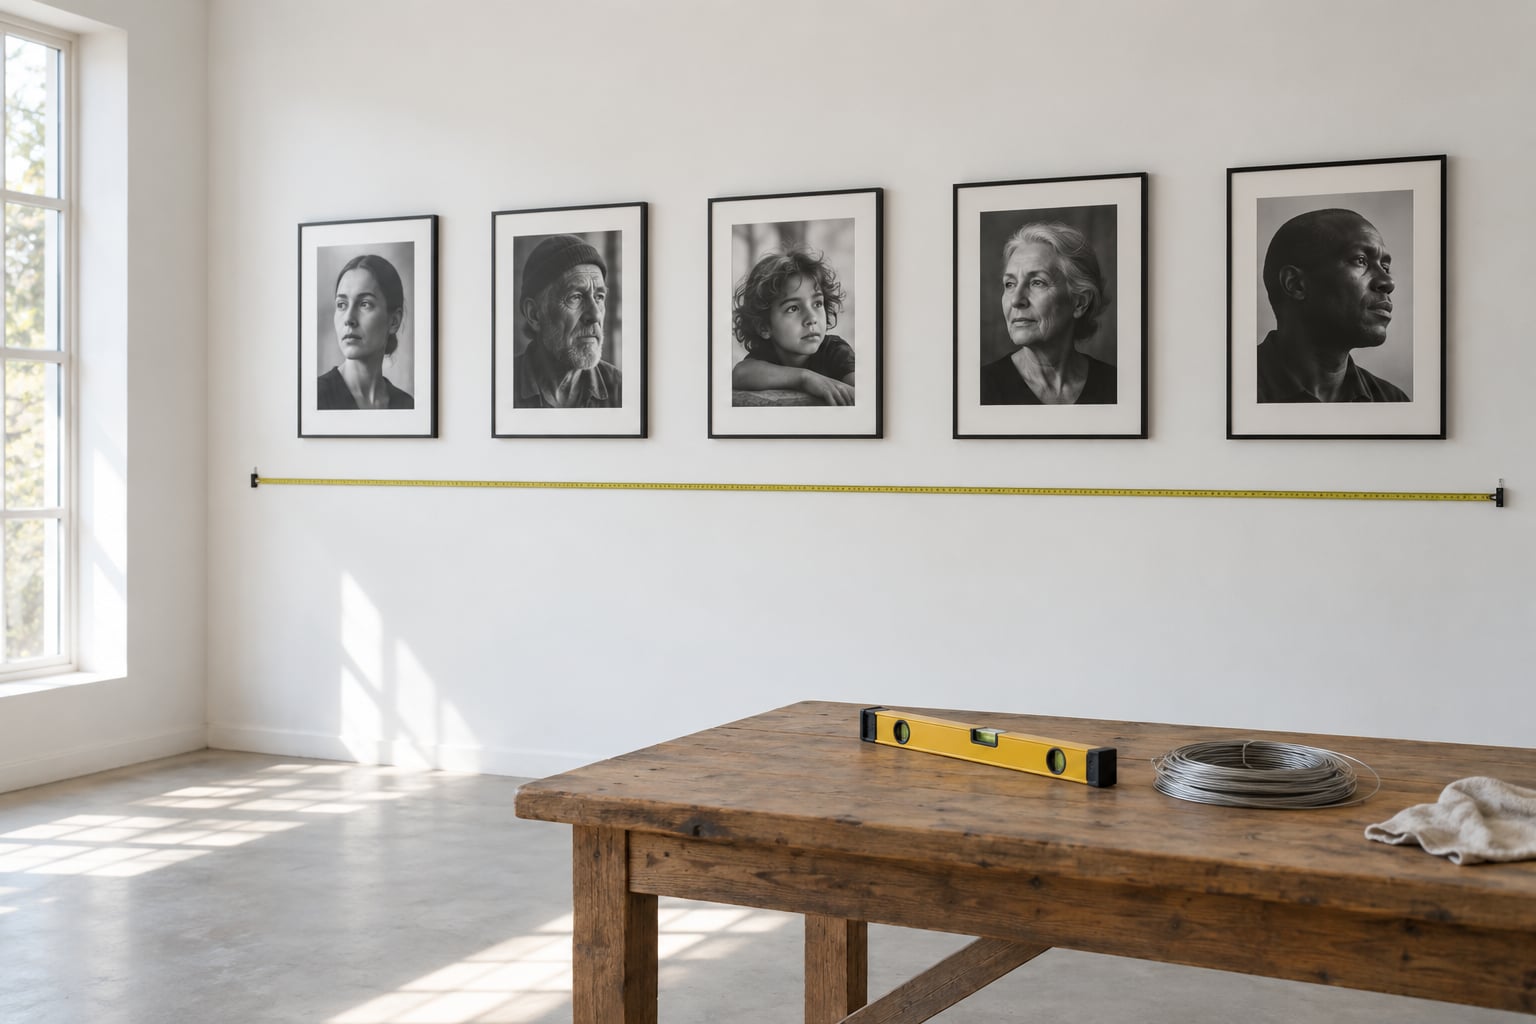
Use the 57-inch rule: the center of the middle photograph goes 57 inches from the finished floor to the nearest wall, measured at the center of the piece, not its top or bottom. Then treat the whole row as one unit and keep consistent spacing between pieces — three to four inches works well for a tight salon-style row, wider for a grid.
The two-thirds rule answers a different question. When you hang above furniture or a sideboard, the gap between the bottom of the art and the top of the furniture should be roughly two-thirds of the distance from the furniture up to the bottom of the work. It makes the furniture and the photographs look like one arrangement instead of two separate things.
Transfer the plan to the wall with painter’s tape. Mark the center point of each piece, level each line before drawing, and only then cut anything.
5. Print, Frame, and Label the Work
For photographs on paper, the cheapest credible presentation is a mat: an archival or acid-free mat cut slightly larger than the print, with an opening about a centimeter narrower than the image on all sides. That uniform border does the visual work of an expensive frame. The second-cheapest option is a flush-mount or float frame, where the print sits directly against the glazing with a visible gap at the sides.
Frame-free options exist for smaller shows and awkward rooms. Archival corner mounts hold a print at four corners with no glazing, and linen hinging tape along the top edge lets it rest against the wall. Dry-mounted or float-mounted prints on foam or dibond travel far better than anything under glass, which matters if the show moves afterwards.
Cut your own mat board with a proper mat cutter and a straight edge. It takes fifteen minutes a mat and looks nearly identical to shop work. Reuse every frame that survives the show — the second show is where the money you saved on the first finally shows up.
Label each piece with the artist name, title, year, and medium on the left or right of that photograph at a consistent height. Add a small wall text panel with your statement. Whether you print prices on the labels is a separate decision: for a first show, discreet bio cards plus a QR code linking to your site tend to start more conversations than a visible price list.
6. Hang the Photographs Safely
Match the hardware to the wall, not to the price. Plaster and drywall need anchors rated above the actual weight of the piece; masonry takes a different fastener again; a stud takes a screw directly. Underestimating this is the one error that damages a rental wall and the deposit that comes with it.
For a rental or borrowed wall, use removable hanging strips rated well above the weight, or hooks designed to leave a clean finish. Confirm with the venue before anything is stuck, taped, or nailed, and photograph the wall before you start so you have a record.
For heavier framed work, hang D-rings with wire, loop the wire over the hook, and pull the frame forward until the two D-rings touch so the frame sits flush. Check that the angle holds under its own weight before you let go.
Work from the center mark outward, level every line, and step back two meters after each piece. Once the row is placed, take a photo of the whole wall before anything is fixed permanently — it makes the next show faster.
7. Add Simple Lighting and Atmosphere
Daylight is the cheapest and usually the best light, provided the venue gives you a wall without harsh direct sun on the work. Keep prints out of direct sun and away from radiators and heaters.
When you need help, adjustable LED fixtures on clamp bases aimed at a 30-degree angle reduce glare far better than cheap overhead bulbs. Test before the opening: a photograph that looks right in daylight can blow out under a badly placed fixture. Keep the room’s ambient light up so you are not showing photographs in a dark room with three bright spots.
Simple things do more than lighting. A folded card on the wall, one plant, or a bench for sitting makes people stay longer, which is worth more to a cafe than the sale of a single print.
8. Promote, Open, and Document the Show
Start six weeks out. Send the venue’s details to local mailing lists, community newsletters, arts councils, and the photography groups you already belong to. Local press responds fastest to a story about a specific place rather than a generic call for entries.
Post one photograph a week rather than everything at once, and include the dates and the street address in the caption so nobody has to dig for them. Print a handful of A5 cards or postcards with a photo, a line of copy, and your contact details.
On opening night, keep the room comfortable rather than crowded, have the labels and statement visible, and bring a small box or wrap for any sold pieces. Photograph the finished wall, the labels, and the venue details the same night. That documentation is your submission record for the next open call and your reference for the next venue you pitch.
Common Mistakes
Underestimating the wall. Measure twice and hang less. A crowded wall looks like an error, and leaving a margin on the right gives the row somewhere to end.
Mixing frame styles. Pick one frame style and one mat colour for the whole show. If your budget only covers a few frames, frame fewer photographs and give them space instead of mismatching.
Printing the wrong sizes. Custom prints cut your frame options to almost nothing. Standard sizes are not a compromise; they are what makes the whole show affordable.
Using weak anchors. A falling frame takes the print with it and leaves damage on someone else’s wall. Match the fastener to the wall type and check the weight rating.
Lighting the room instead of the work. Aim fixtures at the wall at an angle, keep ambient light up, and test the setup before anyone arrives.
Weak signage. Consistent labels and a short statement make a small show look considered. Unlabelled photographs look like a shop display.
Skipping accessibility. Leave a clear path of at least a metre along the wall, keep labels at a readable height, and check that lighting does not wash out contrast. A narrow corridor also makes the show unreadable for visitors using mobility aids.
Forgetting the take-down. Put removal, collection, and unsold-work handling in the written agreement. Loose ends at the end of a run cost more goodwill than the show earned.
Frequently Asked Questions
How much does it cost to hang a small photo show?
For a small show of twelve to twenty photographs, most of the spend is prints, mounting, and hardware. Print costs scale with size and paper choice, so a body of work in standard 8×10 or 11×14 sizes costs a fraction of the same series printed large and framed to order. Café and library shows are often free or free with a small commission, while group shows usually ask only a share of your own costs. Set a ceiling before you commit and keep a ten percent contingency for reprints or a piece that arrives damaged.
What is the cheapest venue for a photography exhibition?
The cheapest options are shared or borrowed spaces: a café or independent bookshop wall, a library community room, a university or art school corridor, a studio open house, or an online or hybrid exhibition. Most ask for nothing more than a commission on sales, sometimes 30 percent. Look for venues that already have foot traffic and a reason to display photographs, and confirm in writing whether you can sell work, what the commission is, and who handles payments.
How many photographs should a small photo show include?
Twelve to thirty photographs is the useful range for a small wall. That is enough to read as a coherent body of work and few enough that prints, mounting, and your hanging time stay manageable. A narrow corridor may hold only eight or ten pieces well, while a main room can carry thirty without looking crowded. Whatever count you choose, keep the spacing consistent and resist filling the last gap simply because the wall is there.
Can I hang photographs without damaging the wall?
Yes. For framed work, use removable hanging strips rated above the piece weight, or hooks that leave a clean finish. For unframed prints on paper, archival corner mounts and linen hinging tape hold without any adhesive on the wall or the print. Remove strips slowly, warm them with a hair dryer if needed, and always ask the venue before you start. Photograph the empty wall before you hang anything so you have a record of its original condition.
How do I light a photo exhibition on a budget?
Start with daylight if the room allows it, keeping prints out of direct sun. To add light, use two or three adjustable LED fixtures on clamp bases, angled about 30 degrees so light does not glare off glazing, and keep general room lighting on so visitors are not staring into a dark room. Test the setup before the opening, because a print that looks right in daylight can blow out under a badly placed fixture. No track lighting or gallery fittings are needed.
Do I need insurance for a small photography show?
It depends on the value of the work and the venue. Many small venues require a certificate from a public liability policy at minimum, and some ask for fine art cover as well. Your home or renters insurance may extend to work displayed temporarily elsewhere, but confirm that in writing rather than assuming it. Add the condition of each piece and its value to the written agreement, and photograph the wall and each photograph at install and take-down.
Conclusion
If you do one thing this week, email two cafés and one library about hanging a small show. Everything else — the prints, the mounting, the hardware, the layout — gets cheaper the moment you have a wall and a written budget to design around.