To shoot portraits with sun flare on purpose, take the lens hood off, point the camera toward the sun, and put your subject between the lens and that light with the sun just outside or on the edge of the frame. Meter for the face, add fill, and shoot a burst while you nudge the camera a few centimetres at a time.
That is the whole trick. Flare is not a filter or an accident you wait for. It is light bouncing around inside your lens, and the moment the sun sits near your frame line, the glass does the rest.
The hard part is not making the flare. It is keeping a face properly exposed while a two-million-candela light source rakes across it, and doing it without the flare landing straight across someone’s eyes. This guide covers both, in the order you would actually work on a shoot.
What You Need
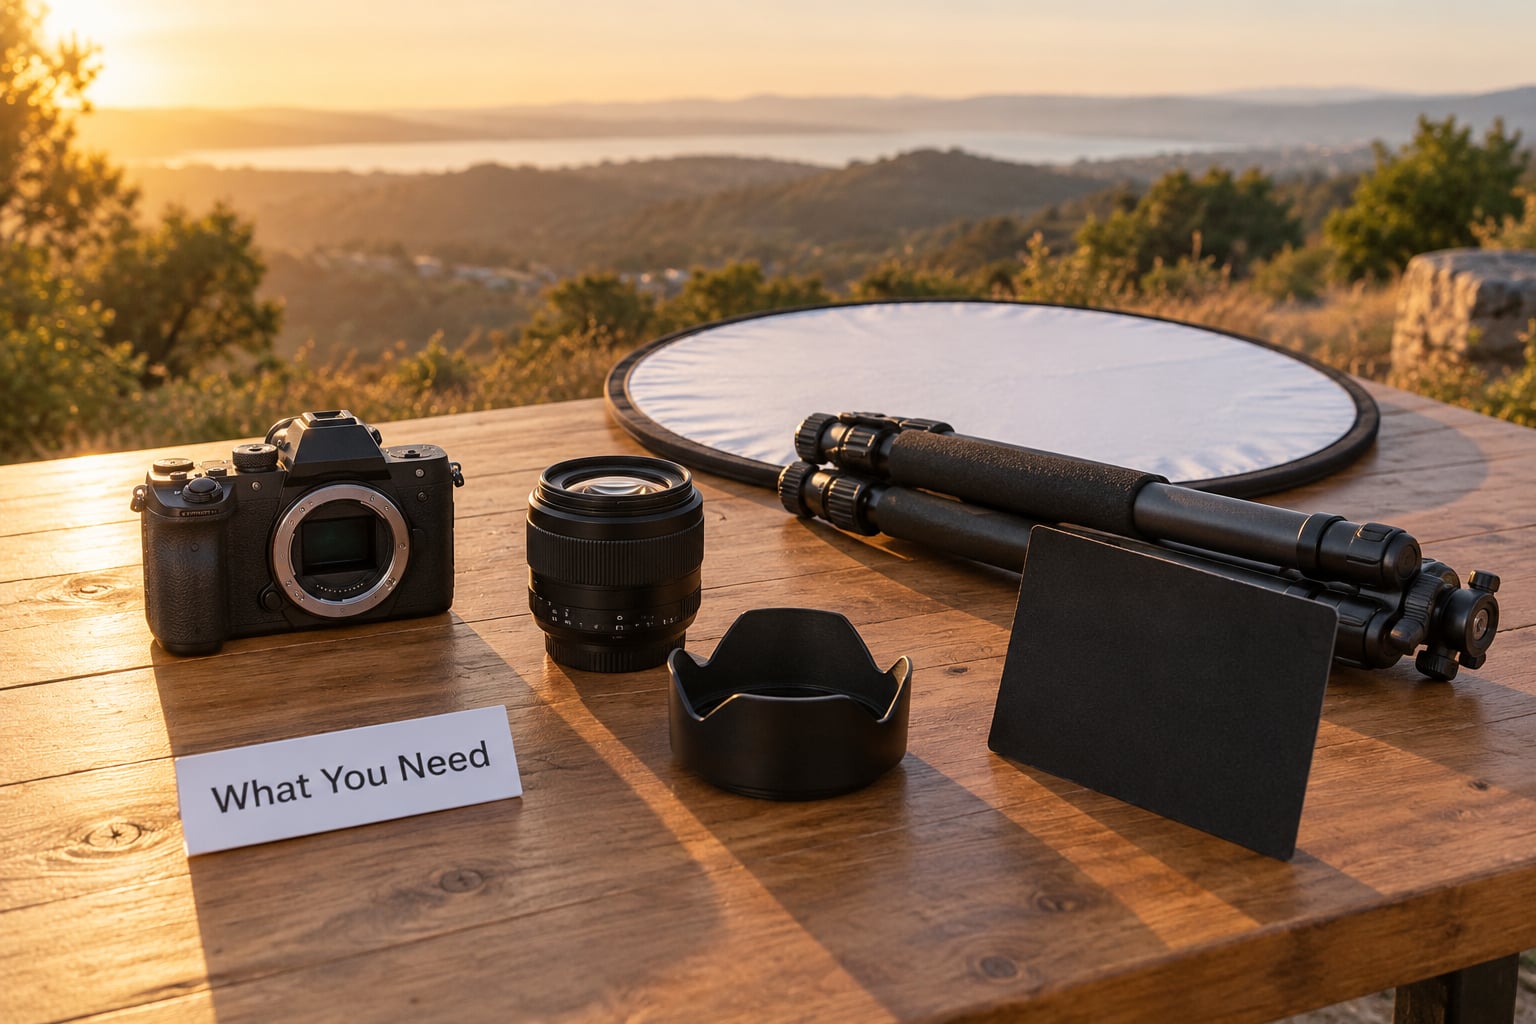
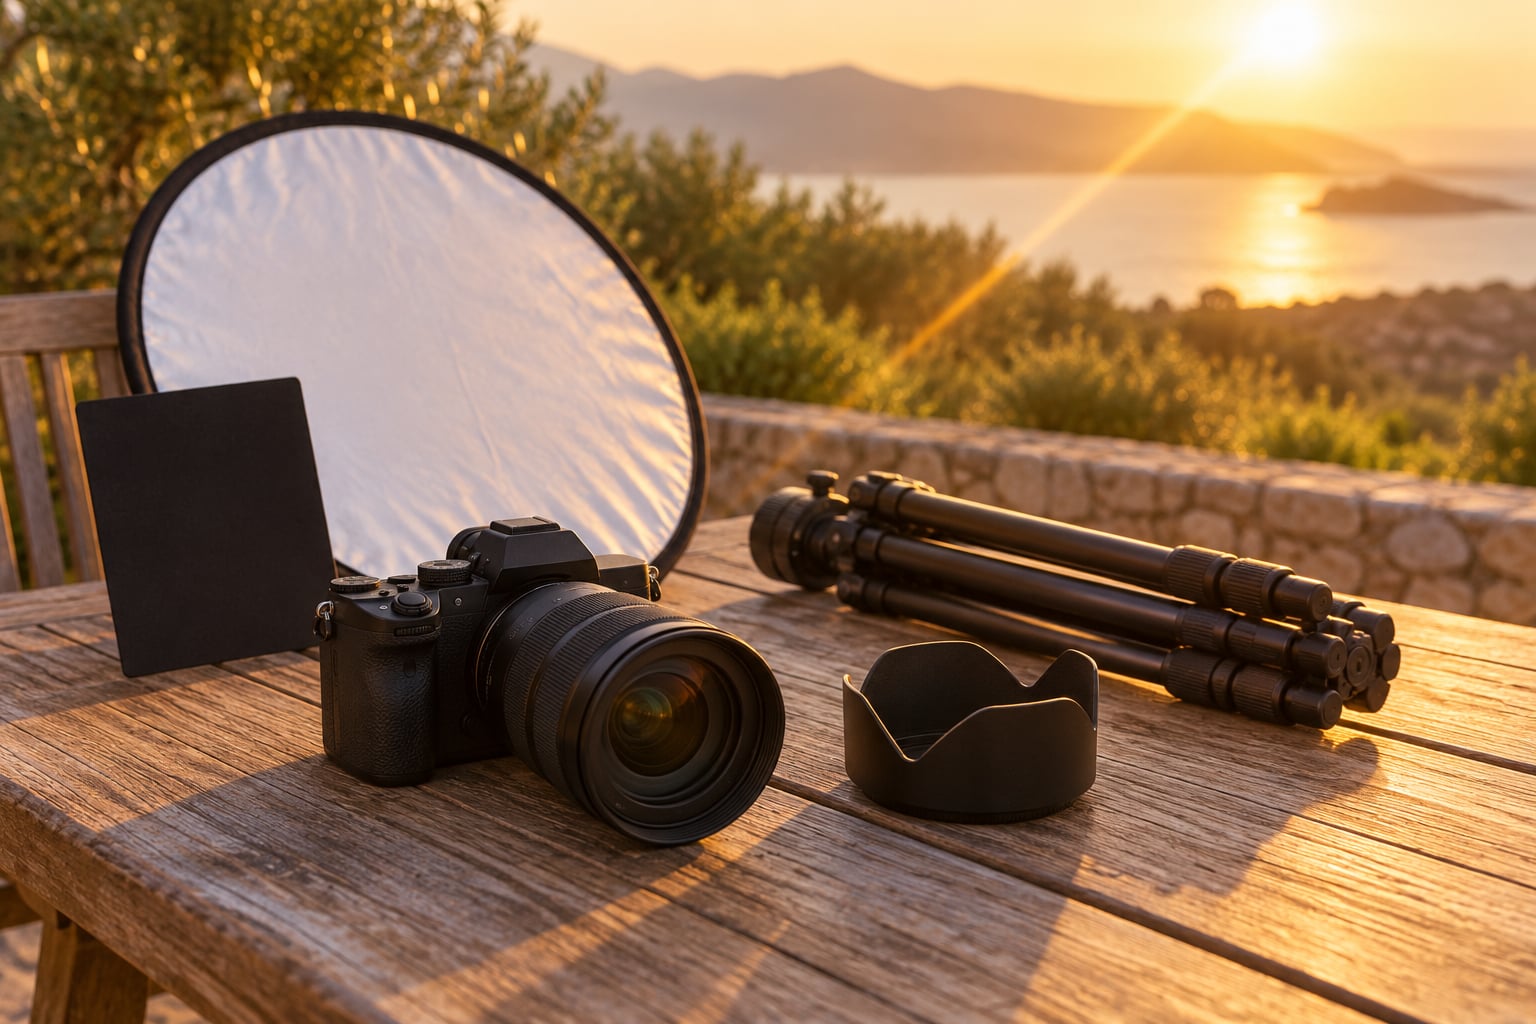
A DSLR or mirrorless body with manual exposure and a rear screen that stays on when you shoot, because you will be tilting the camera into the light constantly.
Any lens with removable filter threads, so the hood comes off entirely. A zoom gives you room to reframe without walking; a fast prime gives you a bigger, softer glow. Both work, and the difference matters less than people argue.
Support so you can shoot a burst without the camera shifting. A tripod helps, but at golden hour the light moves fast, so a beanbag or a steady elbow is often faster than locking down.
A reflector or a small speedlight as fill. Backlit skin falls roughly three to five stops darker than the sky, and without fill you are choosing between a silhouette and a face you cannot read.
A flag, a jacket, or even your own shadow for shading. This is the tool most beginners skip, and it is the one that saves a session when the flare is too hot.
One safety note before you start. Shooting into the sun with the hood removed is fine, but never look through the viewfinder with a bare optical finder at the sun. Use live view or an electronic viewfinder. If your camera only has optical, keep the eye cup pressed to the glass and watch the live-view screen instead.
Step-by-Step
This is the sequence for how to shoot portraits with sun flare on purpose without gambling on a single frame.
1. Plan the Sun’s Position
Use a compass app to find the sun’s azimuth, then note the time you want to be shooting. For portraits the sun sits low, roughly 15 to 45 degrees above the horizon, and you position yourself facing into it.
Arrive 30 minutes early and watch where the shadows fall. The background you get is decided by what is behind your subject, so pick a spot with something a few metres back that will blow out to a clean bright field.
You know the plan is right when you can turn and the light comes from slightly behind your shoulder toward the camera.
2. Position the Subject Relative to the Sun
There are three useful arrangements, and each gives a different picture.
Sun directly behind the subject, just outside the frame. You get rim light on hair and shoulders, a glow around the outline, and a face you must fill. This is the safest and most flattering version.
Sun just outside the frame edge on one side. The flare enters at an angle, so you get streaks and defined shapes rather than an even haze. This is where the cinematic look usually comes from.
Sun inside the frame. You get the sun itself plus a starburst, and you should expect the background to disappear completely. It looks dramatic and it hides every other flaw in the scene.
Ask your subject to turn about 30 degrees away from the sun so the light wraps the cheek instead of flattening the whole face. Check the frame edge constantly, because the sun creeps several degrees every ten minutes.
3. Choose the Right Lens and Framing
Focal length changes the size of the flare, not just the distance to your subject. A wide lens magnifies the flare into a big soft wash and exaggerates the stretch at the frame edges. A 70 to 200 mm compresses everything and gives you a tight, bright core with small, sharp ghosts.
It also changes how far you stand, and standing further back keeps the sun from being buried behind your subject’s head.
4. Set Exposure for the Face
Switch to spot metering and put the meter circle on the brightest part of the cheek. The sky and the sun will blow out completely, and that is fine. A blown sky behind a correct face looks like a photograph. A correct sky with a black face looks like a mistake.
Start at f/2 to f/2.8 with the shutter around 1/500 s and ISO 100, then check the histogram. If the highlights on the forehead are clipping, dial in negative exposure compensation until they sit just under the red line.
Now the fill. Hold a white reflector just below the chin and take a test frame, or fire a speedlight at about -2 stops into the shadow side if the reflector is not enough. You are aiming for a ratio of roughly two stops between the lit and shadow side of the face, which reads as natural daylight rather than a flash photograph.
Check the result on the rear screen at full brightness, not the viewfinder, and zoom in on the skin. Detail in the forehead is the whole game.
Which aperture you pick decides the character of the flare as much as the distance does.
- f/1.4 to f/2.8 gives a large soft wash, low contrast and hazy blacks. Warm editorial portraits, and forgiving of imperfect light.
- f/4 to f/5.6 gives defined ghosts and short streaks, which is where you want the flare to stay out of the subject’s eyes.
- f/8 to f/11 builds a visible sunstar from the aperture blades, suited to beach and open landscape frames with space.
- f/13 to f/16 throws long spikes from the diaphragm with heavy veiling, for graphic frames where the sun sits well clear of the subject.
5. Create and Control the Flare
With the hood off, the flare only appears when light from the sun enters the front element and reflects between internal glass groups. Rotate the camera a few millimetres and watch the viewfinder. The flare will snap into view as a hard-edged blob, then soften as you keep moving.
Start a little off-axis and walk toward the sun in small steps. If the flare gets too strong, let the subject or a tree branch cut the sun for a moment, which drops the brightness in a way you can control precisely. Photographers on photography forums describe exactly this rocking motion as the part that makes flare predictable instead of luck.
Use the flag or your own shadow when the light spills across the face, and keep the sun about a fist-width outside the frame edge. That position gives you a strong flare with a clean subject.
6. Focus on the Eyes and Capture a Sequence
Focus on the near eye. If the light is very bright, switch to live view and tap the eye, since the autofocus may hunt badly against a blown-out background. Stop down to f/2.8 or more if both eyes need to be sharp on a wide lens.
Then shoot bursts while making small adjustments. Flare changes with every centimetre you move, so the frame that looked perfect a moment ago may be gone. Ten or fifteen frames at slightly different flare strengths costs nothing and gives you real options.
Keep your shutter fast enough to freeze movement. At f/2 and ISO 100 outdoors, 1/500 s is a reasonable baseline; drop to 1/250 s only if the light is going soft and you need the extra stop.
7. Review and Refine the Flare in Editing
Pull highlights down first, gently. Veiling flare lifts the blacks and drops contrast across the whole frame, so after the highlights, drop the black point slightly and add a small amount of dehaze or clarity.
Warm the white balance by a few hundred kelvin. Flare frames usually arrive cool from the camera meter because it is reading the bright sky, and a touch of warmth puts the glow back.
If a ghost sits over the subject, clone it out with a soft brush at low opacity rather than a heavy spot removal, which leaves a visible circle. Keep one flare frame in the edit where you can see the effect, and deliver the cleanest one as the primary frame.
Common Mistakes
The face is blown out or too dark. You metered off the sky. Spot meter the cheek and dial in negative exposure compensation until the skin sits below clipping, then add fill.
The flare covers the eyes. Move the sun further from the subject’s head, or stop down to f/4 to shrink the glow. Angle matters more than aperture here.
The ghosts are ugly polygons. The aperture blades are forming the shape. Close the aperture, or rotate the camera slightly so the ghosts move off the face. Fewer aperture blades give rounder ghosts.
Everything looks washed out. That is veiling flare lifting the shadows. Recover the blacks in editing, and use a hood or flag during part of the sequence.
The eyes are soft. Autofocus struggled against the bright background, or you shot too close on a wide lens. Use live view eye focus and f/2.8 or narrower.
Every frame looks different. Expected. You are shooting a moving effect. Take the burst, and if the client needs consistency, capture one clean backlit frame as insurance.
It looks fake because you added it later. Flare that fades in the wrong direction, or sits at a fixed spot over every frame, reads as an overlay. Adding it in-camera with a phone flashlight aimed through a glass or a bottle, or a small strobe behind the subject, produces the same physics and looks real.
And know when to skip flare entirely. Product shots, architecture, technical documentation and clinical work all need clean light and even contrast. Flare is a deliberate choice for portraits, and it is the wrong choice when the picture has to communicate something precise.
Tips for a Natural Sun-Flared Portrait
Scout the location first and pick your spot by where the sun lands, not by how the background looks in the middle of the afternoon. Ten minutes of walking around saves twenty minutes of failed setups.
Ask for clothing with some contrast against the background, or a hat, since backlight turns a dark shirt into a shape. Hair catches rim light beautifully when it is loose and backlit.
Watch the background for competing bright spots. Flare reads as part of the scene until a second light source appears, and then the eye sees two suns.
Give the subject something to do rather than standing them still. A turn, a laugh, walking toward the light, all of it produces better frames than a held pose because you are shooting through movement.
Decide on one dramatic flare or a subtle glow, not both in the same set. A single frame with strong flare among clean ones looks like a mistake. A set with a consistent light warmth and one flare frame looks like a decision.
On the question that comes up constantly in critique threads, flare is not bad or good. It is a choice, and it works when the face is exposed and the placement is deliberate. If someone sees it as an accident, that tells you the placement was lazy, not that the effect is wrong.
Frequently Asked Questions
How do I get sun flare in photos?
Remove the lens hood, place the sun just outside or on the edge of your frame, and shoot toward it. Use live view rather than an optical finder. A wide aperture such as f/2 gives a soft wash, while f/8 to f/11 gives a defined sunstar. Shoot a burst and nudge the camera a few centimetres at a time to control how much light enters the lens.
Why does my lens flare look like a hexagon?
The ghost shapes come from the shape of your aperture blades. Each internal reflection is dimmed by the iris opening, so a nine-blade iris produces polygonal ghosts and an older lens with fewer blades gives rounder ones. Stopping down sharpens the shape. Rotating the camera slightly moves the ghost away from where you do not want it.
How do I keep the face exposed when shooting into the sun?
Spot meter on the brightest part of the cheek and let the sky clip. Dial in negative exposure compensation until the skin sits just below the clipping point on the histogram. Then add fill with a white reflector held below the chin, or a speedlight at roughly -2 stops on the shadow side of the face.
Should you use flash for outdoor portraits?
Yes, as fill rather than as the main light. Shooting into a low sun can leave the face three to five stops below the background, which is too much contrast for natural-looking skin. A reflector handles one to two stops of lift, and a dialed-down speedlight covers the rest. Keep the flash well behind or beside the subject so it never shows in the flare.
Do I need a lens hood to shoot toward the sun?
Not if flare is what you want. The hood is there to block stray light, and a flare-free technique depends on it staying off. Most flares come in at a shallow angle, so if you need a little light control, hold a flag or your own shadow beside the lens instead of refitting the hood.
Is lens flare realistic when you add it in editing?
It can be, but the physics has to hold together. Light added as an overlay tends to sit in one fixed spot on every frame and fade in a direction that does not match the movement, which is what makes it read as fake. Lower the opacity, place the light source just outside the frame edge, and warm the frame a little so it matches the light in the rest of the shot.
Start with the simplest version: hood off, sun just outside the frame, spot meter on the cheek, reflector under the chin, and a burst as you move around. Once that lands reliably, add the shadow work and the sunstar settings. Nothing above depends on a particular camera or a particular lens, which is the point: the flare comes from the light and the angle, not from the gear.