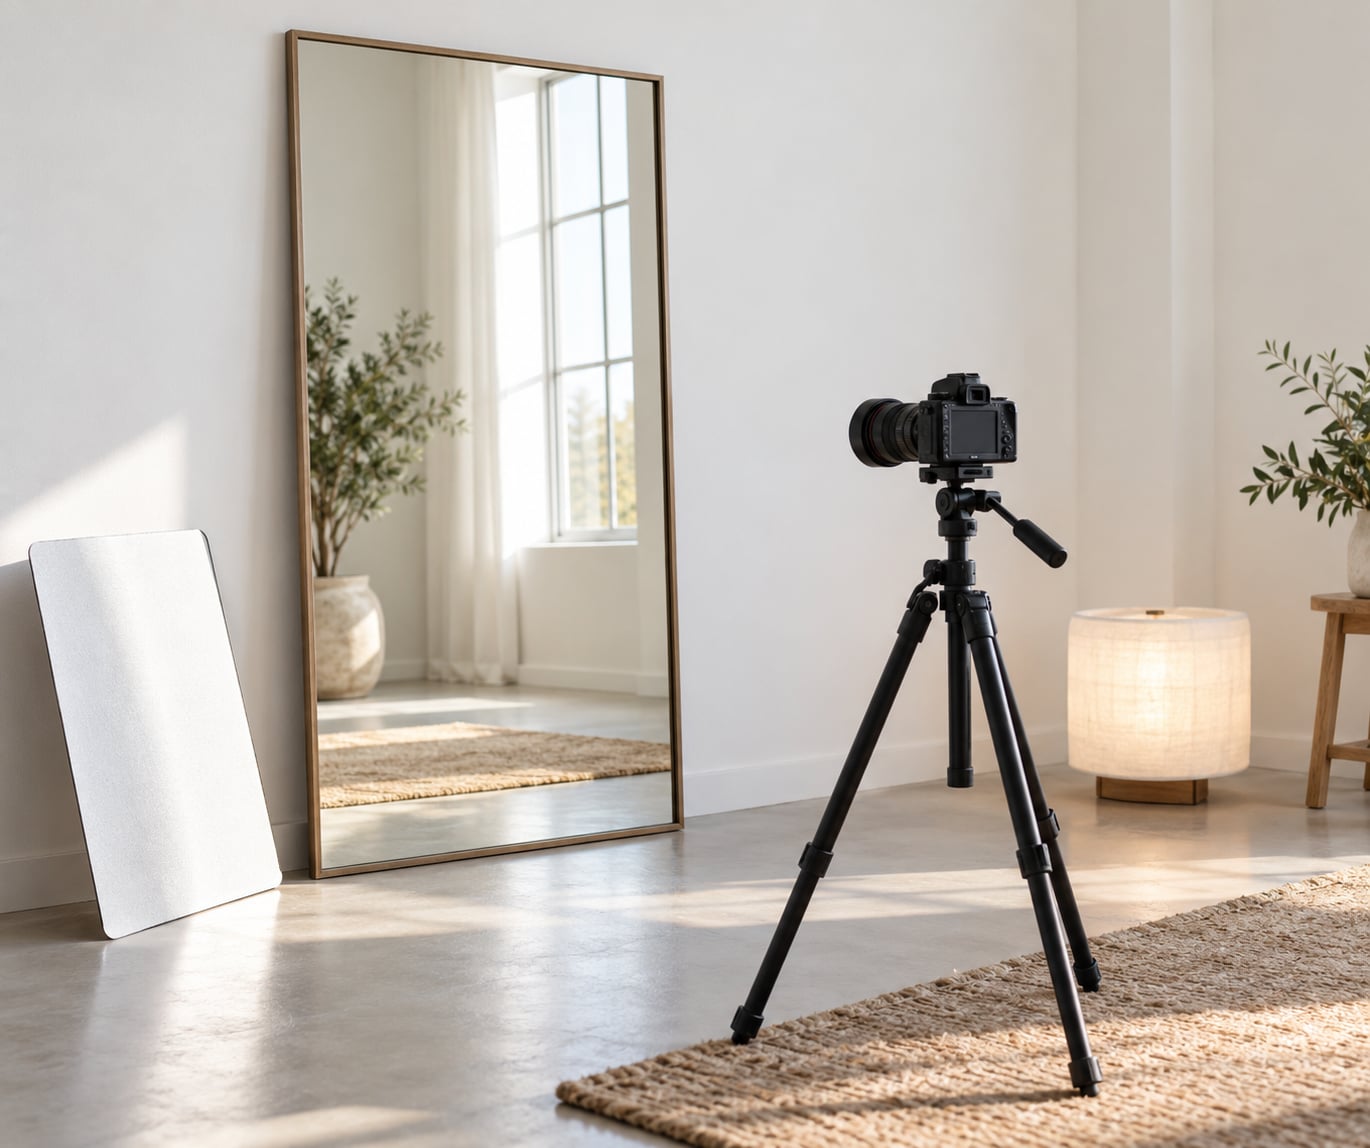
A mirror works in a portrait because it puts a second viewpoint inside one frame. How to use mirrors in portrait photography comes down to placement: decide what the reflection is doing before you move the glass, and the image reads as a deliberate portrait instead of a bathroom snapshot. The technique needs a tripod, a mirror, and about twenty minutes of setup.
The trap most people fall into is grabbing a mirror and then hunting for a shot around it. Start the other way round. Pick the composition you want, then find the angle that delivers it with the mirror in place.
There are three broad ways to shoot it. The camera can stay visible, which suits a lot of creative self-portrait work. You can hide the camera entirely, which gives you a clean reflection but takes more positioning. Or the mirror can act purely as a prop or a light source, never actually reflecting the subject.
Table of Contents
- What You Need
- Step-by-Step
- Step 1: Choose the Mirror’s Role in the Portrait
- Step 2: Plan the Composition Before Bringing In the Mirror
- Step 3: Position the Mirror Without Distracting the Subject
- Step 4: Use the Mirror to Shape Light and Add Depth
- Step 5: Set Focus and Exposure for the Intended Layer
- Step 6: Make Several Controlled Variations
- Step 7: Review the Image and Refine the Idea
- Common Mistakes
- Frequently Asked Questions
- Should I focus on the reflection or the person in front of the mirror?
- How do I take a photo in a mirror without being in it?
- What aperture should I use for mirror photography?
- Does a polarizing filter help with mirror reflections?
- How do I keep a large mirror safe outdoors?
- Why does my reflection look different from how I look in person?
- Conclusion
What You Need
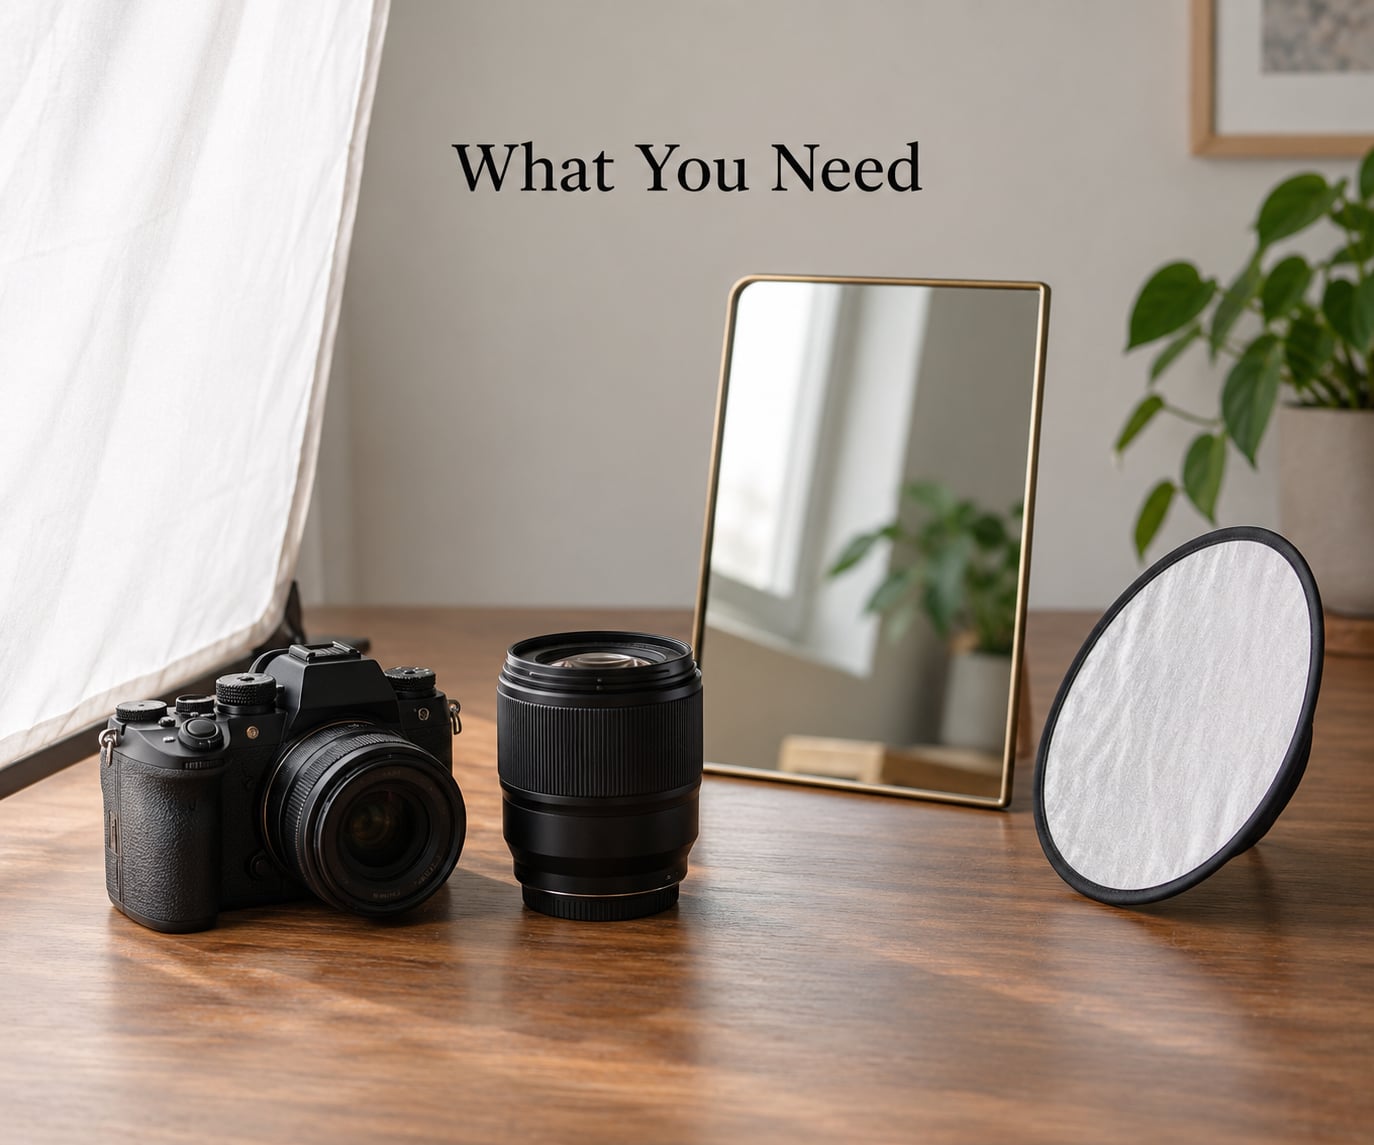
Most of this list is stuff you already own. The mirror is the only real addition, and a bathroom mirror is a perfectly legitimate place to start.
- A mirror. A large rectangular one gives you the most placement options. A small handheld mirror works, but you will hold it or prop it, and that limits angles.
- A tripod. Essential once you are both the subject and the photographer. A short tabletop tripod is enough for a floor mirror.
- A camera with a remote. A two-second timer, an intervalometer, or a phone app with live view if your camera has one. You cannot reach the shutter while you are posing.
- A wide-to-standard zoom or a prime around 35-50mm equivalent. Anything wider starts to distort the reflection near the frame edges.
- A plain wall or backdrop behind the mirror. This one matters more than any piece of gear. A clean surface behind the glass keeps the reflection from turning into a visual inventory of your room.
- Black card or gaffer tape. For flagging stray reflections of your tripod, light stands, and yourself.
- Glass cleaner and a microfiber cloth. Fingerprints and streaks read instantly in a reflection. Clean right before you shoot, not in the car park.
If you want to buy something, match the mirror to the job rather than to the price tag.
Which mirror type to reach for
| Mirror type | What the image looks like | Best portrait use |
|---|---|---|
| Framed wall mirror | Clean, straight reflection with a visible border | Classic profile-plus-frontal portraits; the frame gives you a built-in vignette |
| Frameless or edge-less | No border, so the reflection floats in the frame | Modern editorial looks and symmetry work where the mirror fills the shot |
| Convex | Wide field of view, compressed and curved | Getting several people and a whole room into one reflection |
| Broken fragments | Several partial images of the same subject | Surreal, fragmented portraits; shoot them wide open so the fragments separate |
| First-surface mirror | No faint second image; slightly dimmer | Any time ghosting ruins a sharp reflection. The coating is on the front, so it lacks the double image you get bouncing between glass and backing |
Antique or spotted glass adds character but costs you contrast, so pair it with light that is a little harder than you would normally use.
Step-by-Step
Step 1: Choose the Mirror’s Role in the Portrait
Before anything else, write down one sentence describing what the mirror does in this frame. It reflects the subject to add a second angle. It bounces light into the shadow side of a face. It reveals part of a room or a second person that would otherwise be behind the camera. It frames the subject.
Photographers in critique forums tend to say the same thing: a reflection needs a reason. When there is one, viewers read the mirror as a choice. Without one, they read it as an accident.
Step 2: Plan the Composition Before Bringing In the Mirror
Stand where the camera will be and look at the mirror with an imaginary subject in it. Mark the spot on the floor where the subject should stand, then decide whether you want the real person and the reflection both sharp, or the reflection sharp and the person soft.
That decision drives everything else. Both sharp means more aperture and more depth of field. Reflection sharp and subject soft means a wide aperture and a careful focus point. Deciding now saves you from re-planning with a subject waiting on set.
Step 3: Position the Mirror Without Distracting the Subject
Angle the mirror so it shows you what you want and nothing else. Photographers shooting floor mirrors commonly work at 45 to 70 degrees to the glass, which fills the frame with reflection rather than frame edge and floor.
For a wall mirror, keep the mirror roughly perpendicular to the lens axis, then rotate the subject instead. Straight-on mirror plus turned subject is the cleanest way to get a frontal face and a profile in one frame.
Then check the edges. Walk to where the camera sits and scan the mirror for your tripod legs, your own arm, a light stand, a poster on the wall opposite. If you cannot adjust the mirror, move the offending object. Flagging it is quicker than reshooting.
Step 4: Use the Mirror to Shape Light and Add Depth
A mirror returns light with the softness of the source it reflects, which makes it a genuinely useful reflector when you have no second panel. Put a window light or a diffused flash into the mirror at a shallow angle and let it fill the shadow side of your subject’s face. Aim for roughly a 45 degree angle to the subject, the same logic as bouncing off a white wall.
The catch is that a mirror also hands your key light straight back to the lens if the angles line up badly. Watch the highlights on the face and on the glass at the same time. Glare on the glass is the giveaway, and a polarizing filter can tame simple reflections while costing you a little light, which in turn may force a slower shutter.
Step 5: Set Focus and Exposure for the Intended Layer
Autofocus hates flat reflective planes. It locks onto the mirror surface or hunts and gives up, which is the most common complaint in self-portrait mirror threads. The fix is to stop using it. Focus manually on the reflection, or on the subject’s eye using live view magnification, then switch to manual and leave it there.
Use a shutter speed of at least 1/60 second handheld, and faster if the subject is moving. On the aperture side, the forum consensus is consistent: f/1.4 to f/1.8 for an abstract, dreamlike result where the real subject melts away, and f/4 or wider for a documentary look where the person and the reflection are both readable.
For exposure, spot-meter the face in the reflection rather than averaging the whole frame, since the mirror will be pushing bright and dark areas around. Watch histogram highlights more than you normally would. A mirror is a way of putting your light source back where the lens can see it.
Step 6: Make Several Controlled Variations
Change one thing at a time, and take a note of what it did. Rotate the mirror five degrees. Raise the camera to chest height. Have the subject shift their weight so the reflection catches a different background. Crop tighter on the left side. Four or five frames with a single change each teaches you more than twenty random ones.
This is also where mirror photography gets interesting. Flip an image 180 degrees afterwards and a familiar self-portrait can read completely differently. Crop out the mirror’s frame entirely and you have a conventional portrait with a strange, doubled subject in it.
Step 7: Review the Image and Refine the Idea
Look at the file at full size and check four things: are there reflections of gear or crew in the corners, is the face in the reflection exposed properly, is the background behind the mirror clean, and does the mirror look intentional? If the mirror edge cuts awkwardly through the frame, either recompose or commit fully and let the mirror fill the shot.
Small contrast and clarity adjustments on the reflection usually help more than anything else. Dodge the reflected face, pull back the highlights on the glass, and leave a little breathing room at the edges.
Common Mistakes
The camera is in the picture. Work the angle until the lens is outside the mirror’s view. If you cannot, hide the camera behind the subject’s head or shoulder, shoot through a gap between mirror and wall, or accept the camera as part of the concept.
Autofocus will not lock on. Expected behaviour on a flat reflective surface. Use manual focus and confirm with magnified live view.
Glare returns your key light to the lens. Move the light off the mirror’s line of sight, angle the glass slightly away, or flag it with black card.
Clutter shows up in the reflection. Clear the wall opposite the mirror, then check the frame edges by moving your head from side to side behind the camera.
The mirror dominates and the portrait gets lost. Either fill the frame with the reflection so the mirror is the whole image, or pull back until the subject is clearly the subject and the mirror is a supporting element.
A polarity flip catches you. A reflection flips left and right, which can throw off a gesture, a hairstyle, or text in the background. Shoot a test and flip in post if needed.
Two habits cover most of these. Clean the glass last thing before the shoot, and shoot more frames than feels necessary. Mirrors are cheap insurance against a single missed frame.
Frequently Asked Questions
Should I focus on the reflection or the person in front of the mirror?
Focus on whichever one you decided should be sharp, and set it manually. Autofocus rarely holds on a flat reflective plane. If you want both readable, focus on the face in the reflection and stop down to f/4 or so. If you want an abstract result, focus on the reflection and shoot f/1.4 to f/1.8 so the person in front of the mirror falls away.
How do I take a photo in a mirror without being in it?
Put the camera on a tripod, lock the framing, then move yourself into position outside the mirror’s cone of vision. Live view or a remote app helps you judge the frame. If the camera cannot be moved far enough, hide it behind the subject or shoot through a narrow gap between the mirror and the wall. Small mirrors are harder to escape from, which is another reason to use a large one.
What aperture should I use for mirror photography?
Around f/1.4 to f/1.8 gives an abstract, dreamlike frame where the real subject goes soft. f/2.8 is a balanced middle ground. f/4 and above keeps both the person and the reflection readable, which suits documentary and editorial portrait work. The wider you go, the more the edge distortion shows up in the reflection, so stop down if the corners look stretched.
Does a polarizing filter help with mirror reflections?
It can, but only partially. A polarizer cuts simple surface reflections at certain angles, which helps with glare on the glass. It will not remove a reflection of a subject, and it costs you light, often two stops, which can push you to a slower shutter. Test it before committing, and expect to raise ISO or accept motion blur.
How do I keep a large mirror safe outdoors?
Carry it upright in a padded case or wrapped in a blanket rather than flat, since glass fails under point pressure. Set it on level ground or brace it against something stable before the subject approaches. Watch for wind, which catches large flat surfaces easily. Sand and spray leave marks, so clean the glass at both ends of the shoot, not just the start.
Why does my reflection look different from how I look in person?
A mirror shows you a laterally reversed, evenly lit, always-frontal version of yourself, held at arm’s length and flattened into a single plane. Photographs add lens distortion, side lighting, and real perspective, which is why the two rarely match. Shooting into a mirror at an angle, rather than straight on, keeps the perspective honest and closes part of that gap.
Conclusion
Start with one line: what is the mirror doing in this frame. Then place it for that job, keep the wall behind it plain, set focus manually, and shoot a short run of single-variable changes before you move anything else. That order is what separates a mirror portrait from a snapshot with a shiny object in it.