An overcast sky is one of the best portrait lights you will ever get. The clouds scatter sunlight across a huge dome, wrapping your subject in soft, even light with no harsh shadows and no squinting, so learning how to shoot portraits on an overcast day is a skill worth having in every weather condition.
The catch is technique. Flat light flattens everything unless you put back the dimension with position, wardrobe, a reflector and a careful exposure. Here is the workflow I use, from the two-minute location check to the edit.
What You Need
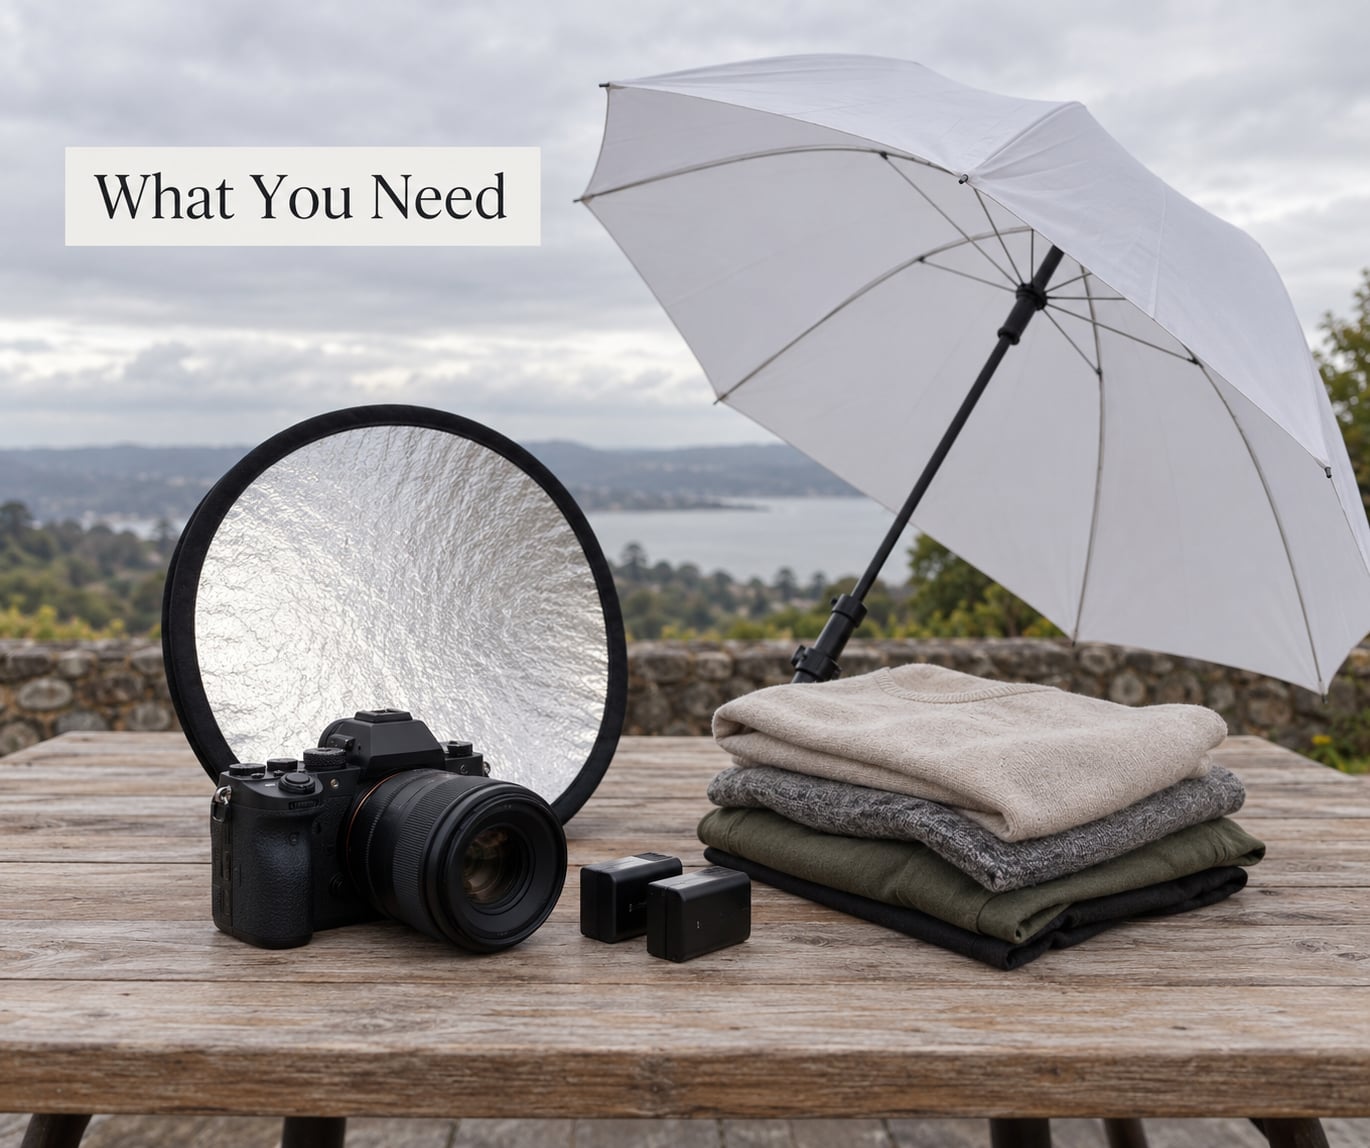
None of this is exotic. Most of it you already own, and the pieces that matter are the small ones.
- A camera with a decent high ISO range. Overcast light sits roughly two to three stops below direct sun, so you will live between ISO 400 and ISO 1600. Fast primes such as a 35mm or 50mm keep your shutter speed usable there.
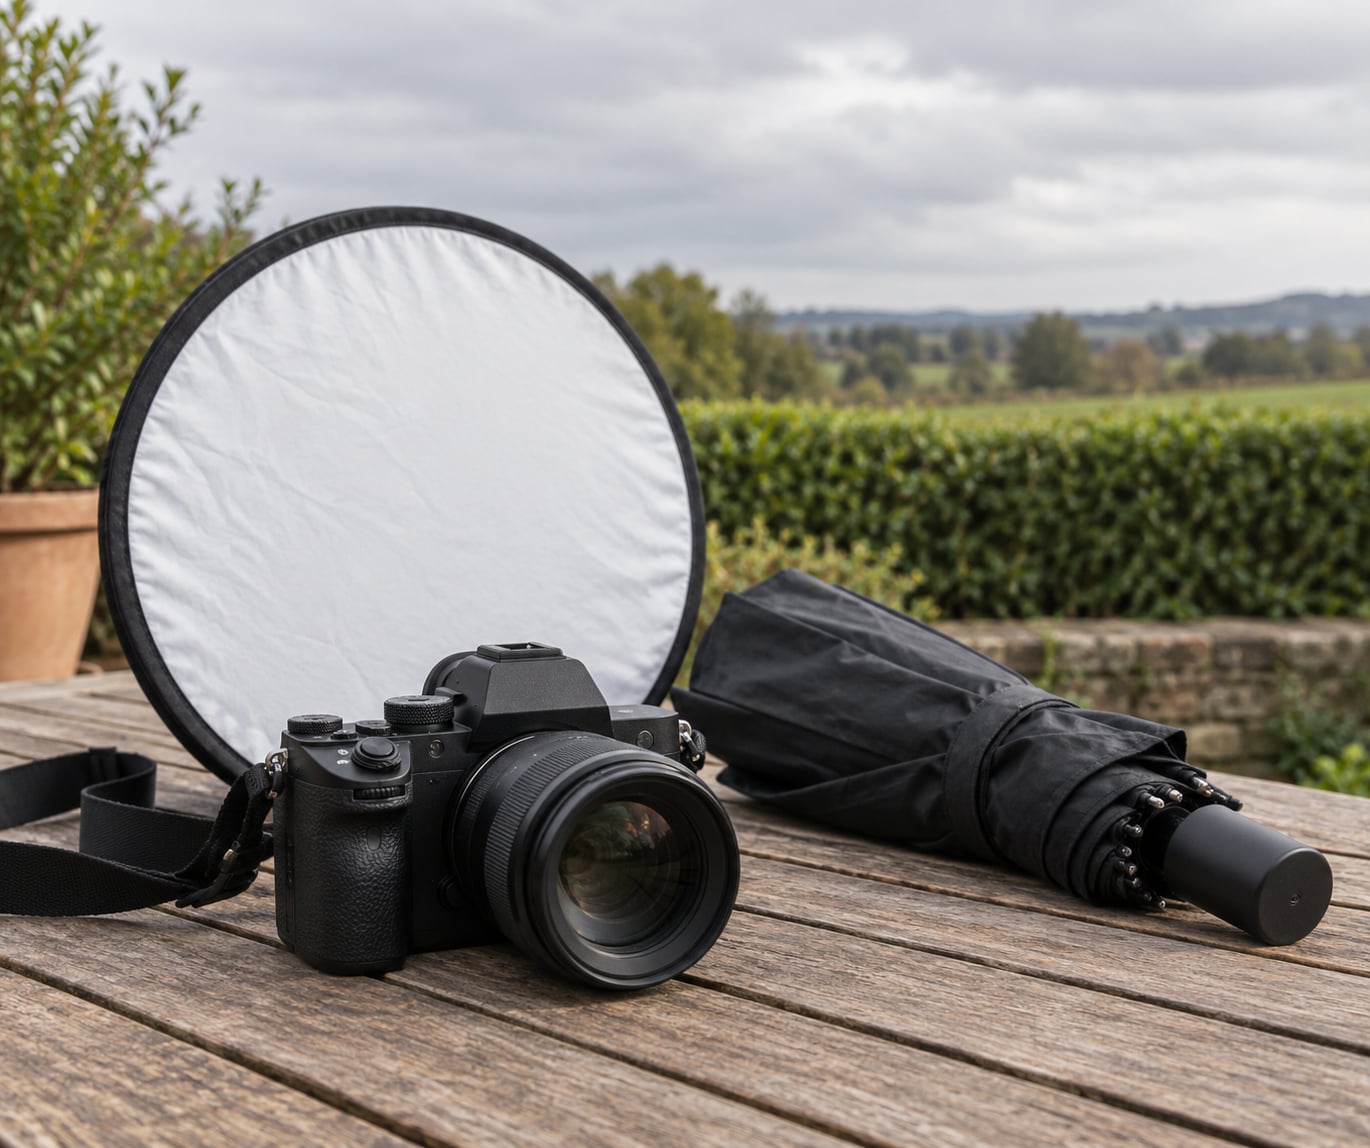
- A 5-in-1 reflector or a white foam board. Your main tool for pulling shadow detail back under the eyes and chin.
- A clip-on or handheld light meter, or just the histogram. Grey skies are the classic trap for evaluative metering, and you need a way to check the skin.
- Rain sleeves and a lens cloth. Fine drizzle is where the best backlit shots happen, and it is also how you scratch a front element.
- A subject in colour with some weight to it. Mid-tone and saturated clothing separates cleanly from grey; pale colours vanish into it.
Before you unload anything, do a light check. Face the sky and squint: if you can hold your finger comfortably against the brightness, your subject will be exposed nicely at ISO 400. Look for where the cloud deck is thinnest, since that patch becomes your main light source for the session.
Wear a dark jacket. Standing on a dark street or under a tree in neutral clothes means you can shoot a grey background and stay separate from it.
Step-by-Step
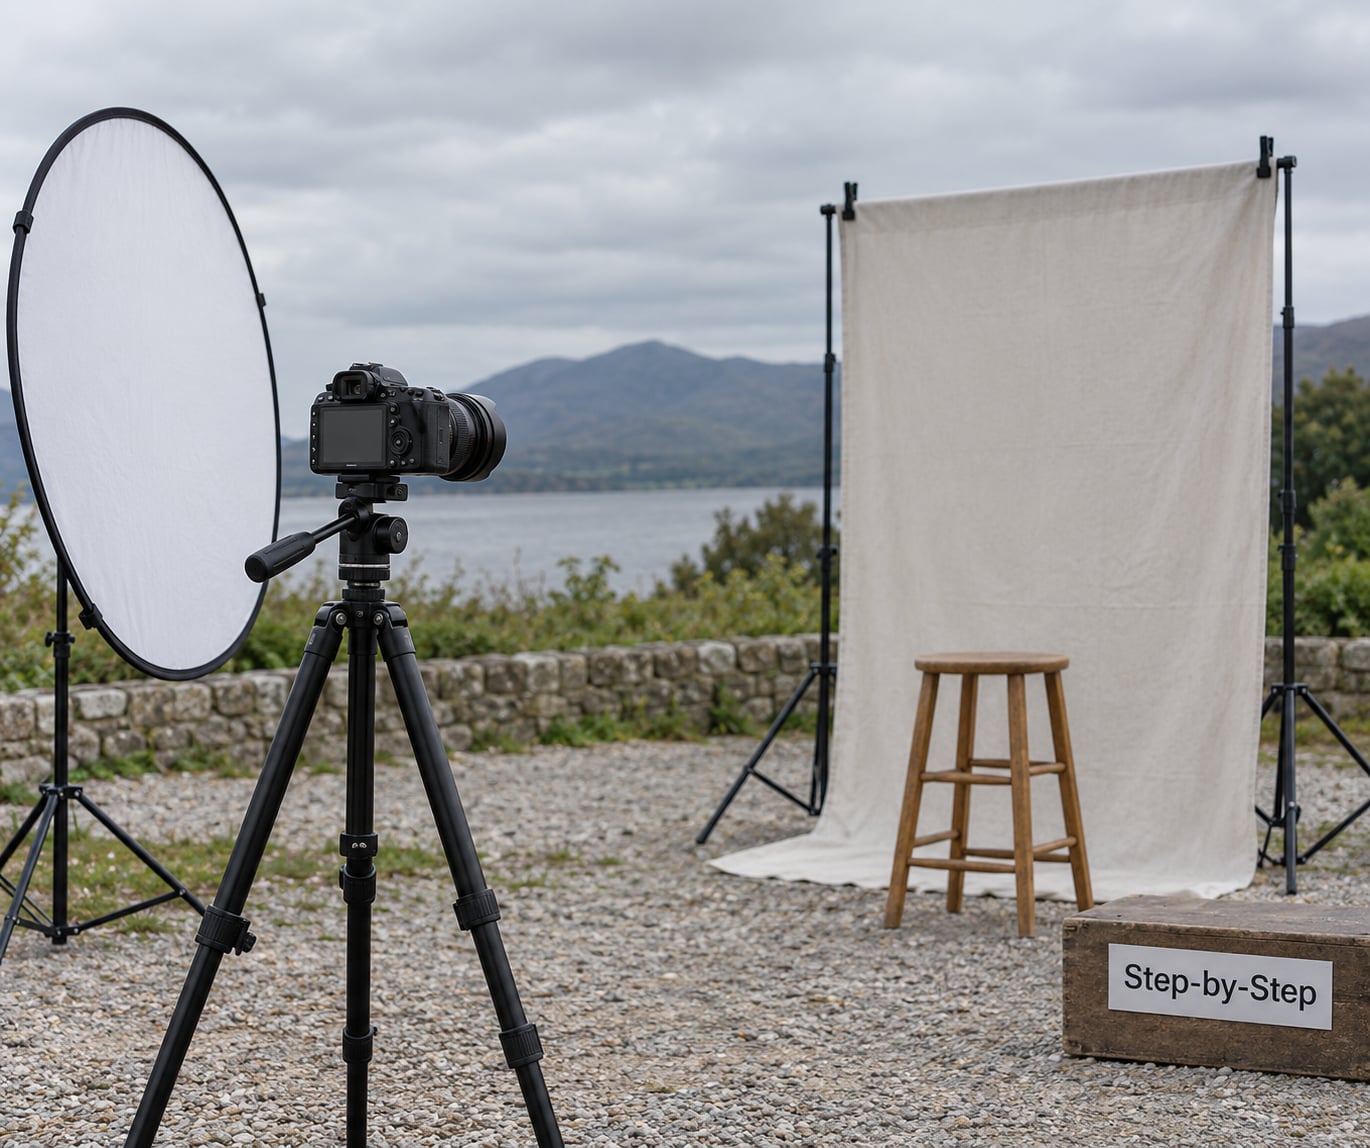
Most of the work happens before the camera comes up. Walk the location twice, once for the background and once in the direction your subject will be looking.
How to Choose a Location Under Cloud Cover
Without hard shadows, depth has to come from the background rather than the light. Look for anything with texture or layering: a hedge line, a row of trees receding into fog, a wet path, a wall of doors and windows.
Then check separation. Ask your subject to stand in front of the backdrop and take one throwaway frame at arm’s length distance. Grey on grey is the most common failure and it is easy to fix. Walk them a few steps closer, angle them along the hedge rather than facing it flat, or turn your body so the background sits a stop darker than the face.
Open shade is your friend here too. Under a tree or a building overhang on a cloudy day you get soft directional light with none of the dappled patches that make people flinch.
How to Position Your Subject for Soft Light
Stand your subject with the brightest part of the sky behind and to one side of the camera, and their face turns into open shade at roughly a 45-degree angle. That single move gives you a soft nose shadow and a lit cheek, which is most of what people mean by “good light”.
Give them something to do with their hands. Hands create a plane, a plane creates shadow, and shadow is what stops a portrait looking like a passport photo.
Fill with the reflector held low and close, below chin height, angled up. Close means the fill reads as ambient bounce and nobody can tell you used it. A reflector held a metre away is a visible second light source, and that is where the odd studio look comes from.
Which Camera Settings Work Best?
Start here and adjust from there.
- Aperture: f/2.8 to f/4. Wide open for shallow depth and separation from a busy background; stop to f/5.6 when you need everyone in a group sharp.
- Shutter speed: 1/250s minimum, 1/500s for movement. This is the one setting you should not compromise on a dull day. Long shutters plus a moving subject equals the soft, blurry frames that give people a bad reputation for overcast photography.
- ISO: 400 to 800. Modern cameras handle this cleanly. Push to 1600 when the cloud thickens, then look for what to fix with light rather than with noise reduction.
- Metering: spot or evaluative, then check the histogram. Aim to keep skin just under the middle grey and the white sky just under clipping.
- Exposure compensation: add +0.3 to +0.7 EV. Meters read grey skies as an over-bright scene and underexpose the result. Underexposure is the usual reason cloudy-day photos look dull.
- White balance: Cloudy preset or Daylight, set manually. Auto white balance shifts between frames and cools the skin tone as the light changes. Manual keeps a whole session consistent.
Shoot RAW. Grey skies are high in contrast between a bright background and a face in shade, and RAW gives you room to lift the shadows back in editing.
For children, groups and pets, 1/500s with a wide aperture and auto ISO is the safer starting point. For a still sitter in open shade, 1/250s gives you finer grain and the option to pull the ISO down.
How to Direct a Portrait in Flat Light
Without shadows doing the work, your directions need to create shape. Angle the body 45 degrees to the camera and turn the head back, which reads as narrow shoulders and a defined jaw. Ask for weight on the back leg, then hands in pockets or holding a prop.
Then add movement that reads between frames: shift a step forward, turn to the side, run a hand through hair, walk two steps and stop. Shutter speed matters more here because motion is where sharpness dies.
For expression, stop asking people to smile. Ask what they were doing five minutes ago, or give them a sentence to react to. A mid-laugh frame with the mouth open gives the flat light something to model.
How to Add Contrast Without Harsh Sun
Start with wardrobe. A mustard yellow coat, a deep green field jacket or a red scarf will separate from grey with no effort at all. On the other side, dark clothing against a bright overcast sky gives you a clean, graphic background that looks like a studio sweep.
Then use distance and angle. Getting closer compresses the background and increases apparent contrast between subject and surroundings. Moving your camera up a step with a step stool also puts a brighter patch of sky in their eyes, which is where catchlights come from under cloud.
For stronger shaping, subtract light rather than adding it. A black card or a dark jacket held just out of frame near the shadow side blocks the wraparound glow and deepens that side of the face. It is subtractive lighting, it needs no gear beyond something black, and it is faster than a reflector for a solo shooter.
Finish with a low-power off-camera flash bounced off a wall if you want a hint of sunlight direction on a genuinely grey afternoon. Keep it under ambient exposure by about a stop, set the white balance to around 4800K, and the added warmth reads as late sun rather than as a flash.
Common Mistakes
Shooting straight into a bright sky. The sky clips to white and your subject turns into a silhouette. Raise your angle slightly so less sky sits above the head, or crop lower and let the background run out behind the shoulders.
Exposing for the grey sky. The camera sees a large bright area and stops down for it, then the face comes out two stops dark. Meter for the skin and let the sky take its chances.
Everything matches grey. Light clothing on a light wall, or a subject the same tone as the hedge, loses the outline. Change the backdrop, step closer, or move your subject into open shade against a brighter background.
Leaning on the reflector. Too much fill flattens the face more than the light did. Hold it low, close, and use just enough to open the eye sockets.
Underexposing out of habit. Bright-cloud days push people to stop down. Watch the histogram instead of the instinct.
Leaving the raw file flat. Overcast files need a lighter touch than sunny ones. Lift exposure and shadows a little, add a gentle S-curve for midtone contrast, push vibrance rather than saturation so skin does not go orange, and warm the white balance by 100 to 300K. If a frame still feels lifeless, converting to black and white often rescues it, because the missing shadow detail matters much less once colour is gone.
Frequently Asked Questions
Do I need a special camera to shoot portraits on an overcast day?
No. Any camera that shoots RAW and holds usable detail at ISO 800 will do the job. The settings that matter are your aperture, shutter speed and how you position your subject, not the model. Overcast portraits are forgiving of older bodies because the light is soft, so budget spent on a fast 35mm or 50mm lens usually improves results more than a body upgrade.
Which lens is best for overcast portraits?
A 35mm or 50mm focal length is the most useful, because it lets you back up close and keep the background compressed behind the subject. An 85mm gives stronger separation but demands more distance, which on a dull day means a slower shutter or a higher ISO. Whichever you choose, watch the background gap for a clean tone-on-tone split.
Should I use flash on an overcast day?
It can work well when the flash is weak and bounced. Set it about one stop under the ambient light, bounce it off a wall or ceiling, and pull the white balance to roughly 4800K so the flash reads as warm late-afternoon light. Direct flash into the face or set to full power will look like a flash on a dull day, with a hard shadow under the chin and an obvious edge.
Is black and white better for overcast portraits?
Often, yes. Black and white removes the colour cast that makes grey light look lifeless and forces attention onto shape, texture and expression. Try it on a frame you were about to discard, and add a little dodge on the face and background darkening to rebuild the separation that colour would have provided.
When is the best light on an overcast day?
The brightest, most even light comes near the middle of the day, when the cloud layer is thickest and flattest. Earlier and later, the sky often breaks into thinner cloud near the horizon, and you get gentle directional light with no harsh shadows. Both are worth shooting: midday for even skin and clean backgrounds, the edges of the day for shape.
Conclusion
Overcast light gives you a giant softbox for free, and the whole job is putting back the dimension that softness removes. Find a background with depth, place your subject in open shade facing the brightest part of the sky, hold the reflector low and close, and shoot at f/2.8 to f/4 with a shutter speed of at least 1/250s and ISO between 400 and 800.
Then take one correctly exposed test frame, check the histogram, and adjust from there before the session runs away from you. Edit it lightly, and consider black and white when the frame still feels quiet.