Snow is the brightest, most reflective subject most portrait photographers will ever point a camera at, and it breaks the 18% grey assumption every light meter is built around. The result is the classic winter frame: a face rendered too dark, and snow that looks dull grey instead of white. The fix is systematic, and it takes about five minutes to set up before you shoot a single frame.
Short version: switch to spot metering, put the meter circle on the lit skin of the face, add one to two stops of exposure compensation, check the histogram for clipped snow, and shoot RAW so you have room to recover in the edit.
What You Need
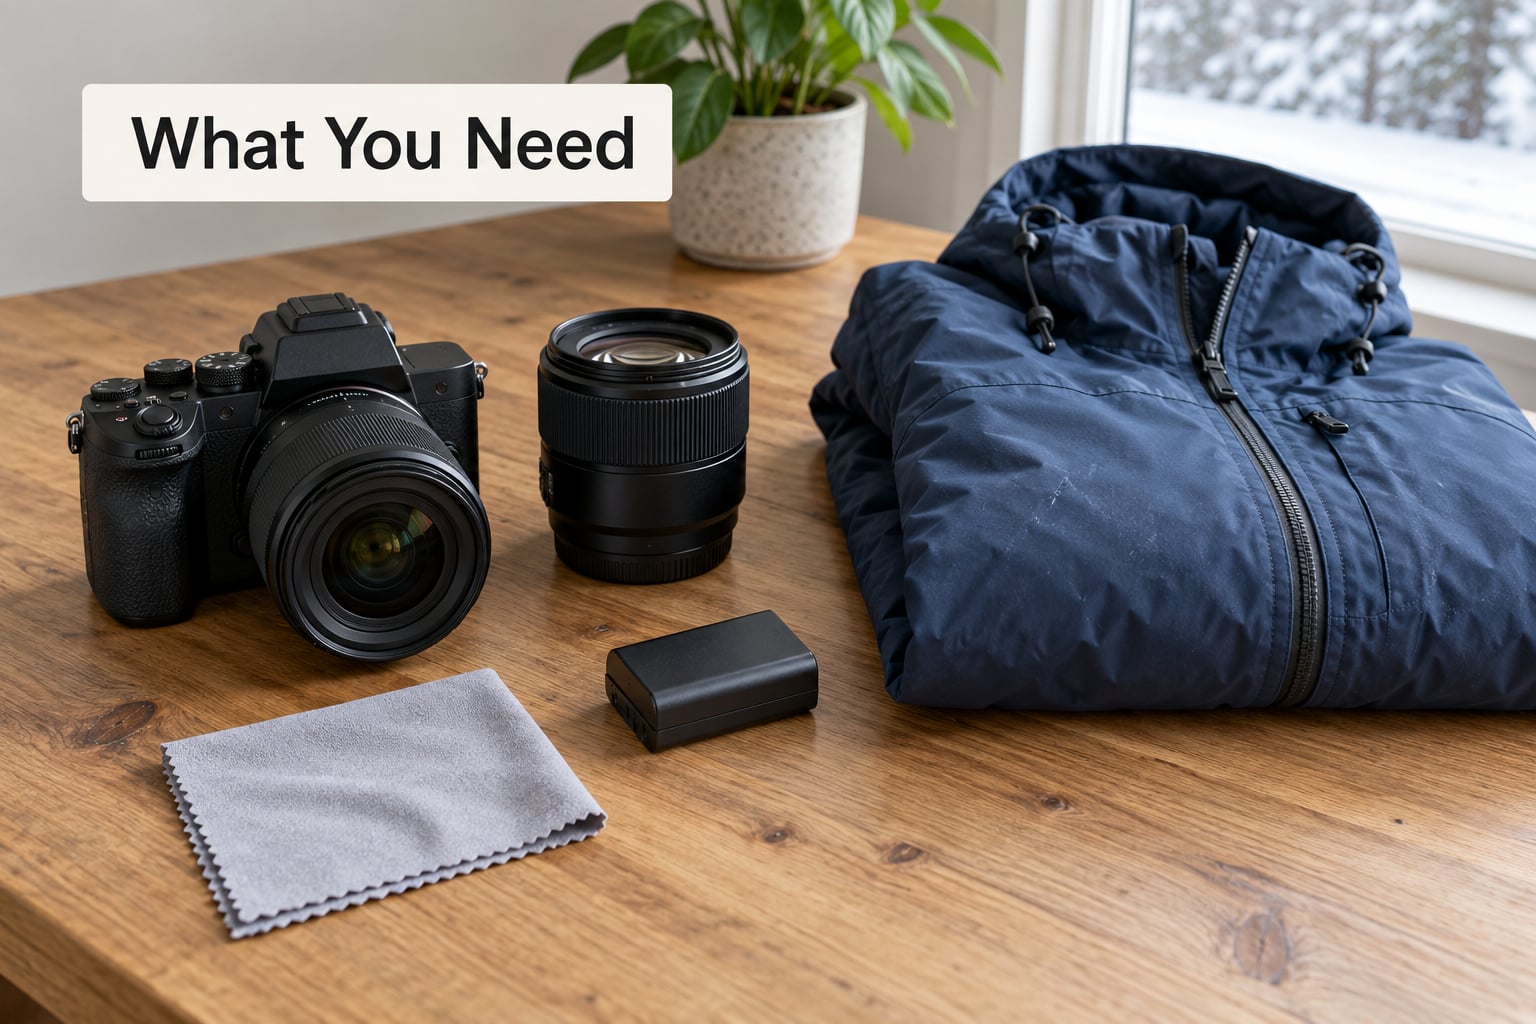
A full-frame or APS-C camera with a normal or short telephoto lens covers most winter portrait work. An 85mm equivalent keeps you far enough back that you are not shoveling a footpath through the snow to reach your subject, and wide enough that you can include the landscape you travelled to find.
Bring these, and nothing fancy beyond it:
- Metering control. Spot metering and a manual or aperture-priority mode. If your camera has highlight alerts or zebra stripes, know where the toggle lives before you are standing in the cold.
- A grey card if you shoot skin tones seriously. Held in the open shade near the subject, it gives you a real reading instead of a guess.
- Spare batteries, kept warm. Lithium cells lose a lot of capacity below freezing, and alkaline cells barely work at all. Keep spares in an inside pocket until you need them.
- A microfibre cloth and a lens hood. Falling snow melts on glass, and water spots plus fingerprints are more visible on a lens than anywhere else.
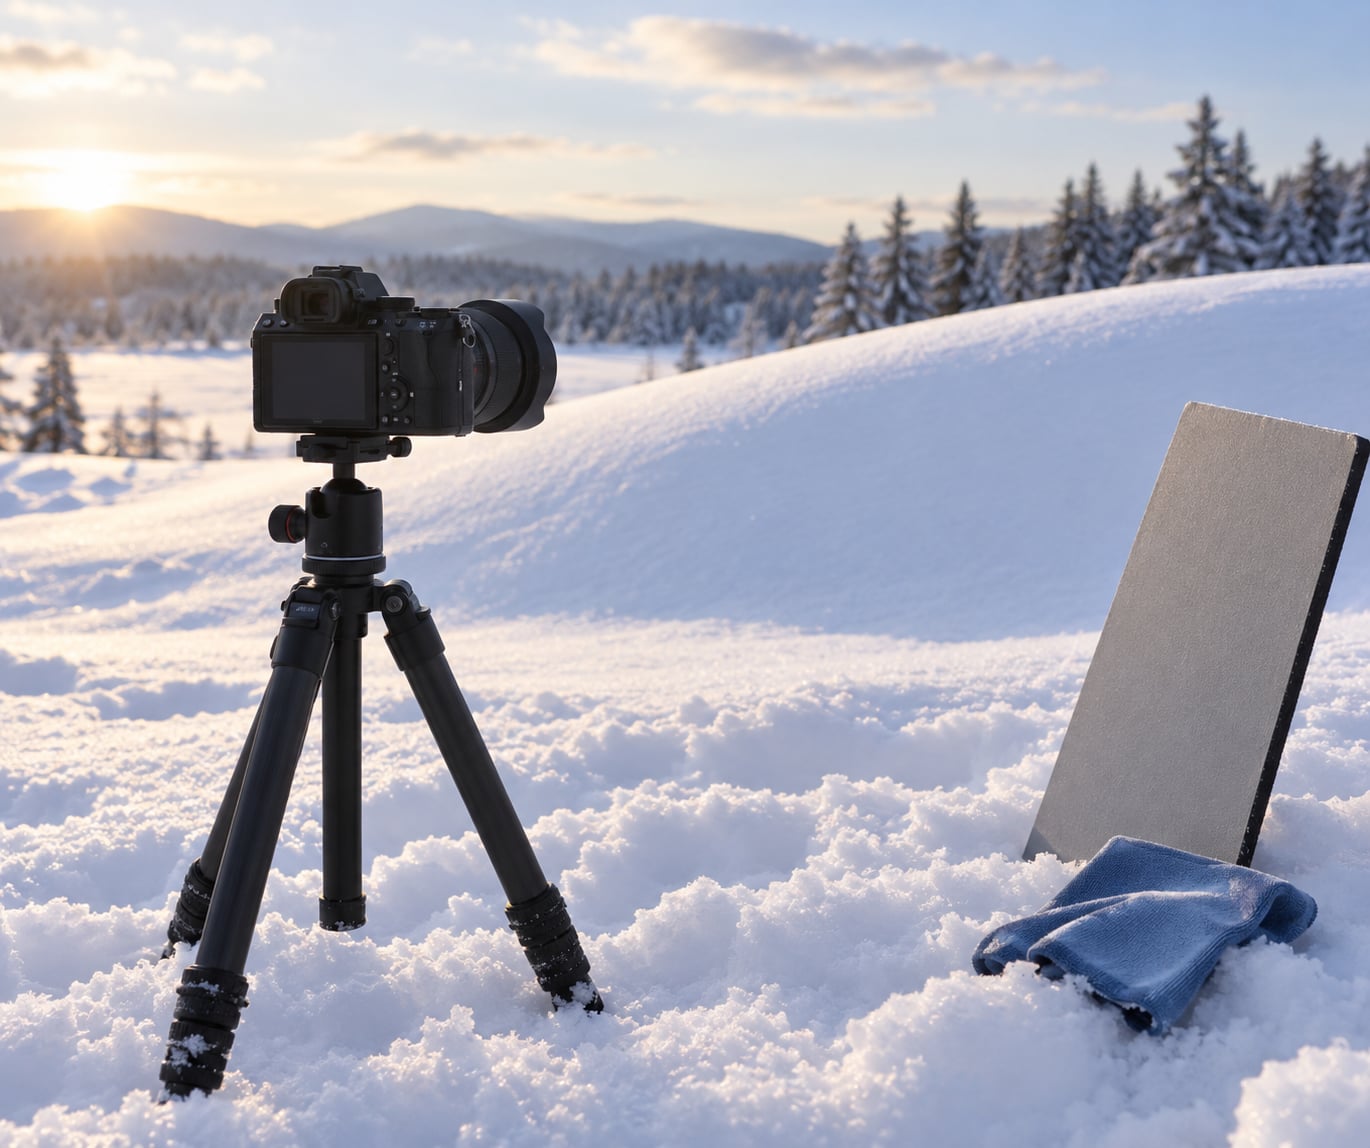
- A reflector or a white foam board. A 5-in-1 reflector is ideal, but a white poster board from a craft shop does the same job for snow portraits.
- Optional flash. A speedlite or off-camera strobe handles overcast light and dusk sessions. Read the falling-snow section before you fire it into falling flakes.
- Layers for your subject. Thin gloves with removable fingertips, hand warmers in pockets, and a coat they can shed on camera. Cold subjects hold still badly and their faces tighten up.
- An editing workflow set up for RAW, with the white balance eyedropper ready.
How to Shoot Portraits in Snow Without Underexposing
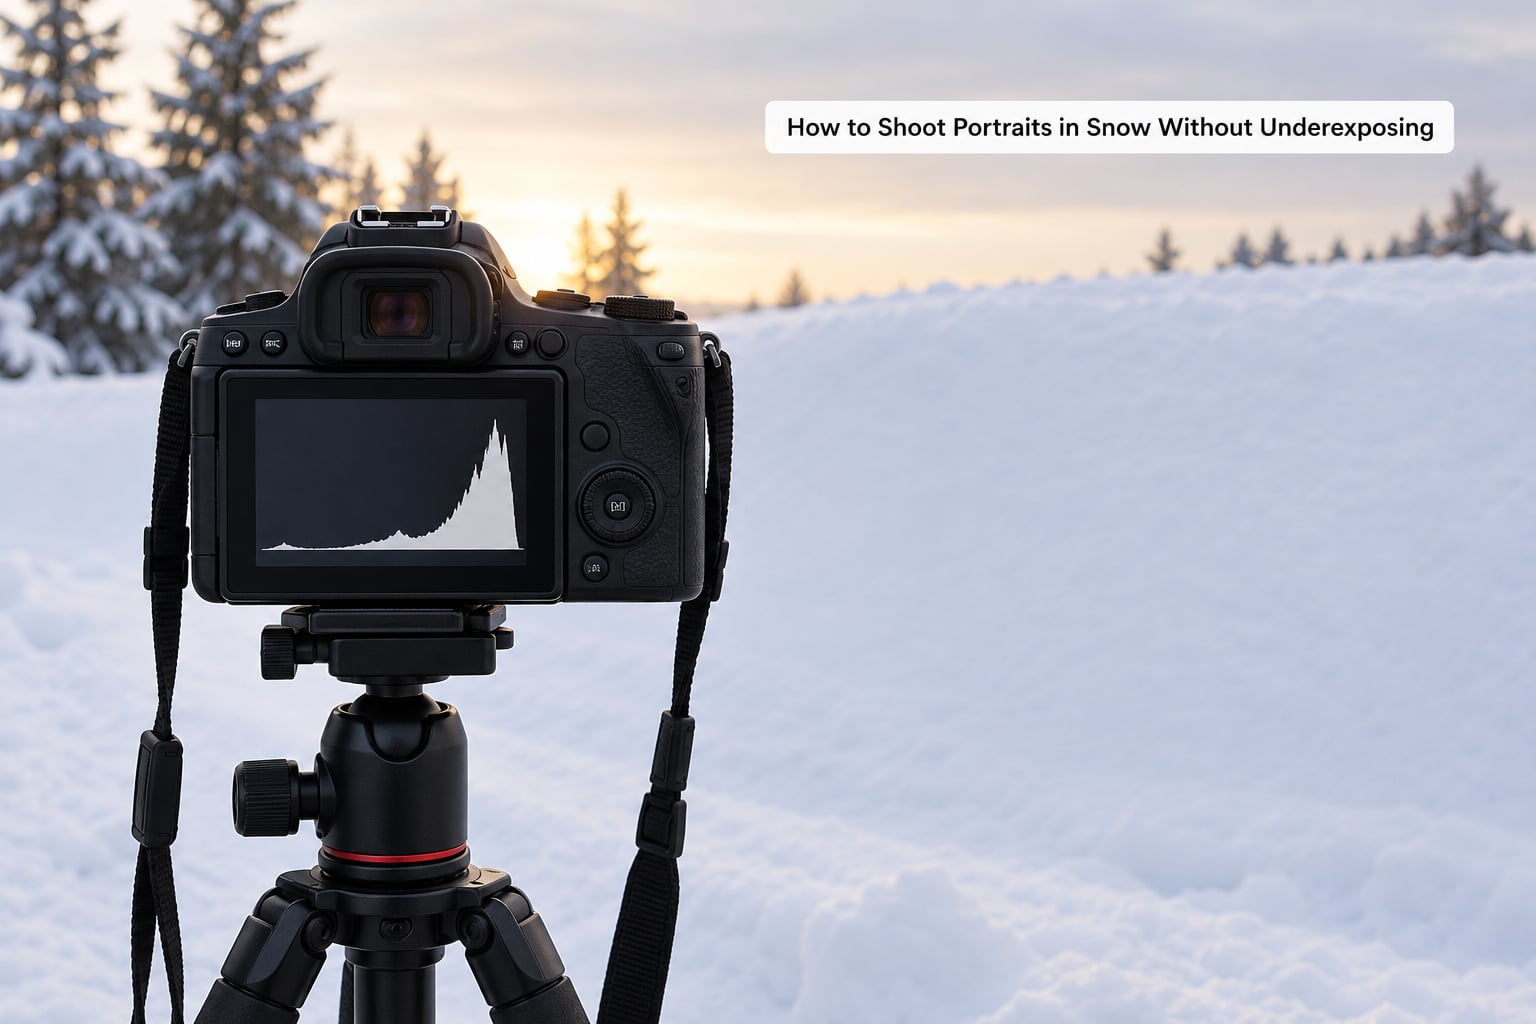
Understanding how to shoot portraits in snow without underexposing comes down to one number: the camera assumes the average brightness of your frame should land near 18% grey. A field of white snow is far brighter than that, so the meter averages the whole frame down, and both the snow and the face come out dark. It is not a broken camera, and it is not something a new lens fixes.
Here is the quick procedure, in order:
- Switch from evaluative or matrix metering to spot metering.
- Place the meter circle on the lit skin of the face, not on the snow behind.
- Add +1 to +2 EV of exposure compensation as your starting point.
- Shoot a test frame and check the histogram for clipped highlights in the snow.
- Shoot RAW so you can recover a dark face and a blown snowbank in the edit.
That covers the average case. Use this table as the baseline, then adjust for the light in front of you.
| Situation | Starting exposure compensation | What to watch |
|---|---|---|
| Full sun on fresh reflective snow | +2 EV | Snow clips fast. Watch the histogram, not the LCD. |
| Full sun, subject in open shade | +1 EV or none | Meter the shaded skin; it is darker than the surrounding snow. |
| Backlit subject, snow behind | 0 to -1 EV on the face | Hold snow detail by underexposing slightly and lifting the face later. |
| Flat overcast | +1.3 EV | Meter the whole sky-and-ground average, then check skin brightness. |
| Blue hour and dusk | 0 EV, ISO up | The sky is the brightest thing in frame. Protect it from clipping. |
If you only remember one number, make it +1.7 EV. It sits between the snow-white reference and the face-exposure reference and rarely needs more than a third of a stop of correction.
Step-by-Step
1. Choose the right camera settings
Start in aperture priority or manual. In aperture priority you set the lens and the camera does the rest; in manual you hold the exposure still while your subject shifts in the light, which is often more useful when snow and shade alternate across a face.
Pick the aperture for the depth of field you need, not for the light. f/2.8 to f/4 gives a soft background that separates your subject from the snow. If falling snow is in the air, close down to f/5.6 so flakes behind the subject stay sharp enough to read as snow rather than as blotches.
Shutter speed depends on the scene. Falling snow needs 1/250 s or faster to freeze flakes and 1/15 s to turn them into streaks. A still subject in bright sun is fine at 1/500 s. Drop to 1/125 s or 1/60 s when light is low, and raise ISO rather than letting motion blur through.
Set RAW, not JPEG. A snow frame contains bright reflective highlights and dark clothing, and RAW gives you noticeably more room to pull both back together than an in-camera JPEG does.
2. How to meter for the face, not the snow
This is the step that fixes most underexposed winter portraits. Evaluative and matrix metering read a large portion of the frame and try to average it, which is exactly wrong when half of that frame is a snowbank.
Switch to spot metering. Place the small meter circle on the forehead or cheek of your subject, taking care to use skin that is lit and not in the shadow of a hat brim or a stray tree branch. Focus on the eye nearest the meter circle if your camera allows it, otherwise focus first, then re-meter before the shot.
Center-weighted metering is a reasonable middle ground when you are working quickly. It leans toward the middle of the frame, which in a normal portrait is close to the face. Spot metering is more predictable when the background is doing something busy.
If you shoot video or want a still-life reading, a grey card in open shade gives you a neutral reference that does not depend on your guess about skin brightness. Photographers working in cold climates such as Winnipeg or northern Sweden often carry one for exactly this reason.
3. Use exposure compensation deliberately
Compensation is your offset against the meter’s 18% grey assumption. Positive values brighten the frame, which is what bright snow usually needs.
Begin at +1 EV on a bright day and +2 EV when the snow is fresh, direct, and near-white. Watch the histogram rather than the rear screen. A backlit camera in open shade can look correct on the LCD and still be a full stop off, so do not trust the screen brightness.
Compensation is not a permanent setting either. Move the subject into shade and +2 EV will overexpose the face. Compensate deliberately: take a test frame, look at the histogram, and dial it back by a third of a stop if the skin is climbing past middle grey.
4. Reposition the subject and camera
The cheapest fill light in snow is geometry. A bright snowfield bounces light up into the underside of a face, and it does it from every direction, which is also why winter portraits often look flat.
Turn the subject so the sun is behind you and slightly to one side. That gives shape to the face and keeps the snow behind them a clean white. If direct sun is too harsh, put them in the shadow of a building or a stand of trees, with bright snow as the background. The contrast between shaded skin and bright snow is the whole picture.
For backlight, meter the face and accept a darker silhouette, then lift the shadows in post. Or expose for the snow so the background stays white and use a reflector to bring the face up.
5. Add or reflect light
Snow does a surprising amount of work on its own if you let it. Position your subject so the snow is beneath and slightly in front of them, and you have a large white reflector already in the scene.
When the face is still dark, add more on purpose. A reflector held low, just out of frame, bounces snow-light back up into the shadow side. A white foam board works the same way and costs almost nothing.
Flash handles the rest. Fire it off-camera at about 45 degrees, or bounce it off a building or a car roof to keep it soft. Start with a low output. The snow underneath will pick up a lot of spill, and a strong direct flash turns falling flakes into bright white dots that blow out instantly.
High-key snow portraits need the subject one step brighter than the background, not two. Overexposed skin loses its blacks, and eyebrows and eyelashes turn into washed-out grey, which is the opposite of the clean bright look you were after.
6. Check the histogram and highlights
The histogram is the real answer to whether the frame is right. Turn on highlight warnings so clipped areas blink, and on most cameras that setting lives under the display or shooting menu.
For a snow portrait, you want the snow sitting near the right edge but not piled against it, and the face spread through the middle of the range. A frame with snow clipped at the right is over. A frame with the face pushed against the left is under.
Reading the shape tells you more than the position. A histogram with a hard edge at the far right means snow detail is gone. One with everything bunched in the middle means you underexposed and will have to brighten later.
7. Shoot variations for the snow
Winter light changes fast, and a single exposure rarely covers a session. Plan a small set: one frame on full sun with snow filling the frame, one with the subject in shade, one backlit with the sun behind them, and one under flat overcast.
That variety protects you in the edit. When you pull a RAW file up later, a frame that was exposed for skin has the room to recover shadows, while a frame exposed for snow has the room to hold highlights. Trying to do both from one underexposed or one blown file is where snow portraits fall apart.
8. Protect the camera and finish the edit
Cold shoots have logistics. Acclimatise your gear before you leave the house so it does not fog when you bring it into a warm room. Keep batteries in a pocket against your body and swap them as needed. Do not change lenses in falling snow unless you have a cover for the body. Give the lens and the viewfinder a wipe every few minutes.
Finish in RAW. Set white balance with the eyedropper on a neutral patch of snow in shade, then warm the temperature until the snow reads white instead of blue; a shift of several hundred kelvin is normal for a snow scene shot in shadow. Keep highlights recovered rather than lifted, lift shadows gently to bring out the face, and add a small amount of texture if the file feels flat.
Brightening in post is safe. Underexposing in the camera is not. Once snow highlights are clipped in a JPEG there is nothing left to pull back.
Common Mistakes
- Trusting the default meter. Evaluative metering on a snowy frame is measuring the wrong subject. Switch to spot and meter the face.
- Exposing for white clothing. A white jacket will drag the exposure down and grey the snow. Meter skin, then check that clothing still holds detail in the shadows.
- Overusing fill flash. Flash at full power flattens the winter atmosphere and turns the snow background muddy grey. Use the snow’s own bounce first.
- Judging brightness on the LCD. The rear screen is always too bright in direct sun, and always too dark in shade. The histogram does not lie.
- Lifting shadows hard in the edit. Dragging the shadows slider on a cold blue file brings noise and colour casts with it. Correct the white balance first, then lift.
Frequently Asked Questions
What are the best settings for shooting in snow?
Start with RAW, aperture priority or manual, and spot metering on the face. In bright sun use around 1/500 s at f/2.8 to f/4, ISO 100, and +1 to +2 EV. In falling snow go to 1/250 s or faster to freeze flakes, or 1/15 s for streaks. In overcast light use roughly 1/250 s, f/4, ISO 200 and +1.3 EV. Check the histogram after each change.
Why do I look so grey in photos?
Grey usually means underexposure. Your camera reads the average brightness of the frame and assumes it should land near 18% grey, so a field of bright snow gets pushed down and skin tones lose brightness with it. Meter the lit skin of the face with spot metering, add one to two stops of exposure compensation, and shoot RAW so you can raise the exposure later.
Should I expose for the snow or for the subject?
If snow fills more than half the frame, expose for the snow at about +2 EV so it stays white. If your subject fills the frame, expose for skin tone and accept a little clipped snow behind them. Either way, shoot RAW. Under about half and half, meter the face and watch the histogram so the snow sits just short of the right edge.
How do I add falling snow to a photo?
Shoot during or just after a snowfall with flakes backlit, and choose your shutter speed as your effect. 1/250 s or faster freezes individual flakes. 1/60 s gives soft motion. 1/15 s turns flakes into streaks that suggest movement. Avoid firing flash straight into falling snow, because the flakes light up as bright white dots and blow out.
What is the golden hour in winter?
In winter the sun stays low, so golden hour is short and often happens around the middle of the day rather than near sunrise. Blue hour lasts longer and gives you cool, even light with a bright sky. Both suit snow portraits, though golden hour needs more exposure compensation because the direct light is stronger.
Can I recover blown out snow in the edit?
Sometimes. In a RAW file, pull the highlights down and raise shadows to bring clipped snow back. A JPEG with hard white snow has no data left to recover, so watch the histogram and highlight warnings while you shoot instead. Keep some detail in the brightest banks so the edit has something to work with.
Conclusion
Start with three actions: switch to spot metering, put the meter circle on the lit skin of the face, and add about a stop of exposure compensation before you press the shutter. Then look at the histogram, not the rear screen, and shoot RAW so you can adjust later.
Keeping your subject correctly exposed matters more than making every snow pixel pure white. A little clipped snow behind a face with real detail in it is a better photograph than a flawless white field and a face you have to rescue.