To photograph through glass without reflections, stop light from bouncing off the pane back into your lens: shoot square-on to the glass, press the lens up against it, kill the flash, and block stray light with your hands, a lens hood or a dark jacket. That combination works on museum cases, shop windows, framed prints and aquariums, and almost none of it costs money.
The reason glass is difficult is simple physics. Light striking a pane bounces off at the same angle it arrived, and plain glass returns roughly 4 to 10 percent of what hits it head-on, far more when you shoot at a shallow angle. Every lamp, phone screen, ceiling light and passerby on your side of the glass is therefore a second photograph layered on top of the one you wanted.
Most of the frustration comes from treating that as a problem to fix afterwards. It is not. A reflection has to be prevented at the moment the shutter opens, because once your own face or a strip light is burned into the frame, no amount of editing gives you back the missing texture underneath it.
This guide is written for people shooting with a mirrorless or DSLR camera first, and there is a smartphone version in Step 2 and Step 5 for anyone without one. It takes about ten minutes of setup per shot once you know what you are looking at.
Table of Contents
- What You Need to Photograph Through Glass Without Reflections
- Step-by-Step: How to Photograph Through Glass Without Reflections
- Common Mistakes
- Frequently Asked Questions
- Can a circular polarizer remove all reflections when photographing through glass?
- Why are my photos through a window still showing reflections?
- What is the best camera angle for photographing through glass?
- Can I photograph through glass at night without a flash?
- Is it better to clean the window or edit out reflections?
- How do I photograph reflections in glass on purpose?
What You Need to Photograph Through Glass Without Reflections
Almost everything that works here is free or already in your camera bag. Only one item on the list costs money, and you can get a clean result without it.
- A camera with manual or aperture-priority mode. Any interchangeable-lens camera, any compact, or a phone with a manual-mode app installed.
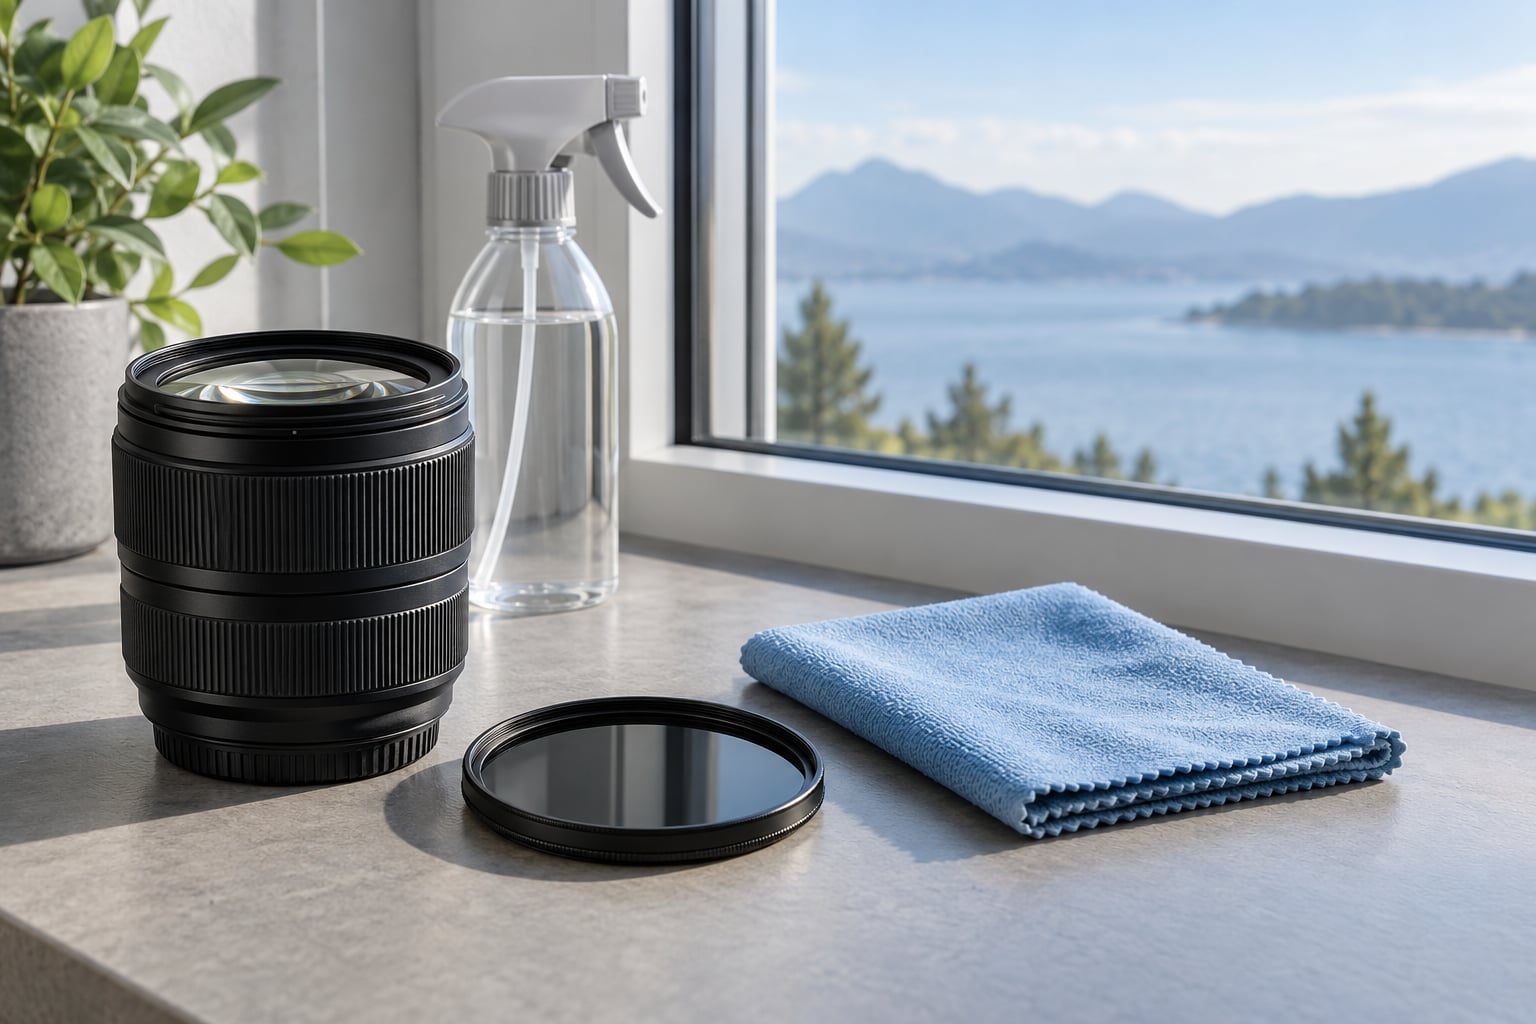
- A circular polarizer (CPL). The single biggest gear upgrade for glass work, usually a screw-on filter sized to your lens. Skip it and everything else still works, just with more effort.
- A lens hood, or a rubber lens skirt, or a roll of gaffer tape. Anything that lets you press a dark rim flat against the pane. A hood you already own is fine.
- A dark piece of fabric. A black t-shirt or jacket that you can drape over your head and the camera to block overhead light.
- A microfiber cloth and glass cleaner. Smudges create their own haze and their own reflections, and they are the cheapest mistake to fix.
- A tripod or a flat surface to rest the camera on. Needed because the settings that tame glass, low ISO and a narrow aperture, demand a slower shutter.
Skip the flash entirely. It is the number one cause of a hot white smear across a glass shot, and no setting in your menu will rescue the frame once it fires.
Step-by-Step: How to Photograph Through Glass Without Reflections
Run these five steps in order every time. They take a couple of minutes and the sequence matters, because each step depends on the one before it.
Step 1: Clean the Glass and Inspect the Surface
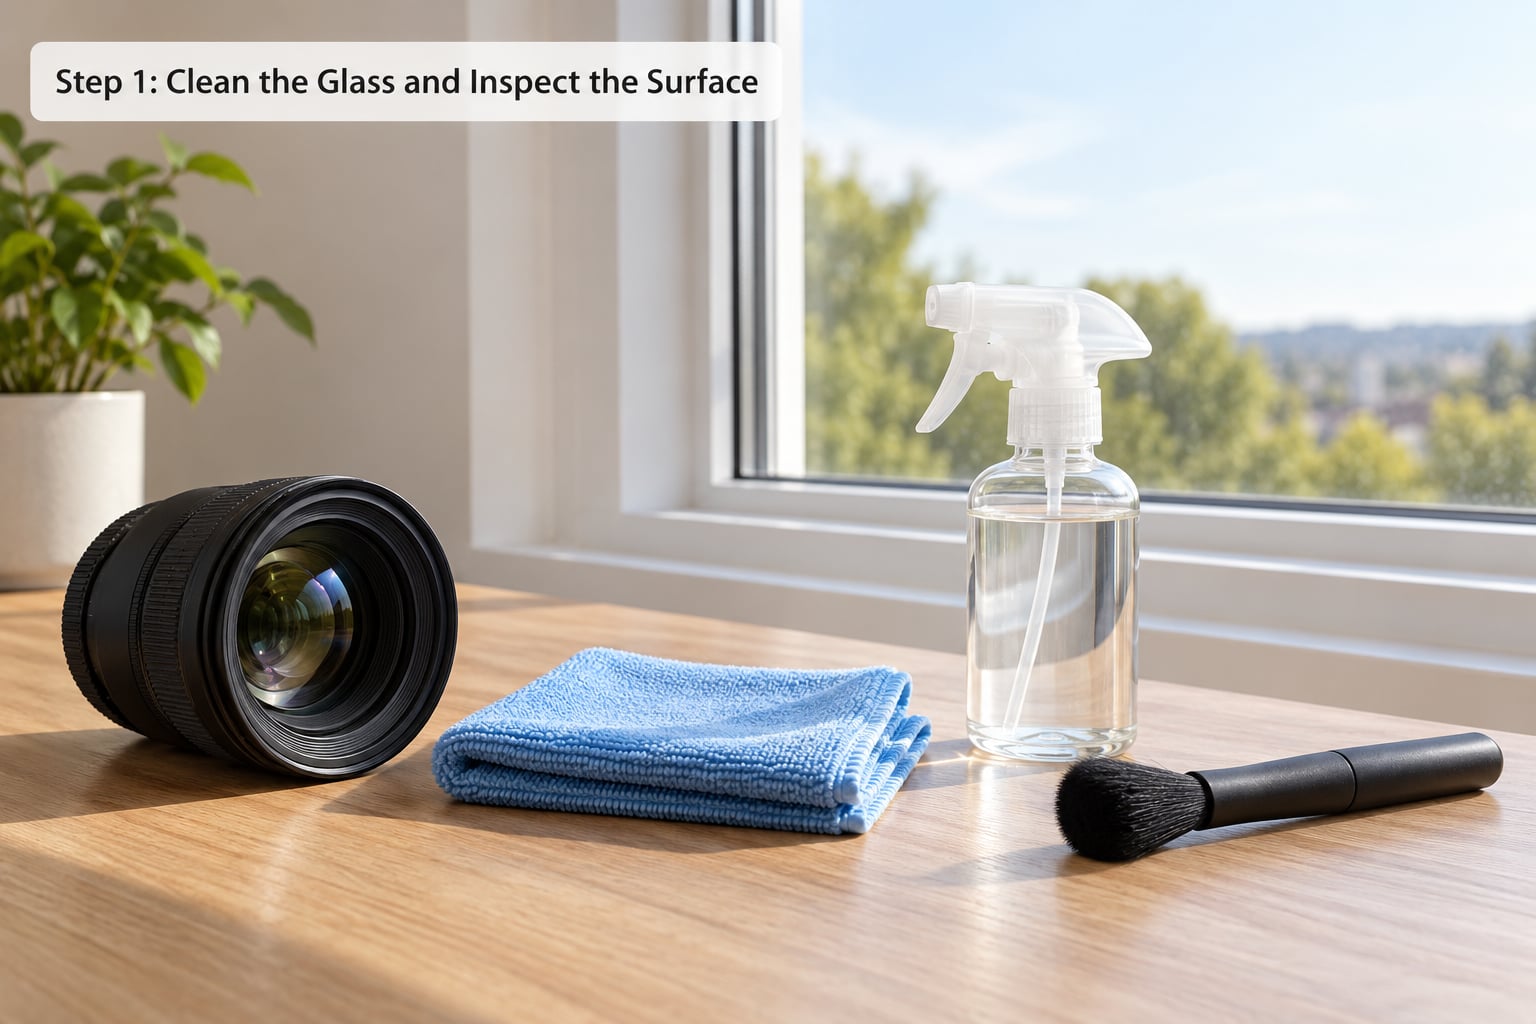
Start by cleaning the pane, because a dirty surface gives you two problems instead of one. Fingerprints, dust and dried spray streaks scatter light into a milky veil, and the lens focuses on that veil rather than on the subject behind it.
Wipe with a microfiber cloth and a cleaner made for glass, working from the centre out in small circles. Ask before you clean anything that belongs to someone else: shop windows, gallery glass and aquarium panels are usually off limits without permission, and a fingerprint on a museum vitrine is not worth a confrontation.
Then look at the glass at a shallow angle rather than straight on. Grime that is invisible head-on catches the light beautifully at a raking angle. Pick the cleanest patch of pane and shoot there, or angle the camera so that the grime falls outside the frame.
Step 2: Change Your Camera Angle
The single most effective technique is moving the camera until the reflection points somewhere else. Because the angle of reflection equals the angle of incidence, a few centimetres of movement can move a reflected ceiling strip completely out of shot.
Do this in small increments. Shift up, then down, then a few degrees to the left or right, taking a test frame after each move. Watch the edges of the image, where reflections usually sit first, and keep moving until they are gone.
Square up to the glass whenever you can. Shooting perpendicular kills the most reflection of all, but it only works when your subject will hold still: a framed painting, a shop display, a print under glass. Animals behind aquarium glass, and people, will not stay square for long, so angle work is the only option there.
On a phone, the same idea applies. Turn the phone so the camera sits as close to the pane as the case allows, use your palm and forearm as a shade around the screen, and tap directly on your subject to focus and lock exposure.
Step 3: Use a Circular Polarizer to Suppress Reflections
A circular polarizer is the one piece of gear that attacks reflection rather than hiding it. Screw it on, set manual mode, and rotate the outer ring slowly while watching the live view.
Keep turning until the reflection weakens or vanishes, which happens at one specific angle rather than everywhere. This works because glass and most reflections share the same polarisation state, so the filter can subtract that light from what reaches the sensor.
Watch two side effects. A CPL typically costs you one to two stops of light, so you need a slower shutter, and some digital sensors and coated front elements render fine vertical or horizontal banding until you zoom in and correct it in post.
Now the honest part, because nobody explains it clearly. A polarizer cannot remove every reflection. It fails on laminated or tempered museum case glass, where the reflective layer sits inside a sandwich, and on anti-reflective coated glass, which is already designed to defeat it. It also weakens badly at shallow angles, because the light is no longer polarised in the way the filter expects. If rotating it changes almost nothing, the glass type is the likely reason, not your technique.
Step 4: Control Light on Both Sides of the Glass
Reflections get dramatically stronger when something bright sits between the subject and the camera. Turn off your flash, switch off your phone screen brightness, and walk to a darker part of the room if the ceiling lights are in the way.
Shoot from the darker side of the glass wherever you can. If the space behind the subject is bright and the space behind the camera is dim, the reflected light is weak and often disappears on its own. Forum shooters describe this as reflections melting away, and it is the reason night street shots through shop windows are so much easier than daytime ones.
If you need added light, put it on the subject’s side of the glass and angle it away from the pane so no bounce returns to the lens. Never fire a flash at glass from the camera side, and if the flash is built in, ignore it entirely rather than trying to tame it.
Step 5: Focus Through the Glass and Check the Result
Switch to manual focus. Autofocus sees the glass surface as a legitimate subject and will happily lock onto a smear, a scratch or your own reflection, which is the reason many people conclude that shooting through glass is impossible.
For a camera, start at ISO 100, f/5.6 or f/8, and a shutter speed slow enough to need a tripod. Take a test frame, zoom in at 100 percent on the subject, and nudge focus until the texture is crisp. Focus peaking or a magnify view makes this fast.
On a phone, tap your subject on screen to focus and lock exposure, then hold still and support your elbows against something solid. Phones run their own noise reduction and will smear fine detail, so treat a phone result as a good record shot rather than a print.
Before you stop, check three things: zoom in for haze, check the corners for flare, and look for anything you can still see that is not your subject. If you still see it, go back to Step 2 and move the camera again rather than reaching for editing software.
When the polarizer fails and nothing else is left to try
If you have cleaned the glass, moved the camera, blocked the light, gone manual and rotated a polarizer, and the reflection is still there, the honest answer is that the shot is over. Post-processing can clone small highlights away on a flat background, but it cannot invent the texture or the colour that the reflection covered.
Ask permission to take the item out of the case, come back at a different hour when the lighting suits, or photograph a detail and stitch the frames. Each of those is a better outcome than a heavy-handed edit that looks repaired.
Common Mistakes
Almost every reflection problem comes down to one of eight causes. Find the line below that matches your frame and apply that fix before changing anything in your camera settings.
- Milky white veil over the whole frame. Smudges or dust on the glass are catching light. Clean the pane, then pick the cleanest patch and shoot there.
- A strip light or window shape across the image. A bright source is reflecting at the mirror angle. Move the camera a few degrees until the reflection leaves the frame.
- Your own face or silhouette in the shot. You are standing in the pane’s reflection zone. Shoot from the darker side, or drape a black t-shirt over your head and camera.
- A hot white smear in the centre. The built-in flash bounced straight back. Turn the flash off permanently.
- Sharp glass surface, blurry subject. Autofocus locked onto the pane or its reflection. Switch to manual focus and zoom in to confirm sharpness.
- The polarizer makes almost no difference. The glass is laminated, tempered or coated, or you are at a very shallow angle. Stop rotating it and rely on angle change and light blocking instead.
- Frame looks flat and grey. Extra light or glare is spreading evenly across the pane. Remove competing light sources and increase contrast in post.
- Reflection still visible after editing. You expected cleanup to replace lost detail. Prevent it at capture time and reshoot rather than clone.
Two more habits worth building. Shoot raw rather than JPEG, because a faint reflection that is invisible in the preview often falls away with the right tone curve. And take a bracketed set when the lighting behind the glass is uneven, then blend the cleanest frames.
There is also a case for keeping the reflection. A wet shop window at night, a rain-covered café pane and a display with lights behind it all look better with a layer of glass showing, because the reflection tells you where the photo was taken. When you want that on purpose, shoot at a deliberate angle, expose for the interior, and let the pane be part of the image.
Frequently Asked Questions
Can a circular polarizer remove all reflections when photographing through glass?
No. A CPL is very effective on single-layer shop and window glass at moderate angles, but it does almost nothing on laminated or tempered museum case glass, on anti-reflective coated panes, or on reflections that happen at very shallow angles. It also costs one to two stops of light. Treat it as a helpful tool rather than a guarantee, and always pair it with an angle change.
Why are my photos through a window still showing reflections?
Usually one of four things: you are standing in the reflection zone, something bright sits between you and the glass, the pane is dirty, or you are shooting at a shallow angle that throws your own reflection forward. Move a few degrees, turn off bright lights, clean the glass, and shoot square-on where the subject allows it. Each of those fixes more shots than any camera setting.
What is the best camera angle for photographing through glass?
Square to the pane, with the lens as close to the glass as the camera will allow, works best because it minimizes what the surface can throw back at you. If the subject moves, work in small increments up, down and side to side until the reflection slides out of frame. Remember the rule behind it: the angle of reflection always equals the angle of incidence.
Can I photograph through glass at night without a flash?
Yes, and night is the easiest time to do it. With the shop or exhibit lit and your side dark, the reflected light is far weaker than the light behind the glass, so reflections often disappear on their own. Skip the flash entirely, use a tripod or steady support, start at ISO 100 with a narrow aperture, and raise ISO only when you need a faster shutter for movement.
Is it better to clean the window or edit out reflections?
Clean it. A reflection has to be prevented at the moment the shutter opens, because editing cannot recover the texture and colour the reflection covered. Cleaning takes two minutes and removes haze, smudges and the extra ghost reflections they create. Save editing for small stray highlights on an otherwise clean frame, not for a reflection covering your subject.
How do I photograph reflections in glass on purpose?
Stop fighting them. Put your subject in bright light with a darker area behind you, choose an angle where the pane catches something interesting such as neon, wet pavement or a passing tram, and expose for the subject so the reflection sits slightly darker. Placing the lens close to the glass keeps the reflection soft and large, while stepping back renders it smaller and sharper.
Start at Step 2. Clean the glass, turn the flash off, and move the camera a few degrees until the reflection leaves the frame — that sequence solves most shots before you touch a single setting. Once the frame is clean, go back for the polarizer, the lens hood pressed to the pane, and manual focus. Updated for 2026.