To photograph people in the rain, protect the camera first, then set a fast shutter speed around 1/250 second at f/2.8-f/4 with Auto ISO, backlight the falling water so droplets light up, and direct your subject to walk and move instead of standing still. Most of the difficulty is preparation, not technique.
Rain gives you things a sunny afternoon never will: reflections off wet pavement, saturated color, soft overhead light that never blows out skin, and streets that are suddenly empty. Photographers cancel sessions over drizzle all the time, then spend the evening looking at the frames they wish they had taken.
Here is the workflow I use. It runs from protection to a final check, and it works with a mirrorless body, a DSLR, or in a pinch a phone in a zip bag.
Table of Contents
- What You Need
- Step-by-Step: How to Photograph People in the Rain
- Common Mistakes
- Frequently Asked Questions
- What are the best camera settings for photographing people in the rain?
- Should I use flash when taking portraits in the rain?
- How do I keep a camera lens dry while shooting a person outdoors?
- How do I get a sharp portrait when the subject is moving through rain?
- How can I make rain look more visible and dramatic in a photograph?
What You Need
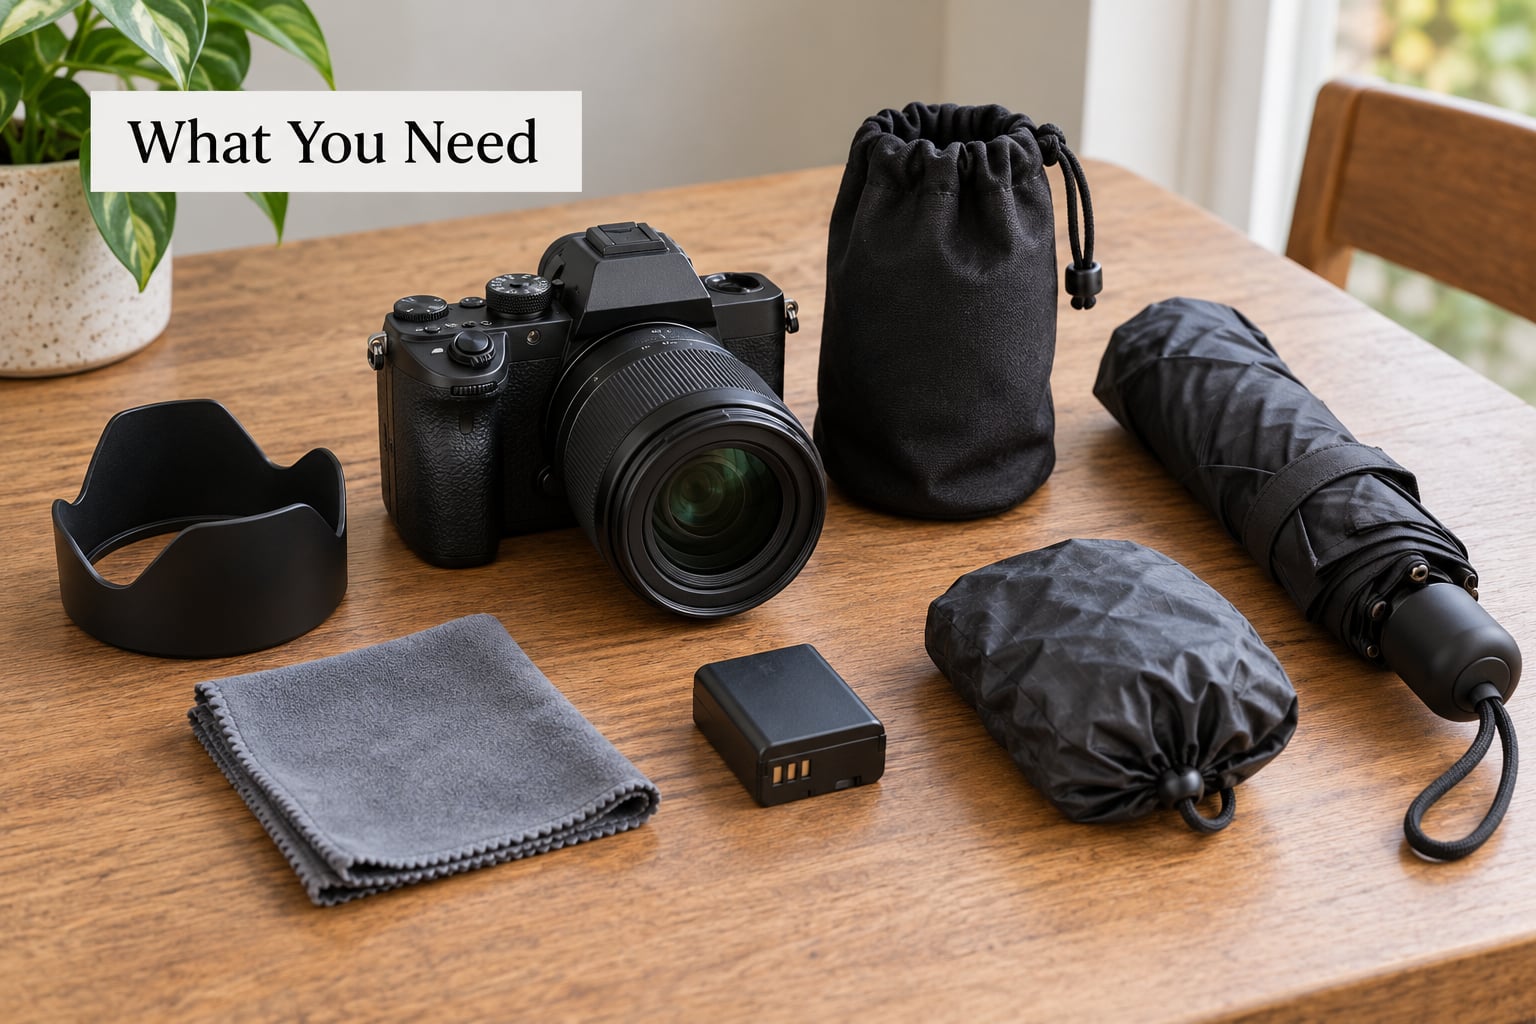
Weather sealing helps, but it is not a permission slip. Sealed gaskets slow water, they do not stop it, and no rating on a spec sheet means much in a squall. Treat your body as needing the same care in the rain as your phone.
Protection gear, in order of usefulness:
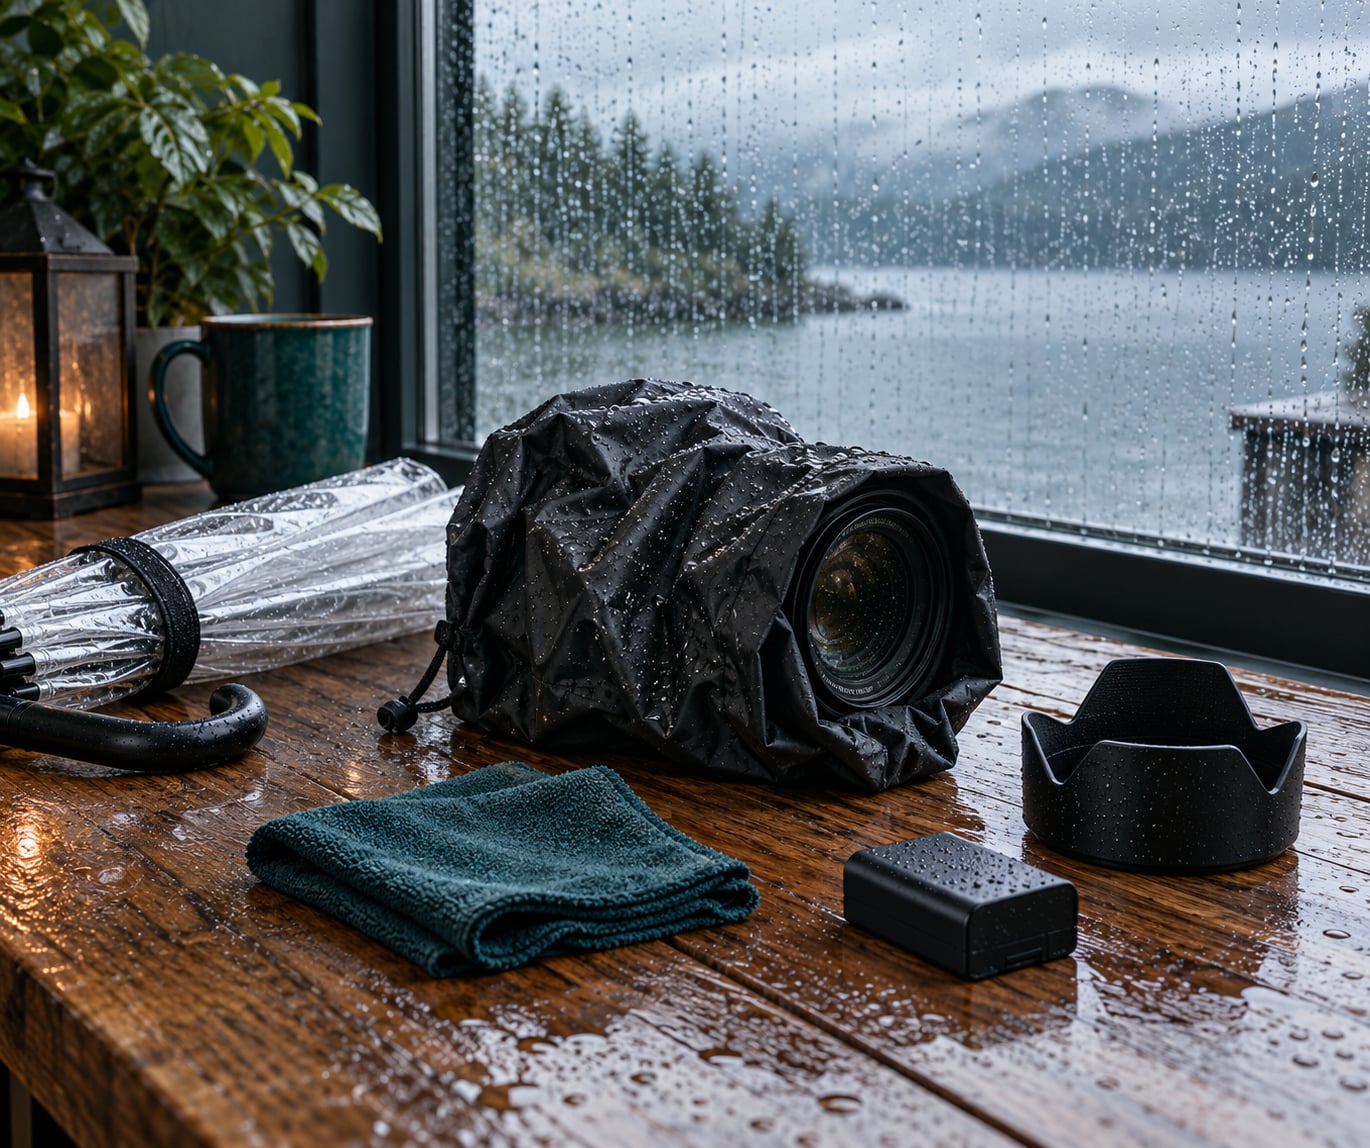
- A dedicated rain cover that fits over the body and lens while the camera stays mounted. Ones with a cut-out for the top plate are worth the extra care.
- A lens hood. It does more in rain than in sun, throwing water off the front element and off the viewfinder eyepiece at the same time.
- A microfiber cloth per pocket, kept separate from the one in your car. Grit and rain together scratch coatings faster than water alone.
- A dry bag or zip bag for spare batteries and memory cards once they come out of the pocket.
- A towel, for you and for your subject. This is the item people forget and then resent.
- Spare batteries. Cold and wet air both drain them faster than you expect.
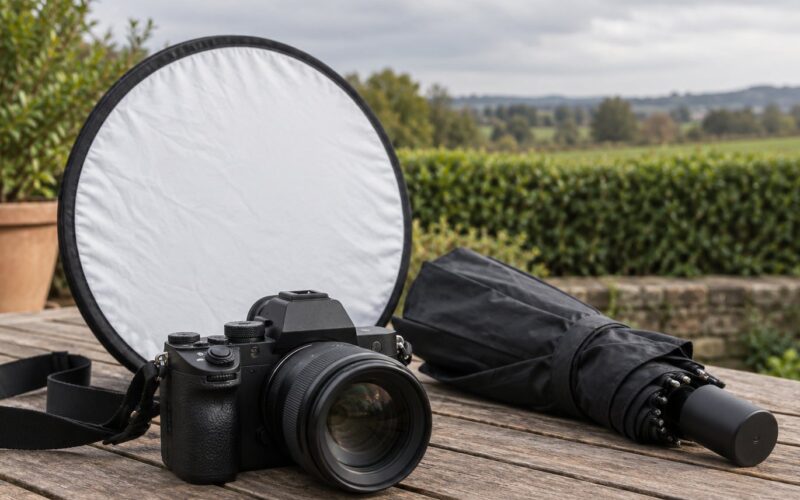
Lighting gear: one speedlight or small LED panel, one white reflector or a piece of white foam board, and a folding clamp stand if you want the light in a fixed position. A small diffusion sheet is useful too, because a rain-soaked overcast sky is soft but not always flattering.
Wardrobe matters more than gear here. Matte, darker fabrics photograph well when wet; shiny raincoats and slick synthetics throw hard reflections straight into the lens. A clear vinyl umbrella shows the face, and it separates the subject from a soft background.
Working from under cover solves a lot of this at once. A doorway, an awning, a car window with the engine running. On r/AskPhotography that shooting-from-under-cover approach comes up constantly as the sane option, and the resulting frames look like rain shots without the exposure.
Step-by-Step: How to Photograph People in the Rain
1. Prepare the Camera and Your Subject
Put the camera in the cover before it goes outside, not after the first drops land. Wipe the front element and the back of the LCD, then fit the hood. Keep the shutter curtain from seeing wet fingers by handling the body with a cloth.
Brief your subject while you are both still dry. Tell them what the session looks like, roughly how long, and what happens if the rain gets heavy. People who are cold and surprised give you a face you will not use.
Agree on shelter before you start. A doorway ten steps away that both of you know about removes most of the anxiety from the session, and it gives you a place to review frames.
2. Choose Settings That Prioritize Focus
Start in manual exposure at 1/250 second, f/2.8, Auto ISO. That combination keeps depth of field thin enough to separate your subject from a busy wet background while leaving enough shutter speed to hold an expression. Overcast rain light is soft and one to two stops darker than open shade, so expect Auto ISO to land around 800 to 1600 on most bodies.
Move up to 1/500 when your subject walks toward you or shakes out a jacket. Widen to f/4 when you need more of the body in focus or the light starts falling. Drop to 1/60 or slower only when you deliberately want the rain to smear into a soft curtain behind the person, and put the camera on something solid when you do.
There is a quick cheat sheet for the different looks:
- Freeze the droplets: 1/250 or faster, f/2.8, Auto ISO. Add a backlight so each drop catches light.
- Curtain of rain: 1/15 to 1/60, f/4, ISO as low as the light allows. Needs a tripod or a solid railing.
- Backlit spray: 1/160, f/2.8, undiffused flash or a bare light behind the subject against a dark background.
- Wet pavement and reflections: 1/125, f/4, expose so the brightest reflection is just short of clipping.
Check your histogram, not your screen. Bright umbrellas and pale stone go white long before faces look wrong on the back of the camera.
3. Keep the Subject Sharp
Rain portraits lose focus for three reasons: water on the front element, low contrast between subject and background, and movement. Only one of those is a camera problem.
Use continuous autofocus with subject tracking and give it a face or eye detect box. If your body has back-button focus, turn autofocus hold off and focus on the first button instead. That stops the camera from hunting every time a raindrop passes across the frame.
For a stationary subject, set a single focus point on the near eye and stop down to f/4 if you need the depth. For someone walking toward you, back off slightly, use the widest aperture, and track. A little extra distance buys more accuracy than any setting change.
If focus keeps failing, check the front element before you check anything else. Half of the soft frames I have seen in rain were a droplet smear, not a focus miss.
4. Shape the Light
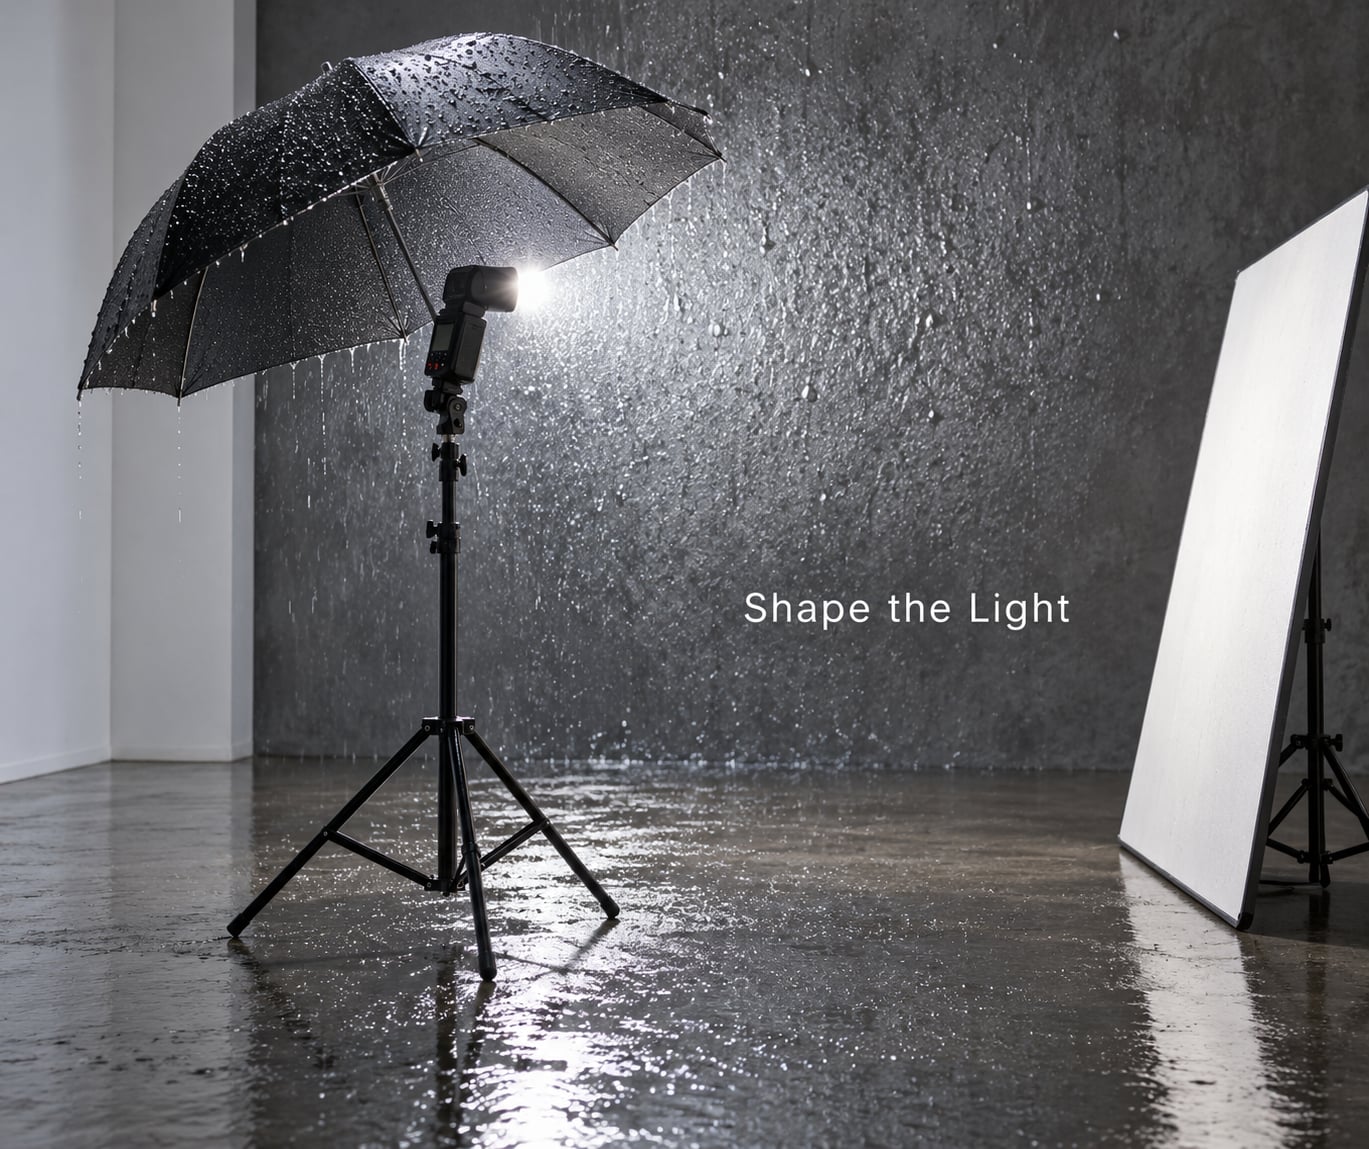
A rainy sky behaves like a very large softbox. It is even, shadowless, and forgiving. The problems are the opposite of a sunny day: flat contrast, dark eye sockets, and raindrops that stay invisible unless something lights them from behind.
Soft frontal light works first. Stand your subject under an awning edge, bounce or aim a reflector toward the shaded side of their face, and lift the exposure half a stop. That is a portrait that works no matter how hard the rain falls.
Backlight is what makes rain photograph as rain. Put a bare speedlight or a bright lamp behind and slightly to the side of your subject, aim it at a dark background, and the falling drops light up as bright streaks around their shoulders. Keep the flash undiffused, since the diffusion dome spreads the light and kills the effect. Short flash duration also freezes the drops in mid-air, which is why high-speed sync helps when you need a wide aperture.
Do not put an on-camera flash straight at a face in the rain. It gives flat skin, hard specular highlights on wet skin and umbrellas, and a black background behind the subject. Move it off axis, or bounce it.
Watch the highlights. Wet skin and wet pavement both reflect far more than dry surfaces, so clipping arrives sooner than it would on a dry day. Dial in negative exposure compensation of a third to two thirds of a stop and check a zoomed histogram.
5. Direct Comfortable Poses and Movement
Cold people stand stiffly. Your job is to give them something to do that produces a real posture instead of a held one.
Prompts that work in rain:
- Walk slowly toward the camera along a wet path, look ahead, ignore the camera for the first ten steps.
- Hold the umbrella slightly off to one side so the face stays clear, then turn the head toward the light.
- Stand still and count down from three, then look up on two. Repeatable, and the last frame is usually the good one.
- Pull the collar up or adjust the coat sleeve. Hands give a face somewhere to go.
- For children, let them jump in the puddles. You will keep the camera on continuous high burst and let the best frame stand.
Keep directions short and give one instruction at a time. Long explanations break eye contact and the moment passes.
6. Compose for Rain Without Losing the Portrait
Wet surfaces double the world below waist height. Puddles, tiled plazas, painted road markings and shop fronts all reflect. Shoot low, flip your camera, and put your subject near the edge of a reflection so the mirrored version leads into them rather than competing.
Use a foreground of out-of-focus raindrops when you can. A drop a few centimetres from the front element becomes a soft bright shape that frames the subject and tells the viewer it is raining.
Leading lines matter more in rain because everything else is quiet. Curbs, kerbs and roof edges guide the eye through a low-contrast frame. Negative space above a subject looking down fills well with sky.
Pick your background carefully. Wet signs, bus shelters and shop lights produce bright clutter, and unlike on a dry day you cannot lean on shallow depth of field alone to hide it. Ask for a step sideways, or change your angle.
7. Review and Capture the Decisive Moment
Between setups, look at what you have rather than trusting the histogram. Zoom to 100 percent on the eyes. Check three things: are the eyes sharp, is the expression there, and did a raindrop land on the front element during that sequence.
Look at the edges too. Bright umbrellas and clipped white highlights pull the eye away from a face.
When all three are clean, shoot a short burst instead of one frame. Rain gives you a moving element you cannot repeat exactly, and five or six frames gives you options without asking your subject to hold the pose longer.
Common Mistakes
A dirty lens. The most frequent failure, and the easiest to fix. Wipe before you start and again after every few minutes in real rain. Check the rear element too, since water there softens everything.
Slow shutter speed without support. Below 1/125 handheld, you will blur the hands and the face. Either speed up or put the camera on a tripod or railing.
Autofocus hunting. Low contrast plus rain streaks will make contrast detect wander. Switch to continuous AF with tracking, or back-button focus with a single point.
Direct flash at the face. It flattens skin, blows out wet highlights and leaves the rain invisible. Move the light off camera, or put a light behind your subject instead.
Clipped highlights. Wet surfaces reflect hard. Check the histogram and pull exposure back a stop or two rather than recovering it in editing.
Forcing a pose. A subject who is cold and miserable gives you nothing. Move the session, shorten it, or work under cover.
Trying to hold an umbrella and operate the camera. This is the one people actually ask about, and the answer is to stop trying. Shoot under an awning, have a second person hold the umbrella, clamp the umbrella to a stand, or compose so the umbrella stays still between frames and only your subject moves.
Skipping the drying routine. After the shoot, keep the camera in its rain cover while you move indoors, then separate body and lens and leave both in a dry room with the power off. Do not power on a wet camera. Silica packs help. Never leave a sealed cover on a damp body in a warm car, since trapped humidity turns into condensation on the sensor or the back of the lens, which is worse than the rain you just survived.
Shooting in genuinely dangerous weather. No portrait is worth a lightning strike. As a rough go or no-go guide, most mirrorless bodies cope with light to moderate rain in under a couple of hours if they are sealed; wind gusts past 20 to 30 mph will turn umbrellas inside out and end the session early anyway; and thunderstorms, flooding and ice underfoot are non-negotiable reschedules.
Two more worth knowing. Shooting rain from inside a car through a window costs you a little contrast but saves the whole session, and it is a legitimate final option when conditions turn. And rain photography with a phone works fine in the same conditions as a camera, provided the lens is wiped and you avoid digital zoom.
Editing wise, a rain frame usually needs a small contrast lift, a touch of dehaze so the background does not go flat, and a dodge on the face. Removing a droplet from the front element is usually impossible, so prevent it instead.
Frequently Asked Questions
What are the best camera settings for photographing people in the rain?
Start in manual exposure at 1/250 second, f/2.8, Auto ISO. That gives you a fast enough shutter to hold a face and a wide enough aperture to blur a wet background. Go to 1/500 when your subject walks toward the camera, and stop down to f/4 when you need the whole body sharp or the light is fading. Drop to 1/60 or slower only when you want the rain to smear into a soft curtain behind your subject, and use a tripod.
Should I use flash when taking portraits in the rain?
Usually not on the camera, but yes off camera. A flash pointed straight at a face gives you flat skin, hard glare on wet skin and umbrellas, and no visible rain at all. Put a bare speedlight behind or to the side of your subject against a dark background, and the falling drops light up as bright streaks. Keep it undiffused, since a diffusion dome spreads the light and kills the effect.
How do I keep a camera lens dry while shooting a person outdoors?
Put the camera in a rain cover or wrap the body in a large plastic bag with a hole cut for the lens before it rains, not after. Fit a lens hood to shed water off the front element and the viewfinder. Keep a dry microfiber cloth per pocket, wipe before the shoot and every few minutes during real rain, and keep spare batteries and cards in a sealed dry bag. Sealed bodies in light to moderate rain are usually fine on their own.
How do I get a sharp portrait when the subject is moving through rain?
Use continuous autofocus with subject tracking, or back-button focus with a single point you place on the near eye. Give yourself distance and shoot at 1/500 second or faster so a walking subject stays still enough. Keep the aperture wide, around f/2.8, so the camera has less to find. If results are still soft, wipe the front element before changing anything else, since a water smear looks identical to a focus miss.
How can I make rain look more visible and dramatic in a photograph?
Backlight it. Position a bare flash or bright light behind and slightly to the side of your subject, aim it at a dark background, and the droplets catch light as bright streaks. You also need enough rain in the air to see, so light drizzle will often show nothing at all. Shoot against darker parts of the frame, keep a shutter speed of 1/250 or faster to freeze the drops, and put a defocused raindrop close to the front element to frame the shot.
Before you direct the first rain portrait, settle three things: the focus is locked, the exposure has been checked on the histogram, and the shelter is agreed. Everything after that is lighting, posing and patience, and the weather does most of the work for you.