You can clean a camera sensor at home safely, and most dust problems are fixed with a hand bulb blower and about ten quiet minutes on a clean desk. The danger is not the act of cleaning, it is rushing it, using a swab the wrong width, or reaching for a cotton bud. The routine below is the one I follow on my own bodies: inspect first, blow first, and swab only if spots survive.
Dust on a sensor shows up as dark dots in the same spot on every frame, most obvious in skies and other flat, bright areas. Once you know that, the process is short. Ten minutes and a bulb solves most cases. A swab and a few drops of sensor cleaning fluid handle fingerprints, oil and anything the air will not shift.
What You Need
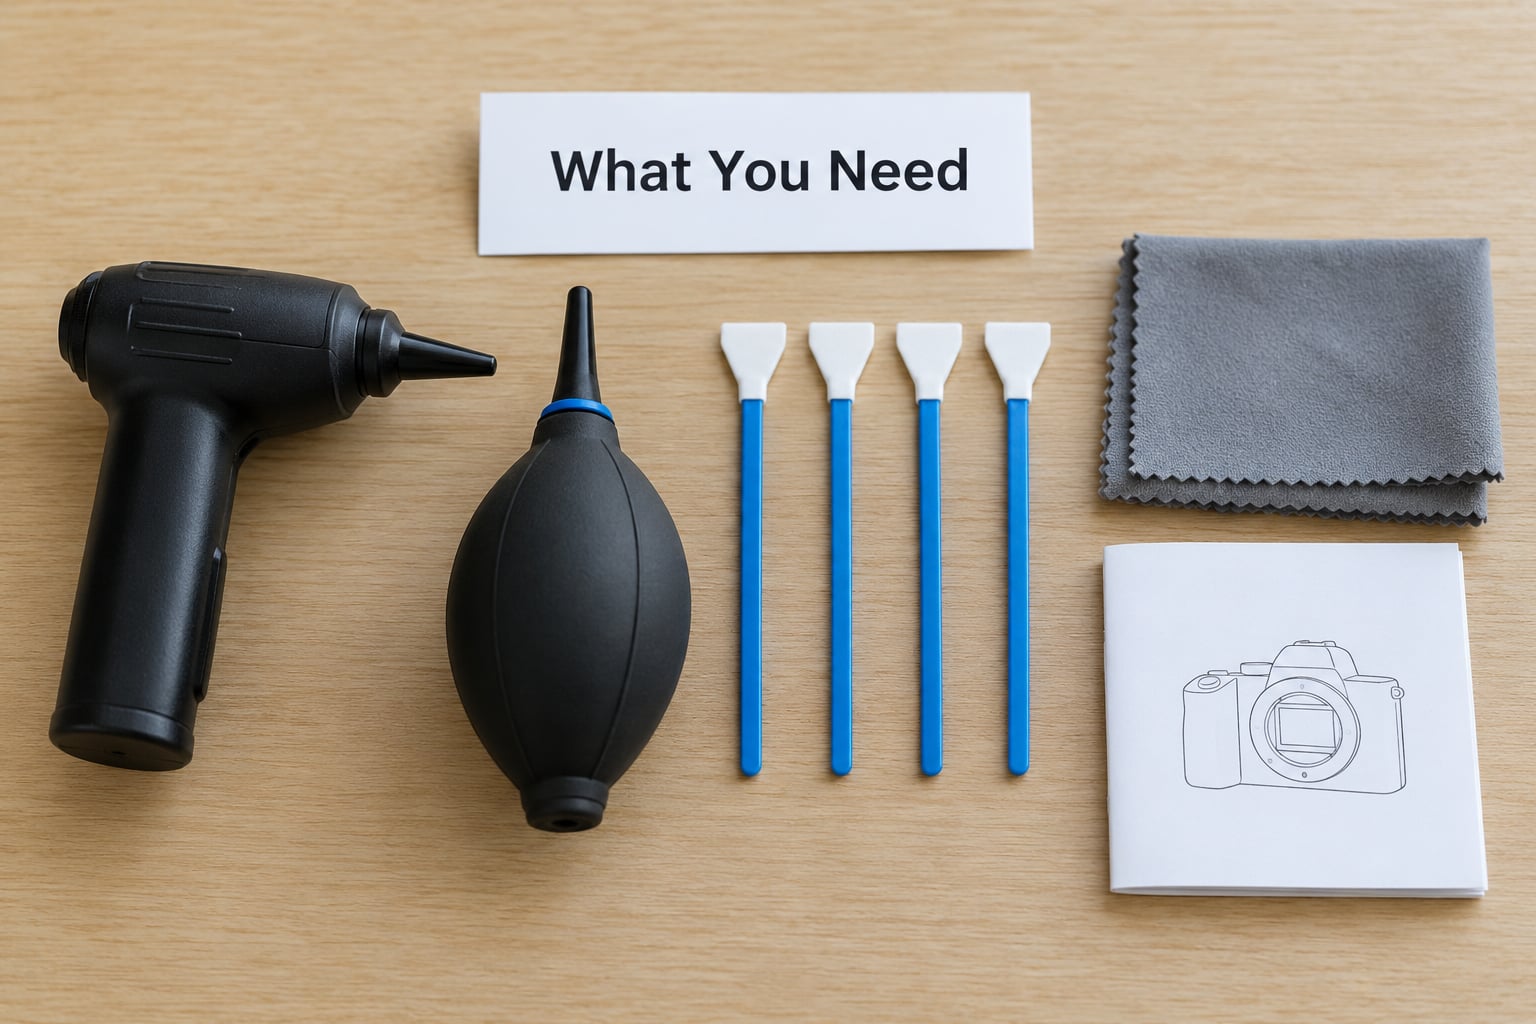
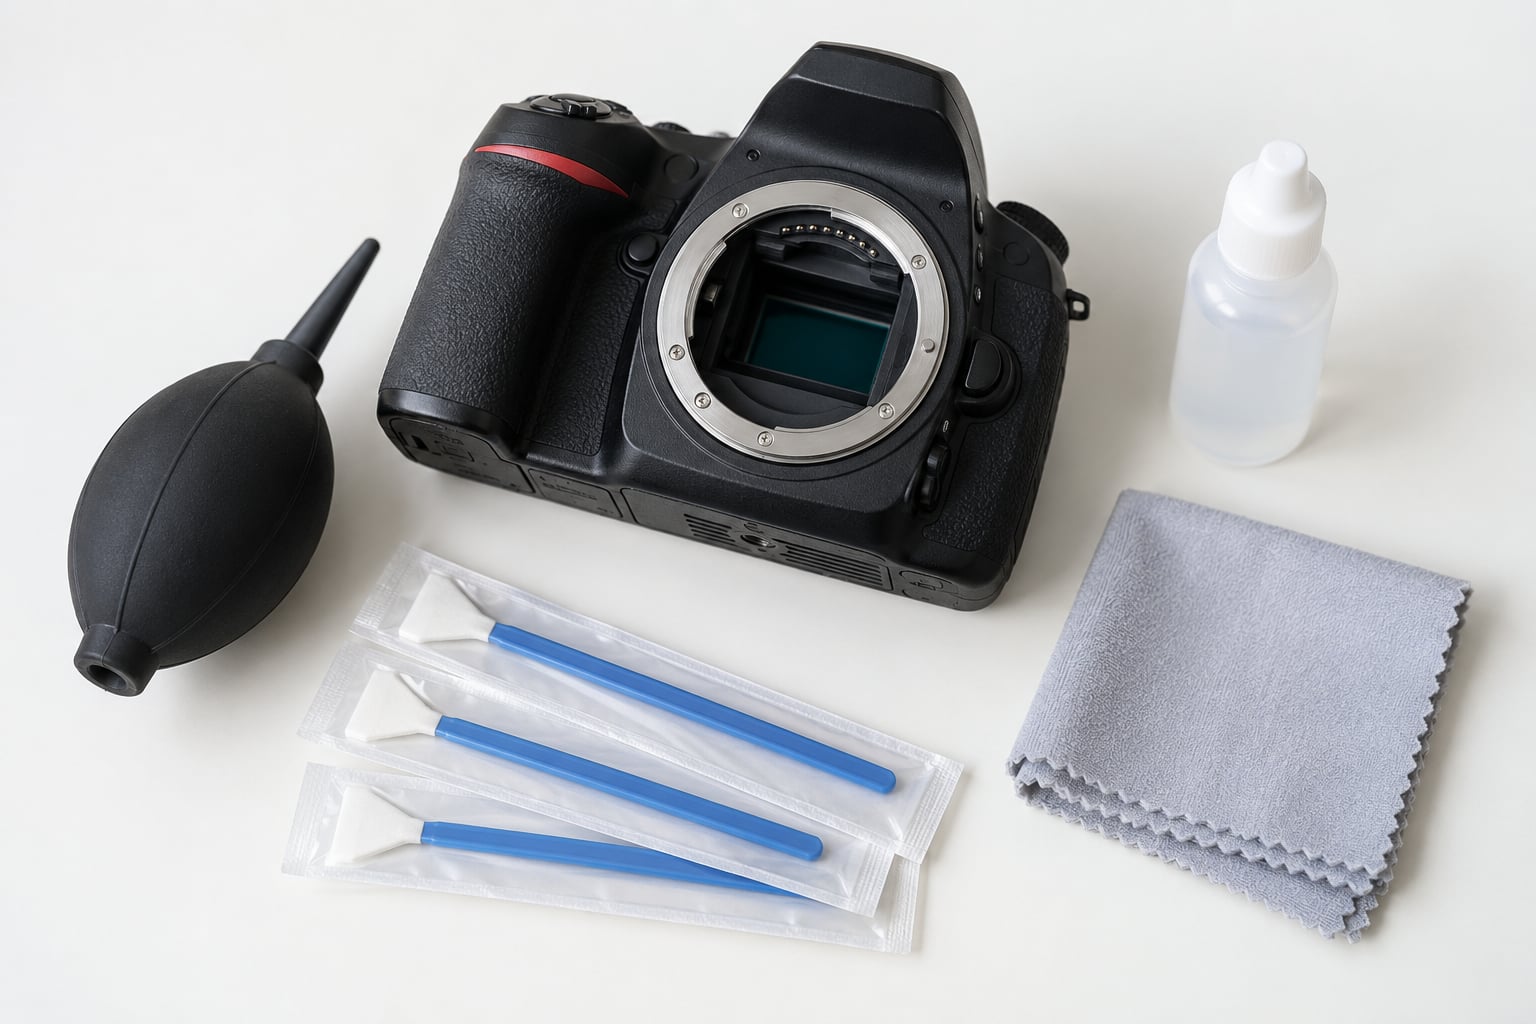
Four things are genuinely essential. Everything else is a nicety you can skip for years.
- A hand-operated bulb blower. Squeeze, release, squeeze. Not a can of air duster, and not a rocket blower with a one-way valve that needs shaking, because shaking is what puts grit into the air in the first place.
- Sensor swabs matched to your sensor size. Disposable, lint-free, sized for your format.
- Alcohol-based sensor cleaning fluid from a camera or lens brand, applied to the swab rather than sprayed onto the sensor.
- A fully charged battery, plus a clear plan to keep the sensor open. A dead body mid-cleaning is an unpleasant problem.
Swab size depends on sensor format
A swab wider than your sensor folds over the edge and drags across the cover glass twice, which is exactly how streaks appear. The right width touches only the flat centre of the sensor.
- Full frame: full-frame swabs, often marked 1.0x or 36mm class.
- APS-C / DX / Canon APS: APS-C swabs. An APS-C swab is too narrow to clean a full-frame sensor in one pass, which is fine, it just takes more passes.
- Micro Four Thirds: MFT swabs. Same logic in reverse.
Useful but optional
A sensor loupe or a bright LED loupe makes inspection far more precise than squinting at a display. A dry static sensor brush helps with particles that cling to the cover glass. A good microfibre cloth is for the camera body and the rear element, never for the sensor itself. A spare memory card and a small light source are cheap insurance for before-and-after test frames.
When to skip all of this and use a service center
Send the body in if you can see scratching, coating damage or a permanent haze that was there before you touched anything. Large stuck debris that will not shift with air, a sensor that smears even after two careful swab passes, a recent repair or an active warranty, and any fixed-lens compact where the sensor sits behind fixed glass all belong in professional hands. A body that is under warranty may even cover a clean as part of a service visit.
How to Clean a Camera Sensor at Home Step-by-Step
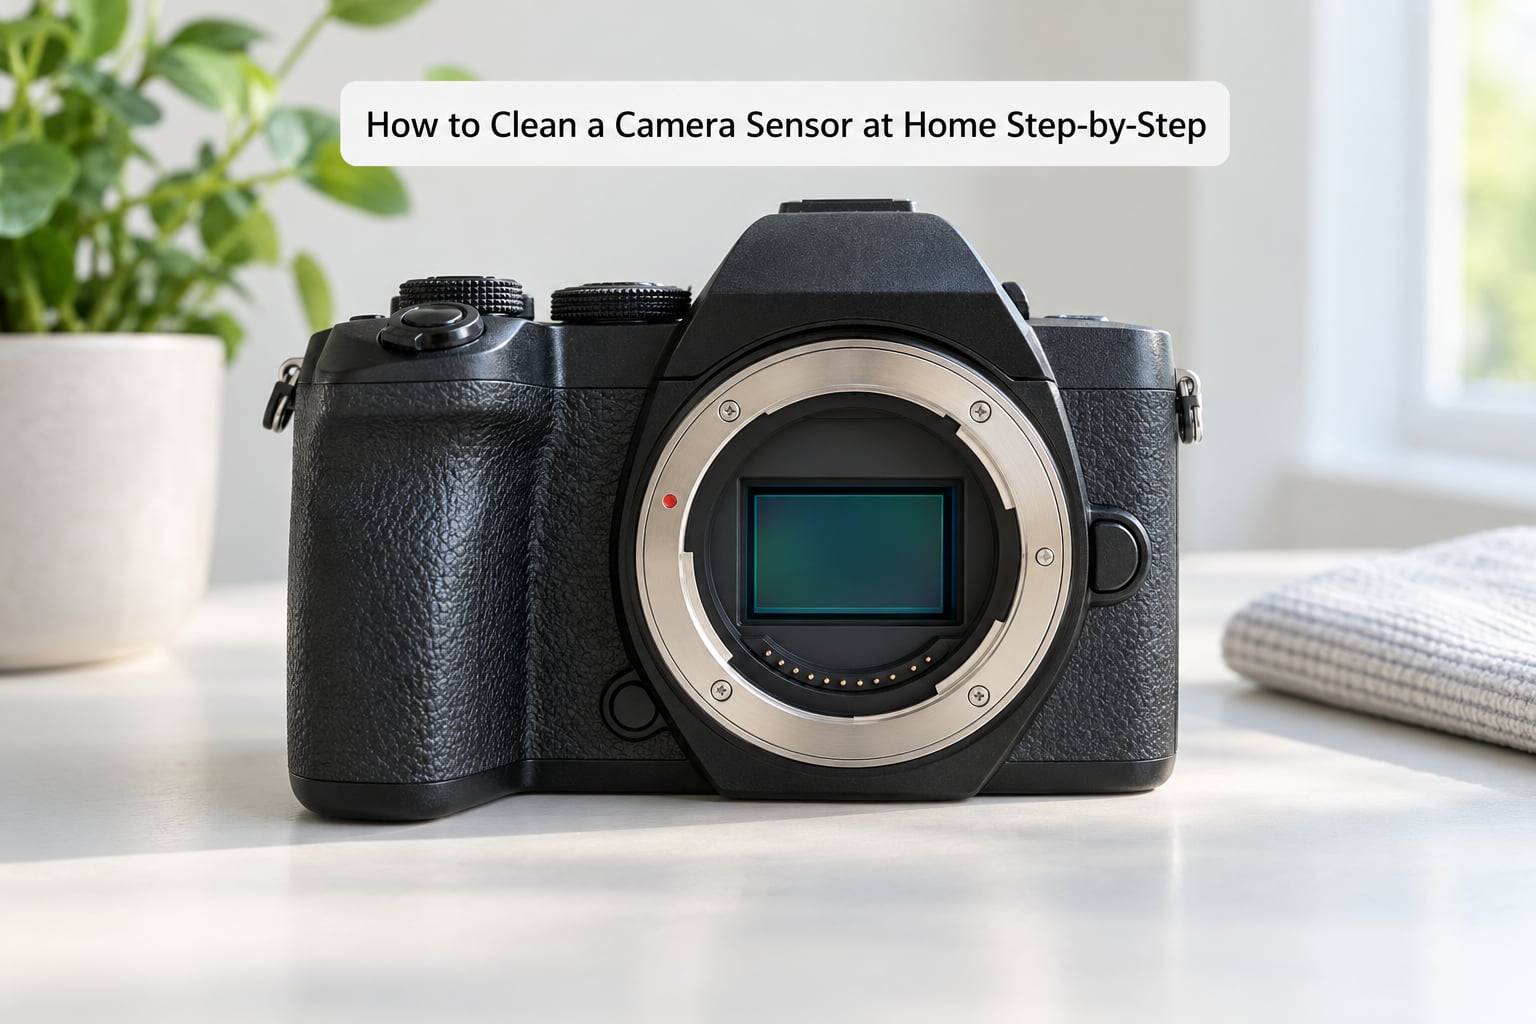
Prepare the Camera and Work Area
Start on a hard, clean table, never carpet, and move the dog out of the room. Clear the surface of anything that sheds. Wash your hands and dry them; skin oil on your fingers is one of the things you are about to clean up.
Charge the battery, remove the memory card, and put the camera into its sensor cleaning or sensor lock mode. On most DSLRs this sits in the setup or custom menu and raises the mirror and locks it, sometimes combined with an exposure lock. On mirrorless bodies the same function usually opens the shutter curtain and locks the sensor position, which matters more than most people realise, because a stabilised sensor can move while you are working.
Check the manual for your specific body rather than guessing, and confirm that your swabs and fluid are meant for that sensor. Then point the camera opening downward, ideally with the lens mount facing the table, so anything you dislodge falls away from the sensor instead of back onto it.
Inspect the Sensor at Full Aperture
Put the camera on a tripod, switch to manual focus, and focus at infinity. Set the lens to its widest aperture and use the live view magnification to look at the sensor. At full aperture the magnified view shows the cover glass most clearly, and the step at the edge of the frame is usually where stubborn dust hides.
Then take one diagnostic frame: point the camera at a plain, brightly lit wall or an even sky, set the aperture to around f/16, focus at infinity, and shoot. Small apertures make dust spots far more obvious than a fast aperture does, which is why a wide-open test shot can look clean and your landscape photos can still be speckled. Note roughly how many spots there are and where they sit, so you can compare later.
Remove Loose Dust with Air
Hold the camera with the mount facing down over the table. Bring the nozzle of the bulb blower close to the sensor, within a few centimetres, and squeeze gently in short bursts, moving the nozzle across the frame as you go.
Never blow compressed air into a camera. Air duster cans expel a propellant that can leave an oily film, and the blast itself can drive grit straight onto the cover glass or force moisture in. Never blow on the sensor with your mouth either, because breath carries both water and oil. Return to the live view after every couple of bursts; the inspection is the real step, the blowing is just the action between checks.
Clean Remaining Marks with Swabs
If spots remain after air, they are probably stuck to the cover glass. That is the signal to use a swab, and to use it wet.
Put one to three drops of sensor cleaning fluid on the swab pad, enough to dampen it without dripping. With the mount still facing down, touch the swab to the centre of the sensor and draw it slowly across in one direction, using light, even pressure and nothing more. Lift it off, never drag it back over the surface you just cleaned. Rotate the swab to a clean face before the next pass, and use a fresh swab per section rather than re-wiping.
Replace the swab as soon as it looks grey. The second pass of a dirty swab is the pass that scratches, which is the whole reason forum consensus across r/photography, r/canon and the maker forums is that a dry swab should never touch a sensor.
Differentiate Dust, Debris, and Defects
Some marks are not on the sensor at all. With the camera still open, tilt the body a few degrees and watch live view.
A spot that shifts position with the camera is dust on an internal filter or the inside of the body, and it is a service-center item. A spot that stays nailed to the same sensor coordinate is something on the cover glass, which you can still address. A dark cluster that sits on the same pixels in a pattern you recognise, such as a line or a corner block, is a defect or a readout artefact rather than dirt. If you cannot tell the difference after two careful attempts, stop. Continuing from an uncertain state is how a small problem becomes an expensive one.
Dry and Recheck the Sensor
Alcohol-based fluid evaporates quickly, but give the sensor a minute or two with the mount facing down before you close it up. Reassemble the lens, then repeat the live view check at full aperture and take one more frame at f/16 against the same wall.
Compare the two frames. If the spots are gone, you are finished. If they are fewer, one more swab pass on the affected area is reasonable. If they are identical, something other than loose surface dust is involved, and it is time to stop and book service. Note the date and the before-and-after frames in your files; next time the sensor looks suspicious, you will know whether it is the same dust or something new.
Common Mistakes
Almost every horror story in these forums traces back to one of the following.
- Compressed air. It condenses, it leaves residue, and it drives particles inward. Use a bulb.
- Your breath. Warm, wet and oily. Never.
- A cotton bud or Q-tip. A photographer in r/photography laid this out plainly: disposable pads or wipes, never a reusable microfibre cloth and never a lens pen. A cotton bud can shed fibres, and a lens pen drags grit across the coatings.
- Household liquids. Glass cleaner, distilled water, tap water and spray bottles are all wrong. A smear becomes a coating haze, and that haze does not buff out.
- Cleaning a powered-on body. The sensor must be locked open in cleaning mode, and the power source must be solid. On a body with in-body stabilisation, touching a sensor that has not been locked is a real risk of physical damage.
- Skipping the compatibility check. A full-frame swab on an APS-C sensor, or a fluid meant for a scanner, turns a five-minute job into a service visit.
- Reading internal dust as sensor damage. Marks behind the sensor, in front of it, or drifting with the camera body are not on the cover glass. Tilt the camera before you panic.
Prevention is easier than cleaning. Inspect the lens mount and the rear element under light before every mount, cap both openings when the camera is not on a lens, change lenses indoors where you can, and avoid zooming a lens while it is off the body, because the barrel pumps air past the mount seal. A Panasonic user in these threads reported zero dust specks over four years, which matches what a disciplined mount routine tends to produce. Nobody escapes dust entirely, but the frequency drops a lot.
Frequently Asked Questions
Is it safe to clean a camera sensor at home?
Yes, on an interchangeable-lens body, if you work slowly and use the right tools. Lock the sensor open in cleaning mode, point the mount downward, and start with a bulb blower. Most sessions take ten minutes and involve no contact with the sensor at all. The genuine risks are rushed technique, oversized swabs, household liquids and touching a stabilised sensor that was never locked.
Can I clean a camera sensor with compressed air?
No. Aerosol duster propellant can leave an oily film on the cover glass and the blast can drive loose grit onto the sensor. Forum users debate this endlessly, but the physical objection stands regardless of opinion. A hand bulb blower moves a large, slow, clean volume of air and is the only air tool that belongs near an open sensor.
How often should I clean my camera sensor?
Only when you can see a reason to. Most photographers need a blower check every few months, and many never need a wet swab at all. Clean after heavy lens changes, after shooting in dusty or coastal conditions, or when spots appear in the same frame position. Cleaning on a schedule means putting swabs on a clean sensor for no benefit.
What if dust or spots remain after cleaning the sensor?
Tilt the camera in live view and see whether the mark moves. If it moves, the dust is on an internal filter or inside the body and no amount of swabbing will shift it, so stop and use a service center. If it stays fixed after a second careful pass, you may be dealing with a smear, a defect or a damaged coating, which is also a service job.
Is a blower alone enough to clean a camera sensor?
For ordinary dust, yes. A bulb blower is enough for the vast majority of cleaning jobs and is the safest option because nothing touches the sensor. You need a swab with alcohol-based sensor cleaning fluid only when spots stay put after air, which usually means oil, grease or a fingerprint rather than dry dust.
Should I use lens-cleaning fluid to clean the sensor?
No, not lens fluid. Use alcohol-based sensor cleaning fluid, applied in a drop or two onto a sensor swab, never sprayed onto the open sensor. Sensor coatings are more delicate than front lens elements, and a swab that is too wet can push fluid under the filter stack around the sensor edges, where it is very hard to reach.
Conclusion
Start by confirming there is a problem, using live view at full aperture plus one f/16 frame against a plain wall. If spots are loose, a hand bulb blower with the mount facing down should clear them, and that is the entire job. If spots survive the air, use a correctly sized sensor swab dampened with sensor cleaning fluid, one pass per clean face, changing the swab as soon as it looks grey. And when a mark will not shift, will not wipe, or sits on a fixed pattern of pixels, stop cleaning and book a service center. That last instinct is what keeps a routine clean from becoming a repair bill.