If you want to know how to make a nose look smaller with lighting, it comes down to three moves: put the key light high and close to the camera axis, keep the shadow it casts soft and filled, and shoot from far enough back that perspective stops stretching the nose. None of that takes longer than a few minutes to set up once you know where to put things.
Quick note before we start: this is the photography version. Most results for this search are makeup contour tutorials, and those are a completely different job. This is about what the camera and the lights actually do to facial proportions.
Most people lose the nose to two separate problems, and it helps to know which one you are fighting before you touch a single dial. The first is geometry, where a close camera makes the nearest feature the biggest feature. The second is contrast, where a dark, sharp nose shadow reads as a second nose. Fix both and the change is dramatic, which is why r/photography keeps landing on the same consensus that angles and lighting can help almost anyone look good in a photo.
Table of Contents
- Why does a nose look bigger in photos than it does in life?
- What You Need
- Step-by-Step: How to Make a Nose Look Smaller With Lighting
- Common Mistakes
- Frequently Asked Questions
- What lighting angle makes a nose look smaller?
- Should I use soft or hard light to make my nose look smaller?
- Can a reflector make a nose look smaller?
- What camera position helps a nose look smaller in portraits?
- Can lighting fix a wide nose without retouching?
- How do I stop the nose shadow from looking unnatural?
- What to Change First
Why does a nose look bigger in photos than it does in life?
A nose looks big in a photograph for two reasons: perspective distortion, where the nose is the closest feature to the lens and therefore projects largest, and shadow contrast, where a hard dark shadow beside the nose doubles its apparent width. Move the camera back and the first problem shrinks. Raise and enlarge the key light, then fill the shadow, and the second one shrinks with it.
The mirror sets up a bad comparison. You judge your face at arm’s length, roughly 20 inches from your own eyes, while your subject sits several feet from a lens that sits far closer to the lens than their eyes are. Research reported by Business Insider found that shooting with a phone from about 12 inches away can increase apparent nose size by roughly 30 percent.
That statistic gets blamed on the wrong culprit. The lens does not cause it. The distance does. On r/photography, threads titled about portrait focal length reach the same conclusion, and a DPReview forum post warns that getting too close to a subject brings exactly this perspective distortion.
What You Need
None of this needs a studio. A living room with a window will do, but here is what actually makes the technique work.
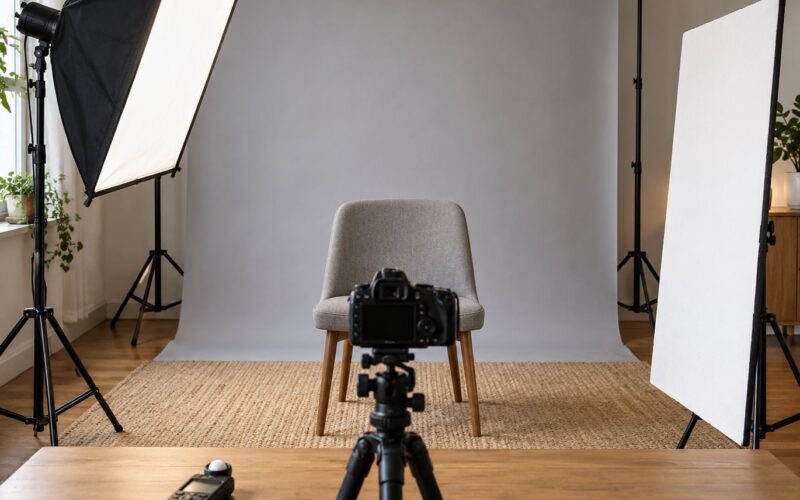
- A large soft source. A softbox, an octabox, a 5-in-1 reflector acting as a bounce, or a north-facing window. Size relative to distance is what matters more than brand or wattage.
- A fill or reflector. A white or silver reflector, or a second dim light, placed low on the shadow side to keep the nose shadow from turning black.
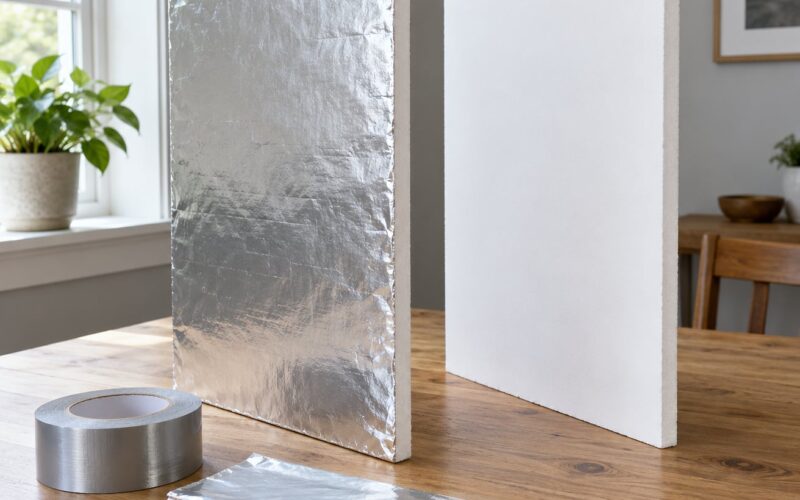
- A flag or negative fill. A black foam board or dark card to kill spill on the shadow side. This is the cheapest way to add contrast, and it costs nothing.
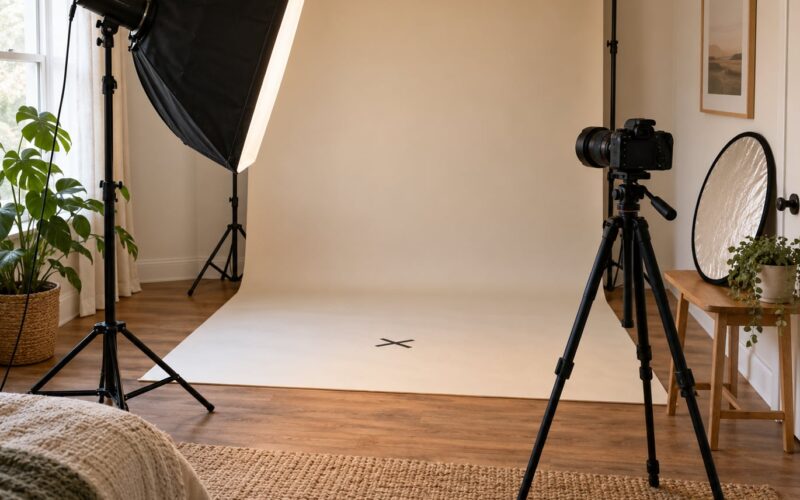
- A camera you can step away from. Any camera works. Distance does the work, so a manual or fixed-lens body on a tripod is fine.
- A subject with comfortable distance from the background. Not part of the nose trick, but it keeps you from cheating the background separation with the wrong light position.
- Something to judge the shadow with. A black and white preview helps more than color. Shape reads better without hue.
If you are shooting yourself with no assistant, a tripod, a timer and a single window will get you most of the way. The steps below still apply.
Step-by-Step: How to Make a Nose Look Smaller With Lighting
Before the steps, it helps to know which pattern you are building. Every pattern below changes the nose differently, so pick the row that matches the face in front of you.
| Pattern | Key light position | Nose reduction | How dramatic it looks | Best for |
|---|---|---|---|---|
| Split | About 90 degrees to the side, just above eye level | Highest | Very | Wide or bulbous noses, textured skin |
| Short loop | 45 degrees, slightly above eye level, near-side cheek lit | High | Moderate | Most faces, headshots, beauty work |
| Loop | 45 degrees, slightly above eye level, far-side cheek lit | Medium | Moderate | Round faces, friendly portraits |
| Rembrandt | 45 degrees and higher, so the shadow reaches the cheek | Medium | Dramatic | Noses that read as long or prominent |
| Butterfly | High and centered, above the bridge | Low | Glossy, commercial | Only when the nose is already narrow |
| Flat frontal | Directly in front, on axis | None | None | Nothing |
Butterfly sits at the bottom of that table on purpose. It is the most photographed pattern on the internet and the one that most reliably makes a nose look wide, because the shadow pools symmetrically right under the tip. Fstoppers names the same failure mode when describing the doubled nose shadow that a badly placed high key light leaves behind.
Step 1: Establish the Light Direction
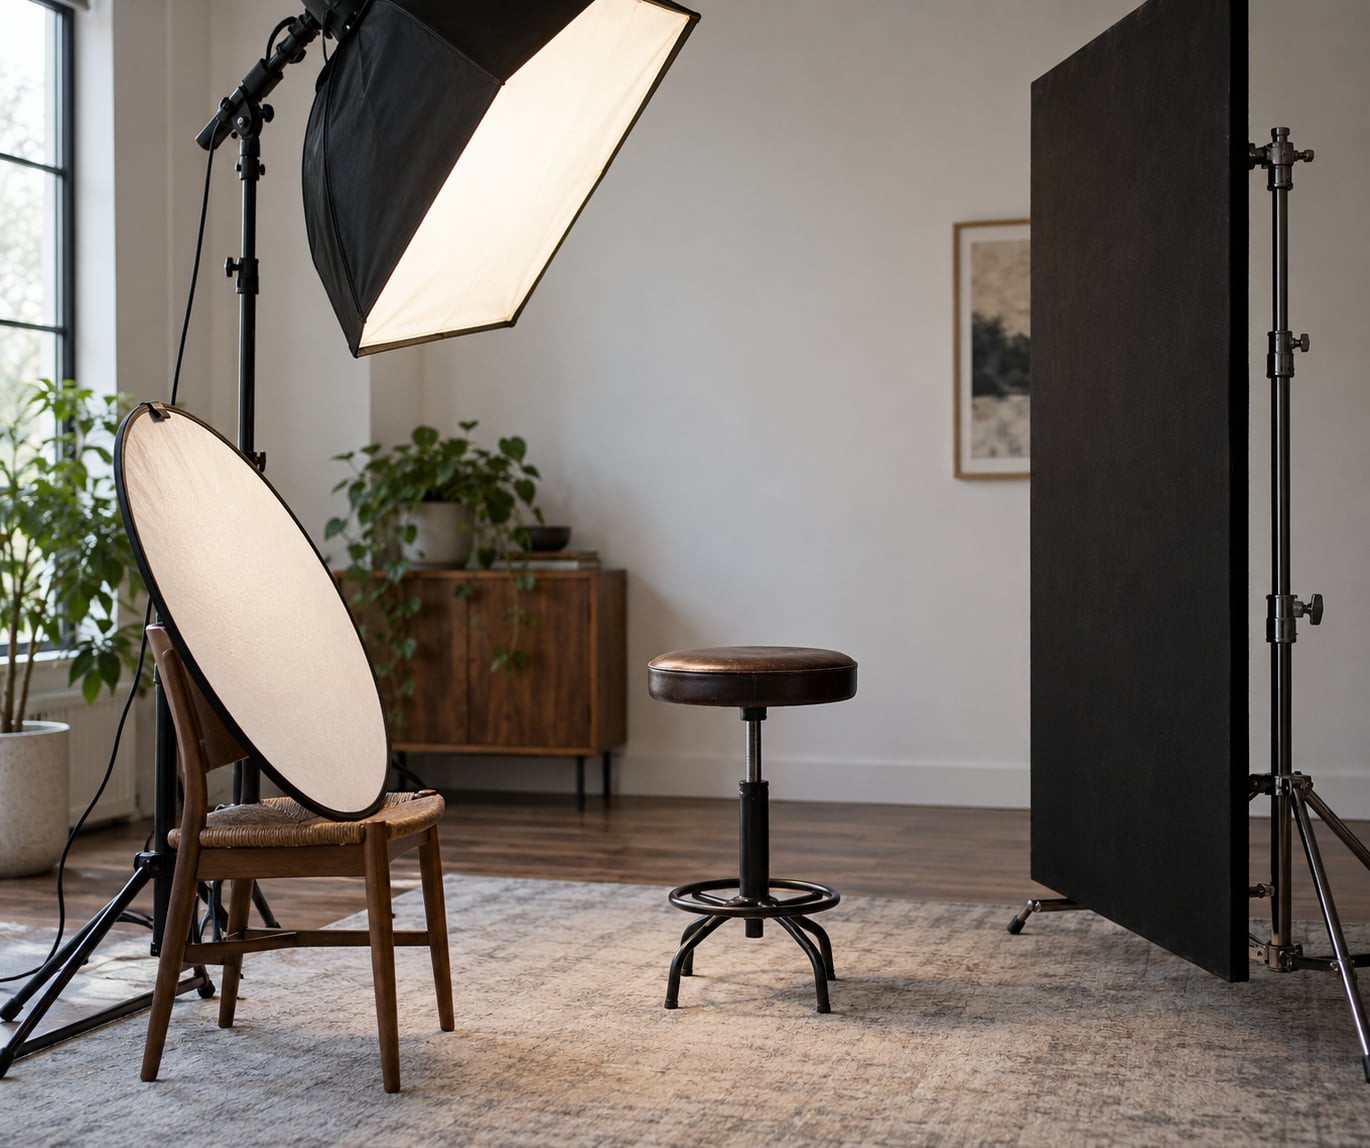
Put the key light above eye level and about 45 degrees to one side of the camera, close enough to the lens axis that the nose shadow falls beside the nose rather than across the cheek. Start roughly 3 to 4 feet from the face and open the source up so it is big relative to that distance.
Your first check is simple: take one test frame and look at the nose shadow only. A small, soft-edged shape means the light is right. A long dark streak running toward the corner of the mouth means the light is too high or too small, so drop it and soften it.
A reasonable baseline is ISO 100, 1/200 second, somewhere between f/4 and f/8, then adjust from there. Numbers matter less than the shadow, but they keep you from chasing exposure instead of shape.
Step 2: Shape the Shadow Along the Nose
Now shape the shadow rather than just creating it. Slide the light a little farther to the side, or a little higher, and reshoot. You are looking for a long tonal gradient down the nose side, soft at the edge, so the nose recedes instead of stepping forward.
Use the black flag on the shadow side to stop the key from wrapping around the face and flattening the gradient you just built. If the shadow goes too dark to be attractive, bring the flag closer to the face rather than turning the key down, since turning the key down dims the whole portrait.
Watch for catchlights as you move. Missing catchlights almost always mean the light has drifted too high, and the nose shadow will already be telling you the same thing.
Step 3: Control Fill and Contrast
The shadow side is your contrast dial. More contrast there makes the nose recede, and less fill lets the nose bridge separate from the cheek. Too much fill is just as bad in the other direction, because the shadow disappears and the bridge merges into a flat patch of cheek that reads wider.
Hold a white reflector just under the subject’s chin on the shadow side, angled up. Silver gives a stronger, more obvious fill if the shadow is disappearing entirely. A black panel on the same side pushes the other way and is the fastest way to a sculpted look.
Most portraits land around a 2:1 to 3:1 key-to-fill ratio. Push past that and you get drama, which is a choice, not an accident.
Step 4: Use Camera Position to Support the Lighting
Lighting alone gets you most of the way. Camera position closes the gap. Step back until you are roughly 5 to 8 feet from the subject, then zoom to 70mm or 85mm if you can. That combination gives you the compressed look people associate with flattering portraits, and it is the opposite of the close selfie framing that exaggerates the nose.
Keep the camera at eye level and avoid any lens wider than about 35mm on the same subject. Do not point a wide lens from inches away and expect distance to save it later.
Turn the head about 15 to 20 degrees off the lens axis, not straight on. A slight turn shortens the visible width of the nose immediately, and it also means the nose shadow lands on the cheek instead of sitting dead center under the tip.
Step 5: Check the Result and Make Small Adjustments
Test the frame three ways. Switch to a black and white preview to judge shape without skin tone. Pull up the histogram and make sure the shadow side has detail instead of clipping to black. Then compare the frame side by side with your first one, at the same size, before deciding whether anything improved.
Three warning signs mean you went too far. Dark eye sockets mean the key crept high and the fill collapsed. A shiny highlight on the bridge and tip means the light is small and hot, so enlarge the source. A doubled shadow beside the nose means the key is far enough off axis to cast a second edge, so bring it closer to the camera line.
Most portraits land wrong by a small amount. Nudge the light a few inches, reshoot, and stop before the face starts looking like a diagram.
How to Make a Nose Look Smaller With Lighting on a Phone and a Window
With no gear at all, stand the subject about 6 feet from a large window with the light coming from one side, slightly above eye level. Put a white sheet of paper or a pale towel on the darker side of the face as fill, held by the subject or propped on a chair.
Then fix the phone habits. Use the rear camera, not the front one. Switch to the 2x or 3x lens and move further back rather than zooming in on the 1x lens, since digital zoom crops from the same position and keeps all the close-distance distortion. Use the timer or a tripod so you are not arm’s length away from yourself.
Overcast daylight or a window with a sheer curtain is the best free soft source there is. On r/MakeupLounge, diffused pulldown blinds come up again and again for exactly this reason, and photographers in r/AskPhotography shoot early morning or near sunset for the same contrast and shape rather than flat overhead light.
Common Mistakes
Most disappointing results come from one of a handful of repeat offenders. Each has a quick fix.
- Frontal light on axis. It flattens the face and casts a symmetric shadow under the tip, which reads as a wide nose. Fix: move the key 45 degrees to the side and keep it above eye level.
- Small, hard, close source. A bare flash or bare bulb makes an edged shadow that doubles the nose. Fix: double the apparent size of the source or move it further away, since softness is relative to subject distance, not to the bulb.
- Key light too high. This is the classic long nose shadow, and it drags the eyes into shade with it. Fix: drop the light a few inches until the shadow is compact and catchlights return.
- Too much fill. Filling everything flattens the bridge into the cheek. Fix: pull the reflector down or away until the shadow side keeps visible tone.
- Camera too close. The nose becomes the nearest feature and grows. Fix: step back and zoom in.
- Wide-angle lens. It exaggerates the very thing you are trying to hide. Fix: 70mm or longer at 5 or more feet.
- Direct on-camera flash. It puts a hard shadow straight down under the nose. Fix: bounce it off a ceiling or wall, or turn it off and move the window.
- Overhead room light. Ceiling fixtures in a living room are the main source of heavy under-nose shadows at home. Fix: switch them off and use one window or one soft light instead.
- Heavily smoothed skin in editing. Smoothing flattens texture everywhere but leaves the nose highlight, so the nose looks shinier and larger against nothing. Fix: dodge the bridge slightly and burn the two sides instead of smoothing.
- Subject at the frame edge. Distortion grows toward the edges of the frame. Fix: keep the face nearer the center.
| What the nose shadow is doing | Likely cause | Fix |
|---|---|---|
| Long streak to the side of the mouth | Key light too high or too small | Drop the light, enlarge the source |
| No shadow at all | Light too frontal or fill too strong | Move the key off axis, pull the fill back |
| Two shadows beside the nose | Key too far off the camera axis | Bring the key closer to the lens line |
| Eyes go dark whenever the nose looks right | Fill removed too far | Raise the reflector toward eye level |
| Bright patch on bridge and tip | Source too hard for the skin | Diffuse it or move it back |
One habit worth keeping: when a subject tells you they hate how their nose looks, do not agree that it is a problem. Show them the two frames, the flat one and the one with the key at 45 degrees, and let the picture make the argument. That conversation is part of the technique, not a side note.
Frequently Asked Questions
What lighting angle makes a nose look smaller?
Around 45 degrees to the side of the camera and slightly above eye level. That angle lets the nose cast a small shadow beside it instead of directly underneath, so the bridge reads narrower. Going to 90 degrees for a split pattern shrinks it further but makes the portrait much more dramatic. What matters more than the exact angle is that the shadow stays short and soft.
Should I use soft or hard light to make my nose look smaller?
Soft light. A large source close to the subject spreads the nose shadow across a wider area at lower contrast, so the nose stops reading as a separate shape. Hard light gives you a defined shadow edge that doubles the apparent width of the nose. If you are stuck with a small source, move it further from the subject, since softness depends on apparent size relative to subject distance.
Can a reflector make a nose look smaller?
Yes, but it controls the shadow rather than shrinking the nose. A white reflector under the chin on the shadow side lifts the nose shadow so it does not spread and darken, which keeps the bridge defined. A black panel on that same side does the opposite and adds contrast so the nose recedes. The reflector is a tuning tool; the key light position does the reducing.
What camera position helps a nose look smaller in portraits?
Step back to about 5 to 8 feet and zoom to 70mm or 85mm, keeping the camera at eye level and turning the head 15 to 20 degrees off the lens axis. The distance kills perspective distortion, the focal length compresses features, and the slight turn shortens the visible width of the nose. Close wide-angle framing does the opposite of all three.
Can lighting fix a wide nose without retouching?
In most portraits, yes. A 45 degree key above eye level with controlled fill on the shadow side narrows the visible bridge, and a small soft nose shadow keeps the tip from drawing attention. Split lighting reduces it further when the portrait can carry a dramatic look. You will never change the actual width, but perceived width changes noticeably in a photograph.
How do I stop the nose shadow from looking unnatural?
Keep it short, soft-edged and slightly off center. A long streak means the key is too high or too close to the lens axis, so drop the light and enlarge the source. A perfectly symmetrical shadow under the tip is the butterfly look and reads wide, so move the key to one side. Judge it in black and white, where edges are easier to spot than in color.
What to Change First
Start with distance, because it costs nothing and changes the most. Step back to 6 feet, zoom to 85mm, and shoot one frame. If the nose still dominates, move the key light to 45 degrees above eye level and make the source bigger. Fill comes last, and only enough to keep the shadow readable.
Most people solve this in under five minutes. The lighting was never the problem, it was just pointed straight at the face from too close.