Lens compression is the way a long-lens photograph makes background elements look larger and closer to the subject. It is created by camera distance and perspective, not by the lens itself: a telephoto focal length only lets you step far enough back to frame the shot that way. So to use lens compression in portraits, pick a long focal length, move well away from your sitter, and keep the camera level with their face.
What you end up with looks like this:
- The gap between your subject and the background appears to shrink, so a wall or a row of buildings reads as part of the person rather than as scenery behind them.
- Facial proportions settle toward natural, because you are no longer looking at the face from inches away.
- Background elements grow in the frame, so a modest patch of wall or a distant skyline can fill the whole backdrop.
- Depth reads as layered but shallow, a stacked look rather than a receding corridor.
- Longer lenses at the same framing make the difference obvious in a side-by-side, which is exactly how you can prove it to yourself.
The rest of this guide is the working routine: which focal length, how far to stand, how to hold the camera, and what to set.
What You Need
Any camera system and any lens will do. The gear list for this is short because the effect lives in the geometry, not in the equipment.
- Any camera with manual or aperture-priority mode. A mirrorless body, a DSLR, or a fixed-lens compact all work. You need control over aperture and shutter speed; you do not need anything special beyond that.
- A lens in the 70mm to 200mm range on full frame, or anything that lets you fill the frame from several metres away. A 50mm on a smaller sensor works because it forces a long shooting distance. Phones with a 2x or 3x optical lens can produce the same geometry, just with less resolution when you crop in.
- A way to measure distance. A tape measure, a laser rangefinder, or simply counted paces. The numbers in the table below are the fast way to skip the counting.
- A shutter release or a two-second timer. At 8 metres you cannot reach the shutter without changing your framing, and the tripod release solves it.
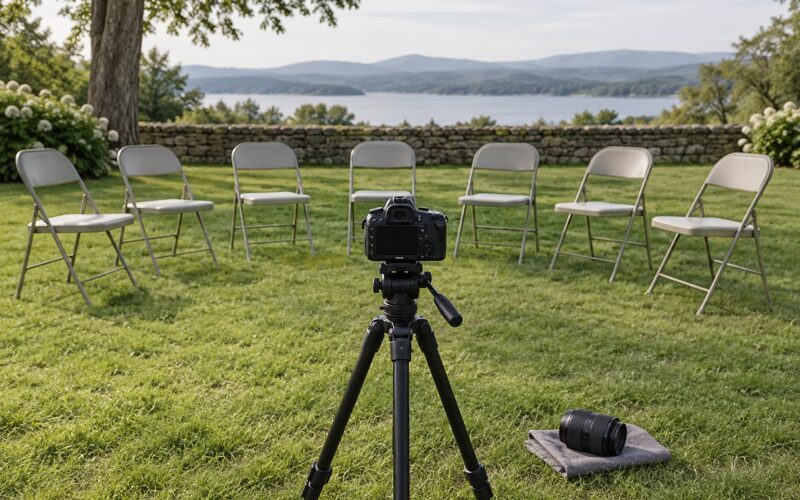
- Somewhere for the sitter to look. Mark a spot on the ground or on a chair. From far away, small shifts in posture are the only direction you can give.
- Optionally a tripod for 200mm and beyond, where your hands will not hold the frame steady enough at 1/125s.
One free experiment is worth doing before anything else, and it is described in step 2. It takes five minutes and it settles the distance-versus-focal-length argument once and for all.
Step-by-Step: How to Use Lens Compression in Portraits
Compression comes from standing far away and framing from there. The sequence below is the order I work in: choose the focal length, calculate the distance, level the camera, frame, then set exposure and focus.
1. Choose a Long Focal Length
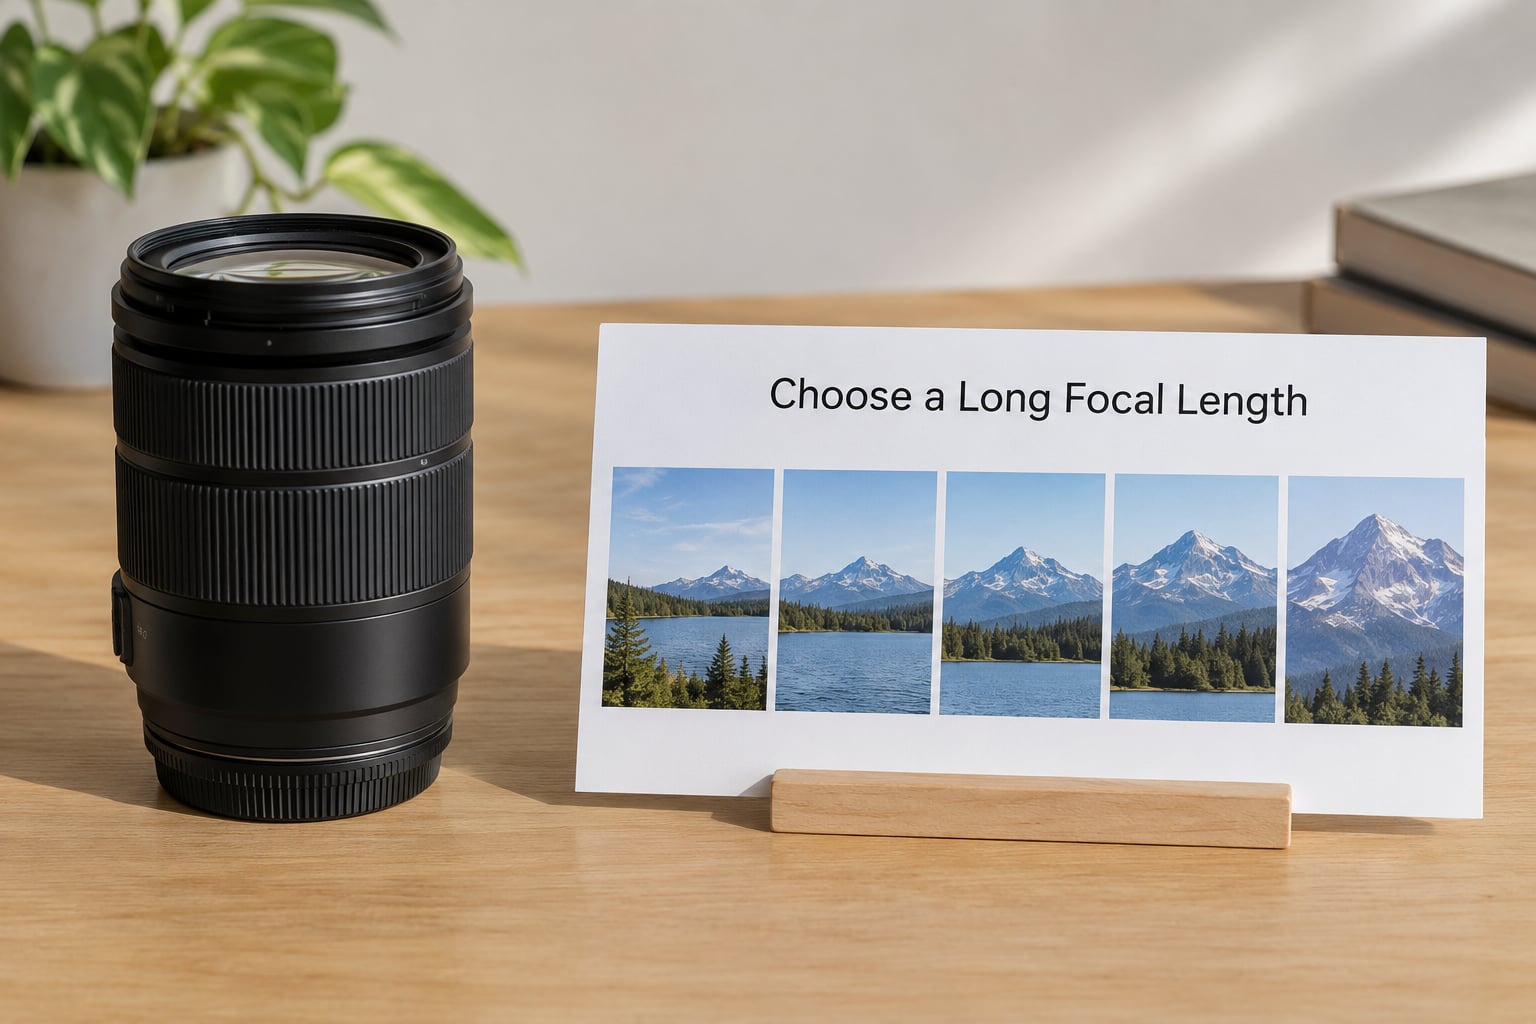
Start at 85mm on full frame for a head-and-shoulders frame, 135mm when you want a flatter, more formal look, and 200mm when the sitter is in front of something distant you want to stack behind them. Those three cover almost every portrait situation, and any lens longer than about 100mm will get you there.
The focal length never creates compression on its own. What it does is let you frame correctly from a distance you could not have used with a wide lens. A 200mm from 10 metres and a 200mm from 3 metres produce completely different perspective; the lens is identical in both.
Here is the arithmetic for full-frame sensors. A head-and-shoulders frame is roughly 0.6 metres tall in the finished image, and a waist-up frame is about 1.2 metres, so the distance needed roughly doubles between them.
| Focal length | Head and shoulders | Waist up | Waist up on APS-C |
|---|---|---|---|
| 50mm | about 1.3 m | about 2.5 m | about 3.7 m |
| 85mm | about 2.1 m | about 4.3 m | about 6.4 m |
| 135mm | about 3.4 m | about 6.8 m | about 10 m |
| 200mm | about 5 m | about 10 m | about 15 m |
The last column is where most confusion lives. An 85mm on APS-C frames like a 128mm lens does on full frame, so you stand 1.5 times further back for the same picture, and the compression follows the new distance. Micro Four Thirds works the same way at 2x. Small-sensor shooters often report surprisingly strong compression for this reason: a 56mm f/1.4 on a Micro Four Thirds body frames like a 112mm lens and forces a working distance of roughly 3 metres.
Remember the practical rule: crop factor changes framing, not the effect. If the framing stays the same, the distance changes, and if the distance changes, the perspective changes.
2. Move Far Enough Back: How to Use Lens Compression Properly
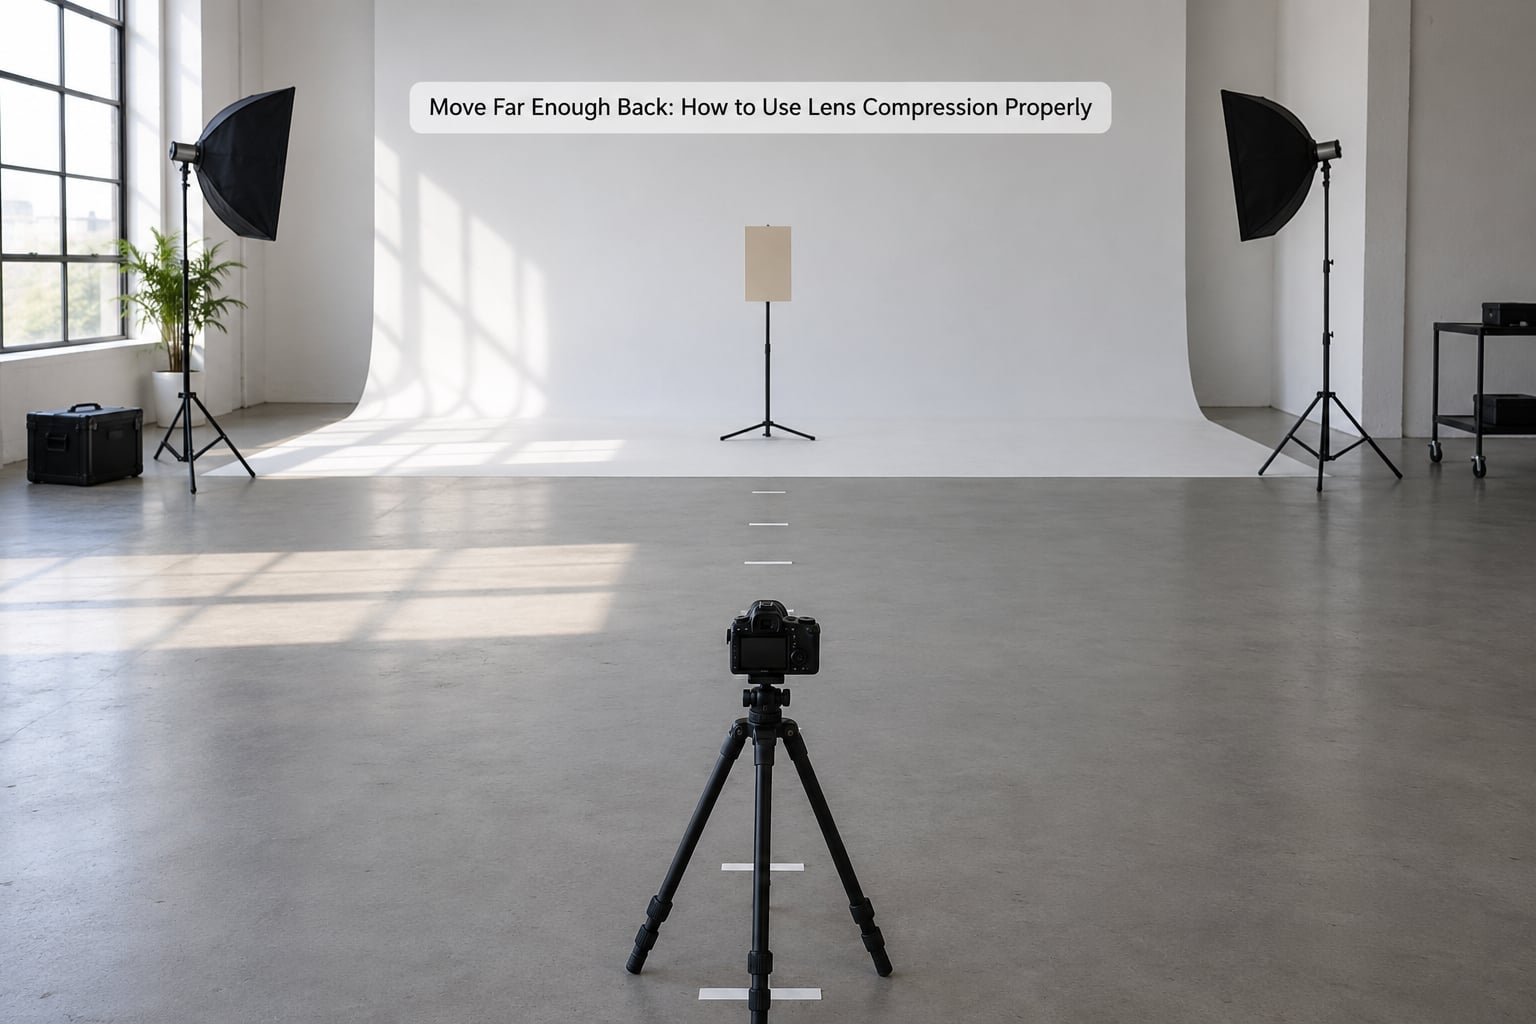
Use the table, or count paces, and stand at the number that fills your frame. If your head-and-shoulders frame at 135mm needs 3.4 metres and you are standing at 1.8 metres, you do not have a compression problem, you have a zoom problem. That is the single most common mistake in this whole technique.
Here is the test that proves where compression comes from. It takes one subject, one background, and about five minutes.
- Stand close with a wide lens, maybe 24mm, and take a frame.
- Without moving the camera position, zoom to 200mm and take a second frame. The subject is now small in a wide empty frame, because you moved the focal length but not the distance.
- Now step back until the sitter fills the frame at 200mm, and take a third shot.
- Crop the first shot to match the third, and put them side by side. The second frame is the odd one out. The first and the third are the same geometry, differing only in sharpness, and only the third has compression.
That result surprises people who have read that compression is a myth. It is not a myth, the effect is real and repeatable; what is wrong is the usual explanation, which credits the lens. Photographers on r/AskPhotography and on the dpreview forums converge on the same conclusion, and the crop test is the cleanest demonstration of it.
The second distance that matters is the gap between your subject and the background. Compare that gap with how far you are from the subject, and you get the flattening. If the sitter is 10 metres away and a wall sits 2 metres behind them, the wall reads at 12 metres against a subject at 10, and the separation is obvious. Move to 30 metres with the same wall and the ratio becomes 32 to 30: the wall pancakes up against the sitter.
So a wall 2 metres behind someone is nearly useless for this effect at close range, and it is a strong background once you are at 20 metres or more. Aim for a subject-to-background gap of roughly 5 to 10 percent of your shooting distance.
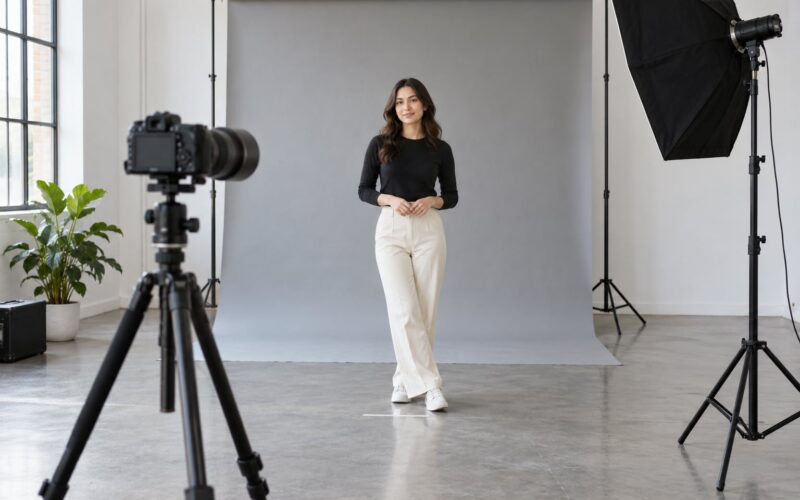
At 8 metres and beyond, communication becomes the real work. You cannot adjust a shoulder with your hand, so set the pose before you step back, use clear hand signals for the two or three adjustments you actually need, and shoot a short burst after each one. Marking the sitter’s spot with tape is worth more than any gadget.
3. Align the Camera With the Subject
Keep the camera level with the sitter’s face and keep the sensor vertical, with the top of the frame directly above the bottom. Tilting the camera up from a low position stretches the face vertically and is one of the few problems a long lens does not fix for you, because the tilt changes the angle to the face regardless of focal length.
For a seated subject, kneel or use a low tripod head so the lens sits at eye level. For a standing subject, raise the camera rather than lowering yourself. If the angle has to be off by more than about 10 degrees, a tilt-shift lens or a post-crop correction is the clean solution.
4. Frame the Portrait and Check the Edges
Frame slightly wider than you need, then check the sides of the image. Wide lenses stretch whatever sits near the edge of the frame, and 24mm is the usual culprit. Zooming in a little before you press the shutter removes it without touching the compression, which depends on where the camera stands rather than on how wide the frame is.
On the background, put the horizon or the wall line low and let the flattened layers stack behind the head. Compression works best when the background has horizontal structure, a row of trees, a railing, a skyline, since those elements grow toward the subject as the distance increases.
One thing compression does not do is blur the background. Background blur comes from aperture, focal length, and subject distance separately. Two portraits from the same spot with the same lens look identical in compression whether you shoot at f/2 or f/8; only the background sharpness changes. A compressed background can be sharp and busy, and a wide-angle background can be creamy and smooth.
5. Set the Exposure and Focus
Start at f/2.8 or f/4, 1/250s, and ISO 100, then raise ISO as needed. That combination gives a soft background when you want it, enough depth of field that both eyes are sharp, and a shutter speed you can hand-hold until you pass about 200mm. For groups, f/5.6 is the better starting point.
For focus, use single-point autofocus or continuous AF with eye detection, and place the point on the nearest eye. Manual focus with live view magnification is a legitimate alternative at long distance, since a small tripod shake moves the point across the face.
Check the minimum focusing distance before you commit. An 85mm lens typically focuses from around 0.8 to 0.9 metres, and many 85mm lenses need close to a metre to focus tightly, so a very close wide-open frame can be soft. If you need to be nearer, back up further and use a longer lens, which is a good habit anyway.
A fifteen-minute practice drill: pick one spot and one sitter, shoot the same head-and-shoulders frame at 50mm, 85mm, 135mm and 200mm without moving your feet, then step back to reframe at each. Compare the four sets afterwards. You will see that the fixed-position set has identical faces and wildly different backgrounds, and the re-framed set has identical backgrounds and progressively calmer faces.
Common Mistakes
Almost every failed compression shot comes from one of these, and all of them have a simple fix.
| Mistake | Why it fails | Fix |
|---|---|---|
| Zooming in from close range | Focal length changed, camera position did not, so the background stayed the same size relative to the sitter | Step back until the frame is filled, then zoom to reach the framing you want |
| Background too close to the sitter | A wall 2 metres behind at a 4 metre shooting distance is a 50 percent gap, which reads as deep space | Make the gap 5 to 10 percent of your shooting distance, or shoot from much further away |
| Confusing compression with background blur | They come from different controls, so changing aperture fixes the wrong problem | Set the distance for compression first, then choose the aperture for the blur you actually want |
| Tilting the camera up or down | Vertical tilt stretches the face, which compression cannot undo | Put the camera at face height and keep the sensor vertical |
| Using a wide lens to get close | A 24mm at 1 metre exaggerates the nose and the edges of the frame | Use the longest lens you have and accept the extra distance |
| Cropping a wide shot instead of stepping back | Geometry is correct but resolution is not, so the face is soft at print size | Step back for real; crop only as a rescue, not as the plan |
| Cropping too tight after the fact | A hard crop on a 50mm frame keeps the wide-angle edge stretching | Leave a little room around the subject at capture time |
Two side effects come with shooting from far away, and both are worth planning for. Haze grows with distance, so a sitter 30 metres out may look washed out against a bright sky unless you expose for the face and add contrast later. Heat shimmer above hot tarmac or water will soften a long lens shot, so pick shade or wait for cooler air when the temperature is high.
Frequently Asked Questions
Does focal length change perspective?
No. Perspective is set by the position of the camera relative to the subject and background, so it changes only when you move. Focal length changes what fits in the frame. Two shots at 200mm from 3 metres and from 10 metres have completely different perspective, and a 50mm and a 200mm taken from the same spot at matching framing have identical perspective.
Which lens is better for portraits, 85mm or 100mm?
Both work, and the difference is small. A 100mm needs about 2.5 metres for a head-and-shoulders frame on full frame, against roughly 2.1 metres for an 85mm, so the 100mm gives a slightly flatter, slightly larger background. If you already own an 85mm, use it and move back a few steps rather than buying the other one.
Which lens is better for portraits, 70-200mm or 85mm?
An 85mm is quicker to work with because it is lighter, has no minimum focusing distance to think about, and lets you frame at close range if a sitter will not hold still. A 70-200mm at 135mm or 200mm flattens more and forces a longer distance, which suits a distant background. For portraits where you have to react, the prime wins on speed.
Does a crop sensor camera give more lens compression?
Not on its own, but it makes you shoot from further away. An 85mm on APS-C frames like a 128mm lens on full frame, so you stand about 1.5 times further back for the same picture, and the extra distance brings extra compression. A Micro Four Thirds body doubles the figure, so 60mm behaves like 120mm and 56mm like 112mm.
Is lens compression a myth?
The effect is real and easy to reproduce; the explanation is what gets debated. Compression comes from the distance between camera, subject and background. A telephoto lens does not create it, it only allows you to frame the subject from far enough away. Run the four-step crop test in step 2 and you can see this yourself in five minutes.
What focus mode should I use for portraits?
Single-point autofocus or continuous autofocus with eye detection both work well for portraits. Place the point on the nearest eye and keep the aperture wide enough for the depth of field you want. At long working distances, manual focus with live view magnification is a solid fallback when a tripod makes single-point AF hunt.
Conclusion
Start with the longest lens you own, check the working distance for your framing, and step back to that number before you worry about anything else. Keep the camera level with the sitter’s face, leave a little room around the subject, and set f/2.8 to f/4 at 1/250s with single-point autofocus on the near eye.
Then take the same frame at 50mm from the same spot, step back, and reframe it at the long lens. Put the two crops side by side. That comparison is the whole technique in one picture, and once you have seen it, you will never confuse a zoom for compression again.