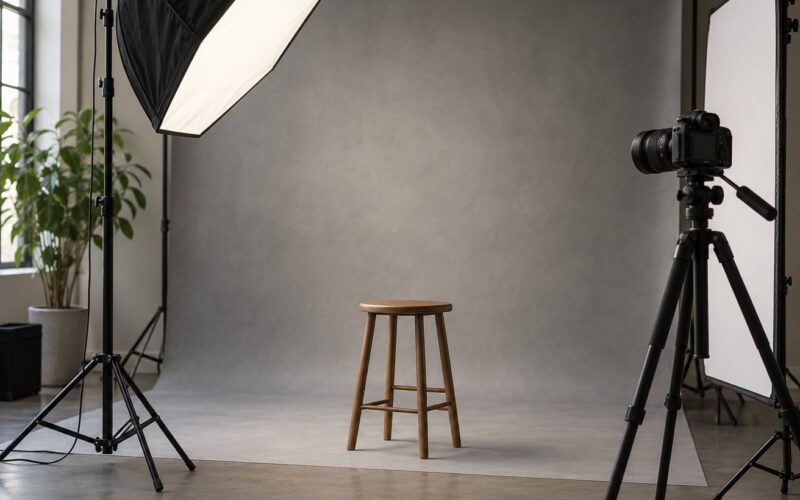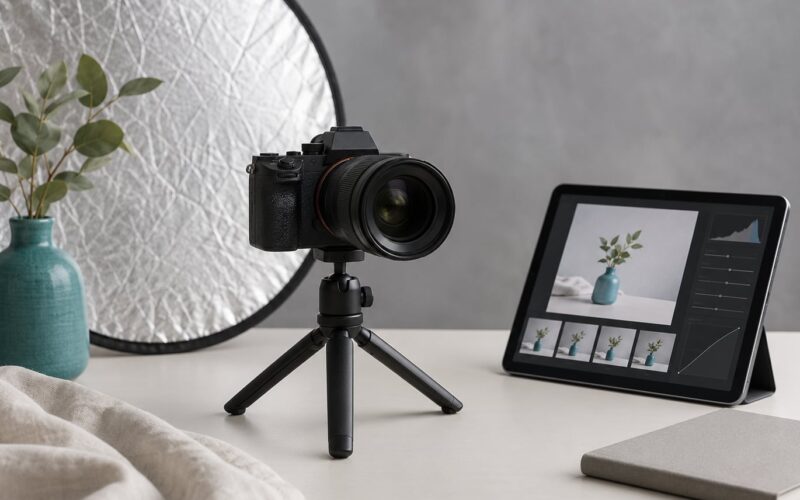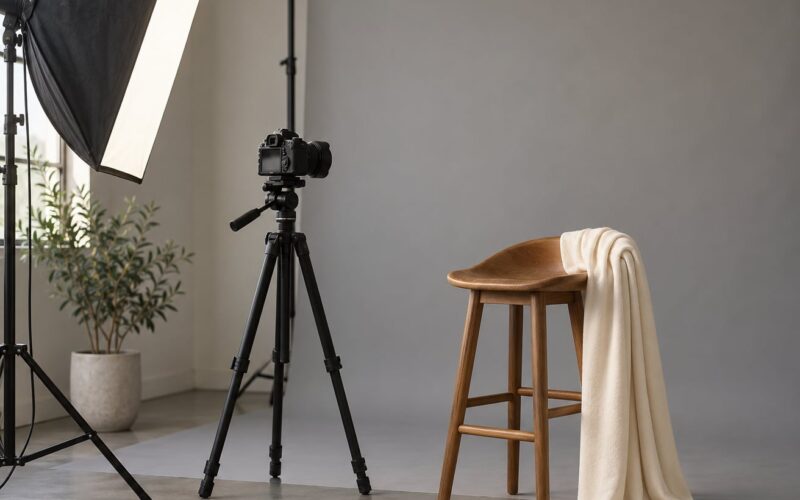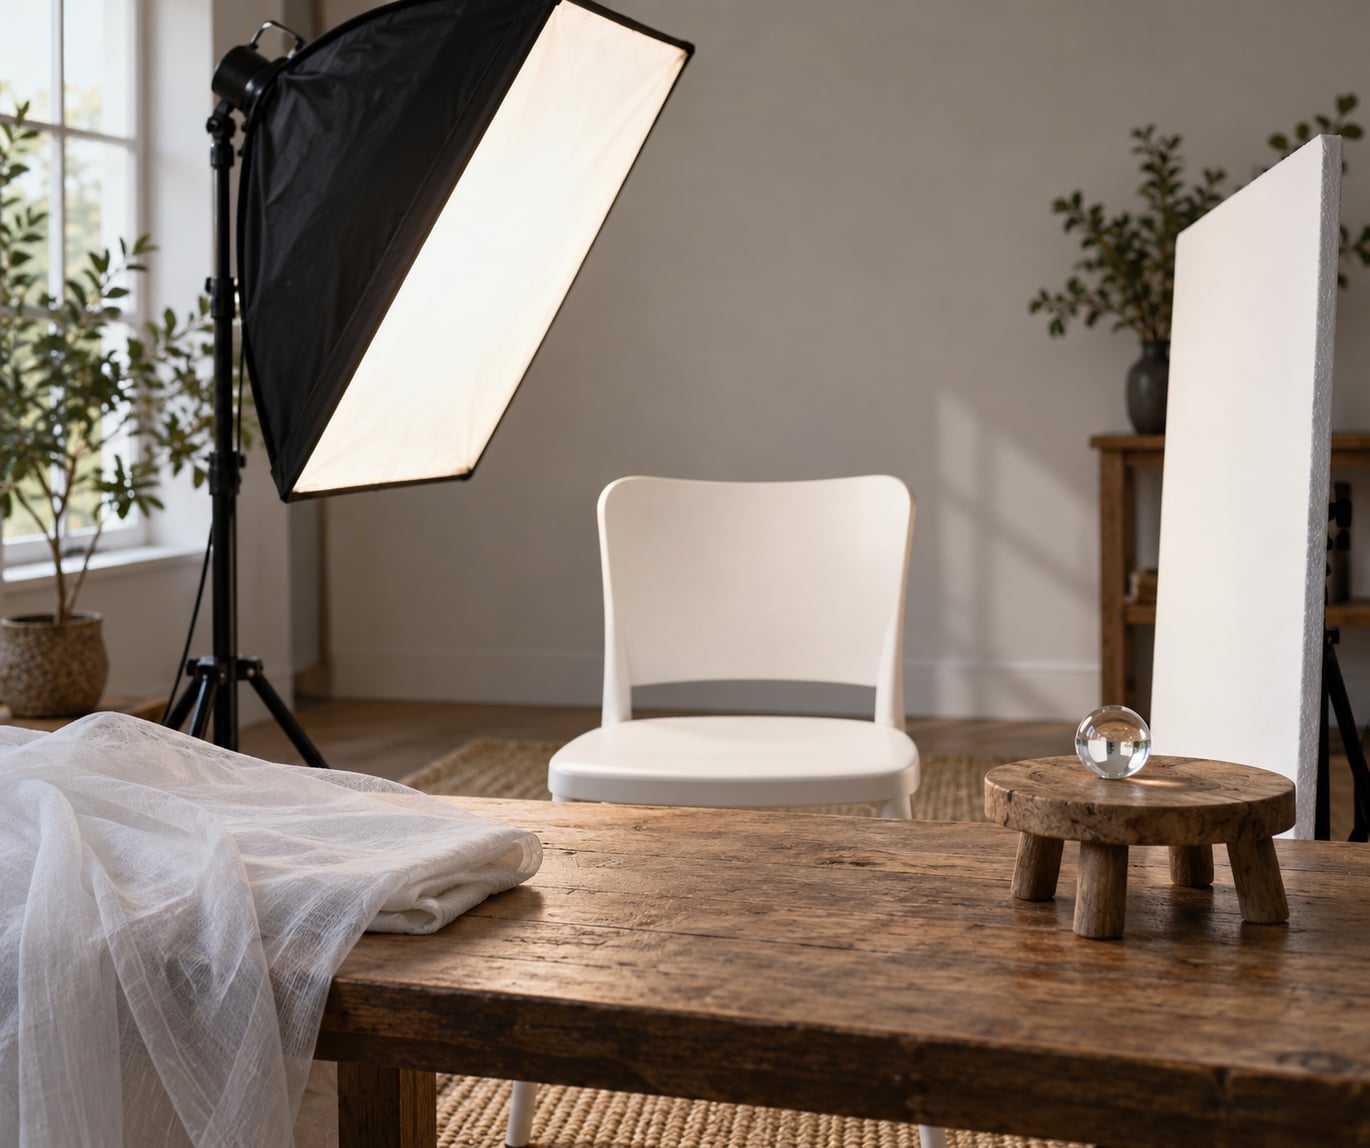
A catchlight is a specular reflection of a light source in your subject’s eye, produced when the wet, curved surface of the cornea mirrors your light back at the camera. To get catchlights in the eyes, all you have to do is put a light where the reflection can reach the lens, and check that it lands in the right place. That is the whole technique, and the rest is placement.
Because the eye behaves like a tiny concave mirror, the shape and position of the highlight in the iris are decided entirely by where your light sits relative to the subject’s gaze. Move the light and the highlight moves with it. That single fact is why learning how to get catchlights in the eyes is a positioning problem rather than a gear problem.
It also explains why the question comes up so often. A portrait with a bright, well-shaped catchlight in each eye reads as alert and engaged. The same portrait without one often looks tired, flat, or synthetic, no matter how good the skin tones are. Working portrait photographers I know check the catchlight on the histogram before they check anything else, because if the highlight clips to white, the life in the face is gone.
Table of Contents
- What You Need
- How to Get Catchlights in the Eyes: Step-by-Step
- 1. Choose a Catchlight Shape Before You Position the Light
- 2. Put a Large Soft Source Near the Subject’s Eye Line
- 3. Use a Reflector to Move an Existing Catchlight
- 4. How to Get Catchlights in the Eyes With a Window
- 5. Turn a Lamp or Flash Into a Controlled Reflector
- 6. Ask the Subject to Look Toward the Light
- 7. Adjust the Catchlight Instead of Overexposing the Face
- 8. Check Both Eyes and Refine the Composition
- Common Mistakes and Quick Fixes
- Frequently Asked Questions
- Conclusion: Start With One Soft Source
What You Need
Nothing here is expensive. A catchlight is reflected light, so it comes from a source, a surface, or a combination of the two. The cheapest version of this uses a window and a piece of white card.
- A window or a lamp. The simplest source there is. A north-facing window gives steady, cool light; a table lamp gives you something you can move around the subject in seconds.
- A light with adjustable output. A continuous LED panel, a strobe, or a speedlight. Output control matters because you want to change catchlight brightness without moving your camera exposure.
- A white reflector or bounce card. This is the most underrated tool in portrait lighting. A matte white board opposite the key light fills facial shadows and can carry a catchlight on its own.
- Diffusion material. A sheer curtain, a white bedsheet, or a translucent shower curtain between the subject and a hard source. Diffusion enlarges the apparent source, which enlarges the catchlight.
- The subject’s glasses, if they wear them. Prescription lenses, sunglasses, and curved frames create their own reflections that can bury a catchlight. Know this before the shoot, not after.
- A camera with a histogram or highlight warning. Catchlight brightness is the first thing to blow out and the easiest thing to miss on a bright outdoor frame.
One more thing that costs nothing: a marble or a glass doorknob. Hold it where the subject’s eye will be, look at it from the camera position, and you can predict your catchlight before you ever raise the camera. More on that below.
How to Get Catchlights in the Eyes: Step-by-Step
This is the process I use. It covers the studio, the window, and the one-lamp-on-the-kitchen-table situations that make up most of what I shoot. Work through it in order and check the result after each step rather than changing three things at once.
1. Choose a Catchlight Shape Before You Position the Light
The catchlight is a mirror image of the light, so the light’s outline is the highlight’s outline. A round softbox gives you a round dot. A square softbox gives you a square. A rectangular strip softbox set high and to the side gives you a long bright line along the top of the iris, which is the classic beauty look. An umbrella gives a large soft disc, and a bare reflector with no diffusion gives a smaller, harder-edged shape that some people find unflattering because it reads as a sticker.
Round is the safe default because it reads as natural. Rectangular from a strip box is the most flattering on most faces. Crescent shapes show up when a partially diffused source sits just outside the frame edge, and they are harder to control, so save them for portraits where a bit of asymmetry works.
Decide the shape first and everything after this step gets easier, because now you know what success looks like before you move anything.
2. Put a Large Soft Source Near the Subject’s Eye Line
Here is the core placement rule, and it has not changed in the entire history of the craft: use a large modifier, place it close to the subject, put it in front of them, a little above eye level, and keep it within about 45 degrees of the camera axis. A 45 degree angle on each side gives you roughly a 90 degree total arc of positions that all produce a visible highlight.
Size and distance work together. Bring a modifier closer and it covers more of the eye’s reflective surface, so the catchlight grows. Push it back at the same power and the highlight shrinks. This is why a big softbox held a metre from the subject beats a small one at three metres, even though the small one is easier to move.
Check brightness on the histogram before you check anything aesthetic. If the highlight is clipping, drop the source’s output or move it slightly off the lens axis. If the whole frame is dim, raise output rather than opening the aperture, because a wider aperture costs you depth of field and the near eye goes soft.
3. Use a Reflector to Move an Existing Catchlight
A reflector is often the fastest fix available. Put a white board opposite the key light, angled to catch that light and throw it back at the face. The highlight appears on the opposite side of each iris from the key light’s, and the shadow side of the face lifts at the same time. One object fixes two problems.
Silver reflectors return a harder, brighter reflection and give you a smaller, punchier catchlight. White gives a broader, softer one. If a catchlight is too dim to read, move the reflector closer to the subject or switch to the silver side rather than cranking up your key.
This is also the answer for subjects whose eyes are deep-set or dark brown, where a key light alone often produces a highlight that reads as nothing. Place the reflector a little higher than the eye line and the highlight moves up into the visible part of the iris.
4. How to Get Catchlights in the Eyes With a Window
Window light is the setup I recommend for anyone starting out. It costs nothing, the source is enormous by definition, and the falloff across a face is gentle. Turn off the room lights so the window is the only bright thing in the space, otherwise the ceiling fixture adds a second, duller catchlight at the top of the eye and the result looks confused.
For a basic setup, have the subject sit about a metre from the window, turned roughly 45 degrees toward it, with the window slightly above their eye level. Put the camera on the side away from the window so you are shooting across the lit side of the face. A white card on the shadow side keeps the far cheek from going flat.
For a more dramatic look, move the subject two metres or more back from the glass. The light falls off across the face, the far side drops into shadow, and the window reflection in the eyes narrows into a smaller, more intense shape. Add a sheer curtain or a translucent panel if the highlight is too bright or too hard-edged.
Watch the background. The catchlight can be perfect while the window behind the subject is three stops brighter, and that is a different exposure problem.
5. Turn a Lamp or Flash Into a Controlled Reflector
You do not need a studio to do this. A table lamp with a fabric shade, a clamp light bounced off a white wall, or a speedlight fired into the corner of a room with a piece of foam board opposite will all produce a usable catchlight. The wall and the foam board are the modifiers in that setup, which is why the shape comes out irregular and soft. That is fine. It reads as natural.
Bare flash pointed at the subject is the one arrangement to avoid for catchlights. A bare reflector head is small, so the highlight is tiny, and it is bright enough to clip. Bounce it instead, or put diffusion material in front of it, or move it off-axis and let a nearby surface do the reflecting.
Watch for unmotivated reflections. Mirrors, glossy doors, dark TVs, and polished tabletops all put a second bright spot in the eye, and a subject facing a mirror will show the photographer in the catchlight. Check the background before the subject checks the reflection for you.
6. Ask the Subject to Look Toward the Light
The reflection follows the gaze. If the subject looks straight down the lens while the light is up and to their left, the catchlight slides to the edge of the iris or off it entirely. Have them look slightly toward the light, not into it. Nobody has to stare at a lamp.
For a natural portrait, aim for a gaze a few degrees off the lens. The catchlight moves to the upper outer part of the eye where the iris is most visible, and the face gains some dimension at the same time. Tilting the head slightly toward the light does the same thing, more subtly.
Some people find looking toward a light uncomfortable. Give them something to look at instead of a direction: put a small white card or a phone screen just beside the light and ask them to look at that. They get a real focal point and you get the highlight. Children and pets are better handled by having the helper hold the card rather than the subject.
7. Adjust the Catchlight Instead of Overexposing the Face
When the highlight is too strong, the instinct is to stop down or to pull the light back. Both are wrong moves. Stopping down costs you shutter speed and depth of field. Pulling the light back makes the catchlight smaller as you lose the wraparound softness on the skin.
Better options, roughly in order of preference: turn the source’s output down, place diffusion material in front of it, angle the source slightly further off the lens axis, or switch the reflector to white instead of silver. If the face is correctly exposed and the catchlight is still clipping, the light is too bright for that source size, and you need more diffusion or more distance rather than a smaller aperture.
There is a limit worth stating plainly. A catchlight should be bright and defined, not a white hole. Once the shape is gone, the eye looks dead in a different way.
8. Check Both Eyes and Refine the Composition
Always zoom in on both eyes at 100 percent before you shoot the sequence. Highlights rarely match, because the head is turned slightly, the light sits off-axis, and the two eyes are angled a few degrees differently relative to the source.
Small mismatches are normal and usually invisible at normal viewing size. A bright highlight in one eye and nothing in the other is not normal, and the fix is to rotate the head a few degrees toward the light, raise the source slightly, or add the reflector on the shadow side.
Glasses complicate this. Curved and prescription lenses reflect a second copy of the source, often washing the eye out completely. Tilt the frames down slightly, ask the subject to tip the chin up so the lens angle changes, or move the light to reduce the angle of incidence on the glass. A polarizing filter helps on some lens shapes and does nothing on others, so test it. If the subject is comfortable without them, ask.
Framing counts too. A catchlight near the top of the frame draws the eye upward into the image, and one near the bottom pulls attention down. That is a small compositional decision, but it is free.
Common Mistakes and Quick Fixes
Almost every catchlight problem falls into one of a handful of buckets. Find the one that matches what you are seeing, apply the fix, and take one test frame before changing anything else.
- No catchlight at all. The light is behind, above, or far off the lens axis, so the reflection misses the camera entirely. Fix: move the source in front of the subject, above eye level, within about 45 degrees of the lens axis.
- Catchlight too small to read. The modifier is too far away or too small for the working distance. Fix: bring the source closer, or add a white reflector opposite the face.
- Mismatched catchlights. The head is turned, so each eye sits at a slightly different angle to the source. Fix: turn the head a few degrees toward the light, or raise the source to even out both eyes.
- Catchlight in the wrong place. The light is too low, so the highlight sits at the bottom of the iris or on the lower lid. Fix: raise the source above eye level and have the subject look slightly toward it.
- Glare or a white wash in glasses. The lens is reflecting the source at a low angle of incidence. Fix: tilt the frames down, tip the chin up, raise the light, or test a polarizing filter.
- Blown-out white catchlight. The source output is too high for its size, or the highlight is clipping on the histogram. Fix: lower the output, add diffusion, or move further off the lens axis rather than stopping down.
- Dark, unreadable catchlight on dark eyes. The highlight is too dim or falls outside the visible part of the iris. Fix: move the light closer, use a silver reflector, or place a reflector slightly above the eye line.
- Two dull highlights, one in each eye. Room lights are competing with the key light. Fix: turn off ambient fixtures and shoot with a single dominant source.
One habit prevents most of these: change one variable at a time. Move the light, take a frame, look. If you move the light and change the aperture in the same minute, you have no idea which one fixed it or which one caused the new problem.
Two honest limits are worth knowing. Many bird species do not take a catchlight at all because their eyes lack the reflective layer human eyes have, and forcing it with an artificial source rarely looks convincing. And if your subject will not hold a gaze, the highlight will keep sliding, so plan the shoot around short bursts of attention rather than a long conversation.
Frequently Asked Questions
Are catchlights always good in portrait photography?
No. Catchlights suit most headshots, family portraits, and beauty work, but they can work against you. Dramatic, villain, or horror lighting often reads better with dark eyes, and some stylized looks deliberately leave the eyes without a highlight to create a flat, lifeless feel. Choose based on the mood you want, not on a rule that every portrait needs one.
What if my subject’s eyes have no catchlights?
Check three things in order. First, the light position: it needs to be in front of the subject, slightly above eye level, and within roughly 45 degrees of the camera axis. Second, the size: bring the source closer or add a white reflector opposite the face. Third, the surface: a dull or very dark iris can hide a highlight, and a closer or brighter source is usually the only reliable fix.
Should both eyes have catchlights?
Ideally yes, though small differences between the two are normal and almost nobody notices at normal viewing size. A bright highlight in one eye and nothing at all in the other looks like a mistake, because it suggests the light is not really lighting the face. Fix it by turning the head a few degrees toward the light or adding a reflector on the shadow side.
How do I get catchlights in glasses?
Glasses are the most common cause of a lost catchlight, because the lens adds a second reflection that can wash the eye out. Tilt the frames down a little and ask the subject to tip their chin up, which changes the angle of incidence on the glass. Raising the light also helps. A polarizing filter fixes some lens shapes and nothing on others, so test it before you rely on it.
What is the difference between a catchlight and a lens flare?
A catchlight is a reflection of a light source on the surface of the eye, and it stays anchored to the subject’s face no matter how you move the camera. Lens flare is an artifact of light scattering inside the lens elements, so it moves around the frame as the camera moves and often sits near the frame edge. Flare is a defect to correct; a catchlight is part of the portrait.
Can I add catchlights in photo editing?
Yes, and it is a reasonable rescue when a shot is otherwise too good to lose. In a duplicate layer, dodge a soft-edged highlight into the iris, keep the shape small and place it where the light in the frame suggests it should be, matching both eyes. Mask it to the eye and reduce the opacity until it sits under the iris texture rather than on top of it. Treat it as a patch, not a fix.
Conclusion: Start With One Soft Source
The simplest way to get catchlights in the eyes is a single soft source placed in front of the subject, a little above eye level, and within about 45 degrees of your lens. Bring it closer rather than making it brighter, and the highlight grows instead of clipping.
Next time you shoot, change one thing only: nudge the light a few inches and take a single test frame. Zoom in on both eyes before you move on. That habit alone will fix most of the flat-eyed portraits I get asked about, and it costs nothing but a few seconds.