To flatter a square jawline in portraits, put the camera at or slightly above eye level, turn the head 30 to 45 degrees, light the far side of the face with a large soft source, extend the chin forward before dropping it a touch, and stay on an 85mm or longer lens. None of that needs retouching, and all of it takes under five minutes at a sitting.
The reason it works is optical, not anatomical. A jaw that looks square in life starts to look heavy in a photo for three reasons: the camera sits low and looks up the underside of the mandible, a wide lens held close balloons whichever side of the face is nearest the lens, and flat frontal light fills in the shadow under the jaw so its edge disappears. Fix any one of those and the frame changes immediately.
Nobody is asking a square-jawed subject to have a different face. You are just removing the three things that make a jaw read as a heavy box, and doing it before the shutter rather than in post.
Table of Contents
- What You Need
- Step-by-Step
- Common Mistakes
- Frequently Asked Questions
- What camera angle makes a square jawline look less angular?
- Should a photographer ask the model to turn the chin up or down?
- Does a longer lens really help when photographing a strong jawline?
- What lighting setup softens a square jaw without hiding facial features?
- How can retouching soften a jawline while keeping the portrait natural?
- Why does my jawline look square in photos but not in the mirror?
- Conclusion
What You Need
A square-jaw softening setup is small. If you own a camera, one light and a white board, you have everything below. Everything else is a bonus that makes the job easier on a long day.
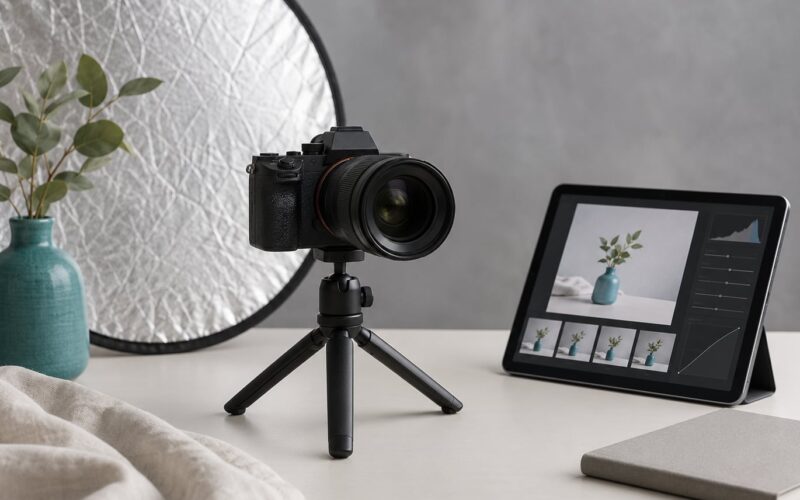
- A camera with a tilt screen or a tripod. A tilt screen saves you from crouching under the lens, and a tripod lets you hold the height constant while you move the light.
- An 85mm or longer lens. Anything from 85 to 135mm full frame works for a head-and-shoulders crop. This is the single cheapest fix in the whole guide.
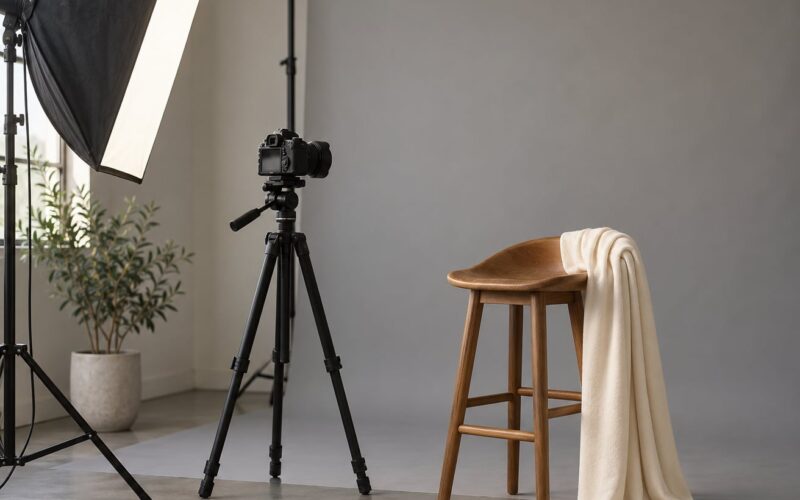
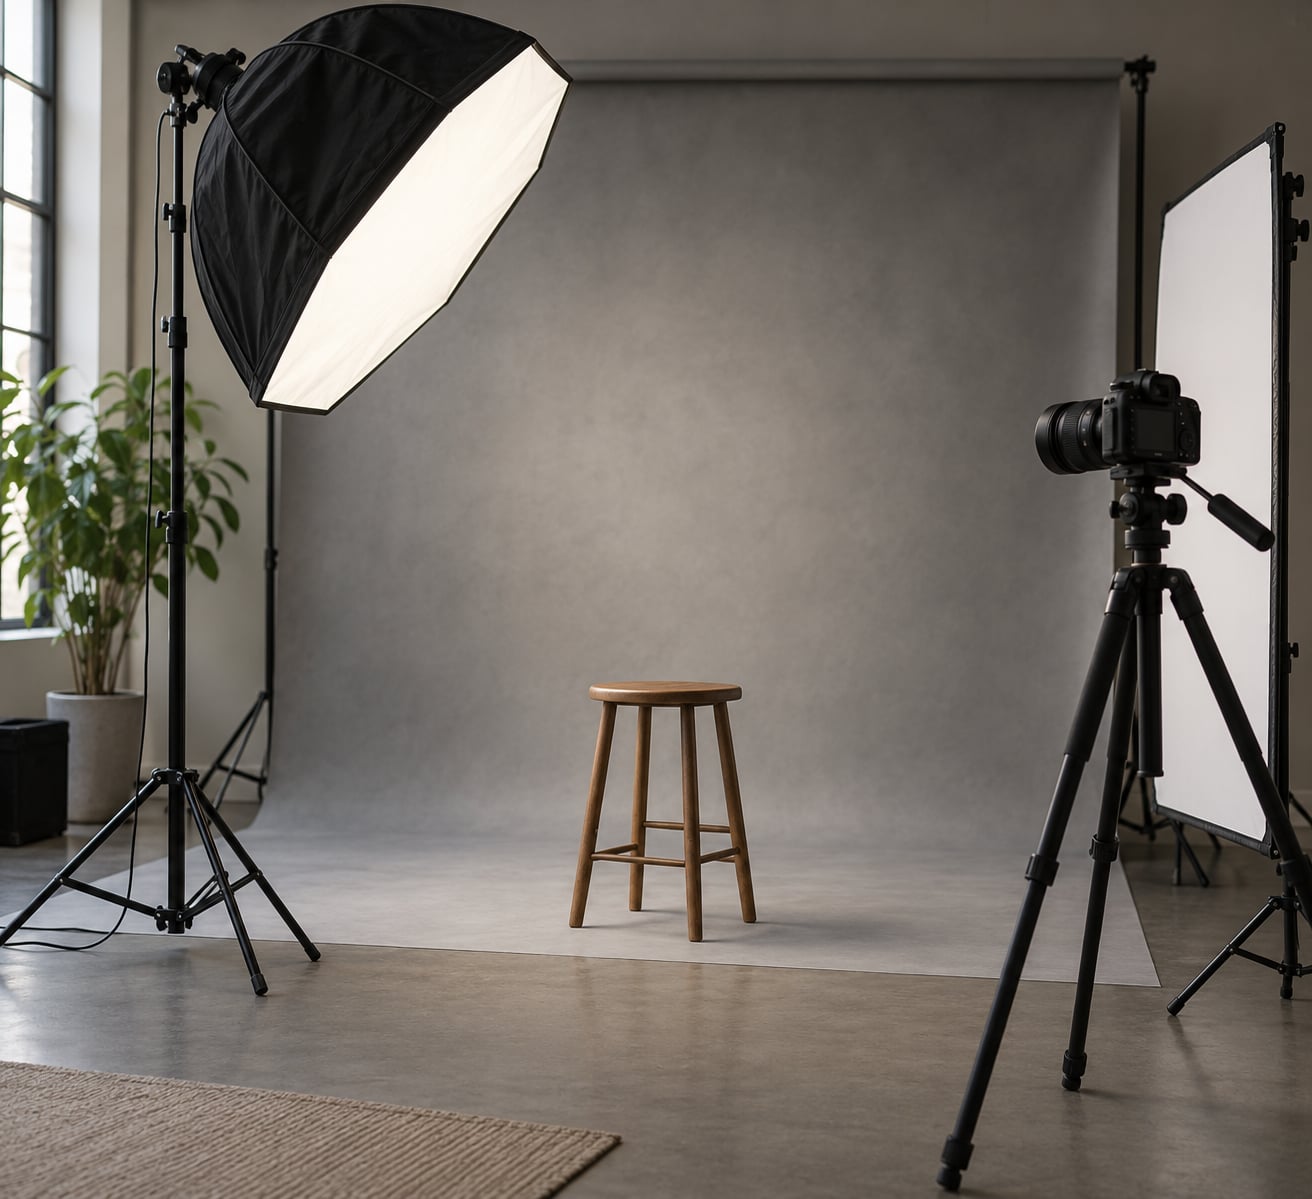
- One key light with a large diffusion surface. A softbox around 90 cm, a 1.2 m umbrella, or a window with a sheer curtain. Size matters more than power here.
- A white reflector or foam board. This is your fill, and you want it close, not far away, so the shadow side stays luminous rather than going heavy.
- A black flag, foam core or a dark towel. Negative fill on the shadow side is what lets you bring the key back up without flattening the face.
- A posing aid. A stool, a low box or a step gives a subject something to shift their weight onto, which is how you get a real hip turn instead of a stiff stance.
Working without any of that? Stand the subject in an open doorway with soft light coming from one side, put the camera on a table at chin height or a little higher, and use a piece of white paper as fill. That gets you most of the way.
Step-by-Step
1. Start with a Three-Quarter Camera Angle
Turn the head 30 to 45 degrees away from the lens before you touch the light. From the front, the two jaw corners sit at the same distance from the camera and the mandible reads as a straight horizontal line. Turn the head and one jaw corner moves closer while the far edge falls away, so the eye reads depth instead of width.
On the body, shift the weight onto the back foot and turn the torso 20 to 30 degrees. Leave a gap of 5 to 10 cm between the near arm and the body so the shoulder does not merge with the jaw. The dropped near shoulder lengthens the neck and stops the frame from ending on a hard corner.
How do you know it worked? Look at the shadow line running from the ear to the corner of the mouth. If that line sits clear of the jaw edge, the turn is doing its job. If the shadow sits on top of the jaw, add another 10 degrees.
2. Raise the Camera and Use a Subtle Tilt
Put the camera a hand’s width above the subject’s eyeline, then tilt the lens gently down so the frame still catches the eyes. Height above the eyeline compresses the underside of the jaw, and the downward tilt lets the shadow under the chin read as shadow rather than as a second chin.
A camera below eyeline does the opposite, and it does it fast. Looking up the underside of the mandible exaggerates the gonial angle at the back of the jaw and makes the whole lower face heavier. A phone held at chest height for a selfie is the same mistake in miniature, which is why phone selfies widen the face more than any pose can correct.
You do not need to shoot from above. Extreme high angles flatten the skull and hollow out the eye sockets, and they read as unflattering in a different way. A hand’s width above, tilted down a few degrees, is the whole adjustment.
3. Use a Soft Side Light
Key light on the far side of the face, roughly 45 to 70 degrees off the camera axis and above eyeline, is the move that does the most work. When the lit side is the side turned away from the camera, the broad cheek carries the width and the near jaw corner falls into shadow. That is short lighting, also called narrow lighting, and it is the correct default for a square or wide face.
Keep the source big and soft. A hard source at the same angle cuts a hard edge along the jaw, which makes the structure look more pronounced, not less. A softbox or umbrella gives you a gradient down the jaw instead of a line.
On the classical patterns:
- Loop is the default for a square face. The small nose shadow loops down and off to one side, the far cheek is lit, and the jaw carries a soft shadow. It is forgiving and it works on almost everyone.
- Rembrandt adds drama and works when you want the jaw to read as structure rather than width. Keep the fill on the shadow side high enough that the cheek under the eye does not go black.
- Butterfly throws a symmetrical shadow straight down under the nose and lights both sides of the face equally. On a wide jaw that symmetry is exactly the problem, so treat it as a pattern to avoid here.
- Flat frontal light fills the whole face evenly and erases the shadow that separates the jaw from the neck. It is the pattern most beginners fall into with on-camera flash, and it is the one that hardens a square jaw the fastest.
- Profile or split lighting leaves half the face in shadow. It works when the jaw is a feature of the brief rather than a problem to hide.
One important exception: for most men, and for editorial or hero portraits, a strong jaw is the point of the shot. The same setup then becomes a front-slightly-to-the-side key with the shoulders squared more toward the camera, a shallower 20 to 30 degree head turn, and less fill on the shadow side so the jaw edge stays crisp. Softening advice applied to a hero portrait actively ruins it.
4. Add a Longer Focal Length for Cleaner Proportions
Shoot a head-and-shoulders portrait at 85mm or longer and step back until the frame is filled. Perspective is governed by distance, not by the number printed on the lens, but focal length decides what distance you need. A short focal length forces you close, and the near side of the face grows relative to the far side.
That is the wide-angle problem. Held close, a wide lens exaggerates whatever is closest, which on a square face is the near cheek and the near jaw corner, and it pulls the far ear backwards. Step back with a longer lens and those two sides come back to something close to even.
Is a 50mm too wide for a headshot? It works, but only at a longer working distance, and it is tight on a full-frame body. On a crop sensor, 50mm behaves like a 75mm, so it is a perfectly good headshot lens there.
5. Guide the Jaw with Pose and Expression
The single most effective jaw move is the turtle: extend the head forward on the neck, then drop the chin a touch. It feels strange from the inside and looks completely natural in the frame. Sequence matters, though, and doing it in the wrong order does nothing.
How to cue it without mentioning the subject’s face:
- Ask them to push their chin gently forward, as if they are reaching out with their jaw, without moving their shoulders.
- Then ask for a tiny downward drop from there, about a centimetre, eyes still on the lens.
- Add a long neck: shoulders down and back, collarbones visible where the wardrobe allows.
- Ask for a real expression, a half smile with the corners of the mouth rather than a mouth-only smile that tightens the jaw.
- Shoot a burst of eight to ten frames while they hold it and slowly turn from 45 degrees back toward front.
The burst matters more than any single instruction. Headshots photographers report that the frame they keep is almost never the one they asked for, and that a warm-up of 15 to 30 minutes changes the whole sitting. Budget an hour so the good light is not eaten by the warm-up.
6. Retouch Shape Without Erasing Identity
Retouching should be the last 5 percent, not the first 90. If a frame needs heavy work to fix the jaw, the cause is almost always in the lighting or the camera position, and it is cheaper to reshoot.
When a frame is close, keep the corrections small and structural. Burn the shadow immediately under the jaw a little deeper with a soft brush at low opacity, so the jaw edge separates from the neck. Drop the brightness slightly along the near jaw edge if that corner is pulling the eye. A very small reduction of the width of the jaw in a liquify or warp tool, under 3 percent, will change the read without moving bone structure.
Then stop. Over-smoothed skin and heavily warped jaws are the most recognisable retouching in the world, and they read as fake long before anyone notices they are flattering. Retouchers are consistent on this: a reshot frame beats a heavily corrected one every time.
Common Mistakes
These are the errors that harden a jawline, and each has a simple fix.
- Shooting straight on. The full width of the mandible faces the lens and both corners sit at the same distance. Fix: turn the head 30 to 45 degrees and the torso 20 to 30 degrees.
- Putting the camera below the eyeline. Looking up the underside of the mandible exaggerates the jaw angle. Fix: a hand’s width above the eyes, lens tilted gently down.
- Using flat, frontal, on-camera light. It fills the shadow under the jaw and erases the edge. Fix: move the key 45 to 70 degrees off axis and up, and add a reflector on the shadow side.
- Butterfly lighting on a wide jaw. Its symmetry lights both jaw corners equally. Fix: use loop, or short lighting with the far cheek lit.
- Shooting a headshot on a wide lens up close. The near cheek and near jaw corner grow while the far side shrinks. Fix: 85mm or longer and step back to fill the frame.
- Forcing the chin straight down. Dropping the chin without extending it first folds the neck and creates the shadow you were trying to avoid. Fix: forward first, then down.
- Telling the subject to push or tighten their jaw. It sounds strange, it creates tension, and tension shows up directly in the lower face. Fix: cue the chin, never the jaw.
- Over-correcting in post. Heavy liquify and over-smoothing look worse than the frame you started with. Fix: reshoot instead, and keep corrections under 3 percent.
Quick pre-shoot check: camera above the eyeline and tilted down, key light off axis and high, reflector close on the shadow side, head turned, chin extended, a 5 to 10 cm arm gap, and the frame filled at 85mm or longer. If all six are true, the jaw is working for you before you take the picture.
Frequently Asked Questions
What camera angle makes a square jawline look less angular?
Turn the head 30 to 45 degrees away from the lens and keep the camera at or slightly above eyeline, tilted gently down. The turn moves one jaw corner closer and lets the far edge fall into shadow, so the mandible reads as depth rather than a flat horizontal line. Add a 20 to 30 degree torso turn and a 5 to 10 cm gap between the near arm and the body so the shoulder does not end on the same hard corner.
Should a photographer ask the model to turn the chin up or down?
Down, but only after the chin goes forward. Ask for the head to extend on the neck first, then drop it about a centimetre. Dropping the chin alone folds the neck and creates a shadow under it, which is the opposite of what you want. Pulling the chin up exaggerates the underside of the jaw, so avoid it. The sequence is forward, then down, with the eyes staying on the lens.
Does a longer lens really help when photographing a strong jawline?
Yes, because it lets you stand further back. A wide lens forces you close, and the near cheek and near jaw corner grow relative to the far side, which is what makes phone selfies and close headshots widen the face. An 85mm or longer lens at a matching working distance keeps both sides of the face close to even. You can still shoot at 50mm on a crop sensor, where it behaves like a 75mm.
What lighting setup softens a square jaw without hiding facial features?
Use short, or narrow, lighting: a large soft key placed 45 to 70 degrees off the camera axis and above eyeline, aimed at the far side of the face, with a white reflector close on the shadow side. Loop lighting is the safe default. Avoid butterfly and flat frontal light, which light both jaw corners evenly and fill in the shadow that separates the jaw from the neck.
How can retouching soften a jawline while keeping the portrait natural?
Keep it small and structural. Burn the shadow right under the jaw a little deeper at low opacity so the jaw edge separates from the neck, and drop the brightness slightly along the nearest jaw corner. If you use a warp tool, stay under about 3 percent of the jaw width. Heavy liquify and over-smoothed skin read as fake immediately, and a reshot frame is usually better than a heavily corrected one.
Why does my jawline look square in photos but not in the mirror?
Three things do it. A camera below eyeline looks up the underside of the mandible and exaggerates the angle at the back of the jaw. A wide lens held close grows the near cheek and near jaw corner. Flat frontal light fills the shadow under the jaw so the edge stops reading as an edge. All three are camera and lighting problems rather than face-shape problems, which is good news because they are fixable in the frame.
Conclusion
If you change one thing at the next sitting, raise the camera a hand’s width above the eyeline and tilt it down. It costs nothing, it needs no new gear, and it does more for a heavy jaw than anything you could do afterwards in post.
After that, work down the list: turn the head 30 to 45 degrees, put a large soft key 45 to 70 degrees off axis on the far side of the face, keep a reflector close on the shadow side, fill the frame at 85mm or longer, and cue the chin forward then down. Shoot a burst while the head moves. That combination handles almost every square jawline you will meet, and the face still belongs to the person in front of you.