To make eyes look bigger in portraits, work on three things in order: a large light above and slightly in front of the face, a lens of 85mm or longer, and a small upward head tilt with a relaxed forehead. That combination opens the upper eyelid, fills the iris with catchlight, and keeps the face undistorted — before you touch the editing software at all.
Most disappointing portraits are not badly lit. The light is fine, the exposure is right, and the eyes still read as small and flat. What went wrong is usually a combination of three small decisions: the light sat too low or too far back, a wide lens was used from too close, and the subject was holding their head straight with a tight brow.
It is worth mentioning that the eyes in a photograph are almost always smaller than the sitter expects, and the mirror is mostly to blame. A mirror is about 40 to 50 cm from your face, so you see it at a wide angle and at roughly life size. A portrait lens puts the camera 1.5 to 3 metres away and then compresses everything, which makes the face read narrower and the eyes proportionally larger. On top of that, most of the advertising and social images you have been comparing yourself against are retouched. Once you know that, the frustration drops a lot.
Here is the sequence I work through, in the order that produces the biggest change for the least effort.
What You Need
None of this requires expensive gear. A mid-range camera body, a short telephoto lens, one window and a piece of white card will take you most of the way through this guide.
- A camera with a decent eye autofocus. Modern eye detect or a single focus point on the near eye both work. Continuous light is easier because you can watch the focus point move.
- An 85mm lens, or anything from 70mm up. A 70-200mm at 135mm is ideal for headshots because you can back away and keep your distance.
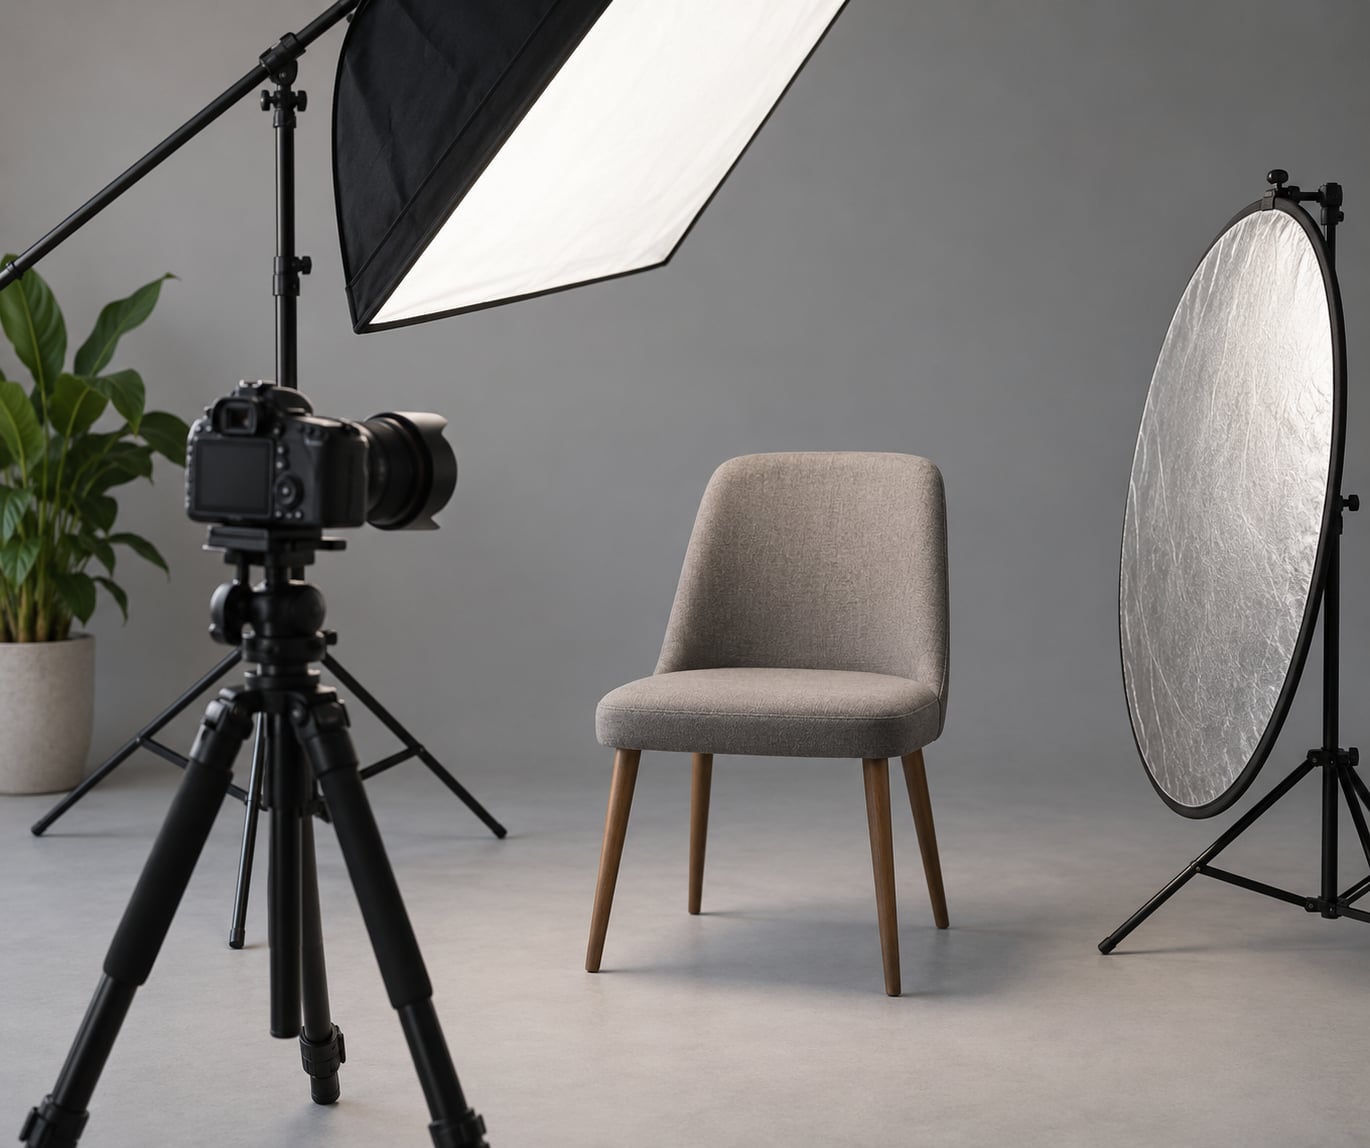
- One large light source close to the face. A window, a softbox, a beauty dish or a white bedsheet over a lamp. Size matters more than power here.
- A reflector or white card for the shadow side, held just out of frame.
- A tripod, which frees both hands for adjusting the head position and is the difference between working fast and working calmly.
- Lightroom, Camera Raw or Photoshop for the finishing pass. Phone editors work too, but they are far less forgiving with the eye sliders.
If you plan to use flash, add a continuous modelling light. A bare pop-up flash gives you a pinpoint catchlight and a half-closed pupil, which is the opposite of what you are after.
Step-by-Step
1. Start With the Core Idea: More Lit Iris
Perceived eye size comes down to how much of the iris you can see, and how clearly it is lit. A catchlight is the bright reflection of the light source in the surface of the eye. The limbal ring is the darker outer edge of the iris where it meets the white of the eye. When the catchlight sits high in the iris and the limbal ring stays sharp, the eye reads as round and open. When the upper lid drops into shadow, the catchlight disappears and the eye reads as small.
That is the whole principle behind how to make eyes look bigger in portraits: increase the lit portion of the iris and the visible gap between lid and lash line, and keep the face undistorted. Everything in the steps below works on one of those two levers.
You can judge the first adjustments in about three seconds. Turn on your camera’s histogram or an alert for clipped highlights and look at the catchlight. If the brightest point of the eye is a clean shape rather than a white blob, the light is in the right place. If the catchlight is missing entirely, the light is behind you or too high.
2. Adjust the Head Tilt and Facial Angle
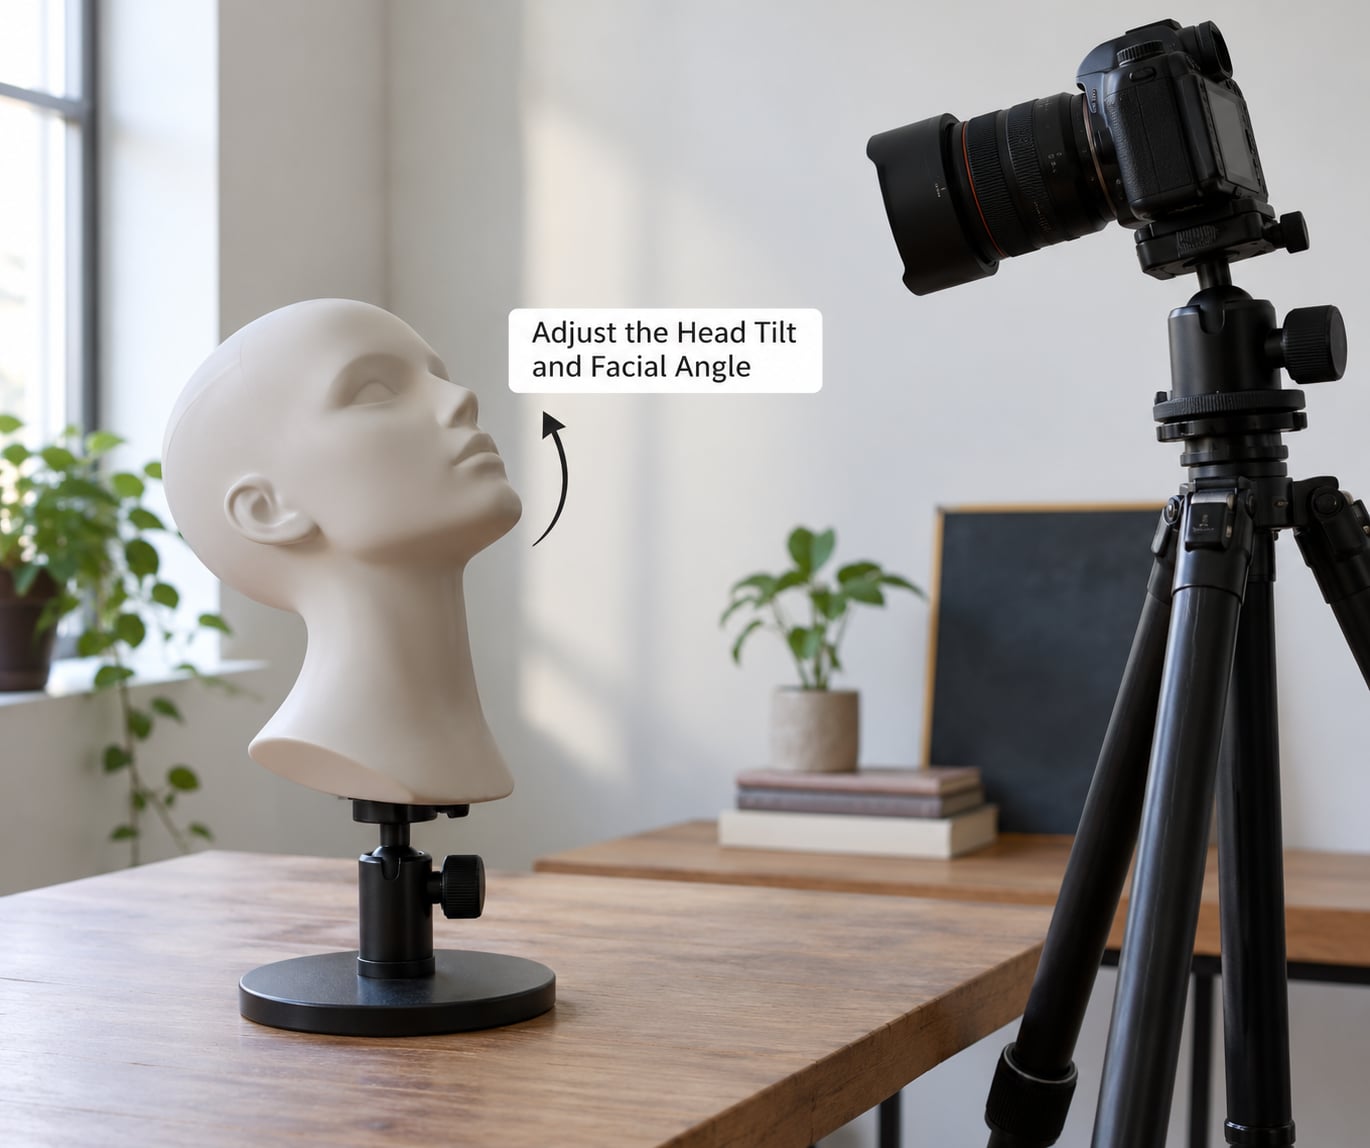
Tilt the head forward a couple of degrees and slightly up, then bring the chin down and forward. That combination slides the eyeball up and back in the socket, which raises the upper lid and exposes more of the upper iris. The forehead angles away from the lens, the brow stops pushing the lid down, and the eye socket reads deeper.
Keep the movement small. A few degrees is a subtle improvement that a viewer registers as healthy and alert. Twenty degrees produces a cartoon.
Signs the pose is working: the far side of the nose is mostly hidden, you can see a crescent of white above the iris on the near eye, and the sitter’s forehead is not creasing. Signs it has gone too far: the neck is visibly extended, the eyebrows have lifted, and the eyes look strained rather than open.
Getting the forehead to relax is the part people miss. Ask your sitter to drop their shoulders, let their jaw hang, and think about something far away. Then ask them to keep that face and simply look at the lens. The forehead crease is the single most common reason a subject’s eyes look small and strained in a portrait.
Angle the face a few degrees off-axis too. A straight-on symmetrical face is harder to read and tends to look flatter than a face turned slightly, where you can see more of the far cheek and the eye socket has depth.
3. Ask the Sitter to Look Into the Light
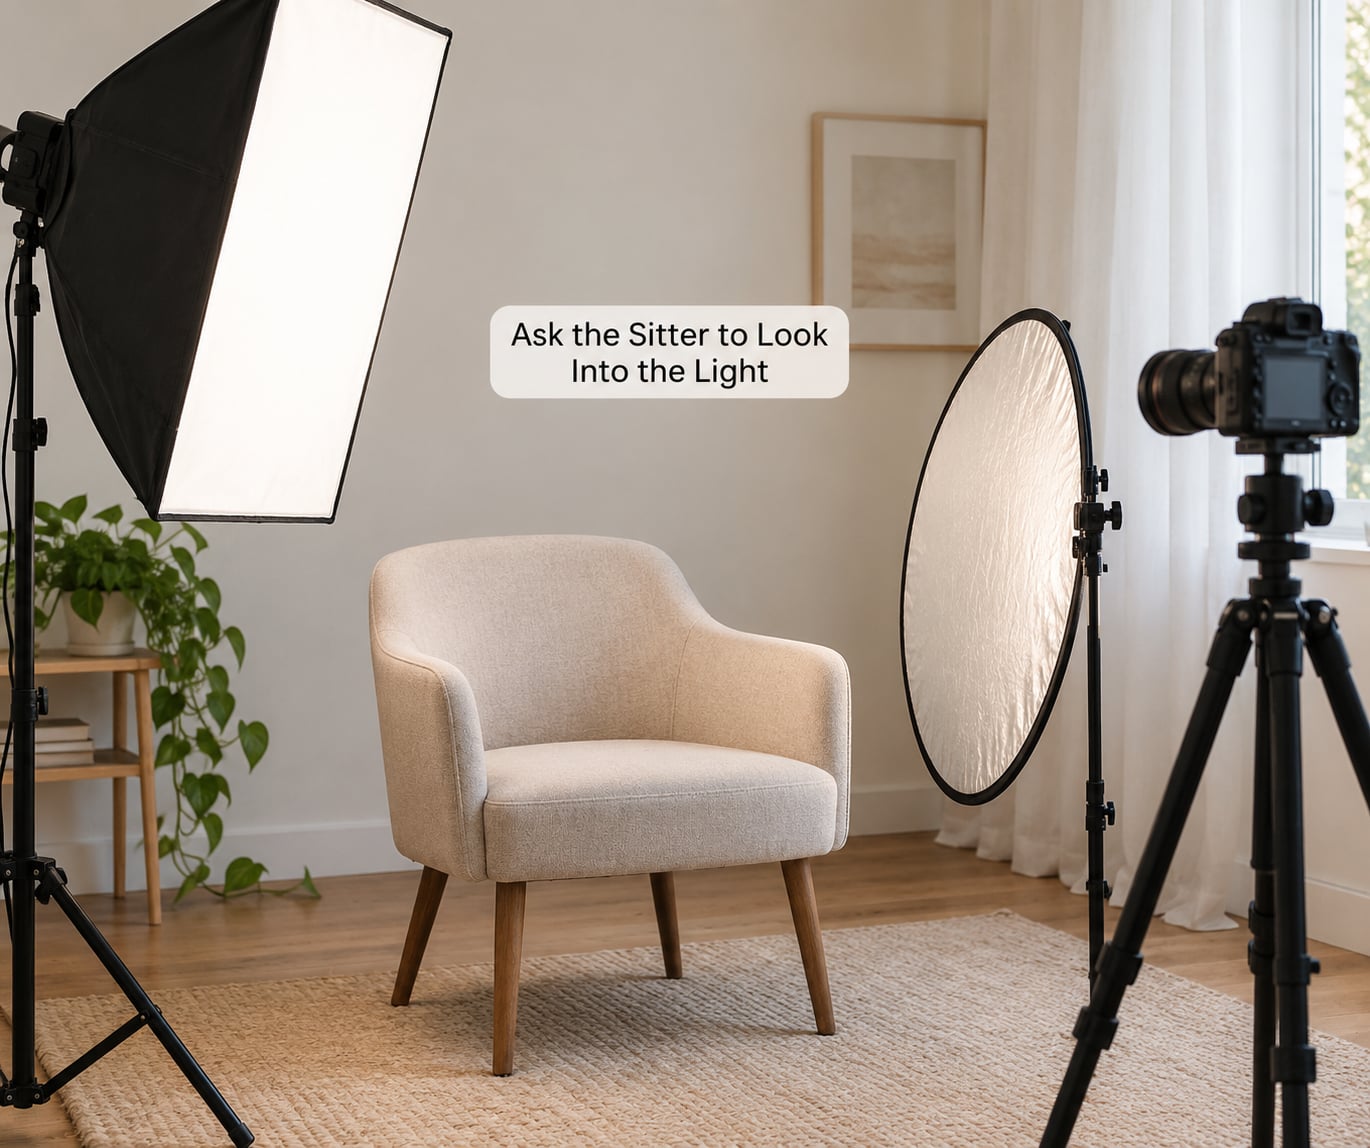
Put the light high and slightly in front of the face — think 30 to 45 degrees above eye level and 45 to 60 degrees to one side — then ask the sitter to look at the light itself, not at the camera. Tilting their gaze up opens the lower lid and rounds the eye, and the catchlight moves up into the iris where it does the most work.
The Phoblographer has pushed this for years, and it is still the cheapest improvement available. The subject looks at the modifier, the light reflects straight back, and you get a defined catchlight in both eyes without buying anything.
What you are really controlling is the shape of the catchlight, and that is set by the size and distance of the source. A large softbox or window close to the face gives a big soft catchlight that fills much of the upper iris. A small modifier held far away gives a hard pinpoint. A strip softbox held vertically at the side of the face gives a narrow bright rectangle in the corner of the eye, which suits deep-set eyes. A ring flash gives a perfect circle in the middle of the iris, which reads slightly artificial on adults but works well for close-up beauty shots.
Keep the light close to the face rather than pushing it back for even coverage. Inverse square law means moving a light from 1 metre to 2 metres drops the illuminance to a quarter, and you end up cranking the ISO or narrowing the aperture, both of which cost you eye detail. A window works because it is a big source, not a strong one.
Fill the shadow side with a reflector held just below eye level so it bounces light back up into the socket. That removes the under-eye shadow that makes eyes look tired and small. A reflector also gives you a second, softer catchlight lower in the iris, and two catchlights read as alive.
If you must use flash, switch on the modelling light and give your sitter a few seconds before the shot. Pupil constriction is the pupil shrinking in response to bright light, and a flash fires faster than the pupil can relax, so you get small pupils in a bright frame. Users on the dpreview forums reach for constant light for exactly this reason. A second option is to have the sitter face slightly away from bright sun, which lets them hold their eyes open.
You can see the lighting is working when both eyes carry a catchlight of the same brightness, the upper lid is free of a hard shadow line, and the under-eye area is only about a third darker than the cheek.
4. Use Camera Position and Lens Choice Carefully
Perceived face size is a function of camera-to-subject distance relative to the focal length. Shoot a face from 30 cm with a 24mm lens and the nose balloons, the ears shrink away, and the eyes — being further from the camera than the nose bridge — get pulled back and read small. Shoot from 2 metres with an 85mm lens and everything flattens onto one plane: the nose narrows, the cheekbones separate, and the eyes look larger and rounder because nothing is exaggerating the features in front of them.
That compression is the single biggest lens effect. Adobe’s portrait editors describe it exactly that way: telephoto compression makes a nose look smaller and eyes look better.
Two rules cover most cases. Stay at 85mm or longer for anything tighter than a half-body, and keep the camera at eye level or just above. Shooting down from a high angle opens the eyes nicely but turns a headshot into a “looking at the ceiling” image, so go a little above rather than well above. Shooting up from below enlarges the nose and the underside of the chin, which is rarely what a client wants.
For the settings, stop down just enough to get the eyes and the tip of the nose sharp, then focus on the eye plane. Eye-plane focus means putting your single focus point on the near eye, or on the bridge of the nose if your camera will not lock on the eye. At f/1.8 on a 85mm, a face will be sharp front to back only if you focus at about 4 metres, so the working distance for a headshot is around 1.5 to 2.5 metres at f/2.8 and closer to 3.5 metres at f/4.
A few reliable starting points, if you want them in one place:
- Studio headshot. 85mm or 105mm at f/2.8, light 30 to 45 degrees above eye level and 45 degrees to the side, focus on the near eye.
- Beauty close-up. 100mm macro or 85mm at f/4 to f/5.6, light directly above and in front, focus on the near eye.
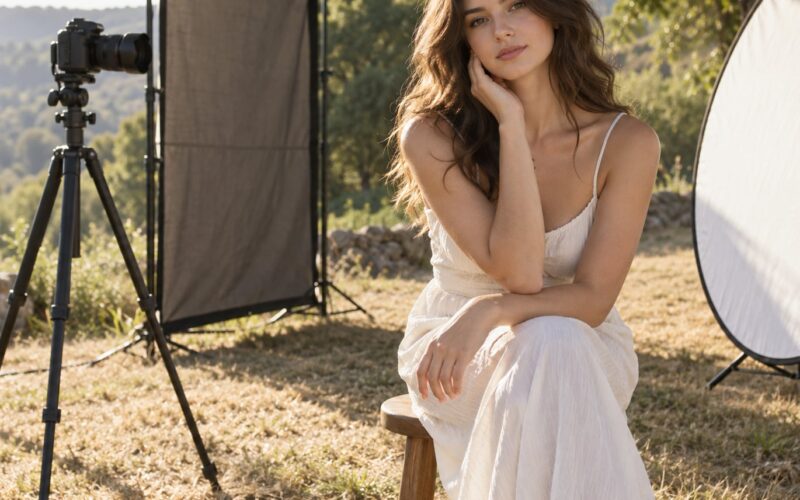
- Outdoor golden hour. 135mm on a 70-200mm at f/2.8, sun behind the sitter with a reflector in front, focus on the near eye.
- Self-portrait. 70mm equivalent or longer at f/2.8, window in front of you, eye AF or manual focus on a fixed plane.
- Children and pets. 85mm at f/2.8, light at the subject’s own eye level, continuous AF with eye detect.
Get down to the eye level of children and pets rather than shooting down at them. It fixes apparent eye size and it fixes the posture at the same time, because a child photographed from above pulls their shoulders in and narrows their eyes.
For self-portraits with no remote, the eye-plane trick is what to focus on. Set the focus distance manually, lock it with a tripod, and set the camera’s self-timer. The distance is a known number once you have shot a few frames, so it takes three or four attempts to dial in.
5. Retouch the Eyes Subtly
Post should confirm what the camera already did, not rescue a badly lit frame. The rule I hold to: if you can spot the edit at 100 percent on a normal monitor, you have gone too far.
Work in this order in Lightroom or Camera Raw, then switch to Photoshop for the last two steps.
- Set the crop first. A tighter crop means less screen space per pixel, so your eye work looks finer.
- Drop the under-eye shadow. Select the area below the eye, lift the shadows, and lower the texture or clarity. A third of a stop is plenty.
- Brighten the sclera slightly. Aim for a light grey, never pure white. Clipped whites look glassy and the eyes look like a doll.
- Add selective structure to the iris. Mask the iris, and add texture and clarity to bring back the radial fibres and the limbal ring. A crisper edge makes the iris look larger without changing its size at all.
- Add a catchlight that matches the existing one. In Photoshop, duplicate the layer with the catchlight, mask it, and place the copy in the eye that is missing one. Match the size and angle of the original, or it will read as fake.
- Sharpen the lash line and the lower lid edge. A small radius, high amount sharpening pass gives definition that makes the eye read as larger.
Never scale the iris or the whole eye up to sell the effect. Resizing the iris is instantly readable as manipulation because the limbal ring distorts with it. Structure, contrast and catchlight do the same visual job with none of that tell. The people who get caught in the comments sections are always the ones who dragged the size slider.
Where is the ethical line? For a commercial headshot, brightening and sharpening the eyes is normal and expected. For editorial and documentary work, news photography standards restrict changes to the eyes and teeth. For a personal portrait, it is a matter of taste and of whether the person would recognise themselves in the picture.
Common Mistakes
Blown-out whites. The single most damaging edit. If the sclera is at pure white in the preview histogram, the texture is already gone. Bring it back to a light grey and add a touch of noise reduction instead.
Enlarging the iris or the whole eye. It works for about half a second, then reads as artificial. Increase the visible contrast inside the iris and leave the size alone.
Painting catchlights into eyes that never had any. If there was no catchlight in the frame, the light was wrong and no amount of retouching will make it look natural. A copied highlight in the wrong position is the fastest way to lose a client’s trust.
Cloning out the natural eyelid folds. The crease gives the eye structure. Smoothing it flattens the whole face. Soften the fold slightly if it is distracting, then leave it.
Shooting a close portrait on a wide lens. No edit undoes the nose. Step back and zoom in instead of stepping closer.
Retouching away someone’s actual eye shape. Deep-set, hooded, monolid and asymmetrical eyes are real features. The goal is to make the eyes read as open and lit, not to make them match some average face. Photographers run into a wall on asymmetry, and forcing the smaller eye to match the larger one usually makes the larger one look wrong too.
Four habits that fix most disappointing portraits. Check the catchlight before you check the histogram, every time. Ask for the forehead to relax before you adjust the head angle. Keep the light close and large rather than far and small. And shoot a test frame before the real one, because the settings that make the eyes open are not always the settings that make the face comfortable.
Frequently Asked Questions
What lens makes eyes look bigger in portraits?
An 85mm lens or anything longer is the answer. Compression from shooting at a distance makes the nose look narrower and the eyes look larger and rounder, because nothing in front of the eyes is exaggerated. A 70-200mm used at 135mm gives the same effect with more working room. Avoid wide lenses under about 50mm on a close portrait, since the nose dominates and the eyes are pushed back. The same principle applies on a phone: use the longest optical zoom you have rather than stepping closer.
Should I brighten the whites of the eyes in post-processing?
A little, and only down to a light grey. Clipped whites lose all their texture and make the eyes look glassy and lifeless, which is more noticeable than any other retouch mistake. In Lightroom or Camera Raw, mask the sclera, drop the whites just below 255, and add a touch of texture back. Brightening more than about a third of a stop past the surrounding skin is where it starts to look retouched.
Does looking slightly upward make eyes look bigger?
Yes, and it is the fastest posing change available. Tilting the gaze up lifts the lower lid and moves the catchlight higher into the iris, so more of the eye is exposed. Pair it with a small upward head tilt and a relaxed forehead, then ask your sitter to look at the light source rather than the lens. A large upward gaze starts to look strained, so keep the movement to a few degrees.
Is it better to enlarge the iris or brighten it?
Brighten and add contrast, never enlarge. A resized iris distorts the limbal ring, the darker outer edge that gives an eye its crisp boundary, and viewers spot the stretched edge quickly. Raising the texture and clarity inside the iris, keeping the limbal ring sharp, and adding a well-matched catchlight all make the same eye read as larger without changing any geometry. That is the whole basis of how to make eyes look bigger in portraits.
How can I make eyes look bigger without using makeup?
Move the light instead. Put a large source high and slightly in front of the face, close enough that the catchlight fills much of the upper iris, then ask your sitter to look into it. Shoot at 85mm or longer from a distance, tilt the head forward and up a few degrees, and keep the forehead relaxed. Fill the shadow side with a reflector to clear the under-eye area. None of that changes who the person is, which is why it holds up at print size.
Conclusion
Start with three changes before you open any editing software: tilt the head forward and up a few degrees, put a large light high and slightly in front of the face and have your sitter look into it, and shoot from 1.5 to 3 metres on an 85mm with the camera at eye level. Those three cover most of the difference between a flat-eyed portrait and one that looks alert. Save the retouching for the under-eye shadow and the iris contrast, keep the catchlight you already have, and the result will read as the person you were standing in front of, just better lit.