Lighting a portrait with one speedlight means putting a single hotshoe flash about 45 degrees to one side of your camera and above your subject’s eye line, softening it with an umbrella or scrim, then bouncing a reflector into the shadow side. That is the whole setup. Get those three pieces right and the face does the work.
It takes roughly ten minutes to rig and about an hour to stop fiddling with it. Most of the frustration beginners have with flash comes from treating the flash and the room as a single exposure, when they are really two separate ones you set independently.
Before the long version, here is the short version. Work through it in order:
- Put the subject 3 to 4 metres from a wall or backdrop, then turn off or dim every room light.
- Set your camera to manual: ISO 200, f/8, 1/200s, flash sync speed or lower.
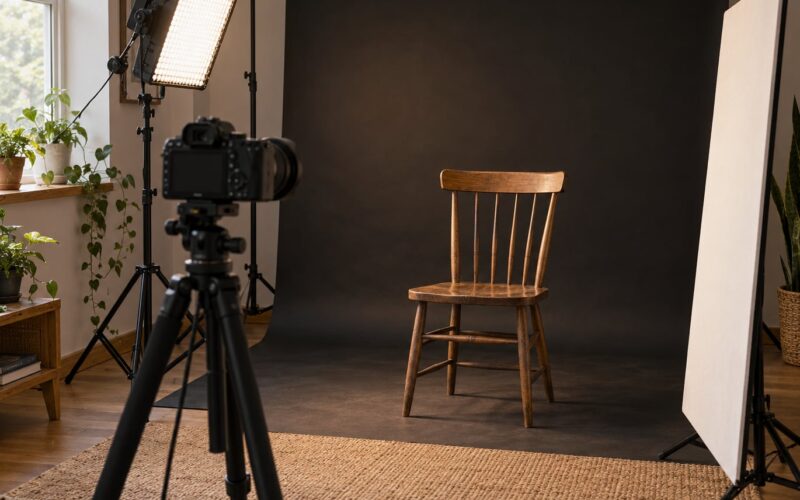
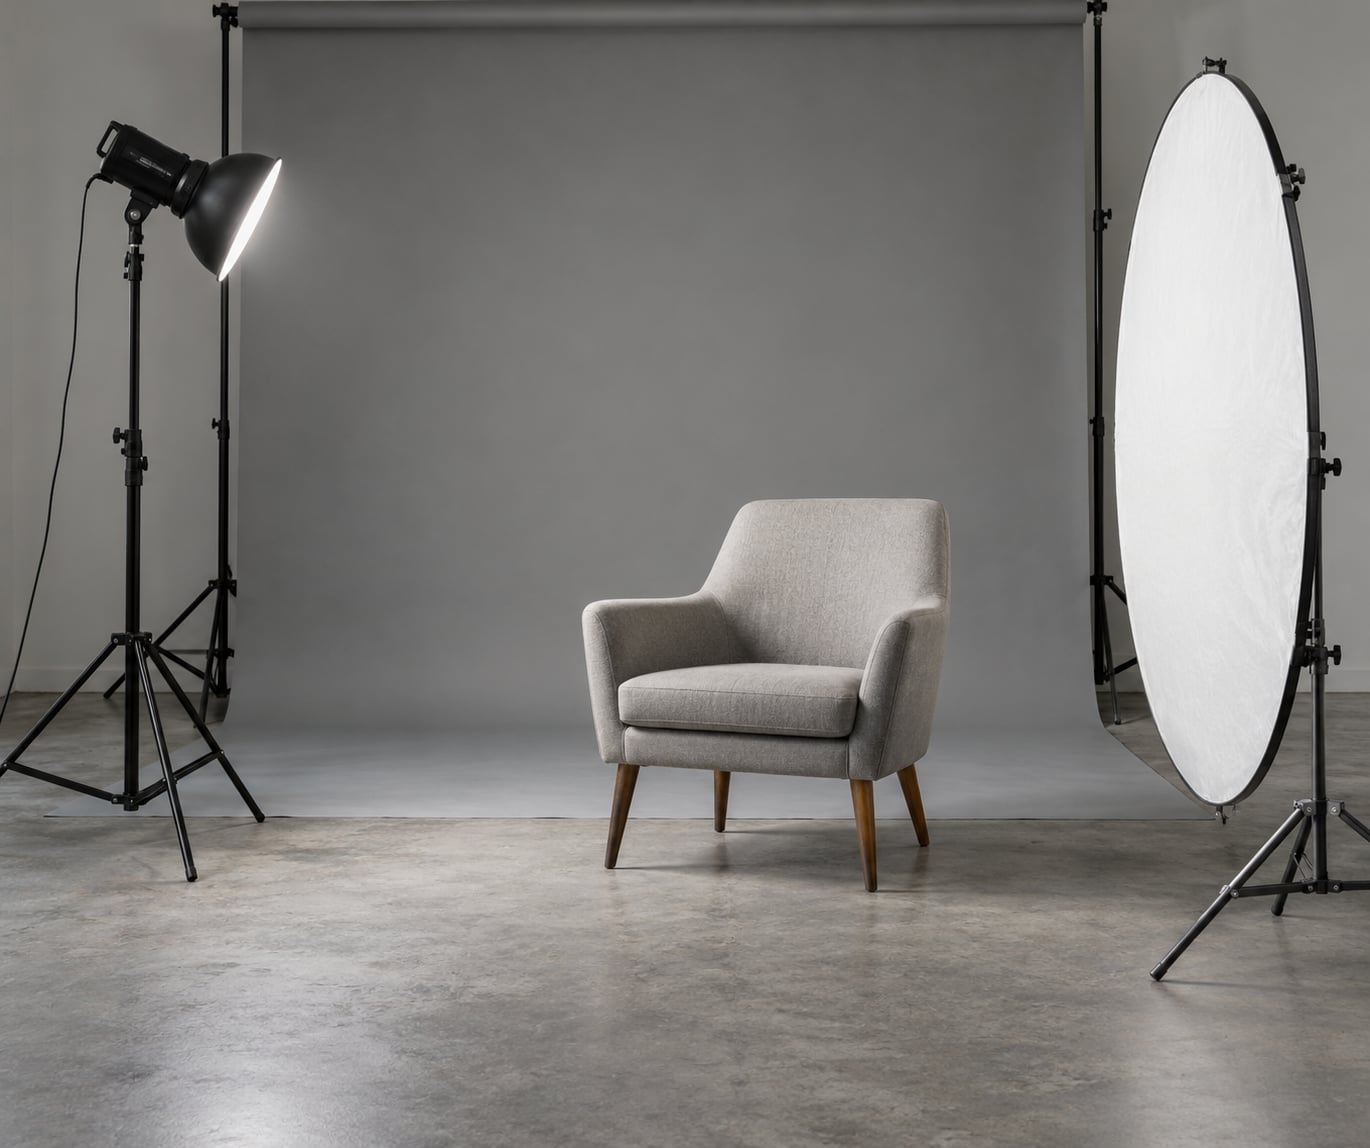
- Mount the speedlight on a stand at 45 degrees to the camera-to-subject line, about 30 cm above eye level.
- Fit a modifier (an umbrella or scrim works) and point it back at the subject, not at the camera.
- Put a white reflector opposite the light, set flash power to about 1/4, and shoot a test frame.
Everything below is just those five steps explained properly, so you can adapt them instead of memorising them.
Table of Contents
- What You Need
- Step-by-Step: How to Light a Portrait With One Speedlight
- Common Mistakes
- Frequently Asked Questions
- What is the best position for a single flash portrait?
- Should I use TTL or manual flash for portraits?
- How do I fill shadows with only one light?
- Can one speedlight work outdoors in bright sunlight?
- Do I need a softbox to light a portrait with one speedlight?
- How far should the speedlight be from my subject?
- Conclusion
What You Need
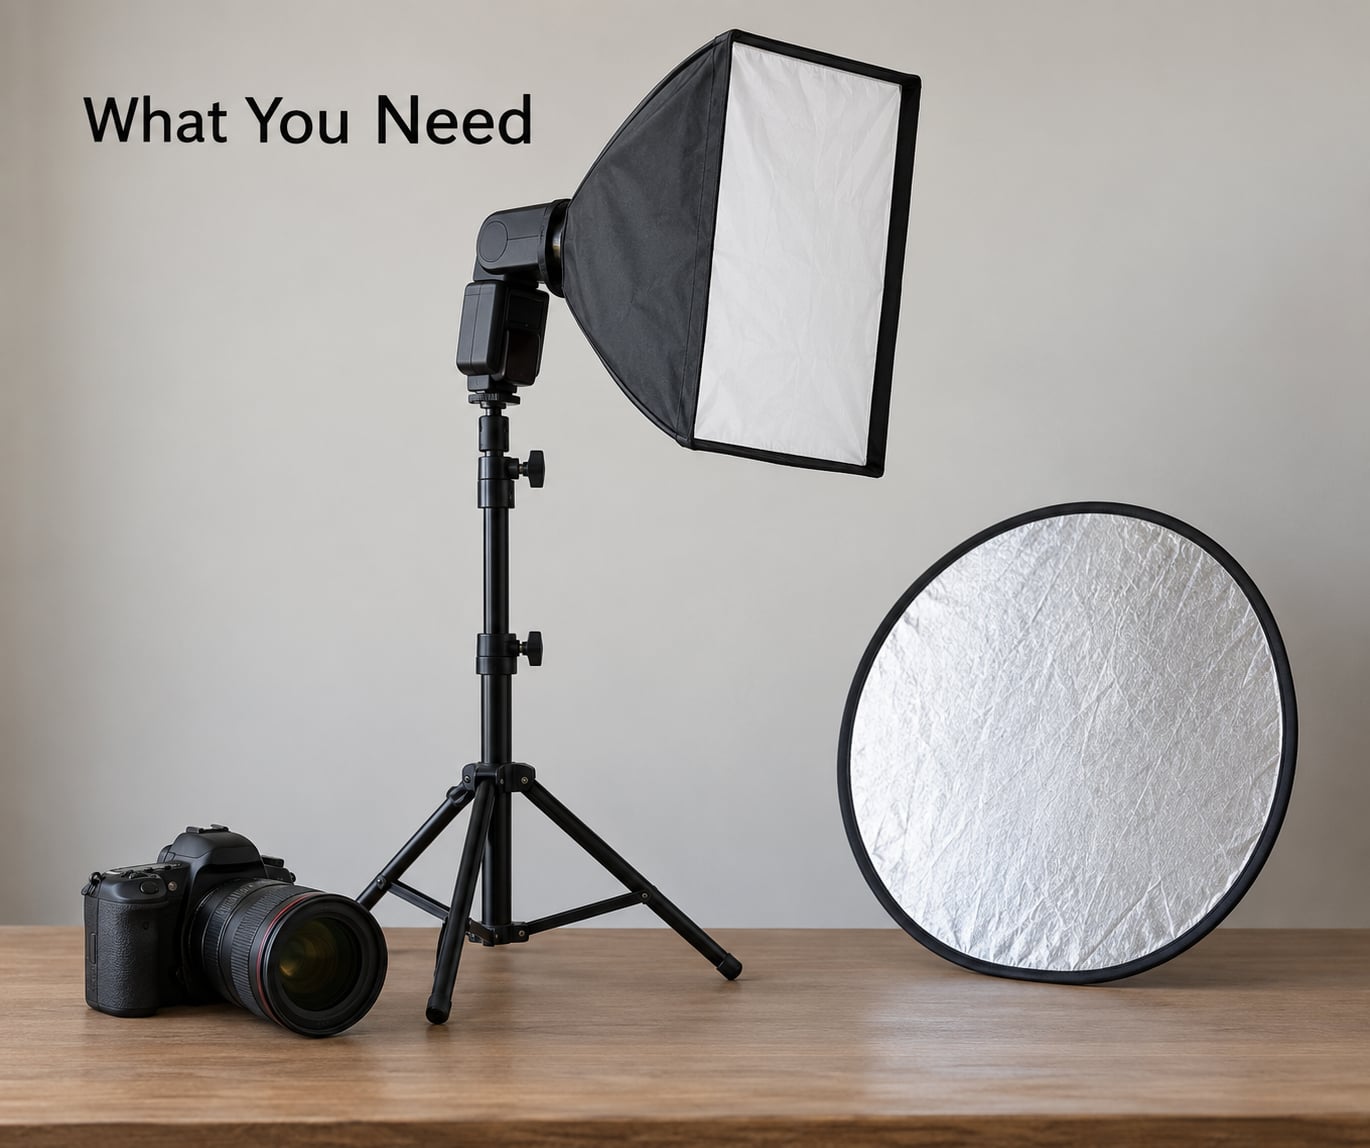
A speedlight is a portable flash that clips to a camera’s hotshoe, though you will almost always take it off the camera and put it on a stand. It runs on small batteries, costs a fraction of a studio strobe, and covers the handful of jobs you need for a portrait.
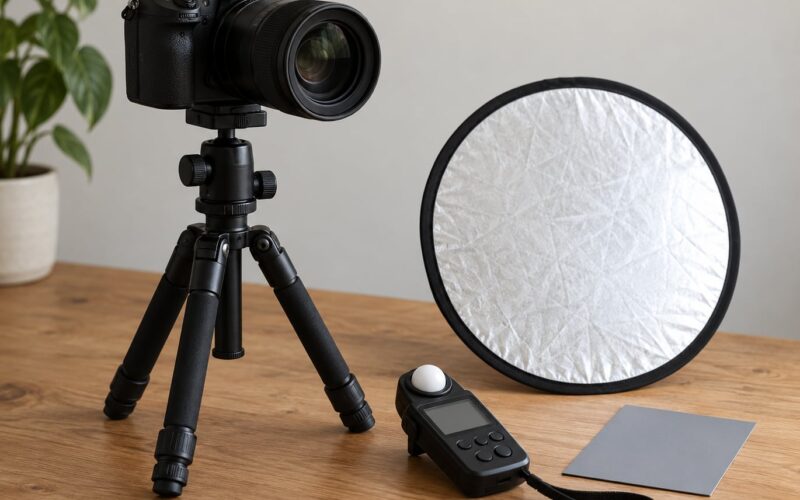
Beyond the flash itself you need five things. None of them are expensive, and two of them are free.
- A speedlight. Any hotshoe flash with manual power control works. If you are buying your first, r/Photography_Gear consistently points people toward a fresnel-head, AA-battery, TTL-equipped unit rather than a small round-head consumer flash, because AA batteries are cheap to replace and the head accepts modifiers.
- A modifier. A shoot-through or reflective umbrella, a softbox, a white scrim, or a folding 5-in-1 reflector. Diffusion is what turns a bare flash into flattering light.
- A stand with a tilt head. A tabletop stand works if you are shooting seated. A boom arm is nicer because it lets you get the light over the subject’s head.
- A trigger. Needed only if the flash is off camera. Radio triggers fire it without a cable.
- A reflector. White foam board or a 5-in-1 reflector, silver side unused. This is your fill light, and it costs almost nothing.
Worth saying plainly: a wall-powered monolight from a Chinese brand can cost less than a speedlight plus trigger, and it will not run out of batteries mid-shoot. If you are buying purely for a home studio and never travel, that is a reasonable path. The speedlight wins when you want to move, shoot outdoors, or light a room with a single unit.
Step-by-Step: How to Light a Portrait With One Speedlight
Every good one-light portrait follows the same order: decide the look, soften the source, expose the ambient, expose the flash, control the background, fill the shadows. Skip a step and the next one gets harder to judge.
Choose the look and light direction
The light’s horizontal position decides the shape of the shadows on the face, so pick the pattern before you pick a power setting. Straight in front gives flat, even light that flatters skin and works for business headshots. Moving the light about 45 degrees to the side gives a small triangle of shadow on the far cheek, known as loop lighting, and it is the most forgiving pattern for beginners.
Push further, to roughly 90 degrees, and you get split lighting: one half lit, one half dark. Move the light above the subject and slightly forward and the shadow drops under the nose in a butterfly shape. The classic Rembrandt pattern comes from a higher, more rearward position where the shadow under the eye forms a lit triangle.
Height matters as much as angle. Eye level or slightly above flatters almost everyone. Much higher and you deepen the eye sockets and show the underside of the nose; much lower and you turn up every line on the face. My rule is 30 cm above the eyes, angled down, and adjust from there.
Attach and soften the light
Mount the flash on the stand and point it at the subject. A bare flash head produces a small source with hard edges and a tiny catchlight, which reads as harsh and dated.
You have four cheap ways to fix that. A shoot-through umbrella goes between the light and the subject and gives you soft, wrapping light with a slight glow. A reflective umbrella bounces the flash back into itself and stays brighter, but you have to remove the head’s diffusion panel or you will block it. A white scrim or one-piece diffuser throws a lot of light through and needs real power to punch through at distance. A bounce off a white ceiling gives the softest light of all and costs nothing.
Use the white side of your 5-in-1 reflector for diffusion and fill. Silver and gold sides are for kicking light back into a face from below or adding warmth, and using them close to skin creates hard specular highlights that look like sweat.
Set the power, aperture, and shutter speed
This is where beginners lose the thread, so here is the one idea that makes the rest click: your speedlight fires for a fraction of a millisecond, so shutter speed barely changes how bright the flash exposure is. Flash brightness is governed by flash power, ISO, and aperture. Shutter speed controls how much room light you let in, and that is a completely separate exposure.
So work in this order:
- Kill the room lights, or accept them as background ambience only.
- Set ISO 200 and f/8. These two lock in most of the flash exposure.
- Set the shutter to your camera’s sync speed, typically 1/200s or 1/250s, and never above it in normal mode or you get a dark band across the frame.
- Set flash power manually and adjust with the test shot.
Start the flash around 1/4 power and work in thirds. Because of the inverse square law, moving the light changes brightness dramatically: double the distance and you lose two stops, so a light at 1 metre and one at 2 metres are four times different in brightness. That is why moving the light closer is such an effective way to soften shadows, since a larger apparent source is exactly what soft light means.
TTL and TTL-BL are useful for getting close, but once the look is right, switch to manual flash and lock it. TTL meters off your metering sensor and reacts to dark clothing or a white shirt, which means it changes the exposure mid-shoot. Manual flash gives you identical frames all the way through a session.
Keep the subject’s face out of clipping. Check the histogram and aim for skin tones around the middle, not the right-hand edge. Bright skin against a dark background is a common failure, and it happens when flash power is set from the ambient reading instead of the face.
Separate the subject from the background
Distance does the work here. Put the subject 3 to 4 metres from the wall and the background receives far less flash than the face does, because of that same inverse square falloff. Nothing else changes and the wall goes dark.
Move the subject closer to the wall and you get the opposite effect, a bright seamless look. Move them further from the wall and you get separation. In a bright room where ambient light dominates the wall, underexpose the ambient by lowering the shutter or ISO until the background sits about two stops under the face.
If you want to stop flash spilling onto the wall, flag the light. A black card on the far side of the flash, or a rolled-up black sheet behind it, keeps the beam pointed at the subject only.
Add fill and control reflections
A reflector opposite the light fills the shadow side without adding a second light source, which means no new shadows and no extra gear. Get it close, about 30 to 60 cm from the subject, and its effect grows because of the same falloff rule. The closer the bounce, the more it fills.
Control the light ratio by moving the reflector. Straight on from the light position gives roughly a 2:1 ratio, which flatters most faces. Angle it away and you approach 4:1, which is still printable and looks moody. Turn it around so you are shooting at the dark side and use it as negative fill, dropping the shadow side darker and giving the face shape.
Watch for specular shine. Bare or oily skin, glasses, and dark hair all throw highlights back at you. Moving the light up and slightly further from the axis of the face usually kills the worst of it, and a scrim or softbox wraps the highlight enough to make it read as sheen rather than glare. For glasses specifically, angle the subject’s chin down slightly and move the light up a touch until the lens stops mirroring your camera back.
Make final adjustments and test the portrait
Run your checklist in this order: catchlights, shadow shape, skin exposure, background brightness, focus, white balance.
Catchlights should be small, bright, and in the same place in both eyes. They land wherever the light lands, so if they are missing, your light is too high or too far around. Shadow shape tells you which pattern you actually got, and it often differs from what you intended by a few degrees.
Zoom in on the face at 100 percent before you judge anything. Check that skin sits below clipping, that the catchlights are not blown, and that no distracting bright patch sits behind the head. Set white balance with a grey card or a custom Kelvin value rather than leaving it on auto, since auto will read a warm face and cool the whole frame.
Shoot a few variations before locking in: light higher, light lower, reflector closer, power down a third. Ten test frames at the start beat forty mid-session.
Common Mistakes
Placing the light too close. A flash 50 cm from the face is a small light source, so shadows have hard edges. Step back until the light is at least as far from the subject as your camera is, and soften further with a larger modifier.
Putting the light too high. Above about 45 degrees deepens the eye sockets and casts a nose shadow downward. Keep it 15 to 30 cm above eye level until you deliberately want a dramatic look.
Running too much flash power. When the face blows out, the instinct is to lower ISO and widen the aperture. Change flash power instead, in thirds, and leave your aperture alone so your depth of field stays put.
Leaving the shadow side black. With one light you need the reflector, and you need it close. If there is no room, use a white wall, a sheet of poster board, or even a laptop screen.
Treating flash and ambient as one exposure. This is the biggest beginner error. Pick your ambient exposure first with the flash off, then add flash power on top of it.
Shooting above sync speed in normal mode. Past the sync speed, part of the frame goes dark. Either drop below it or turn on high-speed sync, which costs flash power.
Ignoring the background. A white shirt against a pale wall disappears. Move the subject away from the wall and darken the ambient, or change the angle until the two separate.
One last thing, since it comes up constantly in comment sections: a single light is a resilient setup. If a bulb or battery fails mid-shoot, you have one working light rather than three, and one light you understand beats three you are guessing at. It also scales. When you are ready, add a second light behind the subject as a hair light or rim, and every control you learned here still applies.
Frequently Asked Questions
What is the best position for a single flash portrait?
About 45 degrees to one side of the camera-to-subject line, and 15 to 30 cm above eye level. That gives loop lighting, a small shadow triangle on the far cheek that flatters most faces. Push the light to 90 degrees for split lighting, straight above and forward for butterfly, or higher and further behind for Rembrandt.
Should I use TTL or manual flash for portraits?
Use TTL to get close fast, then switch to manual and lock the power before the session starts. TTL meters off the camera sensor and reacts to dark clothing or a white shirt, so your exposure can shift between frames. Manual flash power gives you identical results every shot, which matters for consistency across a full portrait sitting.
How do I fill shadows with only one light?
Put a white reflector, foam board, or white wall opposite the speedlight, close to the subject, roughly 30 to 60 cm from the face. Closer means more fill, because bounced brightness follows the same falloff as the direct light. Angle it away from the subject for a moodier 4:1 ratio, or shoot into its dark side for negative fill.
Can one speedlight work outdoors in bright sunlight?
Yes, with limits. In open shade or on an overcast day a speedlight is plenty. In direct sun you need high-speed sync, and each stop of shutter speed past sync costs roughly two stops of flash power, so two stops faster needs about four times the power. For harsh midday sun, shade the subject first and fill the shadows rather than fighting the sun.
Do I need a softbox to light a portrait with one speedlight?
No. Any modifier that makes the source bigger works: a shoot-through umbrella, a reflective umbrella with the diffuser panel removed, a white scrim, or even a bounce off a pale ceiling. The size of the apparent light source relative to your subject decides the softness of the shadow edges, and a scrim at 2 metres softens more than a softbox at 1 metre.
How far should the speedlight be from my subject?
At least as far as your camera is, and further if you can manage it. A larger source at a greater distance gives softer shadow transitions and a more flattering look on skin. Remember the inverse square law: double the distance and you lose two stops of brightness, so adjust flash power each time you reposition the light.
Conclusion
Start here: light at 45 degrees and about 30 cm above eye level, put the biggest modifier you own between the flash and the subject, set a white reflector opposite, and shoot at ISO 200, f/8, 1/200s with the flash near 1/4 power. Get one frame you like before changing anything else.
Then move the light. Higher, further around, closer, aimed at the wall instead of the face. Once you can predict what the shadows will look like from the position of the light, you have learned the setup that every larger lighting rig is built on.