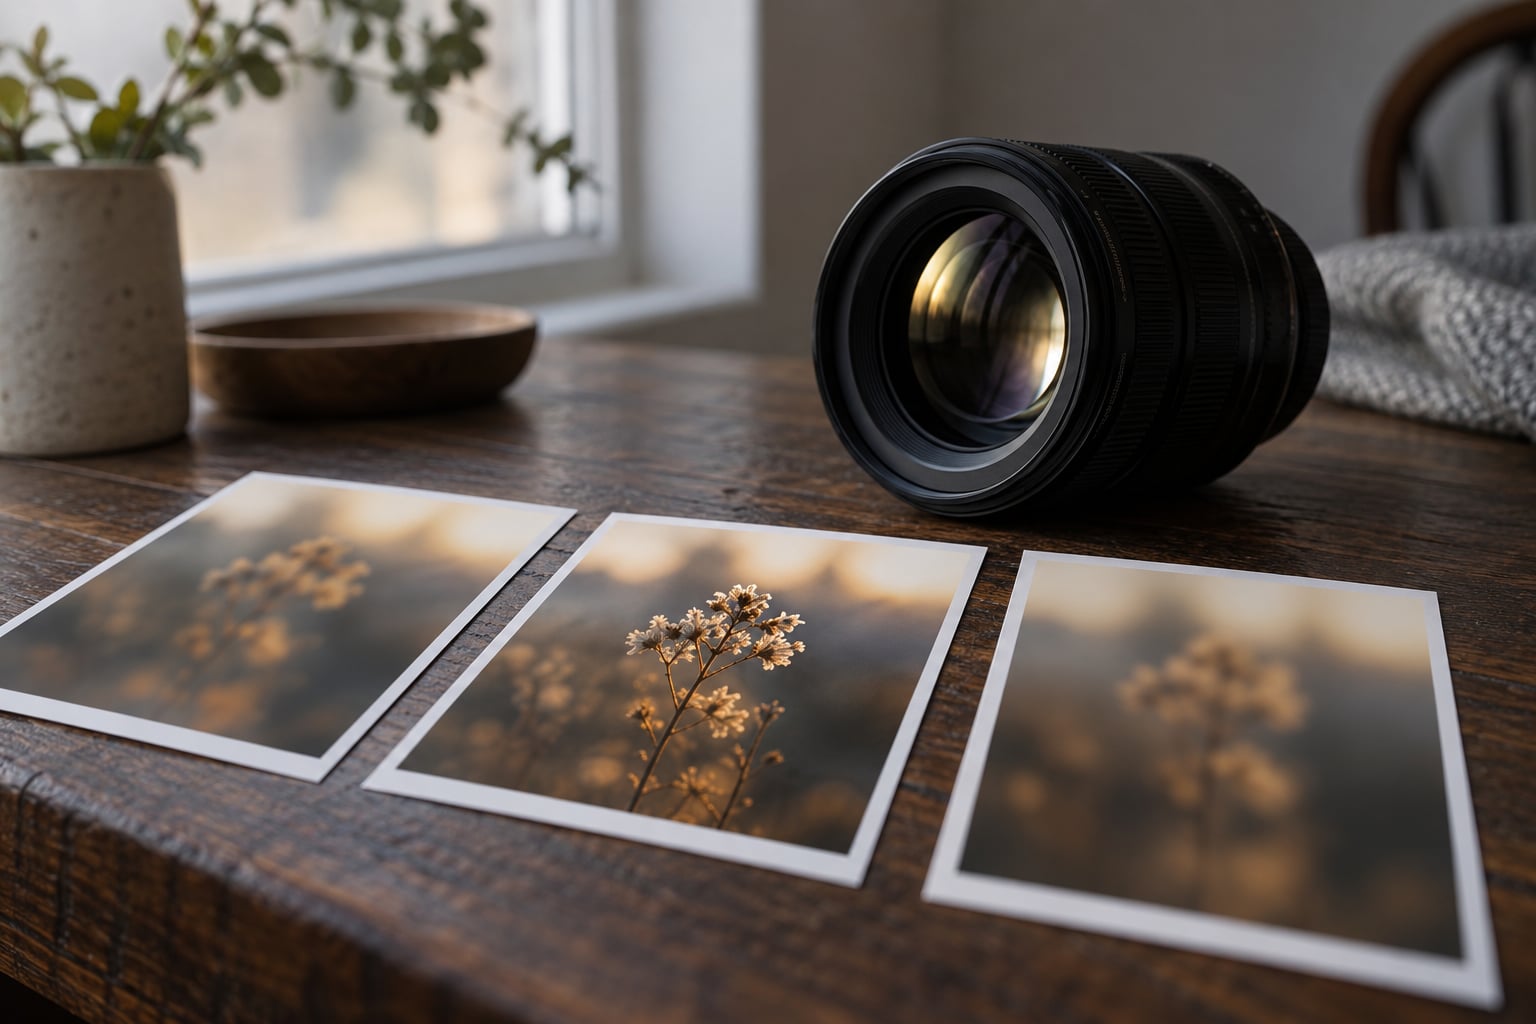
Depth of field explained for portrait photographers comes down to one number: how much of the scene your lens actually resolves sharply at the distance you focused. That zone shrinks when you open the aperture, when you move closer, and when your subject stands further from whatever is behind them. Get those three right and the background falls away on its own.
Most confusion comes from mixing depth of field up with bokeh. Bokeh is the character of the out-of-focus area. Depth of field is simply how much is sharp. A lens can have beautiful bokeh and give you a razor-thin sharp zone, which is a common way to end up with a portrait where the eyes are crisp and the ears are not.
This guide walks through the four controls, gives real depth-of-field figures at actual portrait distances, and covers the mistakes that show up in almost every beginner’s first fifty portraits. Updated for 2026 on the settings menus referenced here.
Table of Contents
- What Is Depth of Field in Portrait Photography?
- How Depth of Field Is Controlled in Portraits
- A Wide Aperture or a Narrow Aperture for Portraits?
- How Focal Length Changes Background Blur
- Subject Distance and Framing Are More Important Than Lens Length
- Where Should You Focus in a Portrait?
- Common Depth of Field Mistakes and How to Fix Them
- Portrait Photography Depth of Field Examples
- How to Test Depth of Field Before a Portrait Session
- Frequently Asked Questions
- Conclusion
What Is Depth of Field in Portrait Photography?
Depth of field is the zone in front of and behind your focus point that the lens renders acceptably sharp. The smaller that zone, the more the background melts away and your subject stands out. A wide aperture and a close working distance give a shallow depth of field; a narrow aperture and a distant one give a deep depth of field.
It is worth separating two things beginners tend to merge. A lens can focus physically at a range of distances, but only a fraction of that range looks sharp enough to print or display large. Depth of field is that fraction, and where its edges sit depends on how large you view the image.
The threshold is called the circle of confusion: the size of the blur spot a viewer considers acceptable. Cameras use roughly 0.03mm for full frame and 0.02mm for APS-C. Print larger and the edges move inward, so the same settings produce a thinner zone on a big print than on a screen.
The focus plane is curved, not flat
You will find tutorials stating the sharp area is parallel to the sensor. It is not. The set of points equally distant from the lens forms a curved surface, roughly a section of a sphere centred on the entrance pupil.
On a long lens from far away the curve is barely noticeable. On a 24mm lens at half a metre it is dramatic, which is why wide-angle group shots go wrong at the edges. One commenter on a well-known beginner tutorial put it well with a fifty-person lineup that had to be arced to the same distance from the camera, a fix that mattered enormously at 24mm and barely at all at 135mm.
How Depth of Field Is Controlled in Portraits
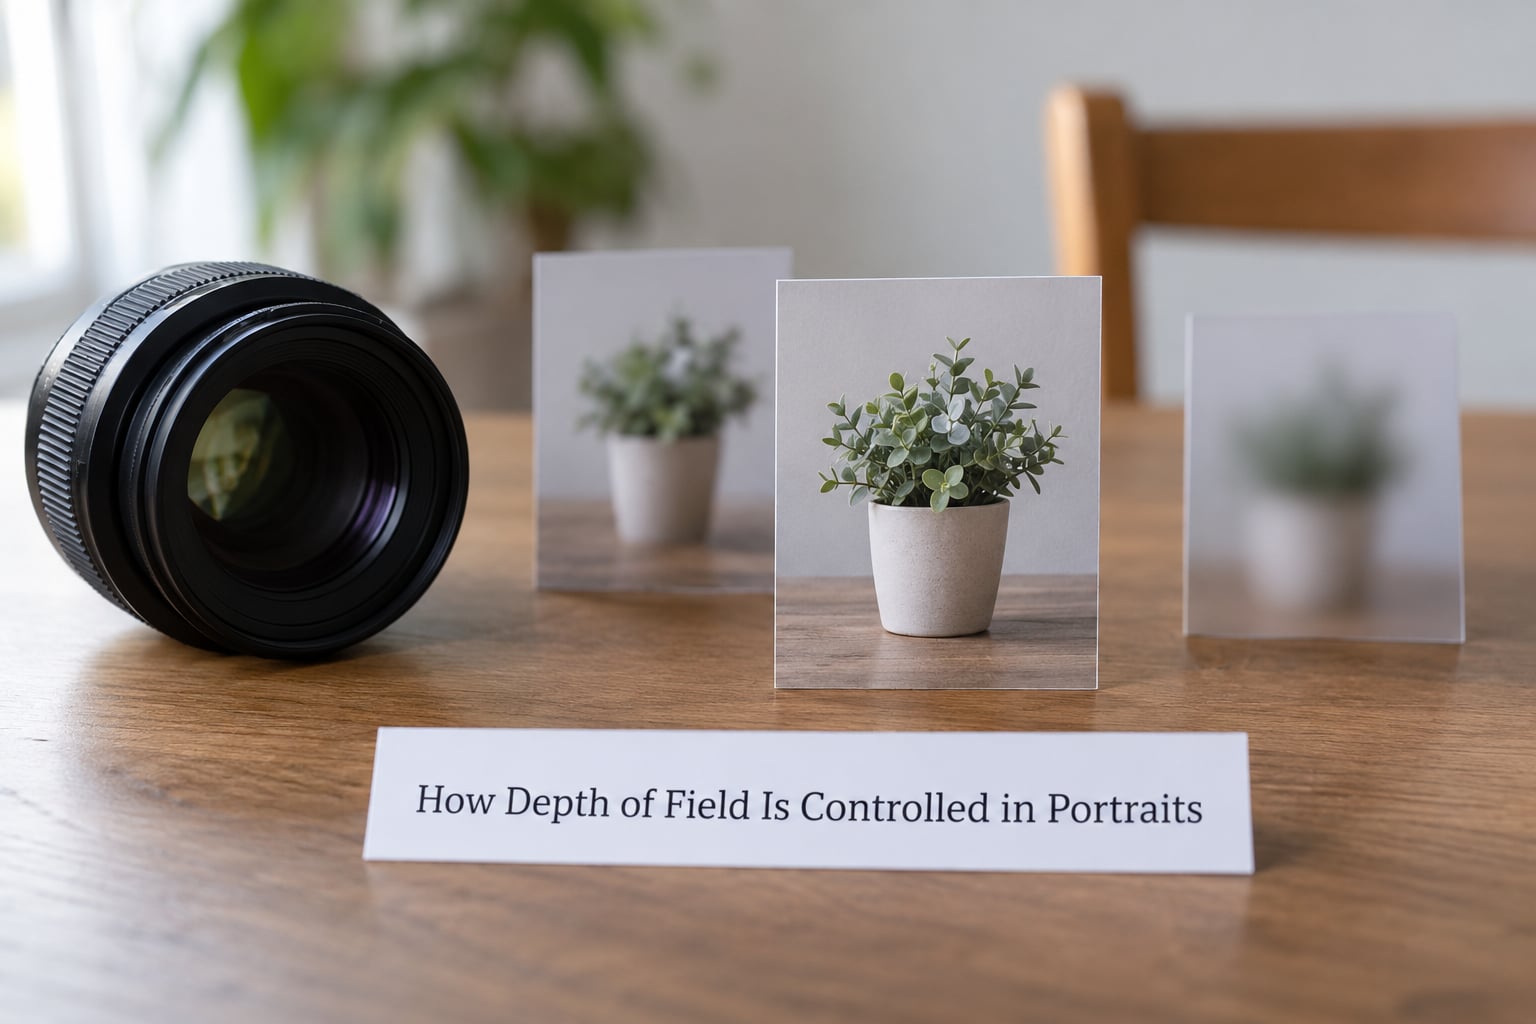
Four controls set depth of field, and only one of them is on the camera body. Open the aperture and the zone shrinks. Fit a longer lens and it shrinks, mostly because you had to step back to frame. Step closer yourself and it shrinks again. Push the subject further from the background and the zone stays the same size, but the background slips further outside it.
- Aperture. The widest practical control you have. f/1.4 to f/2.8 gives a thin zone; f/5.6 to f/8 gives a generous one.
- Distance from camera to subject. The most powerful control in portraits. Half the distance roughly quarters your depth of field.
- Focal length. Changes framing, which changes distance. Rarely acts on its own.
- Distance from subject to background. Changes nothing optically and everything visually, because the background moves out of the sharp zone entirely.
Here is what those controls look like at portrait distances on full frame. Figures use a 0.03mm circle of confusion and are approximate, since real lenses vary.
| Setting | Subject distance | Total depth of field | Likely result |
|---|---|---|---|
| 85mm f/1.8 | 2.0m | about 6cm | Eyes sharp, ears soft. Background fully melted. |
| 85mm f/2.8 | 2.0m | about 9cm | Front and back of head both hold. Still strong blur. |
| 85mm f/4 | 2.0m | about 12cm | Safe for a head that turns. Background still soft. |
| 85mm f/5.6 | 2.0m | about 17cm | Very safe single subject. Separation starting to weaken. |
| 50mm f/1.8 | 2.0m | about 16cm | Similar sharpness, weaker blur than the 85mm at f/1.8. |
| 35mm f/1.8 | 2.0m | about 34cm | Deep for a wide lens. Background noticeably present. |
| 50mm f/5.6 | 3.0m | about 1.2m | Covers a standing group in a shallow arc. |
| 35mm f/8 | 3.0m | about 5m | Nearly everything from foreground to back is sharp. |
Read the 85mm rows as a single story. Opening up one stop from f/4 to f/2.8 does not halve anything you can see as a viewer. It halves your margin for a head turn, a lean, or a hand coming forward.
A Wide Aperture or a Narrow Aperture for Portraits?
For a single subject who mostly holds still, wide open is the right default. You get maximum separation and you keep the shutter fast enough to catch expression. Just focus on the near eye and shoot a burst, because anything that moves toward the lens can leave the sharp zone instantly.
For a working portrait where the subject talks, gestures, and leans, f/2.8 to f/4 is safer. The background is still soft, and you have bought yourself enough depth to survive movement without thinking about it.
For environmental portraits, where the room or the location carries meaning, deep depth of field is usually the point. Stop to f/5.6 or f/8 and let the surroundings read as context rather than distraction.
For groups, depth of field stops being a creative choice and becomes a constraint. Four adults at 2m all need to be inside the sharp zone, and an 85mm at f/8 manages only about 24cm there. Arc the group to a shallow curve, or step back and use a wider lens, where 50mm at f/5.6 from 3m covers roughly 1.2m.
For low light, the same exposure arithmetic applies as anywhere else. Every stop you stop down is one stop less light, so you add it back with ISO, shutter speed, or a light you control.
How narrow the aperture can go
Past about f/11 on a full-frame lens, diffraction starts eating fine detail, and you lose more sharpness than the extra depth of field gains you. Most portrait photographers find f/5.6 to f/8 the sweet spot for that reason, and a lens is usually sharpest a stop or two past its widest aperture.
How Focal Length Changes Background Blur
Focal length gets blamed for things it does not cause. Fit a 35mm lens and a 135mm lens, frame the same head from the same spot at f/2, and you cannot change focal length without changing your distance, which changes the picture anyway.
The honest version: at the same framing and the same f-number, a 135mm produces more blur than a 35mm because you had to stand further back, not because 135 is blurrier. Two photographers standing in the same spot with the same framing and aperture get the same blur regardless of which lens got them there.
Where focal length does have its own effect is compression. Longer lenses render background elements larger relative to your subject, so a row of trees appears to press in behind the head. Shorter lenses open the space up, which reads as more intimate and, at the same time, leaves more background detail inside the frame.
Depth of field and bokeh are also different things. Depth of field is how much is sharp. Bokeh is how the blur looks: whether highlights render as soft discs or as hard-edged rings, and whether out-of-focus areas fade smoothly or break into busy shapes.
A fast 85mm f/1.4 has wide-open bokeh with visible onion rings at the edge of the frame. A slower 85mm f/2 renders blur that is less spectacular and easier to use across a whole frame, because you are less likely to be fighting the edge of the sharp zone.
Subject Distance and Framing Are More Important Than Lens Length
When a background will not blur, step closer rather than reaching for a longer lens. Filling the frame with your subject at 1.2m on a 50mm gets you a very different background from framing the same person at 3m on the same lens, because you have moved the point where the sharp zone lives.
The 85mm f/1.8 at 2m example gives about 6cm of depth of field. The same lens at 1m gives about 1.4cm, which is barely a fingernail’s depth and no place for a head. The same lens at 4m gives roughly 24cm. Distance is doing more work than any setting you will find in a menu.
Full frame and APS-C: what the numbers actually say
Depth of field follows the size of the lens’s entrance pupil, which is focal length divided by f-number. Sensor size is not in that formula, which is why the claim that full frame always gives shallower depth of field at the same framing is not right.
Frame the same subject from the same 2m at f/1.8 with an 85mm on full frame and you get about 6cm of depth of field. Do the same on APS-C with a 56mm and you get roughly 9cm. That is a real difference, and it is roughly the crop factor, but it is not the dramatic edge the myth implies.
The reason people perceive full frame as far shallower is that the lens’s maximum aperture is expressed relative to a longer focal length, and because a 24-70mm f/2.8 on full frame covers a much narrower angle of view at 70mm than the 16-55mm on APS-C does at 55mm. Wide open, at close focus, the gap grows.
Photography forum threads on this topic split into two camps, and the consensus is closer to the first: depth of field depends on pupil diameter and framing distance, so a full-frame body does not hand you shallow depth of field for free. Check the depth-of-field preview scale in your camera, which already accounts for your sensor’s circle of confusion, rather than trusting the badge.
Where Should You Focus in a Portrait?
For a single subject facing camera, the near eye. Tilt the shot so the far eye sits partly hidden, and the far eye is usually inside the sharp zone anyway.
For a profile, focus on the near eye rather than the midpoint of the face. The nose sits closer to the camera than the cheek, so a nose-focused frame often leaves the eye soft.
For groups, focus on the face of whoever is nearest the centre of the group, then verify the far edge before you commit. If you cannot get everyone sharp, arc the group so their distances from the camera are as equal as possible, which is the same fix as the wide-angle curve problem from earlier.
For environmental portraits, focus where the eye goes first, usually the face, and accept that some of the surroundings are not sharp. That is not a failure of depth of field control, it is the point of the genre.
Modern eye detection handles single subjects well and struggles with people looking away from each other. Manual focus is unbeatable when you know your working distance, and I set focus once, walk to the same mark, and shoot all day without touching the ring.
Aim for the minimum depth of field you need to cover the part of the person that matters, not the thinnest you can achieve. Thin for its own sake just gives you a higher miss rate. That balance is the part of depth of field explained for portrait photographers that most beginners skip.
Common Depth of Field Mistakes and How to Fix Them
The background will not blur
Usually you are too far away. Put the subject five or six metres in front of what is behind them, move closer yourself, and open up one or two stops. If you cannot add distance, a longer lens gets you there optically.
Sharp eyes, soft nose and ears
This is the classic beginner frame, usually at f/1.4 or f/1.8 on a fast prime. The depth of field simply did not cover a head. Stop down one stop to f/2.8 and shoot a test frame, then two stops to f/4 if the subject moves at all.
Eyes missed between frames
The subject moved and the focus stayed behind. This is a focus placement problem, not a depth of field one, unless it only happens on frames where the subject leaned toward the lens. A tighter focus area helps, and eye AF helps more.
Focus changes between frames of the same pose
Auto focus is hunting in low contrast, usually against a plain bright wall or in dim light. Switch to single autofocus, add a focus point on the face, or go manual. A back-button focus that you hold between frames avoids the hunting entirely.
Everything sharp and the subject lost in the picture
You stopped down to avoid risk and overshot. Bring the background closer behind the subject so it sits outside the zone regardless of aperture, then you can open back up and keep the safety.
Portrait Photography Depth of Field Examples
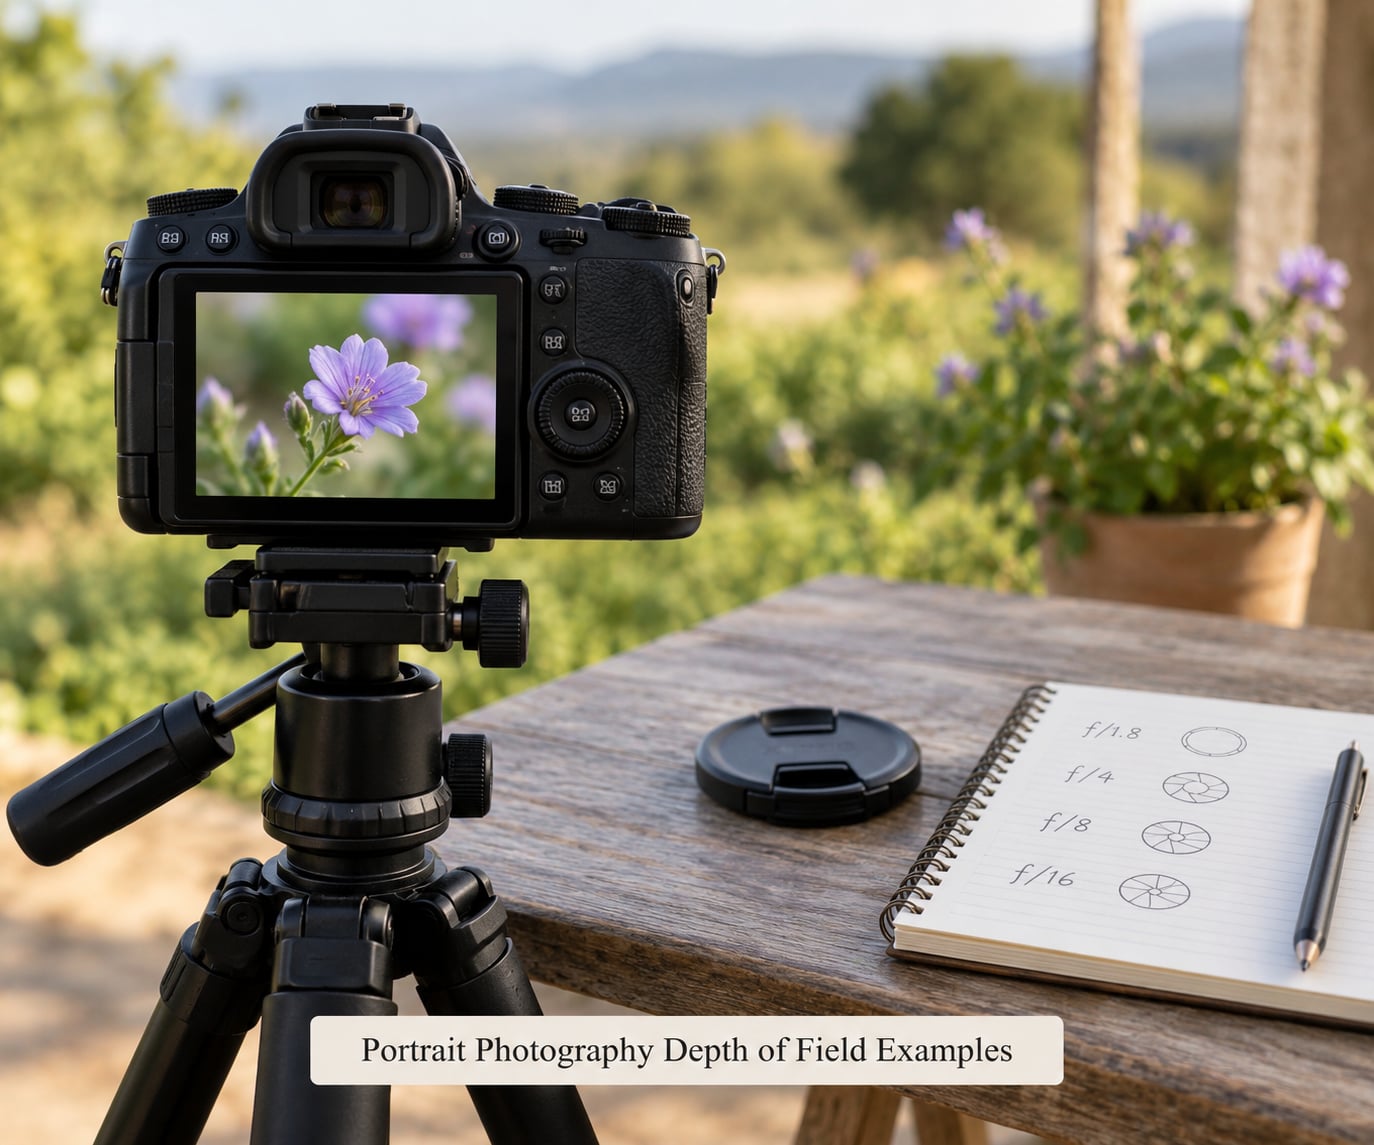
Three situations cover most portrait sessions. Each one starts from a different constraint, so the numbers differ even when the look you want is similar.
Close environmental portrait
A subject sitting on a chair in a small room, no light to spare, wanting the room to read. Start at 35mm, f/2.8, ISO 1600, 1/125s, focus on the near eye at about 1.2m. That gives roughly 19cm of depth of field. Before changing anything, look at the back of the frame: if the door frame behind is bright and busy, the aperture is not your problem, the background placement is.
Traditional headshot
A single person against a plain sweep, wanting maximum separation and sharp ears. Start at 85mm, f/2.8, ISO 400, 1/200s, focus on the near eye at 2m. That yields about 9cm, which covers a head from brow to chin and the curve of an ear. If your subject is child or elderly, go straight to f/4.
Small group portrait
Four adults standing in a shallow arc outdoors. Start at 50mm, f/5.6, ISO 200, 1/250s, focus at 3m on the nearest face. That covers roughly 1.2m of sharp zone, enough for people staggered by up to a metre. Arc them so the difference is under half that, and f/5.6 leaves you room for a small movement without losing anyone.
In all three cases, shoot one frame, magnify it at 100% on the camera screen, and check the extremes of the subject before touching a setting. Depth of field numbers are estimates based on an assumed circle of confusion. Your eye on the back of the camera is the measurement that counts.
How to Test Depth of Field Before a Portrait Session
Run this routine before the subject arrives and you will not spend the session guessing.
- Pick the lens for the distance, not the look. Decide where the subject will stand, then choose the focal length that frames them from there. In a small room that often means 35mm or 50mm outdoors.
- Look up your working distance. A depth-of-field calculator takes focal length, f-number and subject distance and gives near and far limits in metres or centimetres. Do this for the actual f-number you will shoot, at the actual distance.
- Measure the room. Find out how far the background is from the subject’s head. If it is two metres, nothing you do with the aperture will keep it out of the picture when the sharp zone is six centimetres deep. Move the subject or the background.
- Shoot a test frame at the real settings. Include the near and far edges of what you need sharp, then magnify and check.
- Use the tools you already own. The depth-of-field preview button or scale on your camera, live view magnification, and focus peaking all answer this without a phone. On many bodies you can switch the viewfinder display to show the depth-of-field indicator.
One caveat on the numbers: they assume a perfectly corrected lens and a standard circle of confusion. A cheap fast prime wide open may be soft at the edges of its zone well before the calculated limit. A test frame tells you that in one second, which no calculator does.
And remember the light you will actually have. If the plan needs f/5.6 at 1/125s in a room lit by one window, solve the light first, then the depth of field usually sorts itself out.
Frequently Asked Questions
What is the best depth of field for portrait photography?
For a single subject, aim for enough depth of field to cover the eyes, nose and ears, and no more. On an 85mm at 2m, f/2.8 gives roughly 9cm and f/4 about 13cm on full frame, which is the range most portrait photographers work in. Groups need around a metre, so expect f/5.6 or narrower.
What f-stop should I use for portraits?
Start at f/2.8 for a still single subject, f/4 if they talk or move, and f/5.6 to f/8 for groups and environmental portraits. Most lenses are sharpest a stop or two past their widest aperture, so f/2.8 on an f/1.8 lens is often the sharpest picture you will take. Go narrower than f/11 and diffraction costs you more than the extra depth returns.
Does full frame give more depth of field than APS-C?
Not in the way the myth suggests. Depth of field follows the size of the lens entrance pupil, which is focal length divided by f-number, and the sensor is not part of that. Framing the same subject at 2m and f/1.8 gives about 6cm on full frame with an 85mm and roughly 9cm on APS-C with a 56mm. That gap is real, but far smaller than most people expect.
Is f/2.8 or f/4 better for portraits?
f/2.8 gives you more background separation and a better shot of someone holding still. f/4 gives you roughly 13cm of depth of field on an 85mm at 2m instead of about 9cm, which means a head turn or a hand gesture stays sharp. If your subject is animated, f/4 wins. If they hold a pose, shoot f/2.8 and you will not notice the difference.
Why are my subject’s ears out of focus in my portraits?
Because the sharp zone did not cover the head. At f/1.4 or f/1.8 on a fast prime, an 85mm focused at 2m gives only about 6cm of depth of field, and a head is wider than that from ear to ear. Stop down one stop to f/2.8 for roughly 9cm, or two to f/4 for about 13cm, and check a magnified test frame before shooting the session.
Conclusion
Start by naming the sharp zone. If it is one person, that zone runs from the near eye to the back of the head; if it is a group, it runs across every face and nothing else.
Then choose the narrowest aperture that still covers it, and use distance before you use glass. Move closer, or move the background further away, rather than reaching for a longer lens.
Shoot one frame, magnify it, and check the edges of your subject. That single habit is where depth of field explained for portrait photographers stops being theory and starts being something you can see.