If you want to know how to photograph a maternity session outdoors, the short version is this: scout the location at the same hour you plan to shoot, work in the hour before sunset, and change one thing on every frame so the gallery never looks repetitive. A location-based session runs about 45 to 60 minutes once you start, and the setup on site takes ten minutes when you have been there before.
Outdoor maternity work is harder than studio work in one specific way. You cannot move the sun, the wind, or the ground under her feet. What you can do is decide in advance where the light will fall, what the client will wear, and which four or five setups you want to hit before the light goes.
I have shot these in fields, riverbanks, backyards, and a beach that turned into a mud pit after rain. The sessions that go well are the boring ones on paper. Same plan, followed.
What You Need
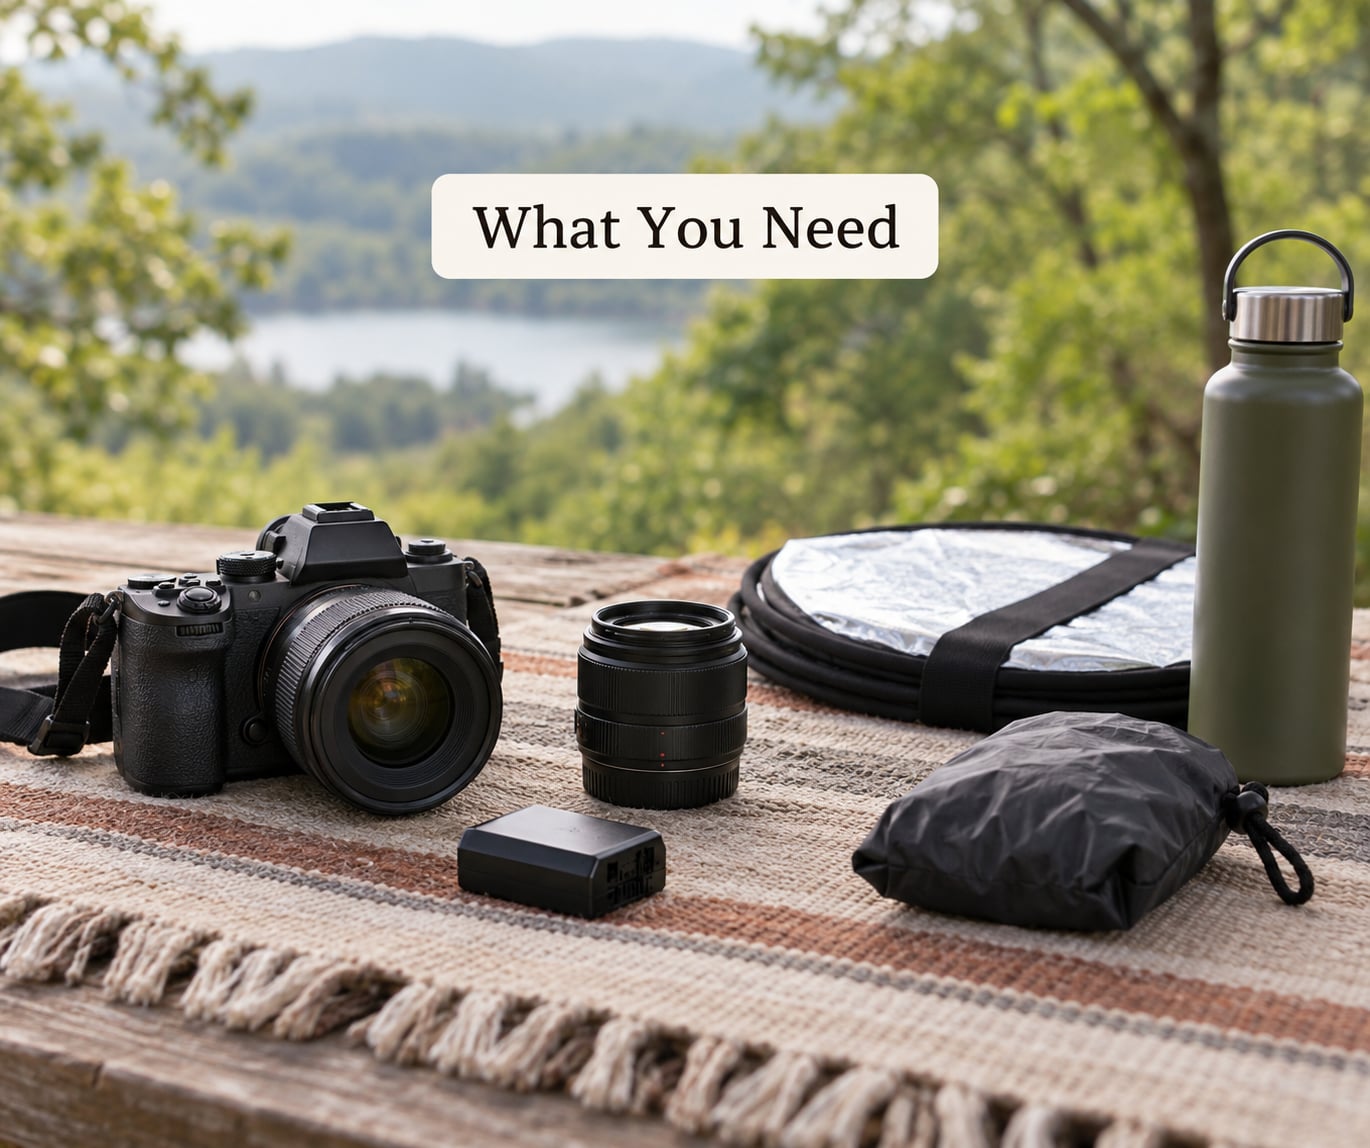
You need less than most people buy before their first one. Group it by job rather than by brand.
Camera and lenses
Any camera with reliable autofocus will do the job. The lens matters more than the body here, and you really only need one zoom or one prime to get a full session.
- 35mm or 50mm for full-body frames with the landscape still readable behind her. This is the workhorse range for field and riverbank sessions.
- 85mm for compression and soft backgrounds when you want the bump to be the whole story and the client prefers to stay put.
- 24 to 70mm if you want to work without moving her position, which matters more than photographers expect.
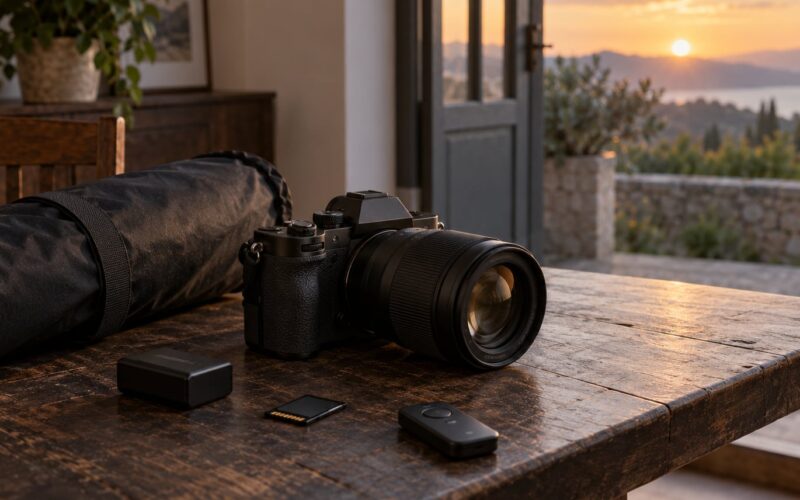
Bring a second body or at least a spare battery and a formatted card. Cold weather outdoors drains batteries faster than you would expect.
Light shaping and weather protection
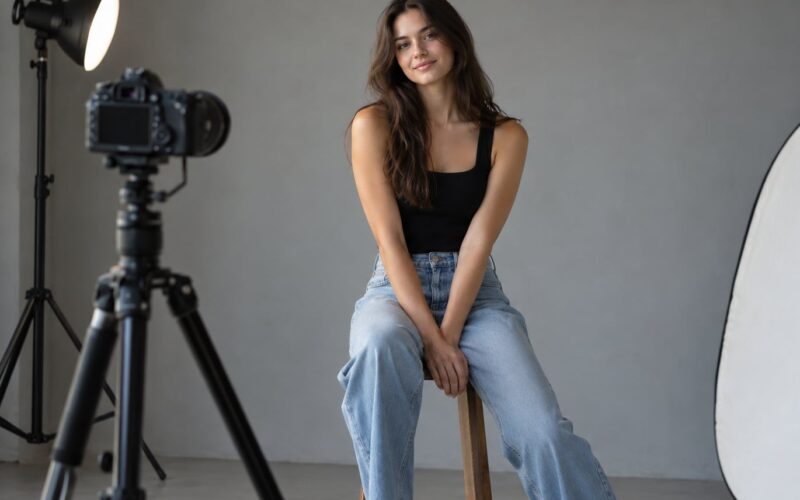
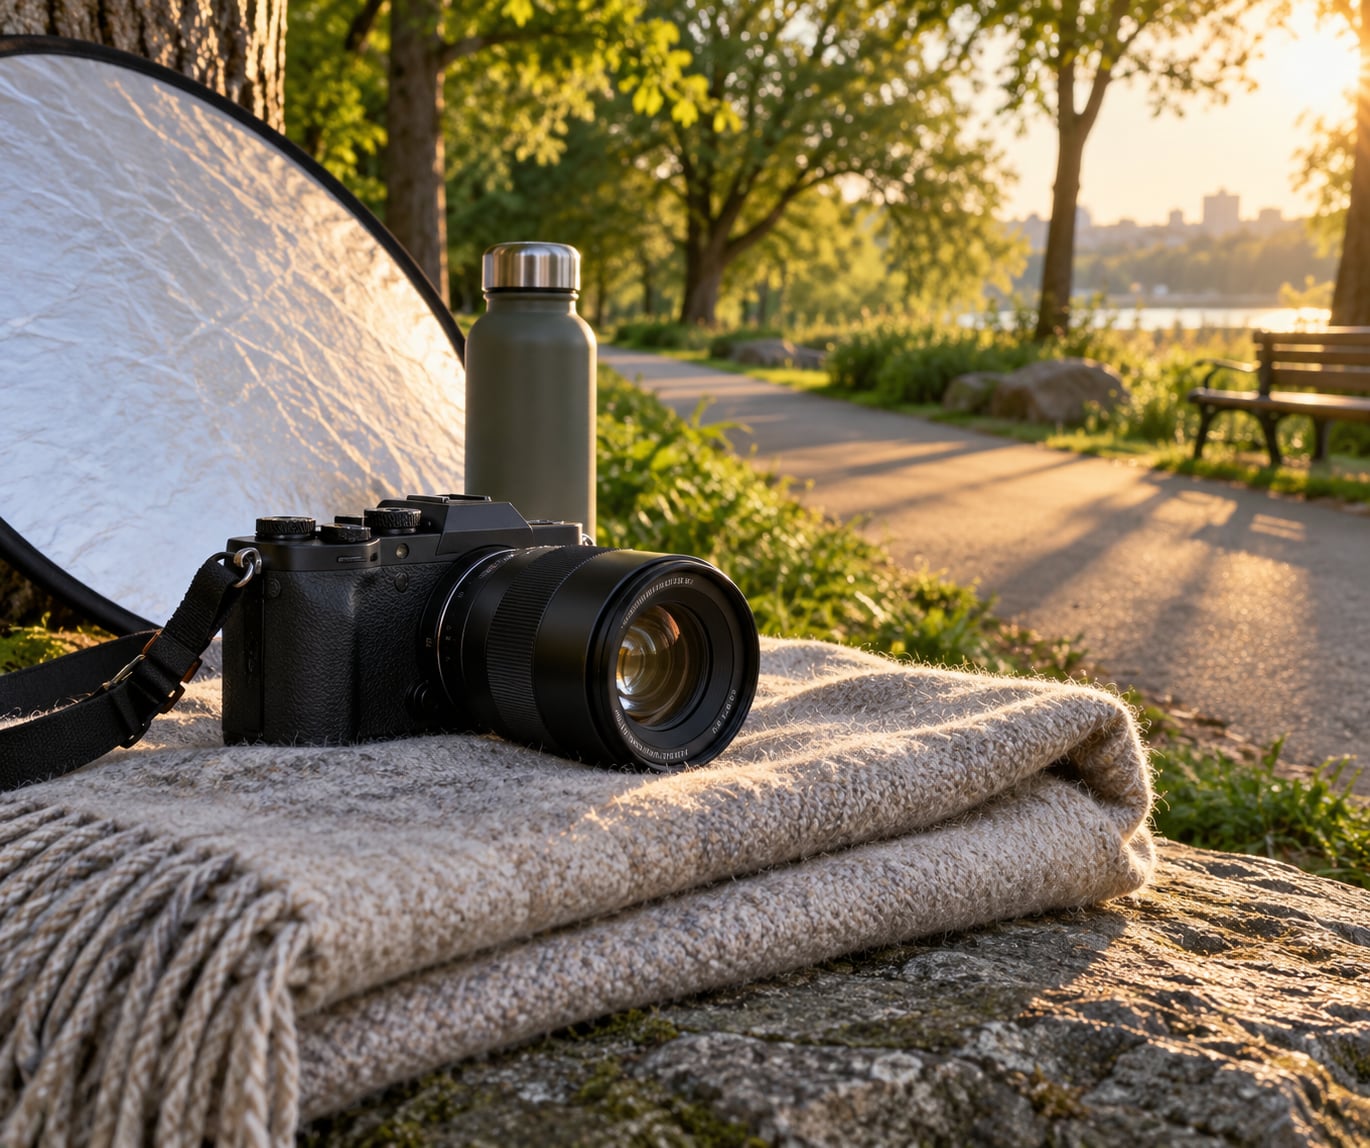
- A five-in-one reflector. White side for gentle fill, silver side when you need to push light back into shadow.
- A soft, light-coloured scarf or sheet that clips to a bag for overcast days and as a wind break.
- A rain cover for the body, plus a lens cloth you actually keep in a pocket.
Timing and planning tools
A sun-tracking app that shows the sun position and shadow direction for your exact date and location. A weather app with hourly rain, wind, and temperature. A small headlamp if you plan to shoot near sunset more than once a season.
Posing and comfort support
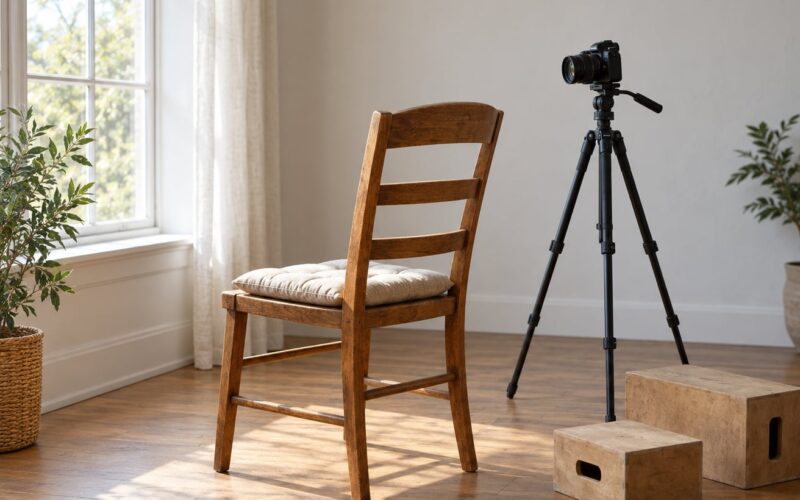
- A folding chair or small stool, so sitting poses do not depend on a log or a low wall.
- A neutral-tone blanket or thick towel for grass, sand, and wet ground.
- A hair tie, a small claw clip, and a fine comb. Wind is not optional.
- A low step stool. It gives her a place to rest one foot, which quietly improves every standing pose.
- A collapsible changing tent, or at minimum a long robe or cardigan for the walk from the car.
- Water, a snack, and a warm layer for the shoulders in late-season sessions.
If the budget is tight, borrow before you buy. A reflector, a stool, and a blanket cover most of what a first-year photographer gets wrong, and none of it is where the images are won.
How to Photograph a Maternity Session Outdoors: Step-by-Step
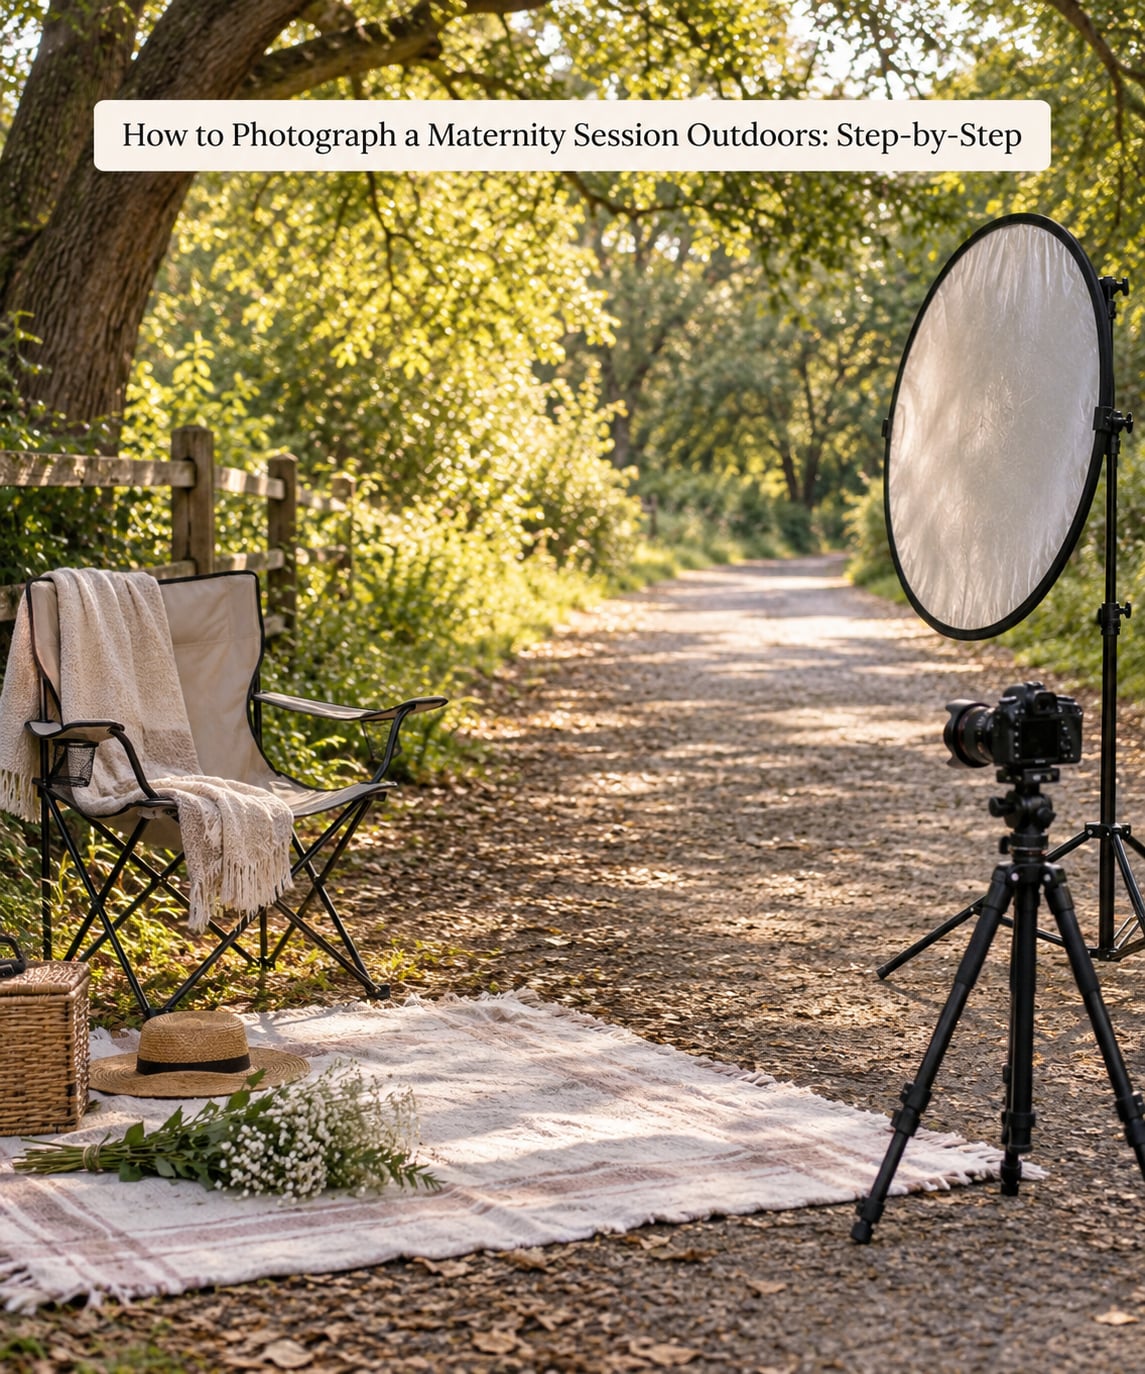
Choose the location and timing
Scout in person, at the same time of day as the session, in the same season. A location that looks like a dream at 7pm in June can be a wall of backlight in November at 3pm, and you cannot fix that on the day.
Note three things while you stand there: where the sun sits in relation to your shooting position, where the shade sits two hours later, and how far she has to walk. That last one is the detail clients feel most and photographers think about least.
- Terrain: a flat path, no roots, no steps, no mud after rain. Test it in the shoes she is actually wearing.
- Access: parking close to the shooting spot, or within a very short walk. Thirty minutes of walking at 33 weeks is a bad start to a session.
- Permits and restrictions: many parks and some beaches require a permit for a paid shoot, and a few restrict tripods or commercial work.
- Backup: one alternate spot within a few minutes’ drive, and a date you are both willing to move to if the weather turns.
For timing, the hour before sunset is the reliable window, with the two hours after sunrise as a good second choice. Midday is workable in open shade and miserable in the open, both for the look of the frame and for how the client feels standing still in it.
Prepare the client and establish a comfortable pace
The conversation before the session does more for the gallery than any lens choice. Ask what she wants to see when she looks at the pictures, and ask what she does not want at all. The answer is usually specific: not the full-body side profile, not a shot where her partner is looking stiffly at the camera.
Frame the session as a walk with pictures in it rather than a shoot with poses to complete. Clients who described their session as casual and movement-led are the ones who relaxed on the day, and relaxation shows in the face.
- Walk for five minutes before the first real frame. It warms her up and lets you watch how she moves.
- Change the position or the light every ten minutes. Standing still on uneven ground is harder than it looks at 32 weeks.
- Offer water, a break on the chair, and time to sit on the blanket barefoot between setups.
- Build in a movement option. Walking shots, turning, lifting the hem of the dress, and a slow exhale give you variety without asking her to hold anything.
If she is cold, tired, or not feeling it, change the plan rather than pushing the shot. You will get the frame another day; a rushed client rarely gives you a usable expression.
Create flattering natural light
Open shade is the most forgiving light in outdoor portraiture. The edge of a building shadow, the north side of a hedge, or a stand of trees about fifteen minutes after the sun clears them will give you soft, even skin tones all afternoon.
Backlight gives you the glow around hair and shoulders that makes outdoor maternity images feel distinct from studio work. Shoot into it, expose for the skin rather than the sky, and put a reflector low and slightly camera-left to lift the face back to a normal exposure.
Reflected light does the quiet work. A pale wall, a gravel path, sand, or a calm stretch of water bounces enough light back onto the shadow side of a face to remove the need for flash in most situations.
Watch out for dappled light. A tree edge can put hard patches across a bump and a face in the same frame, and no amount of editing makes that look intentional.
Direct poses that support the pregnancy
Good maternity direction is about support, not shape. The bump holds itself; your job is the hands, the shoulders, the weight, and the expression.
- Standing: weight on one leg, the back leg relaxed and slightly behind, one hand under the bump and one at her side or on her hair. Turn her body 30 to 45 degrees away from the camera and ask for the chin forward and down.
- Seated: chair first, blanket second, feet flat or crossed at the ankle, hands either cradling the bump or resting on a knee. Sitting poses read as calm and handle heavy legs well.
- Walking: ask her to take slow steps toward you while holding the dress hem a little clear of the ground. Shoot from the side and slightly ahead, and let the fabric do the work.
- Partner included: put his hands on the bump, then give him a job rather than a pose. Ask him to pull her close from behind or to look at her, not at you. Partners who dislike being photographed relax once they are doing something.
- Children: let them explore within a set radius and shoot the frames that happen. Staged sibling poses produce the stiffest images in the whole genre.
Vary the frame by changing one thing at a time: the background, the camera height, the direction of the light, the hands, or whether she is moving. That is how forty frames become a gallery instead of one pose forty times.
Set the camera for reliable outdoor results
Start every condition here and adjust from the histogram: aperture between f/2.8 and f/4, shutter at 1/500s or faster for anything that moves, auto ISO with a sensible upper limit around 3200, single-point or eye autofocus, and burst mode on.
Set exposure compensation to minus one third to minus two thirds stops in open shade. Cameras metered for the bright background will lift the skin to a washed-out grey, and the fix is in the exposure, not the edit.
Use back-button focus with a single point if your camera has it, and half-press to confirm focus before the pose settles. White balance on daylight or shade rather than auto keeps frames from drifting in the warm light near sunset.
| Light condition | Flash | Starting approach | Result |
|---|---|---|---|
| Open shade | No | f/2.8, 1/500s, ISO auto, minus 1/3 EV | Even skin tones, minimal retouching |
| Overcast | No | f/2, 1/500s, ISO 400-800, reflector for shape | Soft and moody, sky holds detail |
| Golden hour, sun behind | No | f/2.8, 1/640s, expose for skin, reflector low | Halo on hair, warm edges |
| Harsh midday sun | Only in shade | Move to shade, or f/5.6, 1/1000s, ISO 100 | Hard shadow lines otherwise |
| Backyard or building shade | Off-camera flash | Ambient exposure minus 1/3, flash through a 5-in-1 | Fills shade without flattening daylight |
If the client is under a building or deep tree shade and you have no flash, ask her to step to the edge of it. Two steps sideways is usually the difference between a grey frame and a usable one.
Review the session and protect the final images
Before you pack up, review the key frames on the back of the camera. Check focus on the eyes, skin tone consistency, the edges of the frame for a branch or a fence post, and whether you have enough variety in the sequence.
Cull for coverage: at least one wide frame that shows the place, one full body, one tight portrait, one seated, and one with movement. If a category is missing, that is a ten-minute pickup while the light is still good.
Copy files to two separate drives before you format anything, and before you hand off a gallery. Then edit with the mixed light in mind: pull shadows back up without letting skin go grey, tame any green reflection from foliage, and only replace a blown sky when the subject’s exposure is already correct.
Common Mistakes
Scouting at the wrong time of day. The most common one, and the easiest to fix. Scout at the hour you will shoot, in the same season, and write down where the shade and the backlight fall.
Shooting in harsh midday sun. Hard shadow lines across the bump and the face are not a look, they are a flaw. Fix: move the session to the edge of open shade, or push the shoot to an hour before sunset.
Forty versions of one pose. Standing still, hands on the bump, body turned slightly. Fix: change one variable per setup, and use the last fifteen minutes for walking and fabric movement.
Rushing the timing. Arriving at golden hour, posing in the first five minutes, and shooting the same light for the whole session. Fix: use the first twenty minutes for the widest, most static frames, then spend the final twenty on the best light.
Letting autofocus hunt. In a scene of grass and leaves, contrast detection will hunt constantly. Fix: a single focus point placed on the face, back-button focus, and a short burst once the pose settles.
Ignoring the ground. Mud, dew, sand, and uneven grass on a long dress ruin the frame and the mood. Fix: a blanket for sitting poses, a low step for standing, and flat shoes in the bag for the walk in.
Under-planning the client’s comfort. A cold, uncomfortable client gives you a closed posture in every frame. Fix: water, breaks every ten minutes, a warm layer, and permission to cut the list short.
Frequently Asked Questions
What time of day is best for an outdoor maternity session?
The hour before sunset is the most reliable window. Knowing how to photograph a maternity session outdoors starts with where the sun sits: low, warm, directional light, with enough brightness for a fast shutter without pushing ISO high. Two hours after sunrise is a good second choice, especially for cooler months. Midday is workable in open shade and unforgiving in the open, and it is usually too hot for a client standing still.
How do you pose a pregnant client outdoors safely?
Keep her supported and let her move. Standing poses put the weight on one leg with the other slightly behind, and seated poses on a chair or blanket take the load off entirely. Offer frequent breaks, flat or bare feet on soft ground, and short walking distances between setups. Avoid long holds, deep twists, and uneven terrain, and let the bump carry the shape while the hands, shoulders, and expression do the posing.
What should I wear for an outdoor maternity photography session?
One fitted look for the bump and one flowing look for movement, in neutral or earth tones that separate from the background. Skip thin stripes, large logos, and busy patterns, and check that undergarments do not show through a lighter dress. Bring bare feet or low shoes, a hair tie, and a long cardigan or robe for the walk from the car. Plan a second outfit and know where you will change it.
Can you photograph a maternity session in the rain or cold?
Yes, and light rain can give you some of the best frames of the year, because the light turns flat and even. Overcast conditions suit a wide aperture and low ISO, and a reflector keeps faces from going grey. In cold weather, keep the session to 30 minutes, bring a warm layer for her shoulders, and use a hot drink and a chair as your pacing tools. Have a covered backup location or a reschedule date agreed in advance.
What camera settings work best for outdoor maternity portraits?
Start at f/2.8 to f/4, 1/500s or faster, auto ISO capped around 3200, single-point autofocus, and burst mode. In open shade, add minus one third to minus two thirds stops of exposure compensation so the background does not wash out her skin. Shooting into a low sun, expose for the face and use a reflector to lift the shadow side. Every condition you meet is a variation on keeping the shutter fast and the skin bright.
Conclusion
Start with four things tomorrow: walk the location at the same hour you intend to shoot, check the hourly forecast and set a reschedule date with the client, decide where the shade and the backlight will fall, and write a short list of setups you can repeat.
Then build the session from the simplest natural-light portrait outward, using the same discipline every time you photograph a maternity session outdoors. Get one clean open-shade frame she likes, add a seated pose on the chair, add a walking frame for the fabric, and only then push into backlight and harder light. Vary one thing at a time, check in every ten minutes, and the gallery takes care of itself.
That workflow still holds for 2026 sessions. The only part that changes each year is the sun’s position, so check it rather than trusting your memory from last summer.