How to calibrate autofocus on your camera comes down to a simple loop: shoot a flat, high-contrast target at a series of adjustment values, review the frames at 100% magnification, then save the value where focus lands on the sharpest plane. On most bodies the whole routine takes 10 to 15 minutes per lens. The one thing to know before you start: the result belongs to that camera body paired with that lens, and to nothing else.
Plenty of people ask whether this is worth the time. For wildlife, birds, sport, macro and any fast lens shot wide open, it usually is. If you work manually with magnified live view, you can skip it entirely.
What You Need
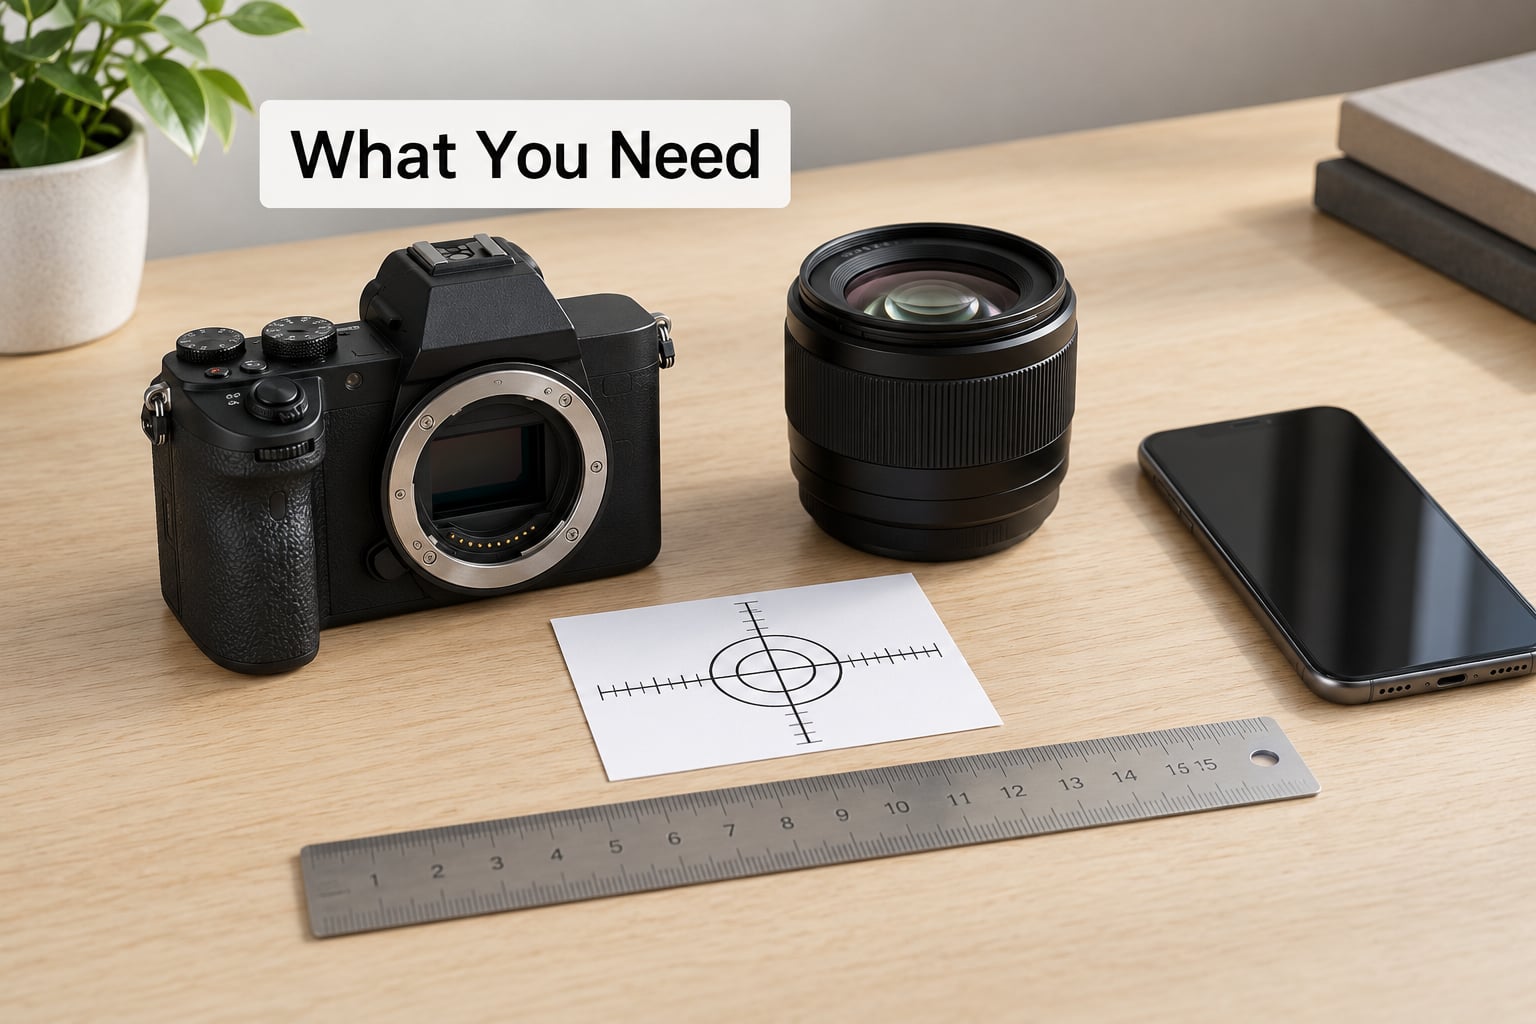
A working setup is boring, which is the point. Gather this first and the rest of the process runs without friction.
- The camera and the lens you want to fix. Calibrating in pairs, not per brand.
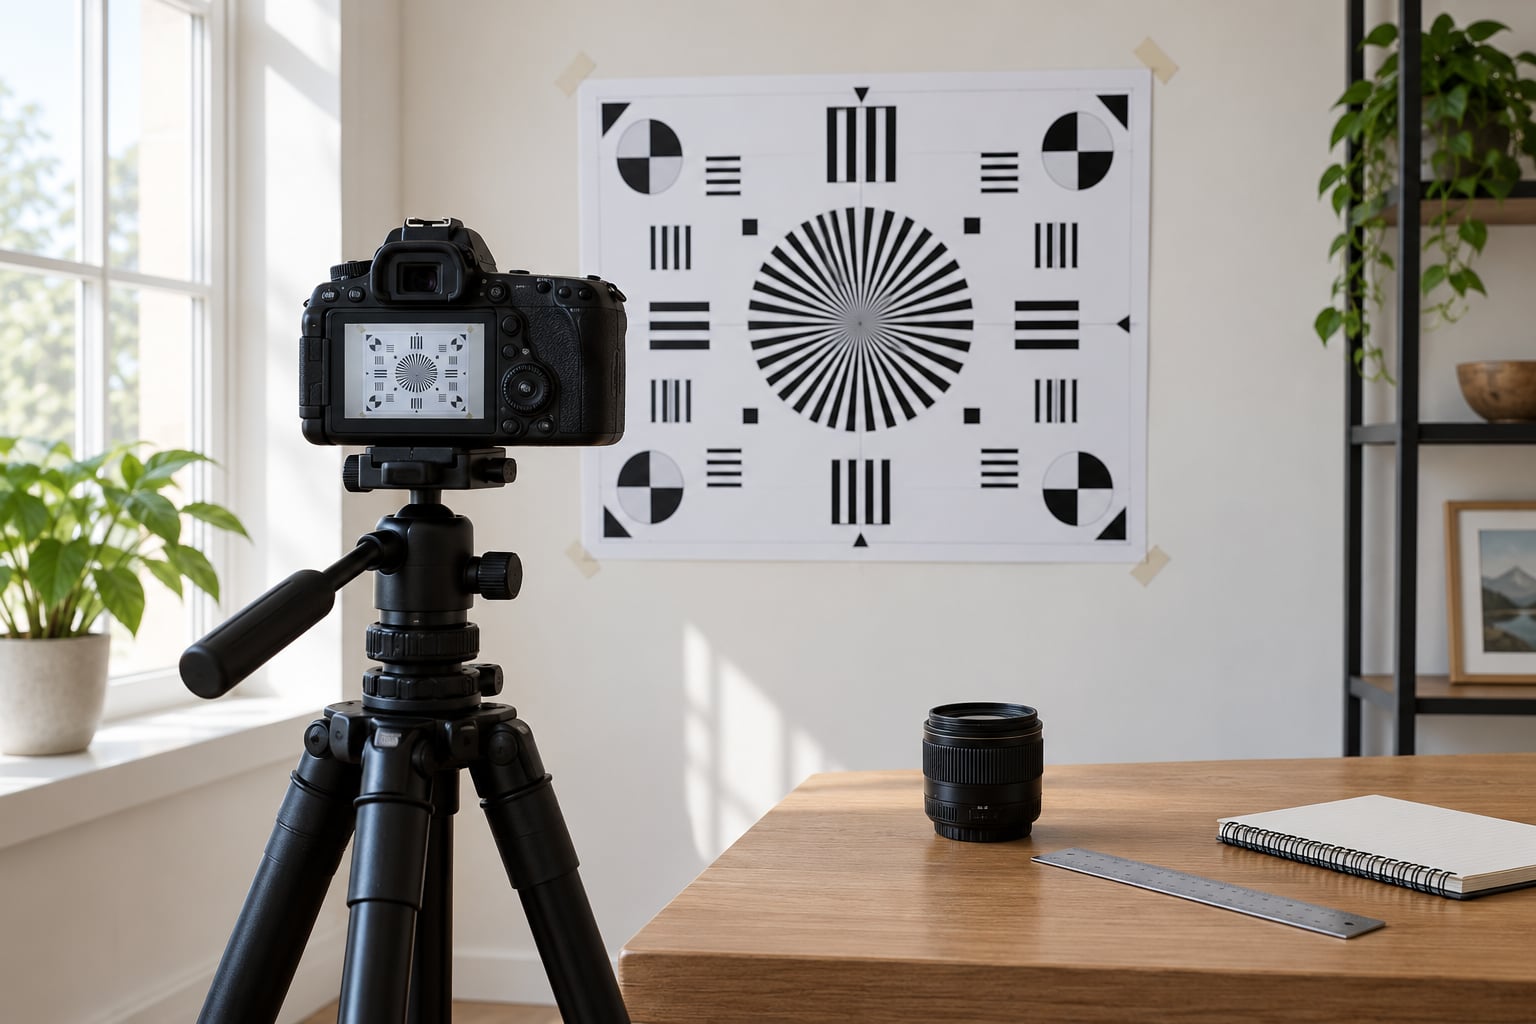
- A tripod or a solid table. Anything that holds the camera rock steady for the length of the run.
- A flat, detailed, high-contrast target. A printed resolution chart, newsprint with dense text, or a laser-printed target taped flat to a wall. Paper on a wall beats paper on the floor.
- Bright, even light. Daylight from two sides works. A short-duration flash also works because it puts out no heat and no sustained vibration.
- A two-second self-timer or a remote release. Pressing the shutter with your hand moves the camera.
- A computer with an image viewer or editing app. You need pixel-level zoom, not the fit-to-screen view.
- A tape measure or a ruler. Distance decides whether the test is valid.
Exact menu names differ by camera brand, and firmware moves things around between generations, so work from your own manual when a path below does not match what you see on screen.
Step-by-Step: How to Calibrate Autofocus on Your Camera
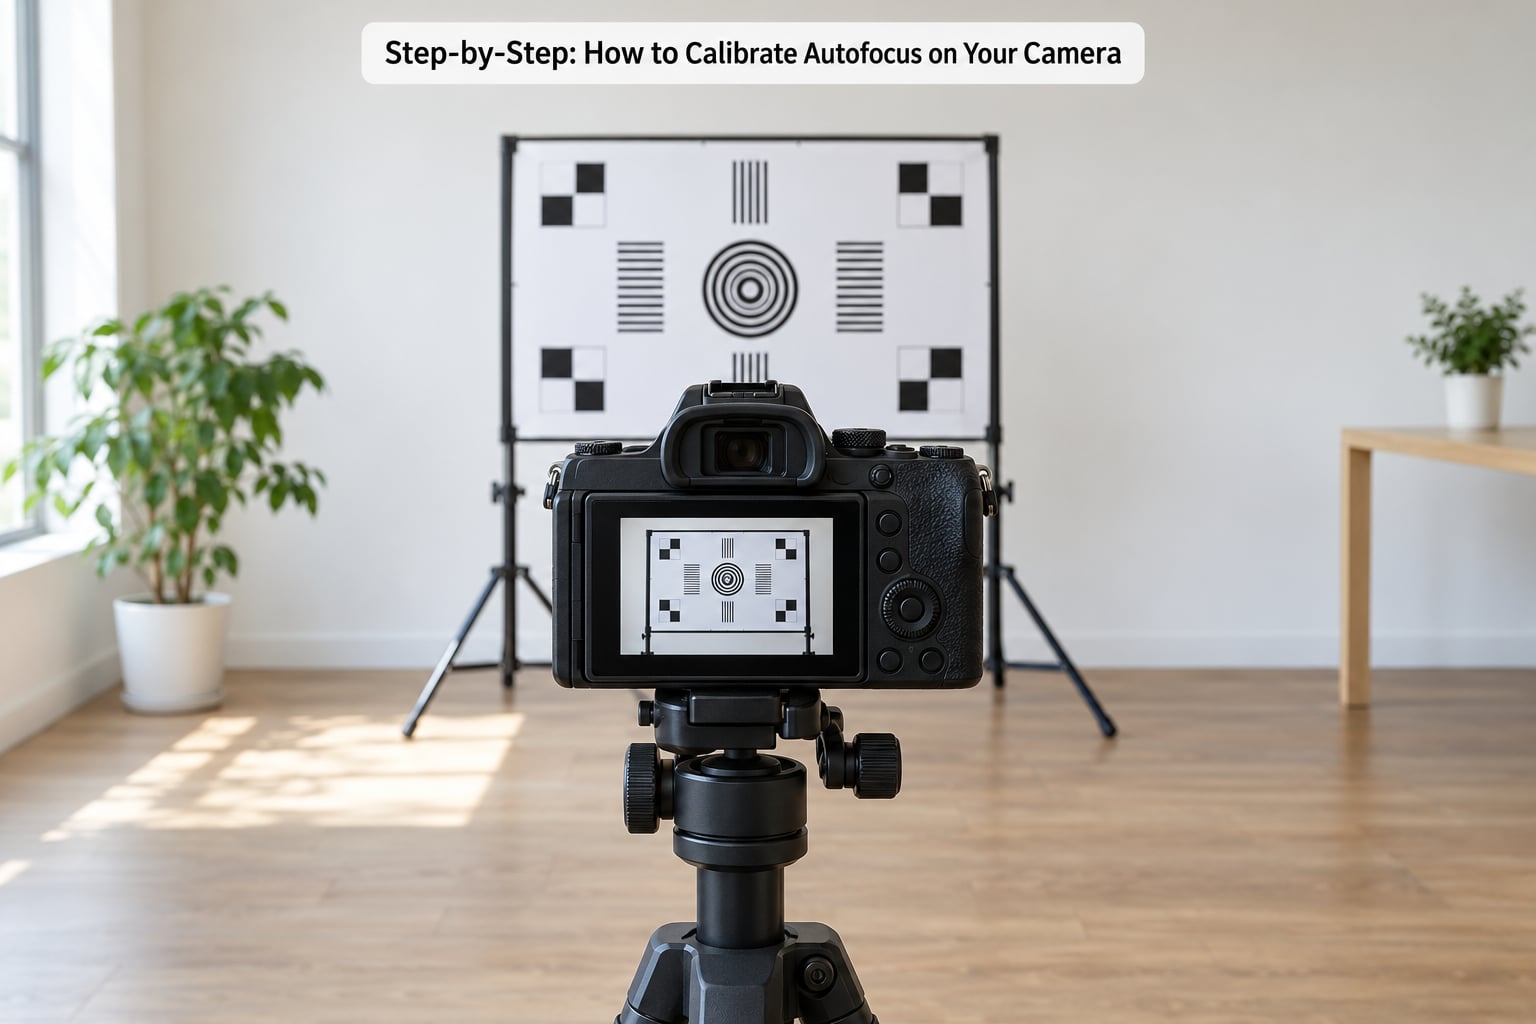
The quick version, if you want the summary only: mount the lens, set one AF mode and never touch it again, put the target 25 to 50 times the focal length away, shoot a bracket of values in steps of five with three frames each, pick the value where the sharpest pixels cluster, narrow the bracket, then shoot again to confirm.
1. Prepare the camera and lens
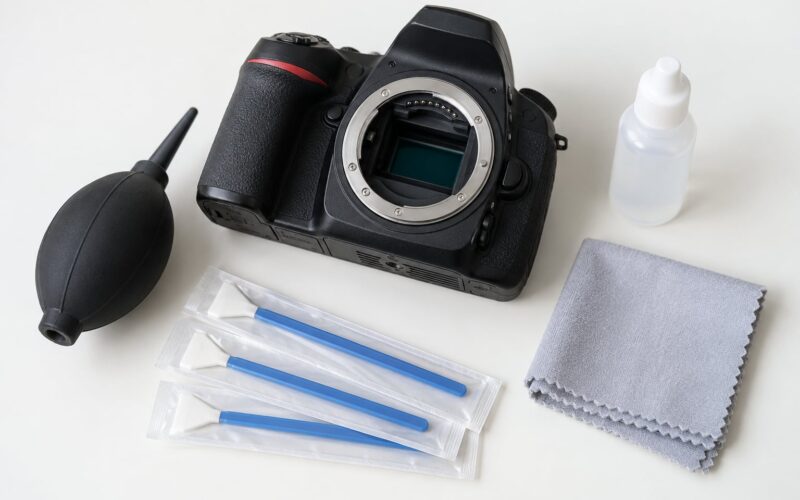
Clean the front and rear glass with a proper lens cloth and blower first, because a smudge reads as a focus problem and sends you chasing the wrong fault. Check that the lens is seated and locked, and give the mount a gentle look for bent pins or a visible gap that should not be there.
Format the card, turn off any long exposure or bulb exposure lock, and switch the camera to single-servo autofocus (One Shot on Canon, AF-S on Nikon). Continuous modes hunt and will corrupt every frame in the run.
2. Set up a controlled test
Put the target flat against a vertical surface so it cannot sag or curve toward the camera. Mount the camera on the tripod at the target’s height, and line the lens up square to it, with the optical axis hitting the centre of the chart.
Then set your distance. The usual rule is 25 to 50 times the focal length, and the 50x figure gives the best depth of field for reading a result cleanly. A 50mm lens gets you 1.25 to 2.5 metres, a 200mm gets 5 to 10 metres, a 400mm gets 10 to 20 metres.
The distance is a starting point, not a law. If you photograph hummingbirds at two metres, test at two metres. Just keep the distance identical across the whole bracket, because changing it changes what the number means.
3. Check focus behaviour and shooting settings
Start every shot deliberately out of focus. This is the single most important rule in the whole procedure: manually defocus, then let autofocus pull the focus to the target, and only then release the shutter. If the lens begins the frame already on target, the sensor has nothing to detect and the test tells you nothing.
Turn image stabilization off. Stabilizers are designed to detect movement and they will fight a locked-down camera. Shoot at the lens’s widest aperture, where a focus error is most visible, and raise ISO enough to get a fast shutter speed without the aperture changing. Use single-shot drive and the two-second timer, and keep the room still: a door closing or a bus pulling in is enough to waste a session.
4. Take magnified test shots
Shoot the bracket in steps of five across the camera’s adjustment range, taking three frames at every value. That is nine values and twenty-seven frames, and it is enough to find the broad peak.
Review everything at 100% magnification, pixel for pixel, and never higher. Zooming to 200% or more makes every file look soft and sends people into an endless search for a value that does not exist. Three frames per setting is the floor; if the three disagree sharply, something moved and the session needs repeating.
5. Apply the smallest useful adjustment
Read your result. On Canon and Nikon bodies the sign convention is consistent: a negative value corrects back focus, where the camera locks focus behind the subject, and a positive value corrects front focus, where it locks in front. Check both by looking at which side of the sharp line the detail falls.
Narrow the bracket around the best value in steps of one, shoot three frames at each, and take the dominant result rather than the single luckiest frame. Record the value in the camera’s per-lens adjustment slot if it has one.
| Brand | Setting name | Where it lives | Scope |
|---|---|---|---|
| Canon EOS | AF Microadjustment | Shooting menu, under Lens or AF, usually a few pages into the menu | Adjust by lens or same amount for all lenses |
| Nikon | AF Fine-tune | Photo Shooting menu, then AF Fine-tune, then calibrate | Per lens and focus distance, with a global fallback |
| Sony Alpha | AF Micro Adjust. | Camera Settings, AF section | One stored value, adjustable in finer steps |
| Pentax K | AF Fine Tune | AF menu on the camera body, or through the external USB cable on older models | Per body and lens |
Fujifilm, Panasonic and OM System bodies place this feature under different names or on different models, and newer mirrorless bodies often leave it out entirely. Check the AF section of your shooting menu first, then the manual for your exact model.
6. Verify the result in real conditions
Run the same bracket once more at the new value and confirm the peak is where you expect it. Then shoot three frames at your normal working distance and at both ends of the zoom, because a zoom needs separate treatment at the wide and the tele end.
If a teleconverter is involved, treat it as its own pairing and calibrate again. A consistent fine tune is what makes sharpness repeatable after a firmware update on some bodies, so expect to recheck once a year or after any update.
Common Mistakes
- Testing in dim light. The sensor hunts for a signal and lands somewhere near the right place rather than on it. Bright and even beats dramatic.
- Calling shutter blur a focus error. A handheld frame that smears diagonally is shake. Back on the tripod.
- A soft or printed-on-wrinkled target. The chart is the measuring instrument. Flat and high-contrast or the numbers are meaningless.
- Changing several things at once. Move one variable per run. Distance, then aperture, then stabilization, one at a time.
- Compensating for a loose mount. If the lens rocks, has play, or the mount has a visible gap, the AF sensor is not seeing the lens properly and no adjustment value will hold. Get the mount sorted first.
When Calibration Is Not the Problem
Plenty of “everything is soft” complaints are technique, not tolerance. Manual focus with magnified live view is more precise than phase-detect AF for anything that holds still, and plenty of working photographers use AF for moving subjects and manual for everything else, which makes calibration optional for them.
On-sensor AF in modern mirrorless cameras evaluates the image itself, so there is no separate sensor alignment to correct. That is the reason many newer bodies have no adjustment menu at all, and it is a design answer rather than a missing feature.
Check the other usual suspects before you start adjusting anything: glass on both ends of the lens, a cheap filter or a broken lens on the body, a third-party adapter that changes focus behaviour, or a lens that is simply a soft copy. With a stopped-down lens at f/8 the whole depth of field may swallow the error anyway.
Recording Your AF Settings
Write the result down the day you get it. Values drift, firmware resets menus, lenses get sold, and a note in your phone is what makes the next session a five-minute job instead of a fresh afternoon.
| Column | What to write |
|---|---|
| Body and lens | Exact model names, including the lens serial if you own a copy that tests differently |
| Focus distance | The measured distance you tested at |
| Mode and settings | AF mode, aperture, stabilization state, timer or remote |
| Bracket and result | The values you shot, the peak, and the final stored number |
| Context | Zoom position or teleconverter, plus the date and any firmware version |
Frequently Asked Questions
When does a camera actually need autofocus calibration?
Calibration is worth doing when you shoot fast or long lenses wide open and the camera consistently lands slightly in front of or behind the sharp plane, most visibly in wildlife, bird, sports, macro and low-light work. It is not worth doing when you focus manually with magnified live view, work at stopped-down apertures, or own a body whose autofocus works on the image sensor. Test one lens first before committing to a whole bag.
What focus target should I use if I do not want to buy one?
Print a resolution chart, or use dense newsprint with small text and fine lines, and tape it flat to a vertical wall. It must be matte, wrinkle-free and high contrast, because it is the measuring instrument for the whole test. Avoid glossy paper and anything curved, since curvature shifts apparent focus across the frame.
Do I need to calibrate every lens separately?
Yes, treat every body and lens as its own pairing. A value that works beautifully on one body will not transfer to another, and two copies of the same lens model can differ. Zoom lenses need separate values at the wide and the tele end, and a teleconverter needs its own values again. Keep a written log so you never repeat work you have already done.
What does a consistent front-focus or back-focus result mean?
Front focus means the camera locks in front of the subject and a positive value corrects it. Back focus means it locks behind the subject and a negative value corrects it, which is the more common result reported with Canon and Nikon combinations. A consistent error of a few steps is normal manufacturing tolerance. An error that swings wildly from shot to shot points at technique or a mechanical fault instead.
Does autofocus calibration matter on mirrorless and live view?
Less often, and sometimes not at all. Mirrorless autofocus that operates on the image sensor does not rely on a separate alignment sensor, so the tolerance mismatch that older DSLRs had largely disappears. If your mirrorless body offers an AF adjustment, treat it the same way, but test first, because many owners find nothing worth correcting on a newer body.
What to Do First
Pick one lens you shoot wide open, print a target, tape it to a wall and run a single bracket from zero. Twenty minutes will tell you whether your camera has a real, consistent focus error worth correcting.
If it does, save the value, write it down and only then repeat the routine for the rest of the bag. That way, how to calibrate autofocus on your camera stays a fifteen-minute job per lens instead of a weekend project.