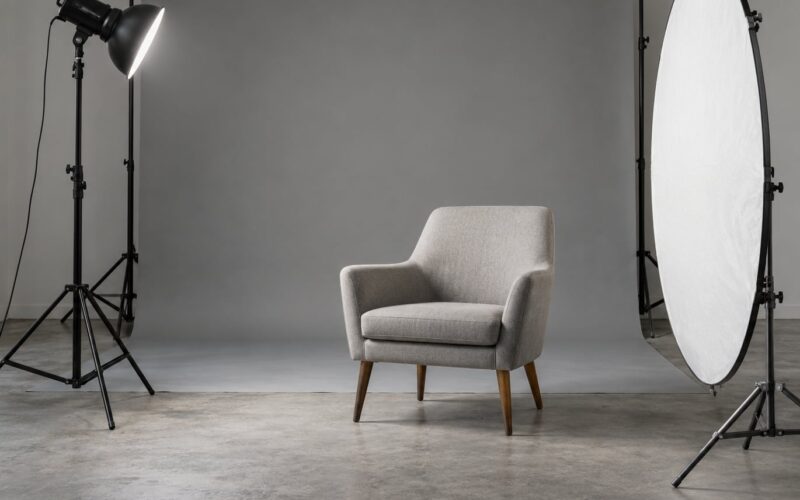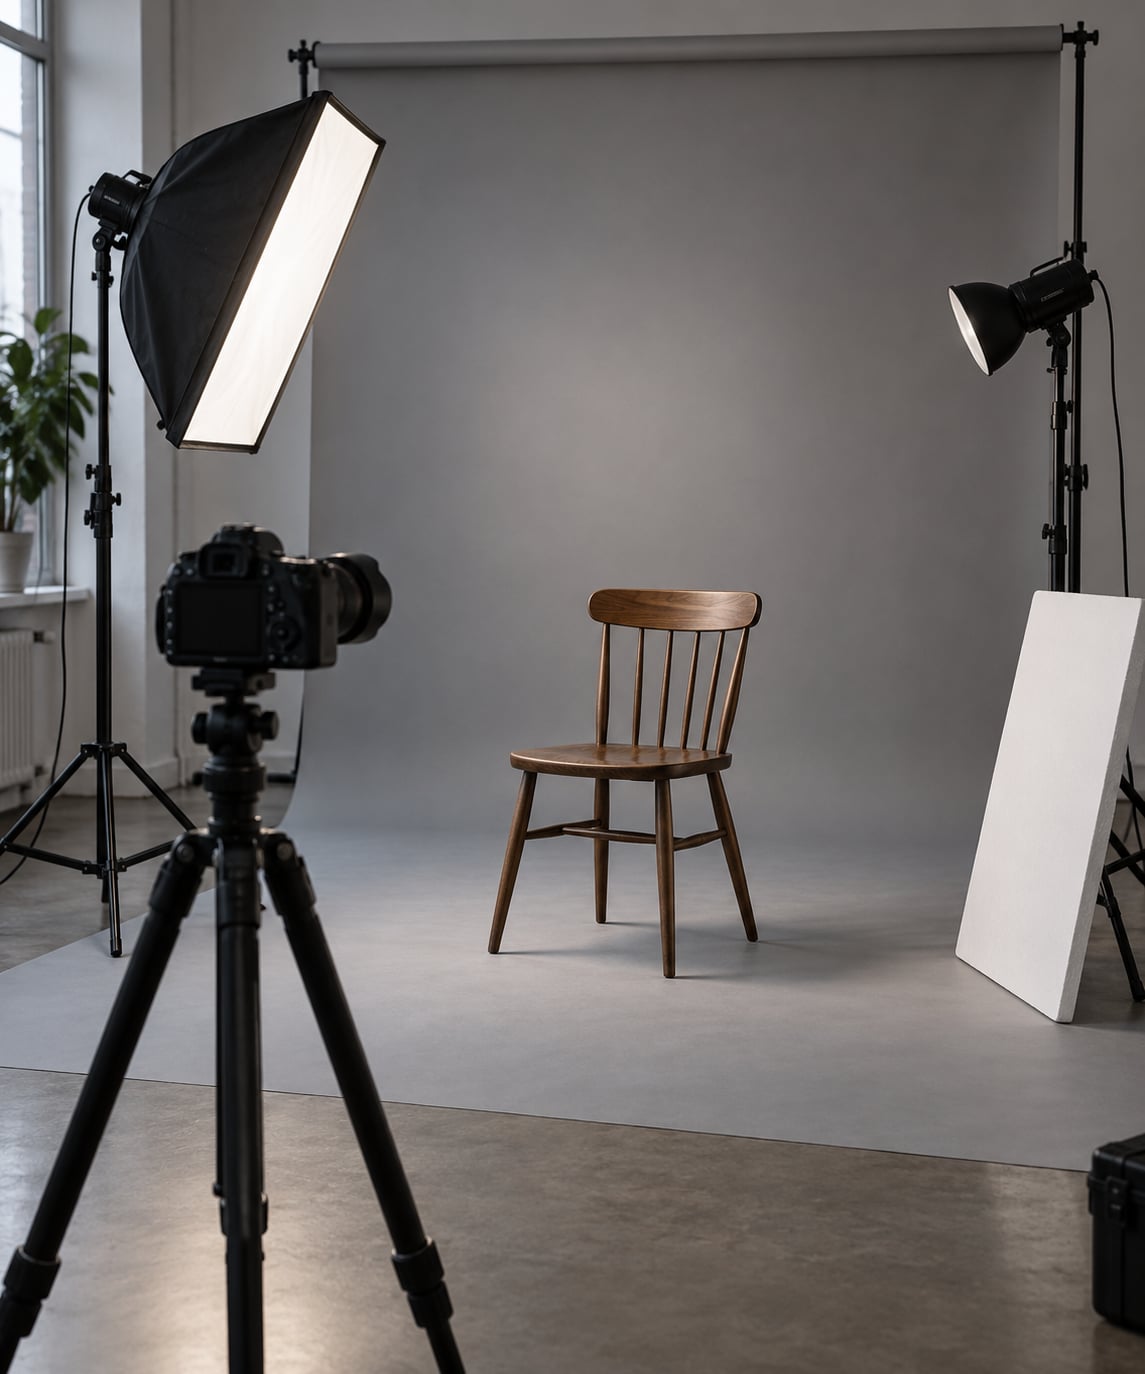
To set up a two light portrait setup, put your key light about 45 degrees to one side of your subject and slightly above eye level, then place your second light opposite it as a fill set two stops under the key. That gives you control over shadow density and facial modelling with only two lights, and the whole build takes about ten minutes once you know the positions.
The reason this matters is simple: one light gives you one shadow you cannot argue with. Two lights let you decide how much of that shadow stays, which is the difference between a snapshot and a portrait that looks like it was lit on purpose.
Below is the process I use, in the order I use it: gear first, then the key, then the fill, then the ratio, then background control, then a skin test before the subject arrives. I have also included the numbers I meter for, since “turn it down a bit” is not a repeatable instruction.
If you have never lit a portrait with anything but an on-camera flash, this takes about an hour to work through once. If you already own two lights and a softbox, you are twenty minutes from a working setup.
Table of Contents
- What You Need
- Step-by-Step
- Common Mistakes
- Frequently Asked Questions
- What is a good two-light setup for portrait photography?
- How do I set up 2 point lighting?
- What is the 3 lighting rule in portrait photography?
- What is the best lighting setup for portraits?
- Can I use speedlights instead of strobes for a two-light setup?
- How do I avoid double catchlights with two lights?
- Conclusion
What You Need
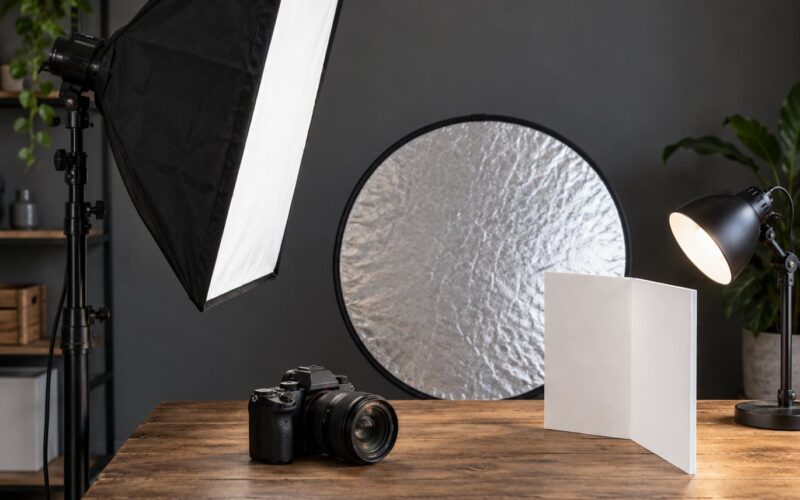
Two lights are the hard requirement. Everything else on this list makes the build faster or the result repeatable, but a portrait photographer with two bare flashes and a couple of stands can make a better image than someone with six lights and no plan.
Here is the gear and the job each piece does:
- Key light. The light that creates the shadow pattern on the face. Everything else is judged against it.
- Second light. Its job depends on the pattern you choose: soften shadows, sculpt the face from below, or add a rim behind the subject. You decide the role before you move equipment.
- Modifiers. At least one on the key. A bare flash gives you hard, small-source light with sharp shadow edges, which is dramatic but unforgiving on skin texture.
- Two light stands. With sandbags. A stand that tips mid-session costs you a frame and sometimes a head.
- Triggers or a sync cable. Two receivers and a transmitter, or one receiver and a cable. Radio triggers let you move lights around a room without re-patching.
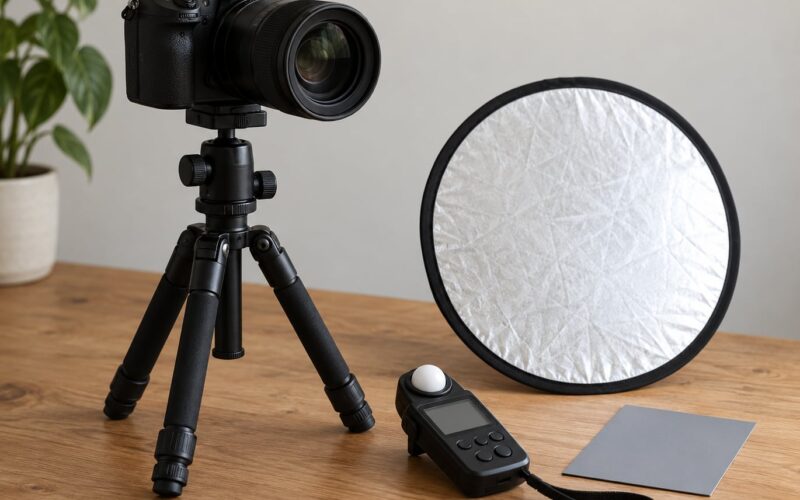
- A light meter (optional). A handheld incident meter reads flash in about a second. Without one you meter off a grey card with your camera.
- Flags or a black foam board (optional). For killing spill, especially in a small room where the second light crosses the frame.
- A white reflector or bounce card (optional). The cheapest fill there is. It eats less power than a second head and it never blows out.
One thing worth saying plainly: modifiers on both lights do not have to match. Plenty of working photographers run a large softbox key and a bare or gridded head for the second light, because the second light’s job is contrast and direction rather than softness. Mismatched modifier sizes are only a mistake when the two lights are doing the same job.
Modifier choices and what each one does
| Modifier | Light quality | Spill control | Best role in a two-light build |
|---|---|---|---|
| Large softbox (roughly 90 cm or wider) | Soft, gradual shadow transitions | Moderate; needs a grid for tight control | Key light for beauty and corporate headshots |
| Strip box (tall and narrow) | Soft, with a long thin catchlight | Good for vertical edge control | Key for dramatic low-key portraits, or fill opposite a hard key |
| Silver reflective umbrella | Soft to semi-soft, with visible specular shine | Very little | Budget key; needs a ceiling or wall to bounce off |
| White shoot-through umbrella | Very soft, low contrast | Almost none | Beauty key, paired with a stronger second light for shape |
| Beauty dish with diffusion sock | Semi-soft, slightly crisp, fast to set up | Good when gridded | Key for editorial work; flattering on bone structure |
| Bare head with grid or snoot | Hard, narrow | Excellent | Hair light, kicker, or background separation |
| White foam board or reflector | Soft bounce | None needed | Fill, or a shadow-side lifter on a tight budget |
That table is the whole shopping decision. Pick a modifier that matches the look you shoot most, not the one with the most features.
The three patterns you can build with two lights
Almost every two-light portrait setup is one of three arrangements. Learn these three and you can cover corporate headshots, beauty work and moody editorial portraits without buying another light.
| Pattern | Where the lights go | Power relationship | Best for | Main risk |
|---|---|---|---|---|
| Key and fill | Key at 45 degrees, fill opposite on the shadow side | Fill two stops under the key | Headshots, family portraits, most commercial work | Fill creep: people raise it until the face looks flat |
| Clamshell | One light high and angled down, one low and angled up, both in front | Top light roughly two to three stops over the bottom light | Beauty portraits, clean skin texture, even skin tone | Double catchlights and a nose shadow that looks wrong when the subject tilts |
| Key and kicker | Key at 45 degrees, second light behind the subject at a matching height | Kicker equal to or slightly over the key | Dramatic portraits, dark backgrounds, separation | Kicker flaring into the lens |
If you remember nothing else from this article, remember that row one. Key and fill is the workhorse, and it is the setup the rest of the steps assume.
Step-by-Step
The sequence below is the order that saves time. Assign roles before you unclip anything, because moving a light that has no assigned job is how setups drift into mediocrity.
1. Choose the Key and Fill Light Roles
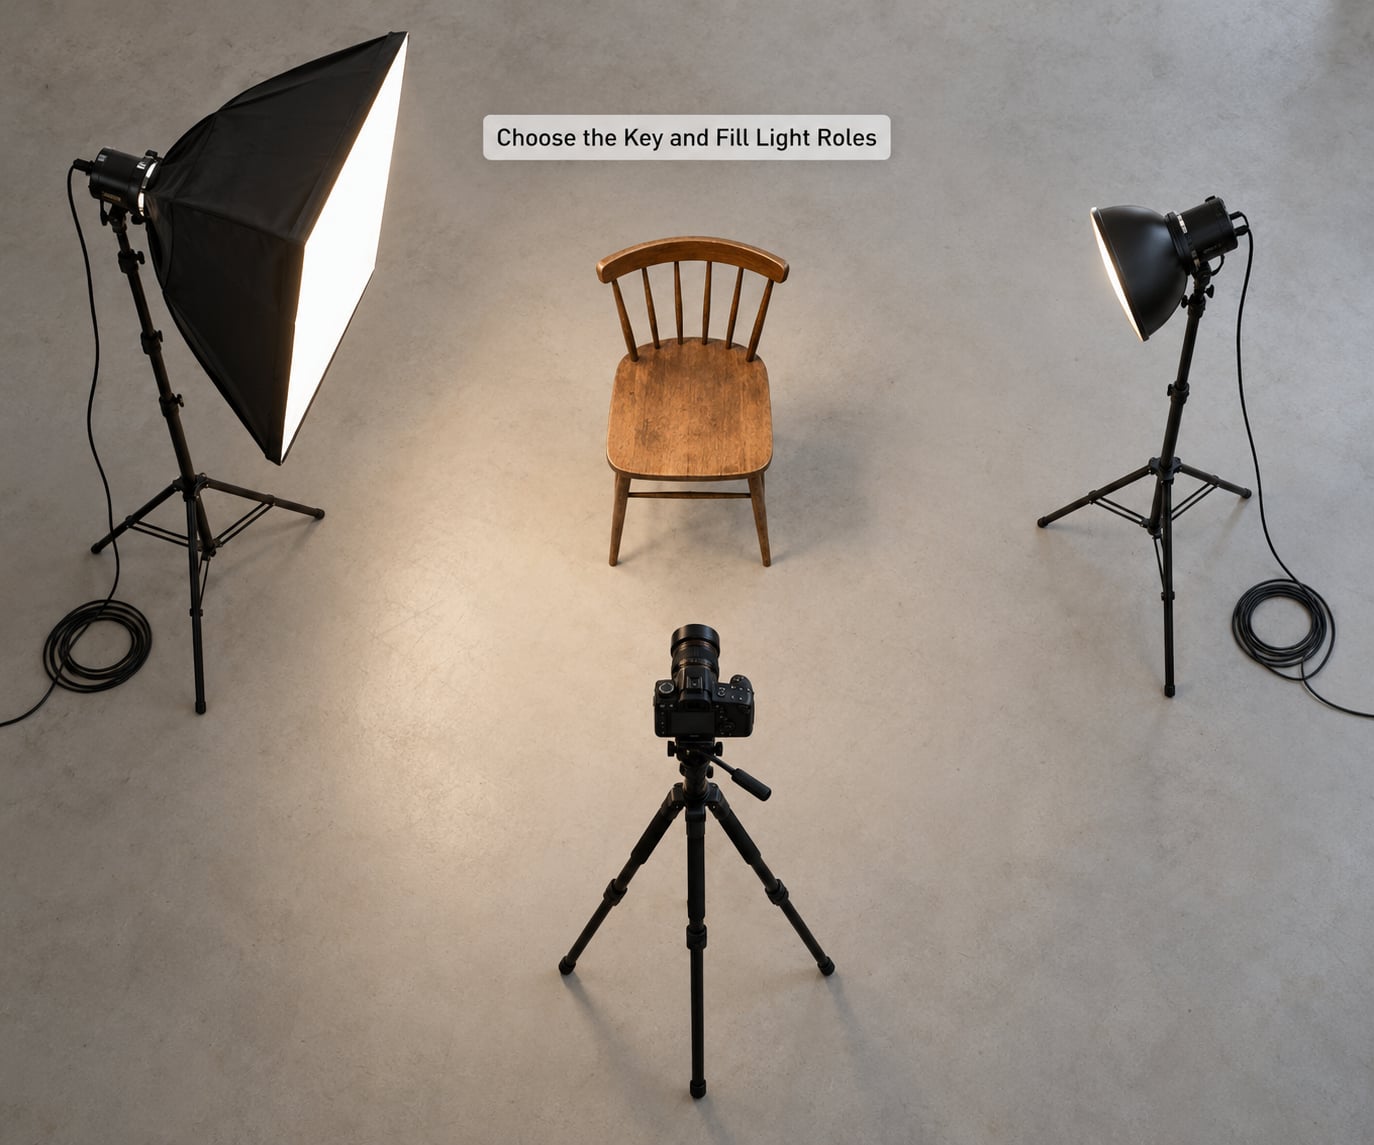
Decide which light is the key before you turn anything on. The key is the light that sets the shadow pattern on the face: which side is lit, which side falls away, and how the nose casts its shadow. Whichever light you choose, everything else gets measured against it.
The second light takes one of three jobs. Fill softens the shadow side so detail survives without going flat. Clamshell fill comes from below the chin and shapes cheeks and eye sockets. Kicker sits behind the subject and draws a bright edge along hair and shoulder.
Ask two questions and the answer writes itself. Is this a portrait of a person who wants to look competent and approachable, or one who wants to look intense? The first usually wants key and fill at a 2:1 ratio. The second usually wants a key with a kicker behind it.
Second question: what is the background? If the background is dark or the subject is dark-haired and dark-clothed, spend your second light on separation rather than fill. A portrait that merges into the backdrop needs an edge more than it needs softer shadows.
You will know the roles are right because you can describe each light in one sentence before the shoot starts. “Key softbox camera-side at 45 degrees, fill strip opposite at minus two.” If that sentence gets long, the roles are muddy.
2. Position the Key Light
Start with the key light about 45 degrees from the direction the subject is facing, on the side you want lit, and raise it until it sits slightly above the subject’s eyes. This is the position that produces loop or Rembrandt shadow, depending on height, and it flatters most faces without any adjustment.
Distance sets softness more than the modifier does. A modifier is a diffuser at a fixed size; move it close and it behaves large, move it far and it behaves small. With a 90 cm softbox, a distance of about one metre from the face gives you soft, wrapped light; three metres gives you the same modifier with harder, more defined shadow edges.
Height changes the shape more than most beginners expect. Key light level with the eyes or a little above gives a horizontal shadow under the cheekbone. Raise it and the shadow slides down the face and the eye sockets get more shadow, which reads as moodier. Lower it and you open the eye sockets but flatten the top of the head.
Work out whether you want soft or hard texture before you choose. Soft light forgives skin texture, wrinkles and shine, and it is the safe default for corporate headshots, family sessions and anyone who is not a professional model. Hard light is a creative choice: it shows texture and shape, and it needs a subject who wants that.
Here are the ranges I meter with, from a two-light key position about one metre from the subject:
- Soft key: large softbox at 0.8 to 1.2 metres, head height or slightly above.
- Semi-soft key: beauty dish or medium softbox at 0.8 metres, roughly 30 degrees above eye level.
- Hard key: bare head or gridded head at 1.5 to 2 metres, or a standard reflector at 30 to 45 degrees off the camera axis to bounce a harder source in.
- Very hard key: bare head at 3 metres or more, positioned high for a graphic, angular look.
Watch the catchlight as you set the height. A softbox at eye level gives a broad, square catchlight low in the eye; raising it moves the catchlight up toward the eyelid and shrinks it slightly. Both are fine, but if you spend the rest of the shoot tilting the subject’s head up and down to chase the catchlight, your height is wrong. Fix the light instead.
Finally, check that the light is not so far to the side that the far ear disappears into shadow. If the subject’s face turns slightly away from the key, the near side gets brighter and the far side needs the fill to hold detail. That is normal. What is not normal is a far side that goes to solid black because the fill is too weak.
3. Position the Fill Light
Place the fill on the opposite side of the subject from the key, usually closer to the camera axis than the key is, and at or slightly below eye level. Because it sits near the axis, the fill keeps the shadow pattern the key created while lifting the dark side.
Set the fill’s contribution with its distance and its power, not with the aim. Aiming it directly at the shadow-side cheek flattens the face fastest, because you are filling the exact area that gives the portrait its shape. Aim it at the subject broadly and let distance do the softening.
Power is where beginners get stuck. Two stops under the key is the standard starting point, and it is genuinely useful: it keeps about a quarter of the key’s intensity on the shadow side, so shadow detail survives without losing depth. One stop under is softer and safer. Three stops under is barely visible, and you are carrying a light for nothing.
There is a useful mental model here. Think of the fill as an exposure on the shadow side. If you expose the shadow side at a proper midtone, the portrait has no shadow at all and looks like a passport photo. If you expose it two stops under the key’s midtone, you get shape with detail. That is the whole principle.
You can also set the fill with a reflector instead of a light. A white foam board close to the subject on the shadow side acts as a very soft, very controllable fill, and it costs nothing to run. You will need more of them than you expect, because the amount of bounce depends on the board’s angle and its distance.
For clamshell work the second light changes job entirely: it goes below the subject’s chin, aimed up, rather than to the side. Put the key high and angled down, the fill low and angled up, and you get the classic beauty pattern with a small shadow under the nose and clean cheekbones. Keep the lower light weaker, or the nose shadow flips and darkens every time the subject tilts their head.
For a kicker, the second light goes behind the subject at roughly the same height as the key, angled at the back of the head and shoulder. Keep it just out of frame and just out of the lens axis, and watch for flare on every change of position. A kicker at equal power to the key gives a clean bright edge; a stop over gives a hot rim that only works against a dark background.
4. Set Light Ratio and Exposure
Meter the key first, with only the key firing and the second light switched off or blocked. Get the key to your target exposure, then bring the fill up to the ratio you want. Setting the fill before the key means chasing the number every time you touch either light.
Here is how to meter without a light meter: put a grey card or an 18 percent grey reflector where the subject’s face will be, put the camera in manual, set ISO and shutter speed, and dial the aperture until the histogram for the grey card sits in the middle. That gives you a consistent key exposure that does not depend on the ambient room light.
For strobes, sync speed sets your shutter ceiling. Anything at or below your camera’s sync speed is safe; going above it risks banding across part of the frame. Most portraits sit between 1/125 and 1/250, which is also fast enough to freeze a small amount of subject movement. With flash duration set to the shutter, ambient light contributes almost nothing, so a dark room is not a problem.
| Pattern | ISO | Aperture | Shutter | Key power | Second light |
|---|---|---|---|---|---|
| Key and fill, soft look | 100 | f/4 to f/5.6 | 1/200 | Metered on the face | Minus 2 stops from key |
| Key and fill, contrasty look | 100 | f/2.8 to f/4 | 1/200 | Metered on the face | Minus 3 stops, or a reflector |
| Clamshell beauty | 100 | f/5.6 to f/8 | 1/200 | Metered on the face, top light | Minus 2 to 3 stops, below |
| Key and kicker | 200 | f/2.8 to f/4 | 1/160 | Metered on the face | Equal to key, or plus 1 stop |
| Group of three or more | 400 to 800 | f/4 | 1/200 | Metered on the front person | Fill positioned close, aimed across the group |
Those are starting points, not rules. A 90 cm softbox at one metre puts out far more light than a bare head at the same distance, so power settings will not transfer between modifier types. Meter, then adjust.
With speedlights, power is capped by the sync speed and the recycle time. Manual power is more consistent than TTL here, because TTL re-meters every frame and changes the balance as the subject moves or turns. Set the two lights manually, test at the beginning, and leave the settings alone.
Light falloff matters in small rooms. Brightness drops with the square of distance, so moving a light from one metre to two metres quarters its contribution. That is why a fill pushed closer to the subject with lower power looks different from the same fill pushed further away with more power: same brightness on the face, different softness across the body.
5. Shape the Background and Add Separation
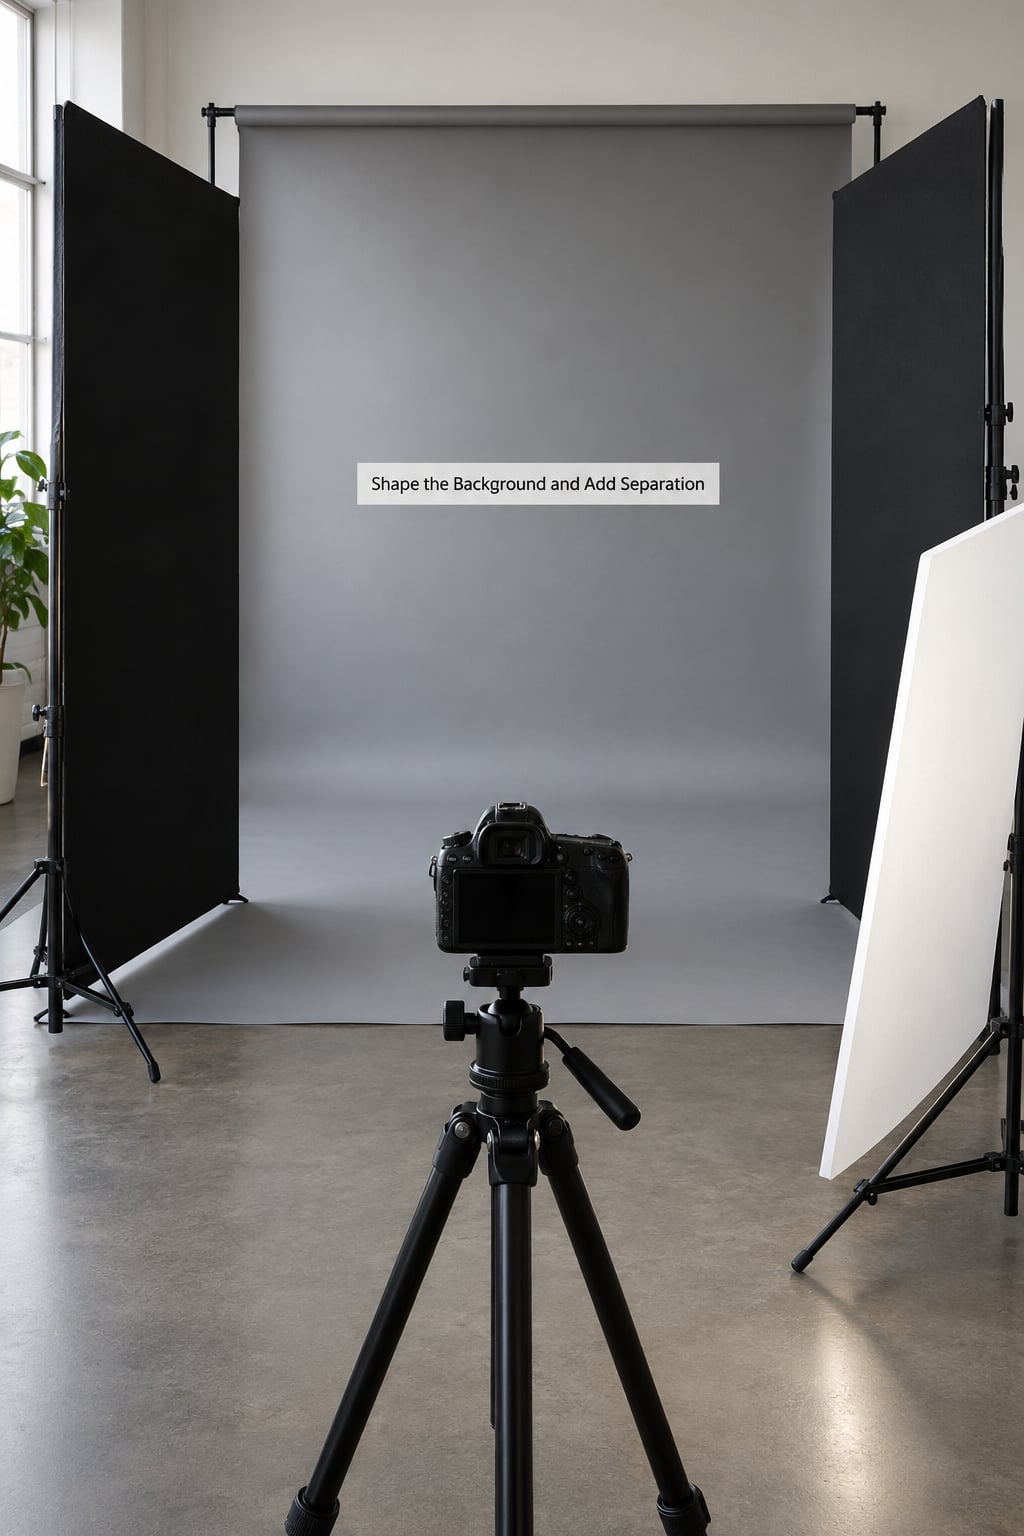
With two lights, your second head is also your background control. If the background is too bright, flag the second light so it does not reach the backdrop, or angle it more tightly at the subject. If it is too dark and flat, you have no spare light to fix it, so you plan for that earlier in the session.
Separation comes from edge light. A kicker behind the subject puts a bright rim along hair and shoulder so the outline reads clearly against a darker background. If the background is light, the same trick works but the rim needs to be brighter and sharper, which means moving the kicker closer to the subject and using a smaller modifier or a grid.
Watch the spill on the background next to the subject’s head. Spill that forms a bright halo behind the head looks like a mistake, and it is the single most common two-light flaw I see in first attempts. It usually comes from a second light aimed too wide, so tighten the aim or add a flag rather than lowering the power, because lowering the power dims the rim too.
Distance between subject and backdrop does more for separation than any light. Two metres of space means the background receives far less light than the subject, so it falls to a darker tone and the outline stays clean. In a small room, that gap is the first thing you lose, so plan the background first and place the subject afterwards.
Flags, black foam board and even a dark jacket hung off a light stand all work as spill cutters. Keep one within arm’s reach of the fill, because the fill’s contribution changes every time the subject turns and the only cure is a small flag on a swivel.
6. Test the Setup on Skin and Hair
Before the subject arrives, stand a grey mannequin head or a stand-in in the seat and shoot a test frame. You are checking five things: skin tone, catchlights, the facial shadow shape, the hair highlight, and any unwanted spill.
Skin tone is first because it is the one clients notice without knowing why. Mixed colour temperatures are the usual culprit: one flash set to daylight and the other left on a tungsten preset will give you a face with two different colours. Match them, or set both to a fixed colour temperature and shoot RAW so you can correct any remaining drift in post.
Catchlights tell you where each light is. One catchlight means one light is reaching the eyes, which is usually what you want. Two catchlights in a clamshell or key and fill setup can look like a reflection of two windows, and on close portraits many people find it distracting. If you need to remove one, clone it out in post rather than changing a setup that otherwise works.
The facial shadow should look intentional. Tilt the stand-in’s head a few degrees and check that the nose shadow lands somewhere flattering rather than pointing sideways. On a clamshell setup, watch what happens when the subject tilts their head back: the lower light’s shadow can roll up under the nose and darken the nostrils badly.
Hair and edge light are the last check. A kicker that looks great from the front can leave a hot, blown patch on the hair on one side only. Move the kicker a few centimetres and shoot again. Blown hair highlight is one of those things that is obvious in the edit and unfixable afterwards.
Finally, check for flare with the actual lens you will use. A change in focal length changes where a kicker or a bare head lands relative to the frame, and wide angles put rim lights much closer to the edge of the lens than you expect from the viewfinder.
7. Refine the Setup for the Portrait
Now put a person in it and make small, deliberate adjustments rather than a full rebuild. Most problems in the first ten minutes come from the subject sitting differently than the stand-in did, and the fix is usually a centimetre or a fraction of a stop.
Face shape decides how much fill you need. A rounder face wants more fill and a slightly higher key to avoid widening the cheeks. A longer, narrower face wants more key and less fill, or the shadows lengthen and the face looks thinner still. Darker skin usually wants a bit more fill than pale skin at the same ratio, because contrast reads more strongly on deeper tones.
Clothing sets the contrast problem. A white shirt under a bright key will blow out before the face does, so bring the key down a little and lift the fill instead. A black outfit absorbs light and makes the subject look pasted on, so add a little more fill or a touch of hair light to lift the shoulders out of the background.
Write down what worked. Note the modifier on each head, the distance in metres, the angle in degrees, the power setting on each light, and the ratio between them. That note is the real return on this setup: the next session with the same subject and same look takes two minutes instead of twenty.
For groups, the fill changes job again. Place the fill close to the group and angled across the line of faces rather than at a single person, then raise ISO instead of power so you keep the lights at their lowest comfortable output. People at the ends of a group will fall off fast otherwise.
For a look you cannot dial in with two lights, resist the third-light urge at first. A white reflector clipped to the fill, a flag moved ten degrees, or the key raised five degrees usually solves it. Add a third head only when the problem is genuinely about separation or background, not about modelling.
Common Mistakes
Nearly every bad two-light portrait I see comes from one of the same handful of errors. All of them have quick fixes.
Both lights at the same angle. Two lights close together on the camera axis cancel the shadows each one creates, and the result is flat, textureless and oddly lifeless. Move the second light to the opposite side, or turn one of them into a kicker behind the subject.
Fill too strong. This is the most common mistake by a wide margin. People raise the fill because the camera preview looks harsh, but the harsh look is the shape, and the fill is there to keep detail, not erase depth. Drop it a stop and check the histogram.
Mismatched modifier sizes for the same job. A small softbox filling against a large softbox key creates a shadow edge that changes character across the face. Either match them or give the two lights different jobs so the mismatch stops mattering.
Mixed colour temperatures. One head on daylight, one on tungsten, and the shadow side reads a different colour from the lit side. Set both to the same fixed value, turn off any auto white balance on the flash, and correct in post from RAW.
Judging the setup only on the camera screen. Backlit LCDs lie in both directions, and a bright screen in a dim room makes a perfectly good exposure look dark. Judge sharpness of catchlights and shadow detail on the screen, and judge exposure from the histogram or a meter.
Measuring the fill before the key. Set the key, lock the exposure, then bring the fill up to ratio. Measuring both lights together produces a balanced average that leaves the face flat.
Ignoring the inverse square law. Moving a light twice as far away makes it a quarter as bright. A fill moved from half a metre to a metre needs its power quartered, not left alone.
Leaving the second light to spill. If the fill reaches the background, you get a bright patch behind the subject’s shoulder. Aim it tighter or flag it, and check again after every reposition.
Trusting TTL for balance. TTL re-meters on every frame, so the ratio changes as the subject turns or steps forward. Set both lights manually and test once.
No test frame. Turning the lights on when the subject is already sitting wastes the calm part of the session. Shoot a test stand-in, fix it, then bring the subject in.
Frequently Asked Questions
What is a good two-light setup for portrait photography?
The most useful default is key and fill: put the key about 45 degrees to one side and slightly above eye level, then place the fill opposite on the shadow side, closer to the camera axis. Meter the key so the face is correctly exposed, then set the fill two stops under it. That ratio keeps detail in the shadow while preserving the modelling on the face.
How do I set up 2 point lighting?
Assign a job to each light before you move anything. Put the key at roughly 45 degrees from the direction the subject faces, raised to just above eye level. Place the second light on the opposite side, near the camera axis, at or below eye level. Meter the key first, lock the exposure, then bring the second light up until the shadow side sits about two stops under.
What is the 3 lighting rule in portrait photography?
The three lighting rule says a portrait is lit with a key light, a fill light and a back or hair light, though the third is optional. Two lights cover the key and fill, which handles modelling and shadow control. The third light is the one people add first when they need separation from a dark background or a bright rim along the hair and shoulders.
What is the best lighting setup for portraits?
For corporate headshots and family work, key and fill at a 2:1 ratio with a large softbox is the safest choice, because it flatters skin texture and forgives uneven complexions. For beauty work, clamshell gives even skin and clean cheekbones. For moody or editorial portraits, a key at 45 degrees with a kicker behind the subject adds the separation a dark background needs.
Can I use speedlights instead of strobes for a two-light setup?
Yes. Two speedlights with radio triggers will handle most portrait work, and they are the practical choice in a small room where stands are in the way. Set both to manual power, keep the sync speed at or below your camera’s flash sync, and check that the triggers recycle fast enough for your shooting pace. Manual power gives far more consistent balance than TTL.
How do I avoid double catchlights with two lights?
Double catchlights happen when both lights reach the eyes, which is common in clamshell and key and fill setups. Match the two catchlights in size and shape by matching the modifiers, and keep one light slightly higher and further back so its catchlight sits apart from the key’s. If one still looks wrong in a tight portrait, clone it out in post rather than rebuilding a setup that is otherwise working.
Conclusion
Start with the key light: place it about 45 degrees to one side, raise it just above eye level, and meter it until the face is correctly exposed. Then put the second light opposite, near the camera axis, and bring it up to two stops under the key.
That is the whole setup, and it covers most of what a two light portrait setup needs to do. Everything after that, background separation, kickers, clamshell variation, is a refinement of those two positions. Take a test frame with a stand-in before the subject sits, write down the distances and power settings, and the next session takes minutes.
Last thing: check the catchlights on the way. They show you where both lights actually are, which saves more test frames than anything else I have found.