Rembrandt lighting is a one-light portrait setup: put your key light about 45 degrees to the side of your subject and slightly above eye level, turn the face away from the camera, and the nose shadow joins the cheek shadow to leave a small triangle of light under the shadow-side eye. This guide walks through Rembrandt lighting explained step by step, from the equipment you need to the exact fixes when the triangle refuses to show up. It takes about ten minutes to set up and practice, and you can do the whole thing with a window, a speedlight, or a single studio strobe.
The name comes from the Dutch painter’s self-portraits from the 1650s, where he used a single high window to build a face out of light and shadow. Photographers borrowed the pattern because it gives depth and mood from one source, which makes it the cheapest dramatic look in portrait photography.
The one catch nobody tells you at first: the triangle is fragile. Move the subject’s head five degrees and you get loop lighting instead. Fill the shadow side too much and the pattern flattens into ordinary front lighting. That is why the fixes come after the setup in this guide.
Table of Contents
- What You Need
- Step-by-Step: How to Create Rembrandt Lighting
- 1. Position the Subject and Choose a Camera Angle
- 2. Place the Main Light Above and to the Side
- 3. Create the Rembrandt Triangle
- 4. Add a Reflector or Fill Card Carefully
- 5. Set Camera Height, Lens, and Exposure
- 6. Shape the Light with Distance, Size, and Modifiers
- 7. Check the Result and Refine the Shadow
- 8. Photograph Variations Without Losing the Pattern
- Common Mistakes
- Frequently Asked Questions
- Conclusion
What You Need
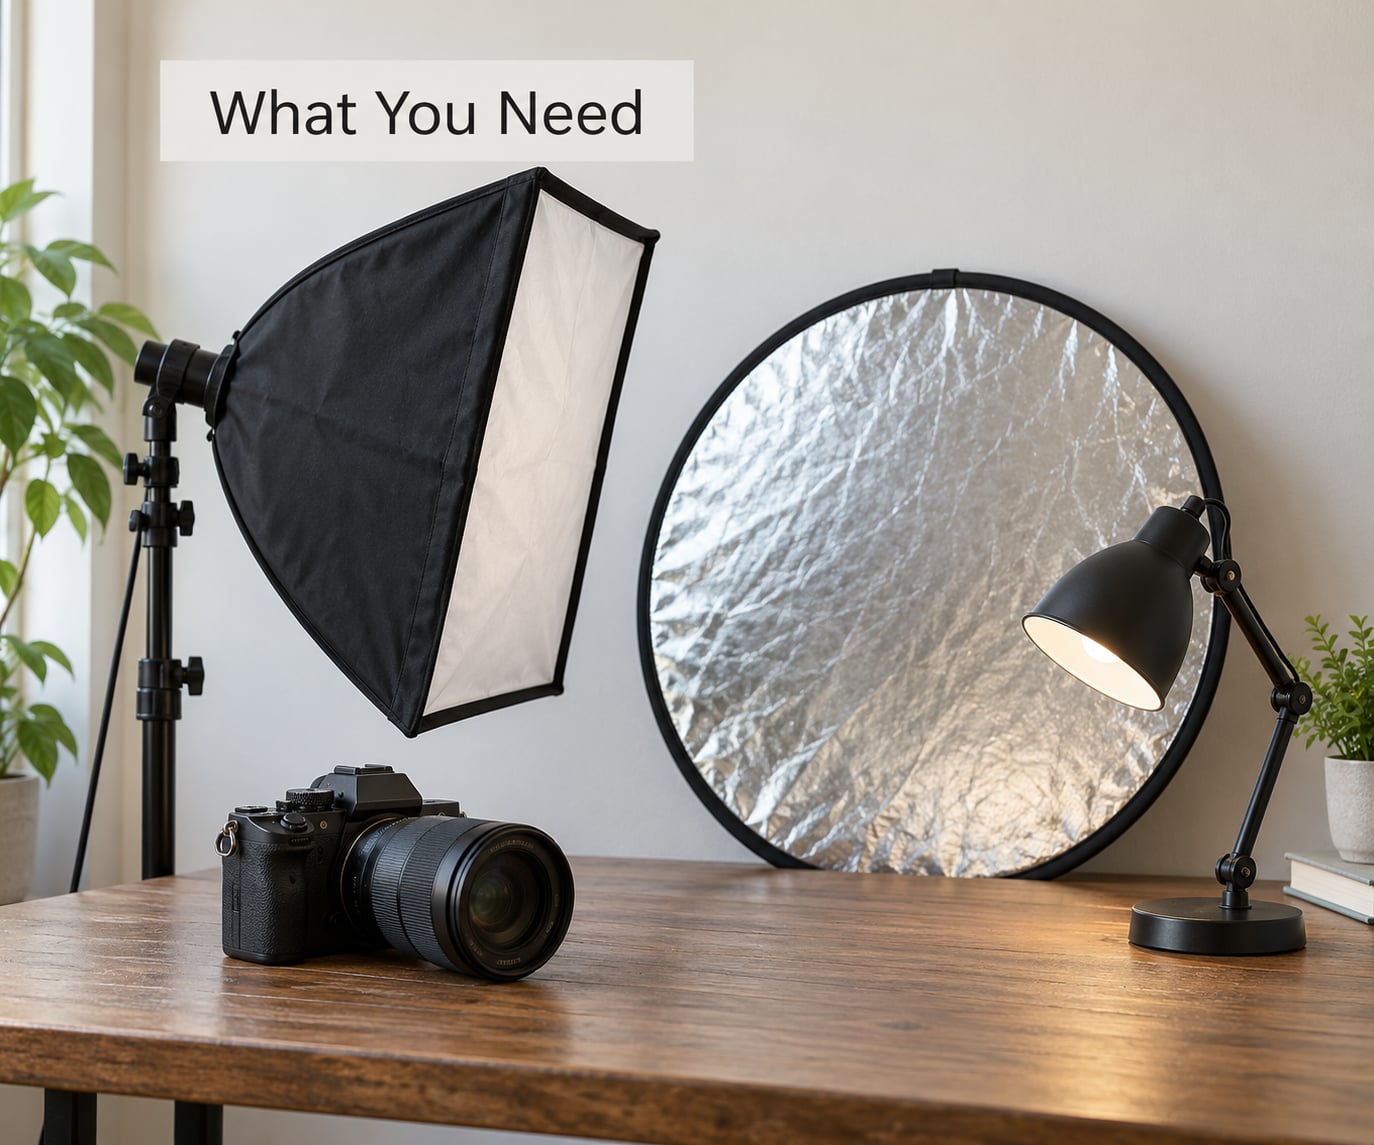
You need one light. Everything else on this list makes the pattern easier to control, and none of it is strictly required.
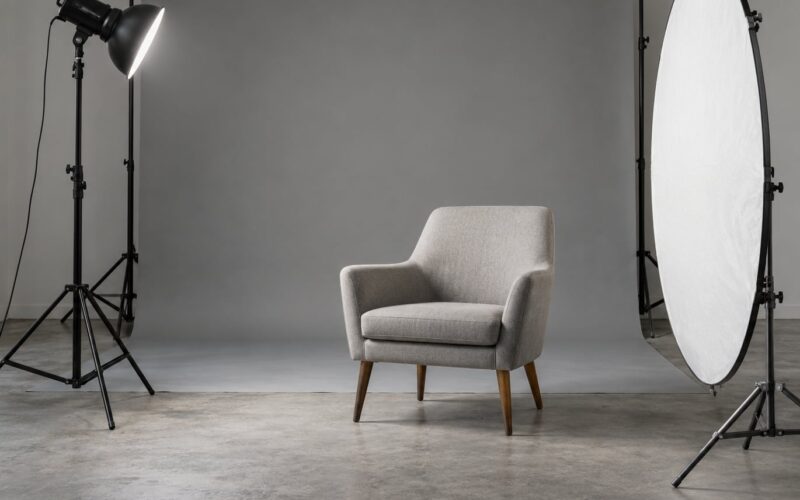
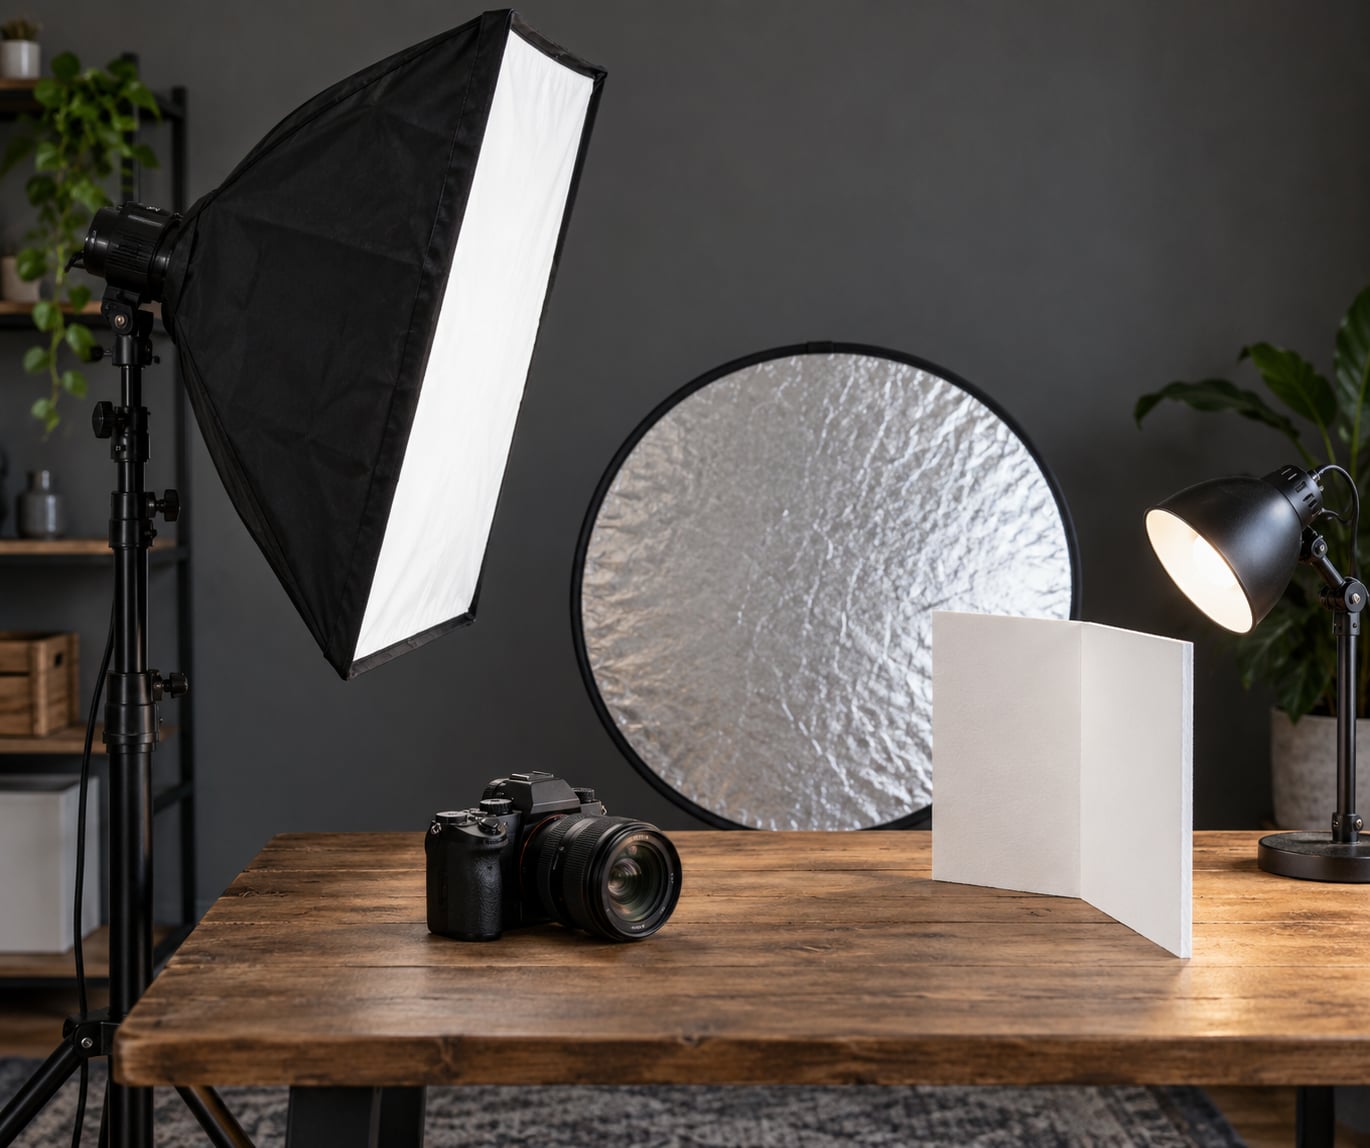
- A main light. A strobe with a softbox, a continuous LED panel, a speedlight bounced off a wall or ceiling, or even a single desk lamp. A bare bulb is fine for practicing; a modifier gives you a nicer transition.
- A light stand so you can raise the light above head height without your arm shaking.
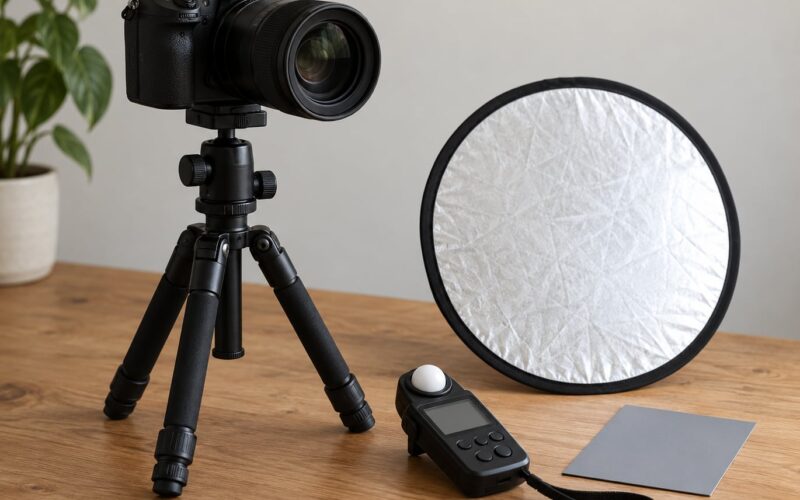
- A reflector or foam board to put a touch of light back into the shadow side. White foam board from a framing shop works as well as a collapsible silver reflector.
- A dark room, or a subject well away from bright walls. Ambient room light is the single biggest reason the pattern fails.
- A camera and a subject who can hold a head turn. That is it.
- Optional: a second light set very low as fill, black foam core or flags for killing spill, and a small handheld light meter if you shoot film or want repeatable exposures across a series.
No strobe is mandatory. People who learn this with a north-facing window and a piece of white card get the same triangle, because the pattern lives in the geometry of the light, not in the price of the gear.
Step-by-Step: How to Create Rembrandt Lighting
Here is the sequence that works every time, in the order I would actually set it up. Work through Rembrandt lighting explained step by step and you can repeat the pattern on any subject who can hold a pose.
1. Position the Subject and Choose a Camera Angle
Turn the subject about 45 degrees toward the light so you get a three-quarter view, not a profile and not a flat front. From this angle both the illuminated cheek and the shadowed cheek are visible to the camera, which is what makes the pattern readable in a photo.
Put the camera at the subject’s eye level or just below it. Shooting down from above flattens the triangle into the forehead, shooting up exaggerates the nose shadow until the two shadows no longer meet cleanly.
Ask the subject to look past the camera, at the far edge of your light stand. A straight-on glance squashes the cheek and kills the shape you are trying to build.
2. Place the Main Light Above and to the Side
Start by thinking of a clock on the floor. The subject stands at the centre, the camera sits at six o’clock, and the key light goes to four o’clock or eight o’clock. That is roughly a 45-degree horizontal angle.
Then raise the light until it sits above the subject’s eye level, usually about a foot or two higher than the eyes, and angle it down toward the face. The downward angle is what drags the nose shadow toward the mouth and lets it meet the cheek shadow.
For most faces, somewhere between 30 and 45 degrees above horizontal is the sweet spot. Lower than that and you drift into loop lighting; much higher and the triangle slides up onto the cheekbone and breaks apart.
3. Create the Rembrandt Triangle
Take a test shot and look at the shadowed cheek. You want a small inverted triangle of light sitting under the shadow-side eye, with the shadow of the nose running down to meet it.
Here is the measurable rule worth memorising: the triangle should be no wider than the eye and no longer than the nose. If the lit patch runs past the corner of the mouth or stretches across the whole cheek, the light is too close, too frontal, or the subject is turned too far toward the camera.
That triangle is the entire signature of the pattern. Everything else, the catchlights, the cheekbone, the mood, is a side effect of light arriving from one side and above. Photographers on r/LightLurking and r/portraitphotography keep saying the same thing in their lighting diagrams: placement decides it, gear only decides how soft the edge looks.
4. Add a Reflector or Fill Card Carefully
Only some portraits need fill. Start with nothing, shoot a frame, and decide whether the shadow side is too dark to read. Very often it is exactly right, and the frame is stronger without any card at all.
When you do want fill, hold the reflector close to the subject, just below the shadow-side cheek, and watch the triangle. Too close and the fill doubles the amount of light bouncing back, which flattens the pattern and erases the nose shadow. Slide the reflector farther away until the triangle is visible again but the shadow is softer than it was before.
A practical rule: you should be able to see shape in the shadow half without being able to see the texture of skin. If you can count pores on the shadow side, you have gone too far.
5. Set Camera Height, Lens, and Exposure
Use a normal to short telephoto lens, somewhere between 50mm and 135mm on full frame. A wide lens close to the face exaggerates the nose and the near cheek, so the triangle looks stretched; an 85mm at about a metre and a half keeps the face proportional and the pattern honest.
Start around f/5.6 or f/8 with ISO at 100 for a strobe setup, then adjust from there. The widest aperture gives you a catchlight in both eyes; too wide and you risk clipping highlights on the lit cheek in bright skin tones, which leaves the whole portrait looking flat and patchy.
Meter off the lit cheek, not off the average of the face. The built-in meter reads the shadow half as mid-grey and pushes the bright side one stop or more too hot, which kills both the highlight texture and the triangle. Highlight-weighted metering or a spot meter aimed at the bright cheek fixes it.
With strobes, stay at or under your camera’s flash sync speed, usually 1/200s or 1/250s. With continuous LED light or window light, drop to 1/125s or slower and raise ISO to compensate.
6. Shape the Light with Distance, Size, and Modifiers
Size controls softness. A big softbox or a bounce gives you a gradual transition from light to shadow that flatters skin; a bare speedlight or an unmodified LED panel gives a fast, harder edge that suits moody and black-and-white portraits.
Distance controls contrast, and it is the dial most people miss. Move the light closer and the falloff gets steeper, so the shadow side goes darker without touching your settings. Move it back and the face lights more evenly. Start about a metre and a half to two metres away, then pull in a little if the shadow is too flat.
Modifiers change the character, not the pattern. Diffuser fabric over a speedlight, a small umbrella, or a beauty dish all soften the edge; a grid or a flag stops spill from hitting the backdrop. If the light source itself is visible in frame, either crop it out or move it outside the edge of the picture.
7. Check the Result and Refine the Shadow
Use this four-point check every frame: one side of the face is clearly brighter, the shadow-side cheek holds a small triangle of light, the nose shadow connects naturally to the cheek shadow, and both eyes are readable.
If there is no triangle at all, move the light forward toward the camera in small steps while the subject stays still. If a triangle appears but the pattern feels flat, move the light back or pull the reflector away. If the nose shadow falls short of the cheek shadow, raise the light. If it overshoots and breaks the triangle apart, lower the light.
Nothing on the face should be so dark that the eye disappears entirely. If it is, bring a reflector up gently or nudge the shadow-side eyebrow with a small flag on the light so it casts a little more shadow downward, which is the trick low-key portrait photographers use to keep eyes alive.
8. Photograph Variations Without Losing the Pattern
The triangle survives changes in light height, subject rotation, expression, and crop, so treat the setup as adjustable rather than fixed. Raise the light for a more severe, older-looking face; drop it slightly for a younger, softer look.
Turn the subject a few degrees further from the light and you shift the triangle lower on the cheek. Turn the other way and it climbs toward the temple. Small head tilts work too, as long as you re-check the nose shadow after each one.
Round and full faces are usually the best candidates for this pattern, because the widest part of the face stays in shadow and the cheekbone gets the light. Narrow faces and deep-set eyes need a softer light and more reflector than you expect. If you are working with a subject who has very deep skin tones or dark eyes, add fill in smaller increments than feels necessary, since the shadow side will lose detail faster.
Common Mistakes
Almost every failed Rembrandt frame comes down to one of six things. Find the symptom, work out the cause, then apply the fix.
- No triangle at all. The light is too far back, so you are making split lighting, or the subject is turned too far toward the camera. Fix: move the light forward in 15-degree steps until the nose shadow reaches the cheek.
- The triangle is too big and covers the whole cheek. The light is too close or too frontal. Fix: move the light back and further to the side until the patch is no wider than the eye.
- You keep getting a loop, not a Rembrandt. The light is too low, so the nose shadow curves toward the cheek instead of dropping below the eye. Fix: raise the light another 10 to 15 degrees above horizontal.
- The whole frame looks flat and grey. Room ambient light is filling the shadow side. Fix: kill the ceiling light, close the curtains, and move the subject away from bright walls.
- The shadow side is too dark to read. No fill at all, or the subject is turned too far away from the light. Fix: bring in a reflector at a distance, or add a very low-powered second light at about a quarter of the key’s output.
- The lit cheek is blown out. The on-camera meter read the average of a high-contrast face. Fix: meter off the lit cheek and check the histogram before you shoot the series.
- The triangle breaks every time the subject moves. Nothing is wrong with the light. Fix: mark the spot where the subject’s feet go with tape and give them a head position to return to between frames.
Learning to read the nose shadow separates the patterns quickly. A shadow that runs straight down beside the nose and stops is short lighting. A shadow that curves out to the cheek is loop lighting. A shadow that drops diagonally and connects with the cheekbone shadow, leaving a lit triangle under the eye, is Rembrandt. A shadow that splits the face down the middle is split lighting, and a small shadow sitting under the nose with two symmetrical highlights is butterfly lighting.
Frequently Asked Questions
What angle should the light be for Rembrandt lighting?
Start at about 45 degrees to the side of your subject and 30 to 45 degrees above horizontal, with the light angled down toward the face. From the subject’s point of view it sits near four o’clock or eight o’clock on a floor clock. If the nose shadow curves out to the cheek instead of dropping below the eye, raise the light. If there is no triangle at all, move the light forward toward the camera in small steps.
How high should the light be above the subject’s eyes?
Usually one to two feet above eye level for an adult, which means the head of the light sits around six feet off the floor. The downward angle matters more than the exact number. Too low and you get loop lighting; much too high and the triangle slides up onto the cheekbone and breaks apart. Move the stand up and down rather than forward and back, and re-check the nose shadow after every change.
Do you need a reflector for Rembrandt lighting?
No. Shoot one frame with no fill at all, because a fully dark shadow side is often the stronger image and it is the version most people recognise. Add a white reflector or a piece of foam board only when the shadow half loses too much detail. Keep it close but check the triangle after you bring it in, and slide it farther away if the nose shadow starts to disappear.
Can you do Rembrandt lighting with a window?
Yes, and it is the easiest way to learn the pattern. Put the subject with one shoulder toward the window, turn the head about 45 degrees away from it, and shoot from the shaded side of the room so the window stays roughly at four o’clock or eight o’clock relative to the face. A north-facing window gives steadier light; direct sun gives harder edges, so soften it with a sheer curtain.
Which face shapes suit Rembrandt lighting best?
Round and full faces benefit most, because the widest part of the face stays in shadow while the cheekbone takes the light. Narrow faces and very deep-set eyes can lose the shadow side too easily, so use a larger, softer source and add more reflector than you think you need. Anyone with a prominent nose gets a longer, more dramatic triangle, which is a bonus in black and white.
What is the 3 lighting rule in portrait photography?
The three-point lighting rule describes a key light, a fill light, and a separate background or hair light. Rembrandt lighting is not a three-point setup; it is a one-light pattern where the key does nearly all the work and the reflector is optional. Many photographers use a Rembrandt key with a separate background light to separate a dark head from a dark backdrop, but the face pattern itself still comes from one source.
Conclusion
Put one light above and to the side of a subject who is turned about 45 degrees toward it, and shoot from the other side. Take one frame with no fill, look for the small triangle of light under the shadow-side eye, and only then bring in a reflector to soften what is too dark. Once the triangle appears, everything else, height, distance, modifier, lens, is just refinement.