Blown-out highlights are patches where the sensor recorded pure white with no detail at all, and no editor can put texture back into them later. To avoid blown out highlights in portraits, meter for the brightest skin on the face, watch the histogram for clipping at the far right, and pull exposure down until nothing sits against that edge.
The fix takes about ten seconds once you know where to look, and it matters more in portraits than in any other genre. Shadows lift back in post; clipped highlights stay gone. Since the viewer looks at the face first, a white patch on a cheek or forehead ruins an otherwise well-exposed frame.
What You Need
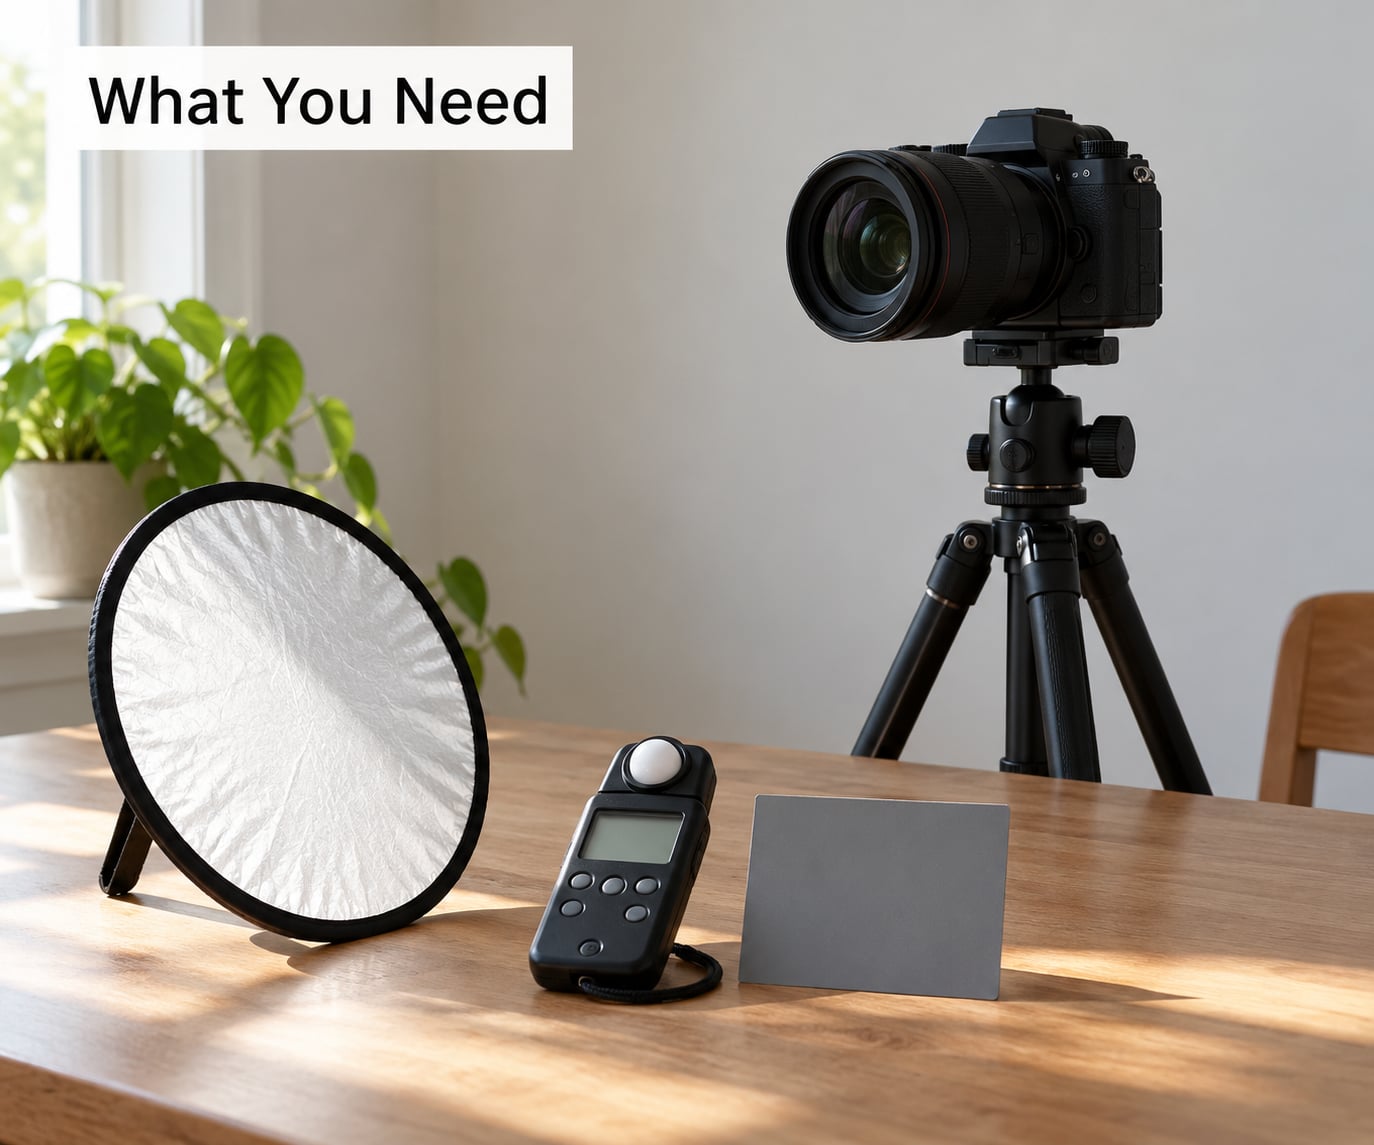
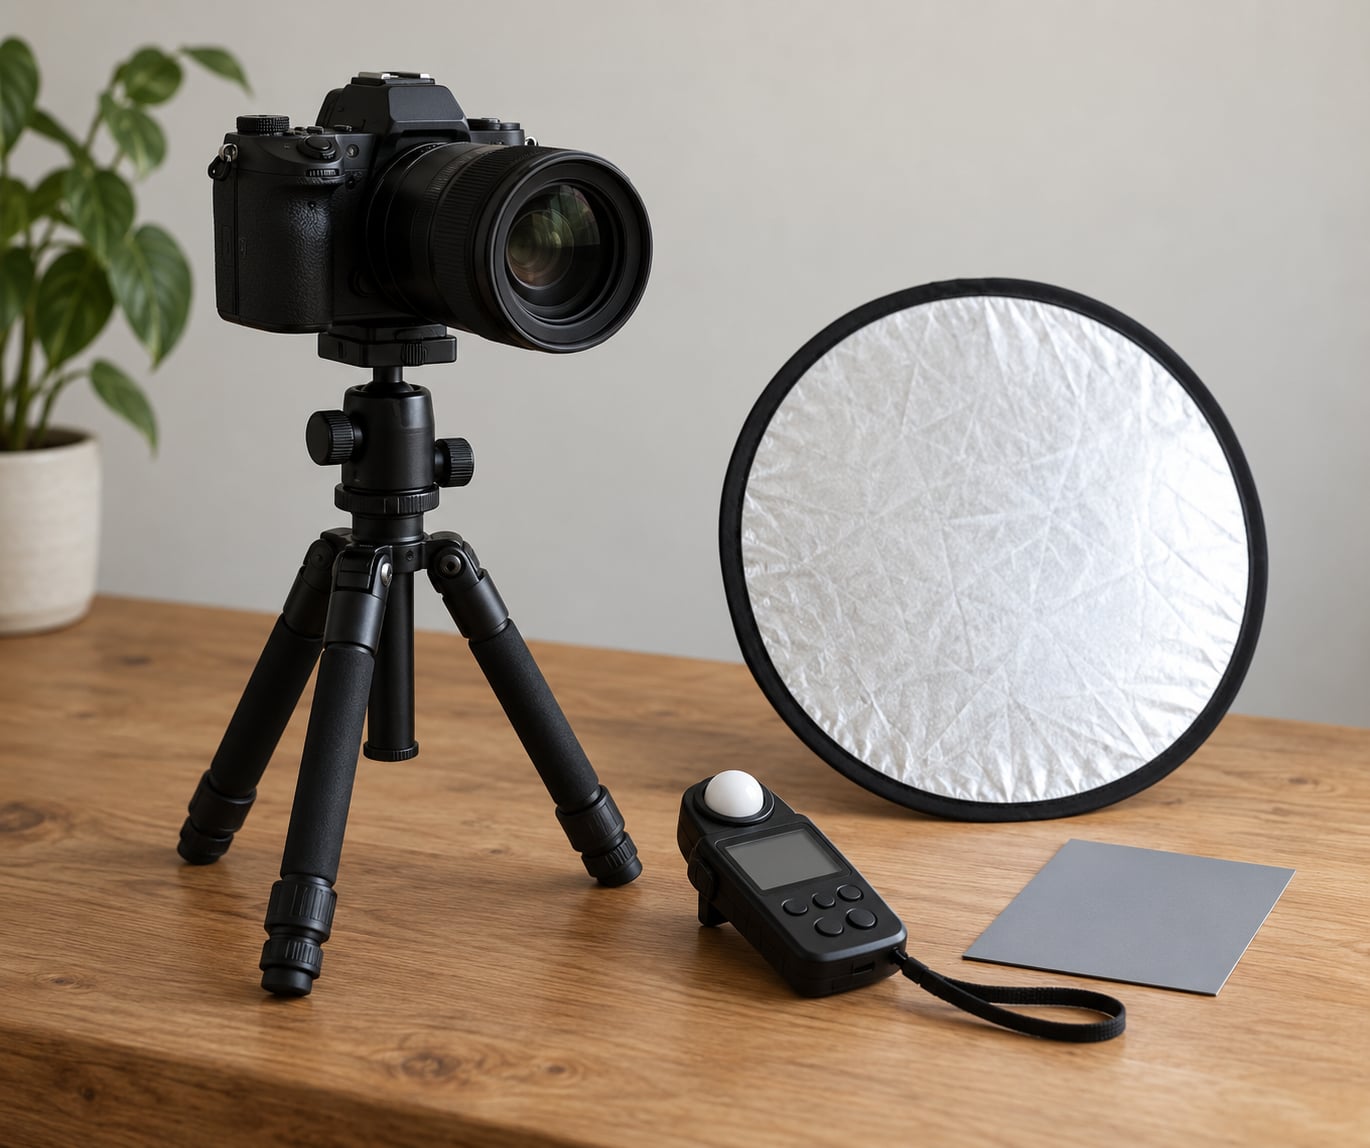
You need far less gear than most people assume. A camera with a live histogram and a highlight warning covers the diagnosis, and everything else is about giving yourself enough light and enough control over where that light lands.
- A camera with histogram and highlight alert. Nearly every DSLR and mirrorless body made in the last decade has both. Nikons call the highlight warning blinkies, Fujifilm and Canon bodies show zebra stripes at a level you can set.
- RAW capture. It costs nothing and gives you the widest latitude in editing, though it does not save a clipped pixel.
- Spot or partial metering. Both are in the menu on every camera; they let you meter off a forehead instead of off the whole frame.
- An 18% grey card. Not mandatory, but it teaches you how much brighter skin reads than mid-grey.
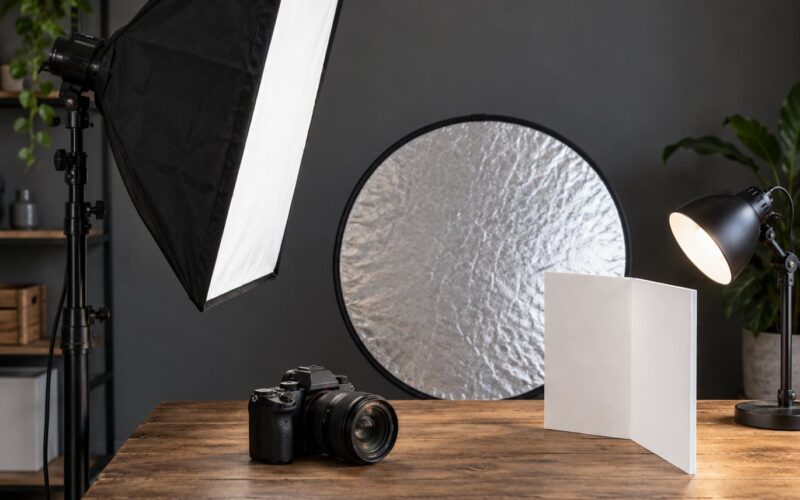
- A reflector or small fill light. A white card on a stick costs almost nothing and cuts the lighting ratio on the shadow side, which is where hot spots come from.
- A diffuser for outdoor work. A thin white bedsheet or a collapsible diffuser softens the one light you cannot move, direct sun.
- An editor. Lightroom, Capture One, Darktable and the free options all have the same three sliders that matter: highlights, whites and exposure.
How to Avoid Blown Out Highlights in Portraits: Step-by-Step
The workflow runs in three stages: check before you shoot, control while you shoot, and recover afterwards. Each step below protects a different part of that chain. Skipping straight to editing is what leaves people with flat white patches on skin that could have been saved with half a stop of exposure compensation.
Check the histogram before and after exposure
The histogram is a graph of how many pixels sit at each brightness level, from black on the far left to white on the far right. A healthy portrait has a spread of tones with nothing jammed against the right-hand edge, because anything touching that edge is at or near maximum white and has lost its detail.
Turn on the live histogram before you raise the camera. Take a test frame of the brightest part of the face, look at the right edge, and if the graph piles up flat against it, drop exposure a third of a stop and shoot again. That is the entire routine, and most of the time it takes one adjustment.
Highlight alert does the same job without interpretation. Blinkies flash on any pixel hitting the clipping point, and zebra stripes paint diagonal hatching over a chosen threshold. Set the threshold slightly below white so you catch areas that are nearly dead but not quite, then keep shooting until nothing on the face is flagged.
One thing to know before you panic: the image on your camera’s screen is a JPEG rendered by the camera’s own processing, and that processing clips highlights long before the RAW file does. Plenty of photographers delete good frames because the preview looked blown. Open the file in your editor before you decide anything.
Expose for the brightest part of the face
Skin reflects considerably more light than an 18% grey card, often around a full stop more, and fair skin, freckles and red hair sit even higher on that scale. A meter reading the whole frame sees mostly background and mid-tones, decides the exposure is fine, and leaves the brightest skin pushed past the sensor’s ceiling.
That is the core reason portraits clip while landscapes usually do not. In a landscape the sky is the brightest thing and the meter protects it by default. On a face, the brightest thing is a small, moving, curved surface the meter barely notices.
Switch to spot metering and place the circle on the brightest part of the face, usually the forehead, the top of a cheek or the bridge of the nose. Take a reading, then dial in positive exposure compensation of roughly two thirds to one stop. Portrait photographers have metered off skin forever; spot metering just makes that instinct repeatable instead of a guess.
Partial metering is a good middle ground for group shots, since a single tiny circle can miss the face entirely when your subject moves. Center-weighted works well indoors where the subject fills the frame.
How to avoid blown out highlights from hard light and direct sun
Blown highlights come from contrast, not from light quantity. Direct midday sun on a face can produce a lighting ratio of well over ten to one between the lit side and the shadow side, and the only fix for a face that bright is to change the ratio, not to add more light.
Start with position. Turn the subject 45 degrees to the light so the brightest plane is the curve of the cheek rather than the flat of the forehead. Move the key light higher and further off axis, which spreads the hot patch out instead of concentrating it. If you are outdoors, walk the subject into open shade, under a building edge or a tree, rather than trying to process direct sun back into a portrait.
Then fill. A reflector or low-power fill light placed near the camera raises the shadow side and lowers the ratio, which is the difference between a bright highlight and a clipped one. Turn fill down rather than up when hot patches appear; too much fill flattens the face and pushes the whole thing closer to white.
Two details that cause more trouble than they should. Hair lights aimed too far forward land a bright streak on the nose or the lip, so aim them behind the head instead. And specular hotspots from skin oil, glasses and jewelry are tiny and very bright, so a dab of matte translucent powder on the T-zone or a slight change of angle often solves what looks like an exposure problem.
Use the right camera settings for the light you have
Aperture, shutter speed and ISO decide how much light reaches the sensor, and ISO is the one to protect last. A lower ISO means a cleaner file with more latitude for recovery, so try to drop ISO before you open the aperture wider than the depth of field you need.
On a bright day at f/4, 1/1000s, ISO 100, you have plenty of headroom and can stop down to f/5.6 for a softer background. Indoors at f/2.8 you may need ISO 800, which is still very workable in a RAW file. The exposure triangle gives you three ways to add light, and only one of them costs you quality.
| Situation | What clips first | Metering | EV change | Flash or light fix |
|---|---|---|---|---|
| Backlit at a window | Background, then rim on skin | Spot on face | -1 to -2 EV | Fill flash or reflector at the window |
| Harsh midday sun | Forehead and cheek | Spot on forehead | -1 to -2/3 EV | Open shade, negative flash compensation |
| Snow or sand | Background, then face | Spot on face | -1 EV | Expose for background, fill subject |
| White shirt | Shirt and collar | Spot on chest | -2/3 EV | Reposition key, lower power |
| Overcast or open shade | Rarely anything | Evaluative | 0 to +1/3 EV | No change needed |
| High-key studio | White backdrop and hair | Spot on subject | -1 EV | Lower background light separately |
Keep shooting RAW, and if your camera offers highlight-priority or flatter tone curve options, they are worth switching on for portraits because they roll highlights off more gradually instead of letting them hit the ceiling.
Keep bright clothing and backgrounds in mind
White shirts, pale suits, snow, sand and water all sit near the top of the range and steal the meter. A subject in a white shirt in open shade can need two stops less exposure than the meter suggests. Meter off the face, let the shirt land bright but not dead, and add shadow detail back in editing.
Windows are the most common version of this. With the subject in front of a bright window, expose for the face and let the window go white, or expose for the window and fill the face with flash. Forum photographers land on the second option most often when the background matters, because an on-camera flash at close range will overexpose the face unless you dial in negative flash compensation, often around -1 to -2 EV in bright sun.
Wrapping flash around the head or bouncing it off a nearby wall gives a softer fill than the bare pop-up and spreads the brightness across the face rather than concentrating it in the middle.
Recover near-clipped highlights carefully in editing
Start with the highlights slider, which targets the upper range without touching midtones. Pull it down until the brightest skin stops reading flat and starts showing texture, then move to whites for anything just below that range. Use a curve for surgical control if you need to, because the highlight end of a curve is the most precise tool you have.
Local adjustments beat global sliders when only one patch is hot. Mask the area, drop its exposure slightly, and blend the mask edges softly so there is no visible halo. Blend if on a channel can pull back a specific tone range such as orange skin tones, which is useful when the whole face is a touch too bright but the background is fine.
Add contrast with caution. Clarity, texture and dehaze all push bright values up, and a portrait that was fine in the RAW file can clip all over again in the final edit. Push shadows up gently and keep a hand on the histogram while you work.
Be honest about the limit. If a pixel is pure white in the RAW file, it holds no information, and no slider brings it back. That is why every fix here happens before the shutter rather than after it.
Common Mistakes
Trusting the built-in meter. It reads the whole frame and protects the background, which is the wrong priority in a portrait. Switch to spot or partial metering and put the circle on the brightest skin you can see.
Exposing for the background and hoping. A blown window is a choice; a blown face is usually an accident. If the background is the priority, put a fill light or flash on the subject instead of leaving the face in shadow.
Turning fill up to fix a dark face. That flattens the skin and pushes both sides toward clipping. Lower the ratio at the source by repositioning the key or moving the subject, then add just enough fill to open the shadows.
Aiming hair lights too far forward. A rim light placed above and in front of the subject puts a hard white streak on the nose or lip. Move it up and back until it only catches the hair and the shoulder line.
Adding contrast until the highlights clip again. Clarity and texture push the top end upward. Watch the histogram while you adjust, and stop before the right edge fills in.
Deleting a frame because the LCD looked blown. The on-screen JPEG clips highlights more aggressively than the RAW file does. Open the file before you trust the preview.
One habit ties all of this together: underexposing on purpose is fine, but aim it at the subject, not at the whole frame. About a third of a stop under a correct reading costs almost nothing in a RAW file and buys you room to lift the shadows afterwards.
Frequently Asked Questions
Can you fix blown out highlights that are already clipped?
Only partly. Highlights that are near clipping recover beautifully with the highlights slider, whites or a curve. Areas that hit pure white in the RAW file contain no data at all, so they will stay flat no matter what slider you touch. This is why photographers trying to avoid blown out highlights in portraits fix the exposure before the shutter rather than after it.
Should I underexpose to protect highlights in a portrait?
Not as a rule. Deliberately underexposing by a third of a stop can help, because it keeps more highlight data and RAW files lift shadows well. What matters more is which part of the frame you underexpose for. Meter off the brightest skin, then decide whether you would rather lift shadows later or accept a brighter background.
What do the blinkies or zebra stripes on my camera mean?
They flag any pixel reaching or passing a brightness threshold you set. Nikons call them blinkies, while Canon and Fujifilm draw zebra stripes at a chosen level. Either one tells you a tone is at or near maximum white. Set the level just below white so you catch almost-dead areas early, then adjust exposure until nothing on the face is flagged.
How do I stop a backlit face blowing out at a window?
Meter off the face, not the window. Set spot metering on the forehead, take the reading, and add roughly a stop of positive exposure compensation so the face is not left in shadow. If the window must stay bright too, add fill from a reflector or a flash bounced off a nearby wall, which lifts the face without pushing the background any brighter.
Why does my camera screen show blown highlights when the RAW file is fine?
The screen shows an in-camera JPEG, and the camera’s own tone curve clips highlights more aggressively than the RAW data does. That preview looks worse than the file it represents, which is why people discard usable frames. Open the original in your editing software before deciding whether a shot is truly blown.
Conclusion
Start at the histogram. Meter off the brightest skin on the face, take the reading, and lower exposure until nothing on the forehead or cheek is touching the right-hand edge. After that, change the light rather than the settings: reposition the key, open shade, and dial the fill down so the lighting ratio does not push skin toward white.
Only then open the file and pull the highlights down. Fixing this before the shutter takes ten seconds a frame, and fixing it afterwards cannot work at all.