To shoot portraits in low light without flash, you open the aperture as wide as the lens allows, raise the ISO until the exposure comes together, and slow the shutter to buy more light than the first two settings can deliver. The whole game is support: with a tripod, a braced camera or a two-second timer, you can hold that slow shutter and still get a sharp frame. This is the version of low light portrait photography that every photographer has to know, because a dim reception hall or a night street does not care what you planned.
The honest version is that this is a trade, not a trick. Aperture costs depth of field, ISO costs fine detail, and shutter speed costs sharpness. Pick the one you are least willing to lose for the shot in front of you, and you can make almost any dim room work. Most of it takes ten minutes of setup, and a surprising share of it happens before you lift the camera.
Table of Contents
- What You Need
- Step-by-Step: How to Shoot Portraits in Low Light Without Flash
- Frequently Asked Questions
- What ISO should I use for low-light portraits without flash?
- Is image noise unavoidable when shooting portraits in low light?
- Should I use a tripod when photographing people in dim conditions?
- How do I focus accurately in low light without a flash?
- Can I use a window as the main light for a portrait?
- When is using a flash better than shooting without one?
- Conclusion
What You Need
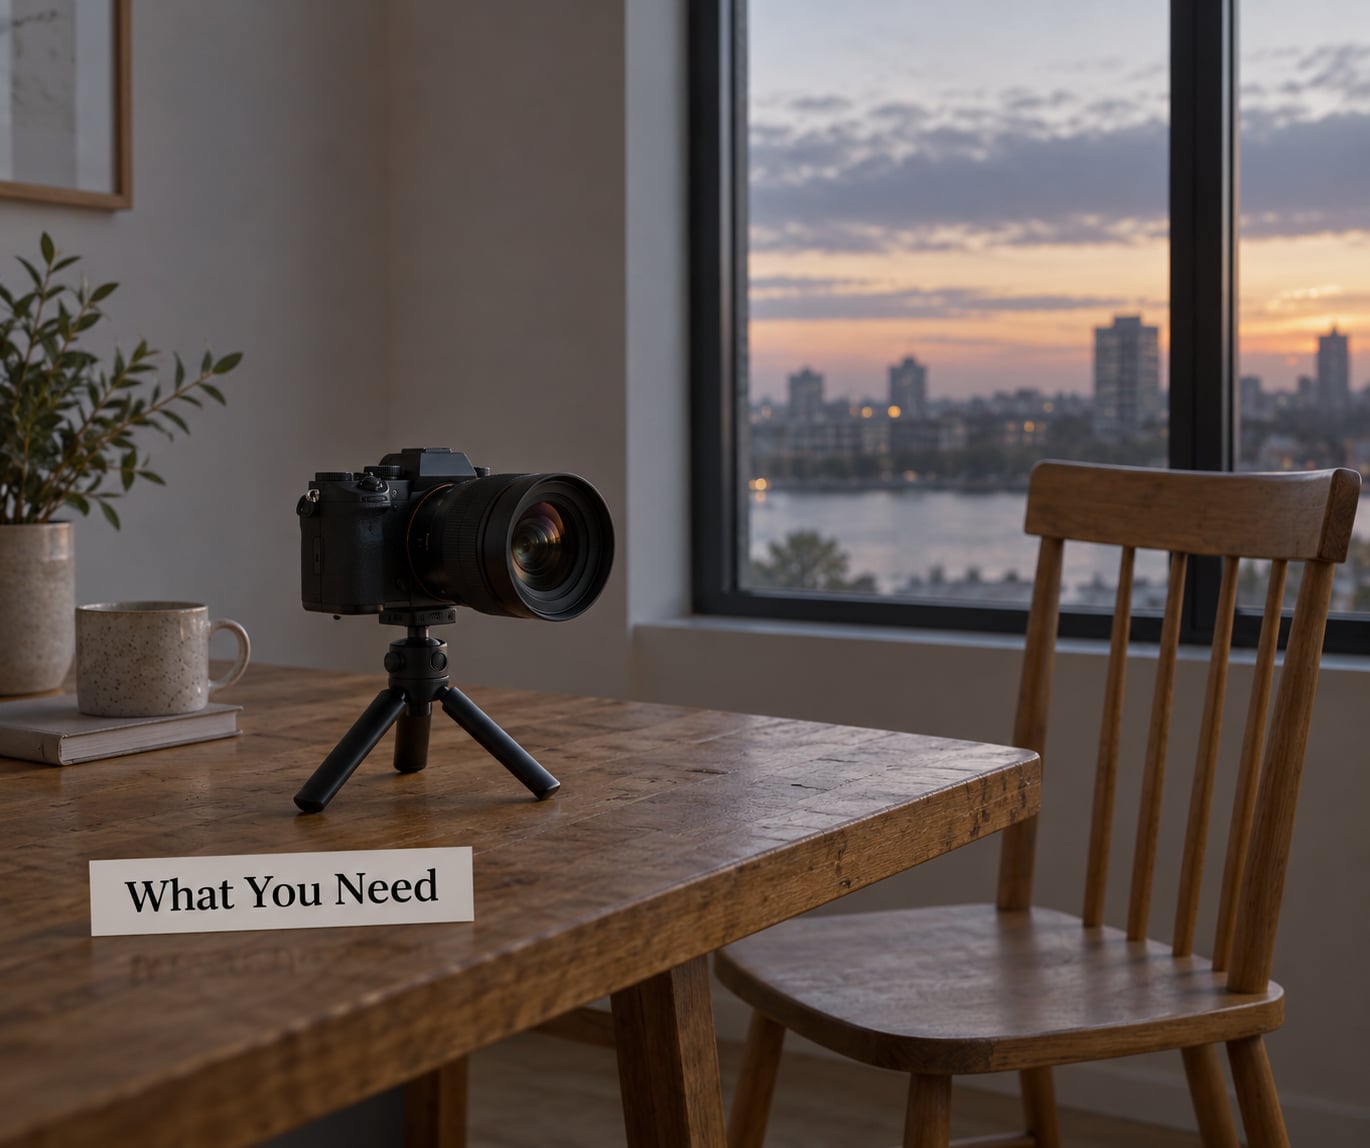
Any camera with a manual exposure mode will do. That includes a phone, which the settings table below covers in a single row, but the rest of this guide assumes a camera where you can set aperture, shutter speed and ISO independently.
A fast lens helps a great deal. An f/1.8 or f/1.4 prime collects roughly twice to four times the light of a kit zoom at its slow end, and the shallower depth of field gives you that separated, background-melted portrait look people recognise instantly. A slow kit lens at f/3.5-5.6 is not a dead end, it just means you will live at a higher ISO and you will shoot with more care about focus. A lot of the advice floating around online assumes primes and quietly ignores the people holding a kit zoom.
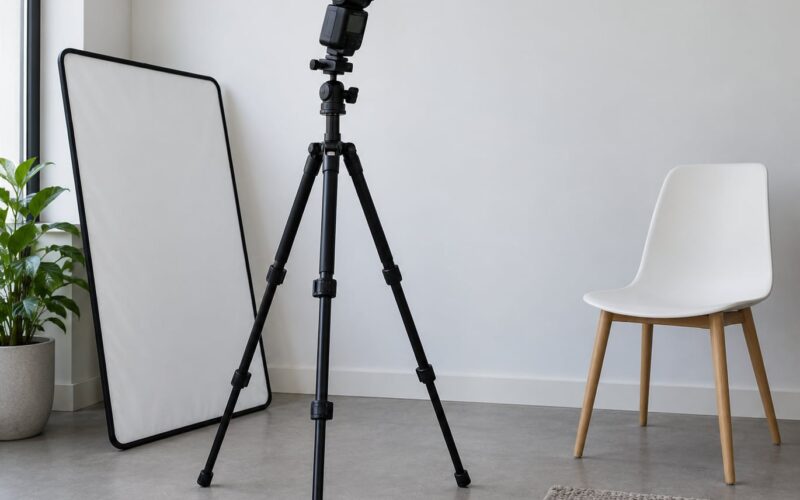
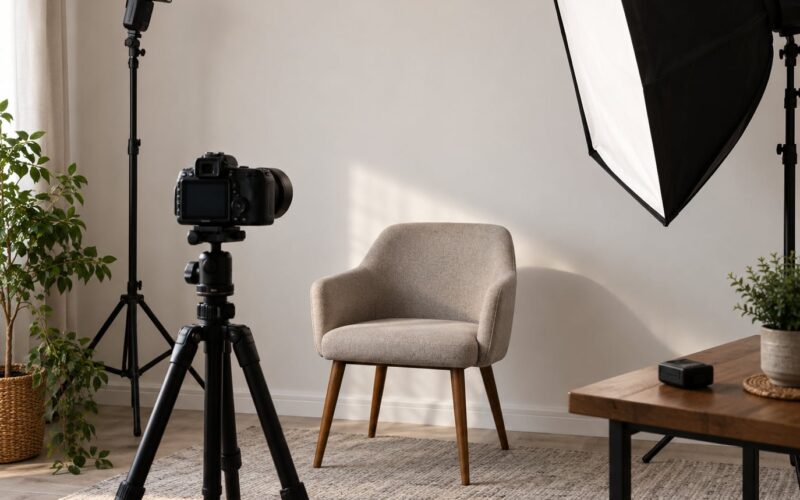
Bring a tripod, even a small one. On the dpreview.com forums, beginners routinely treat a tripod as serious equipment; it is the cheapest reliability upgrade in low light photography. A two-second self-timer or a wireless remote release costs nothing at all and does the same job.
Then some smaller items. Shoot RAW, because a high-ISO file that looks rough on the back of the camera usually recovers well in post. Keep a spare battery charged, since long exposures and live view eat them. A grey card or a white sheet of paper lets you set white balance in mixed colour light instead of guessing, and a reflector, or just a pale wall you can ask the subject to stand near, is the cheapest fill light in photography.
Step-by-Step: How to Shoot Portraits in Low Light Without Flash
Here is a starting point. Adjust from these numbers rather than treating them as rules, because the light in front of you has its own opinion.
| Situation | Aperture | Shutter speed | ISO | Support | Note |
|---|---|---|---|---|---|
| Dim room, subject holds still | f/1.8 to f/2.0 | 1/60 s | 1600 to 3200 | Tripod or timer | Stillness in the subject is mandatory |
| Reception or bar, subject talking and moving | f/1.8 | 1/125 to 1/200 s | 3200 to 6400 | Steady both hands, brace elbows | Trade some ISO for movement |
| Window-lit room, near dusk | f/2.0 to f/2.8 | 1/125 s | 800 to 1600 | Handheld is fine | Expose for the face, not the window |
| Neon or street-lit exterior | f/1.8 | 1/160 s | 1600 to 3200 | Handheld, elbows in | Colour casts are part of the look |
| Smartphone, subject still | Portrait mode if it holds focus | Night mode | Auto | Two hands, elbows locked | Ask for a second of stillness |
How to Shoot Portraits in Low Light Without Flash: Prepare the Location
Start by removing what works against you. Overhead ceiling lights create shadows under the eyes and a flat, unflattering top light, so switch them off if you possibly can. A television, a bright screen or a vending machine in the corner of the frame will drag the viewer’s eye straight out of the portrait, so either move to shoot away from it or change the angle so it sits behind your head instead of beside it.
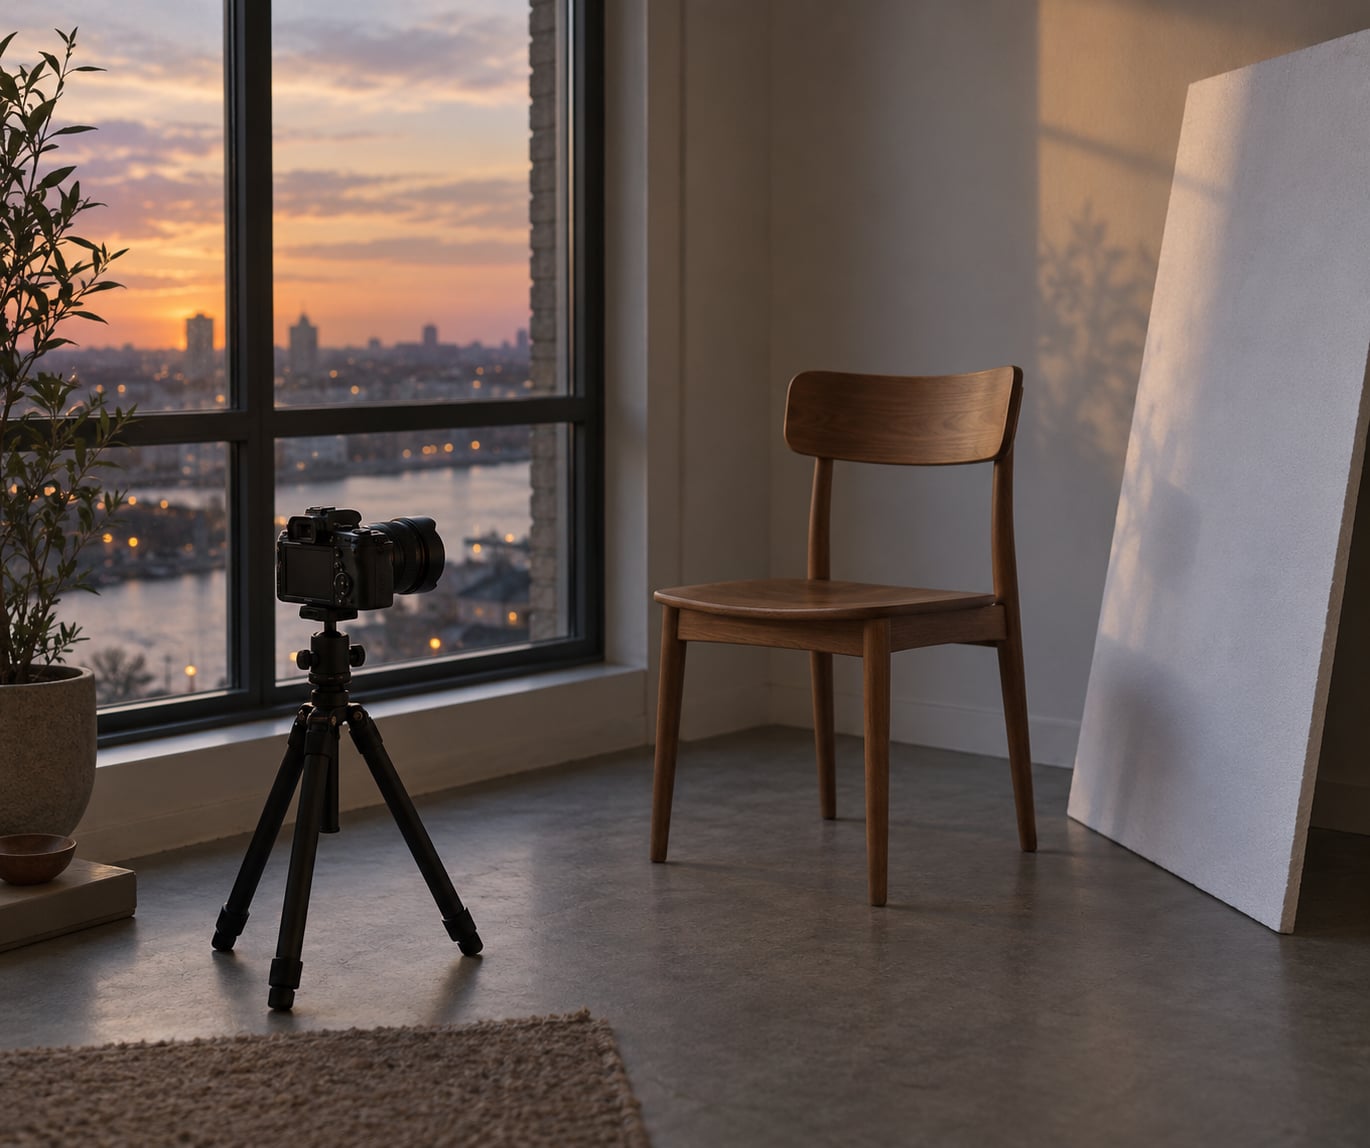
Then put your subject near a large light source and close to it. A window, a patio door or even a bare bulb gives far more usable light than the middle of a room, because the subject gets to absorb it. The size of the source also decides how the light looks: a big window wraps softly around the face, a single bulb draws hard shadows under the cheekbones. Both work. You just have to know which one you are standing under.
Turn the face toward that light at roughly 45 degrees, which is usually a good compromise between shadow and flatness. Have the subject step close to a pale wall or the subject’s own light clothing, and you have just built a reflector out of the room you are already in.
Use a Practical Camera Setup
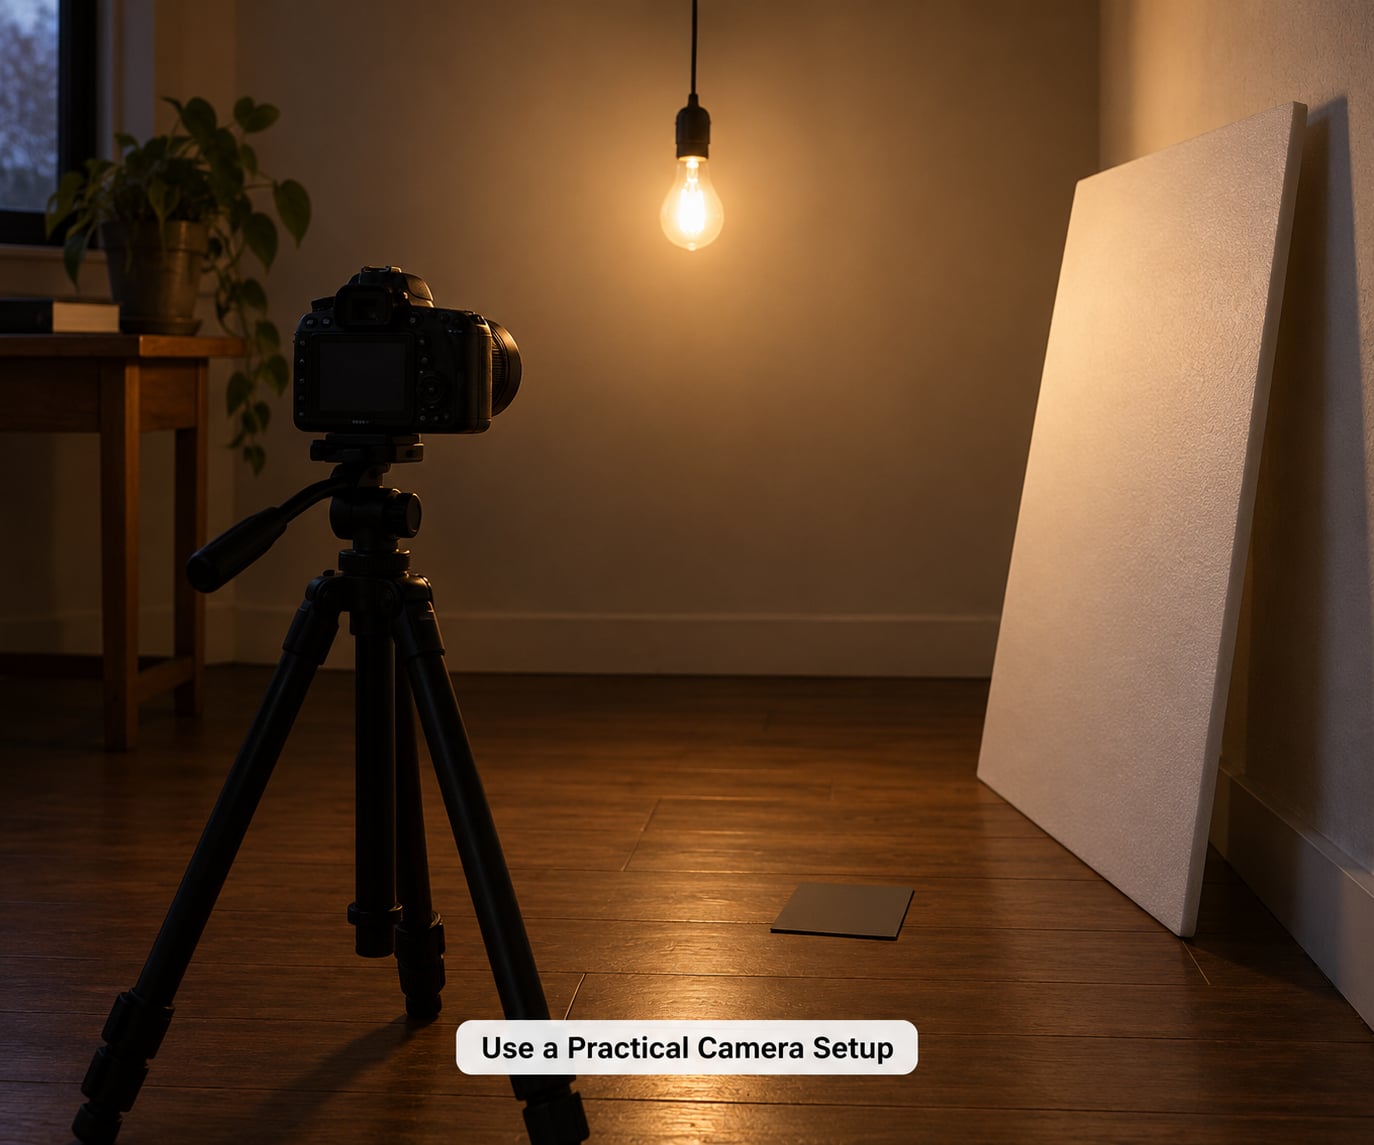
Work through the exposure triangle in a fixed order so you are not changing three things at once.
Aperture first. Set the widest aperture your lens offers. Be f/1.8 for a subject standing six feet away or more, and f/2.8 to f/4.5 when you are close in and want the eyes and the back of the head both sharp. Note that the same lens at f/1.8 loses sharpness across the frame, so for a wide-eyed headshot you want to stop down to around f/4 rather than shoot wide open.
ISO second. Raise it until the histogram shows an exposure. Find your own ceiling rather than borrowing somebody else’s number. Shoot the same static subject at ISO 800, 1600, 3200, 6400 and 12800 in identical light, then look at them at 100 percent on a decent monitor. The highest setting where the shadows still look smooth rather than blotchy is your ceiling for people. Older bodies hit that wall early, which is exactly what people on r/AskPhotography mean when they point out that a pre-2018 camera runs out of clean ISO long before a recent mirrorless body does.
Shutter third. Start at 1/125 s for a person who moves and 1/60 s for a person who holds still. Anything slower and you need the subject to genuinely stand still, which is a bigger ask than it sounds.
Set this in manual exposure rather than fully automatic mode. The most useful compromise I have found is manual exposure with auto ISO capped at your ceiling, so the camera handles the brightness while you keep control of aperture and shutter. r/concertphotography users shoot a similar hybrid on stage for the same reason. Leave exposure compensation on at zero and stop the camera from quietly pushing your shutter speed somewhere you did not ask for.
Check the histogram and the highlight warnings before you commit. Watch the bright source, not just the face. If the window or the lamp is clipping hard, you can pull exposure down and lift the shadows in post, but only if the file is RAW.
Establish Focus on the Subject’s Eyes
Focus is the one thing post-processing cannot rescue, and it is the most common failure in this situation. A grainy sharp frame is recoverable. A soft frame is gone. Forum threads about dim venues fill up with exactly this complaint, so I take it seriously.
Use single-servo autofocus (AF-S on Canon and Nikon bodies, single AF on Sony) rather than continuous, so the camera locks once and stops hunting. Select a single autofocus point and place it on the nearest eye. Continuous modes will try to track a face in a dark room and wander off to the background, which is often brighter than the person.
Back-button focus is worth setting up if your camera has it. Put the autofocus button on your index finger, focus on the near eye, then reframe without touching the shutter button. The focus stays locked to the eye, which beats focus-and-recompose every time the camera is struggling to see.
If the camera genuinely cannot find focus, give it something to see. Turn on the focus assist beam, or ask someone to shine a phone flashlight on the subject’s chest for a second while you focus. Focusing on a bright shirt often works when focusing on a face does not.
Set the Exposure Without Adding Light
Expose for the face. That means the meter reading is the one you care about, and the background is allowed to fall away into darkness or blow out behind the subject. A background of pure black separating your subject is not a mistake; it is one of the most flattering things about shooting in the dark.
Once the face sits in the upper-middle of the histogram with the brightest points close to but not touching the right-hand wall, stop adjusting. Then lift the shadow side with a reflector, a white foam board, a pale wall, or even a sheet of white paper held by an assistant.
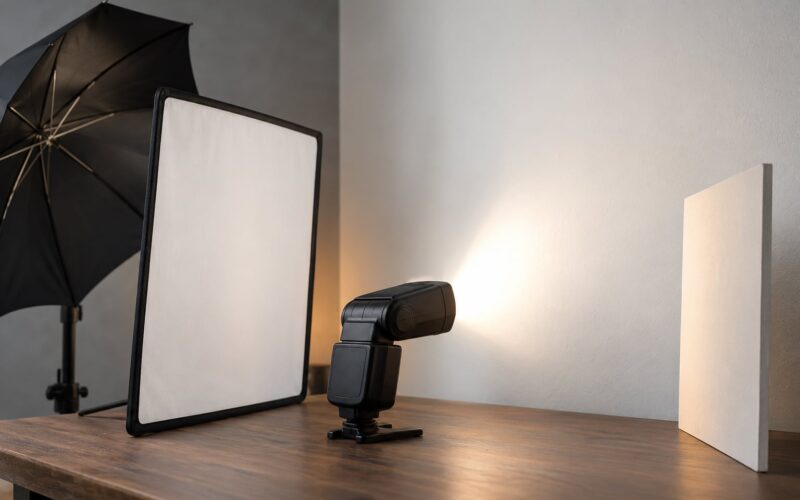
When there is no surface available, a continuous LED light is the honest alternative to flash. A small video light or an LED wand gives you directional, repeatable, fully controllable light, and unlike a flash you can see exactly what it is doing before you take the picture. Photographers often call that cheating when a flash is involved, which is a fair argument about intent but not a technical one. A direct on-camera flash in a dim room gives you a hard, flat, red-eyed portrait; continuous light does not.
Direct the Subject and Keep the Image Natural
A slow shutter changes the deal with your subject, so say so before you start. At 1/60 s a hand moving while the body stays still will smear. Ask for weight on the back foot, hands relaxed rather than clasped, shoulders dropped and turned slightly away from the camera, chin forward and down a touch rather than tucked in. Small shifts, not big poses.
Keep the face turned toward the light and the body angled away. It is a small change in the geometry of the face that does more for a portrait than any piece of editing software. And keep talking between frames, because a person who knows what happens next stops holding their breath.
Review Results and Make Small Adjustments
Look at three things on the back of the camera at 100 percent before you move on. Is the nearest eye sharp? Is there a catchlight, or is the eye a flat black hole? Is the skin tone warm and even, or has a green fluorescent tube turned the face a colour no human has?
Then change one variable. ISO up one stop if the frame is too dark, shutter down one stop if the subject moved, reposition if the light is flat. Confident diagnosis beats fast guessing, and the histogram tells you more than your eyes do in a dark room.
In post, work on the RAW file in this order: set white balance by eye first, because everything after it depends on it. Drop the highlights where the lamp clipped. Lift the shadows. Then apply noise reduction in Adobe Lightroom, starting around a luminance value of 20 to 30 and the detail slider pulled down, so grain reduces without skin turning plastic. A little visible grain on a moody portrait reads as a choice; heavy, blotchy noise reads as a mistake.
Common Mistakes
Shutter speed too slow for the subject. If they are talking, laughing or breathing heavily, 1/30 s will blur their mouth and eyes. Slow down only when the subject is genuinely still.
ISO climbing higher than it needs to. If you have not checked the histogram, you may be shooting ISO 12800 when ISO 3200 would have done it. Read the meter before you decide.
Trusting the brightest focus point. In a dark room the contrast-detect system often locks onto the lit background behind your subject. Pick the point yourself and place it on the near eye.
Frontal light on the face. A lamp or screen behind the camera flattens every feature. Turn the subject toward the source instead, and let the shadow side go dark.
Protecting the background at the subject’s expense. If you expose for a bright window or a neon sign, the face turns into a silhouette you did not want. Meter the face, let the background blow.
Shooting JPEG. High-ISO JPEG files bake in the noise and clip the highlights permanently. RAW keeps the latitude to fix both later.
Frequently Asked Questions
What ISO should I use for low-light portraits without flash?
Start at ISO 1600 in a dim room and raise it until the histogram shows a usable exposure. Most modern mirrorless bodies stay acceptable to ISO 3200 or 6400 for portraits, while older bodies often stop looking clean around ISO 800 to 1600. The only reliable ceiling is the one you find yourself: shoot the same subject at several ISO settings in identical light, zoom to 100 percent, and note where the shadows turn blotchy.
Is image noise unavoidable when shooting portraits in low light?
Some grain is unavoidable, because the sensor has less light to work with than it would in daylight. What matters is how it looks rather than whether it exists. Shoot RAW, and noise reduction in Lightroom or your editing app can take the luminance value to around 20 to 30 while keeping detail in the shadows. A little grain suits a moody portrait; heavy colour blotches on skin do not.
Should I use a tripod when photographing people in dim conditions?
Yes, whenever the subject can hold still and you can set the camera down. A tripod plus a two-second timer or remote release buys you three or four stops over handheld, which is the difference between ISO 1600 and ISO 12800. If you are working in a crowded room or your subject is moving, handheld with elbows braced against your ribs and a shutter speed of at least 1/125 s is more practical.
How do I focus accurately in low light without a flash?
Use single-servo autofocus with a single focus point placed on the nearest eye, and turn on the focus assist beam if your camera has one. Back-button focus lets you focus and then reframe without the camera refocusing. If autofocus still fails, have someone shine a phone flashlight on the subject’s chest, or focus on a bright shirt. Once focus locks, confirm it before moving the camera.
Can I use a window as the main light for a portrait?
A window is one of the best light sources available and it is free. Place the subject close to it, about a metre away, and turn their face 45 degrees toward the glass so the light wraps around instead of flattening the face. Expose for the face rather than the window, or the whole portrait turns into a silhouette. Light from a large window is also soft, which flatters skin far better than a bare bulb.
When is using a flash better than shooting without one?
A flash is better when you need to freeze a moving subject, when a room has no usable light at all, or when you need to lift a face out of deep shadow while keeping the background dark. It is also faster than pushing ISO indefinitely. What is usually not better is the built-in pop-up flash, which produces a flat, hard, red-eyed result. A continuous LED light gives you most of the control of a flash without the look.
Conclusion
To shoot portraits in low light without flash, work in this order every time. Find directional light that already exists and put your subject in it. Stabilise the camera if you can, with a tripod, a wall or a two-second timer. Focus on the nearest eye and confirm it before you reframe. Expose for the face and let the background go dark. Then change one variable at a time, and you will stop wondering whether the result was bad light or bad technique.
Updated for 2026.