Metering for skin tones means taking a reading off the face and then adjusting it, because the camera’s built-in meter assumes an 18% grey world and skin is almost never middle grey. Point a spot meter at the brightest lit skin, decide where that skin should sit tonally, and convert the difference into stops. Then check the result on the histogram and the highlight warnings before you shoot. Five minutes of this habit fixes the muddy-skin, blown-highlight problem that ruins more portraits than bad lenses do.
The reason the shortcut fails is worth stating plainly. A reflective meter measures light reflected off a subject and renders whatever it reads as middle grey. Point that at a face and the camera works hard to make a deep complexion look pale and chalky, or blows a fair one to a white blob. A commenter on neilvn.com put it better than I can: you cannot just zero your camera’s meter reading on skin tones, because you have to work out how that particular skin needs to be reproduced in terms of brightness. That is a placement decision, not a settings decision.
What follows is the process I use: a short kit list, a step-by-step workflow, a table of stop offsets by skin tone, and the checks that tell you the reading is right. It works on a full-frame DSLR, a mirrorless body, and the manual mode in a phone camera.
The four terms that make the rest make sense
18% grey, also called middle grey: a grey surface that reflects 18% of the light hitting it, which the meter is calibrated to render as the middle brightness in a photograph. It is the reference point every reading is built around.
Midtone: any tone that reads as the middle brightness in the final image, whatever the original surface reflectance was. Skin is a midtone only for one particular complexion; for every other complexion the meter’s assumption is wrong by a measurable amount.
Zone: the Zone System’s scale from 0 to 10 for subject brightness, with each zone representing a doubling of reflected light. Zone 0 is pure black with no detail, Zone 5 is middle grey, Zone 10 is pure white. Working by zone is why the offsets below are numbers you can reason about rather than guesses.
IRE: short for incident resting exposure, and used on cameras as a 0 to 100 scale for measured image brightness, where 0 is black and 100 is white. Zebras and false colour displays report in IRE, which is how you turn a tone you can see into a number you can set.
Table of Contents
- What You Need to Meter for Skin Tones Accurately
- Step-by-Step: How to Meter for Skin Tones
- Step 1: Find the brightest important skin area
- Step 2: Take a spot reading on the skin
- Step 3: Decide where that skin should sit, and convert it into stops
- Step 4: Lock the reading and check it
- Which Metering Mode to Use for Skin Tones
- How to Meter for Skin Tones With a Reflected-Light Meter
- How to Meter for Skin Tones With the Camera Meter
- Check the Exposure in Different Light
- Why a Reading Goes Wrong in Practice
- Common Mistakes and How to Fix Each One
- Frequently Asked Questions
- Conclusion
What You Need to Meter for Skin Tones Accurately
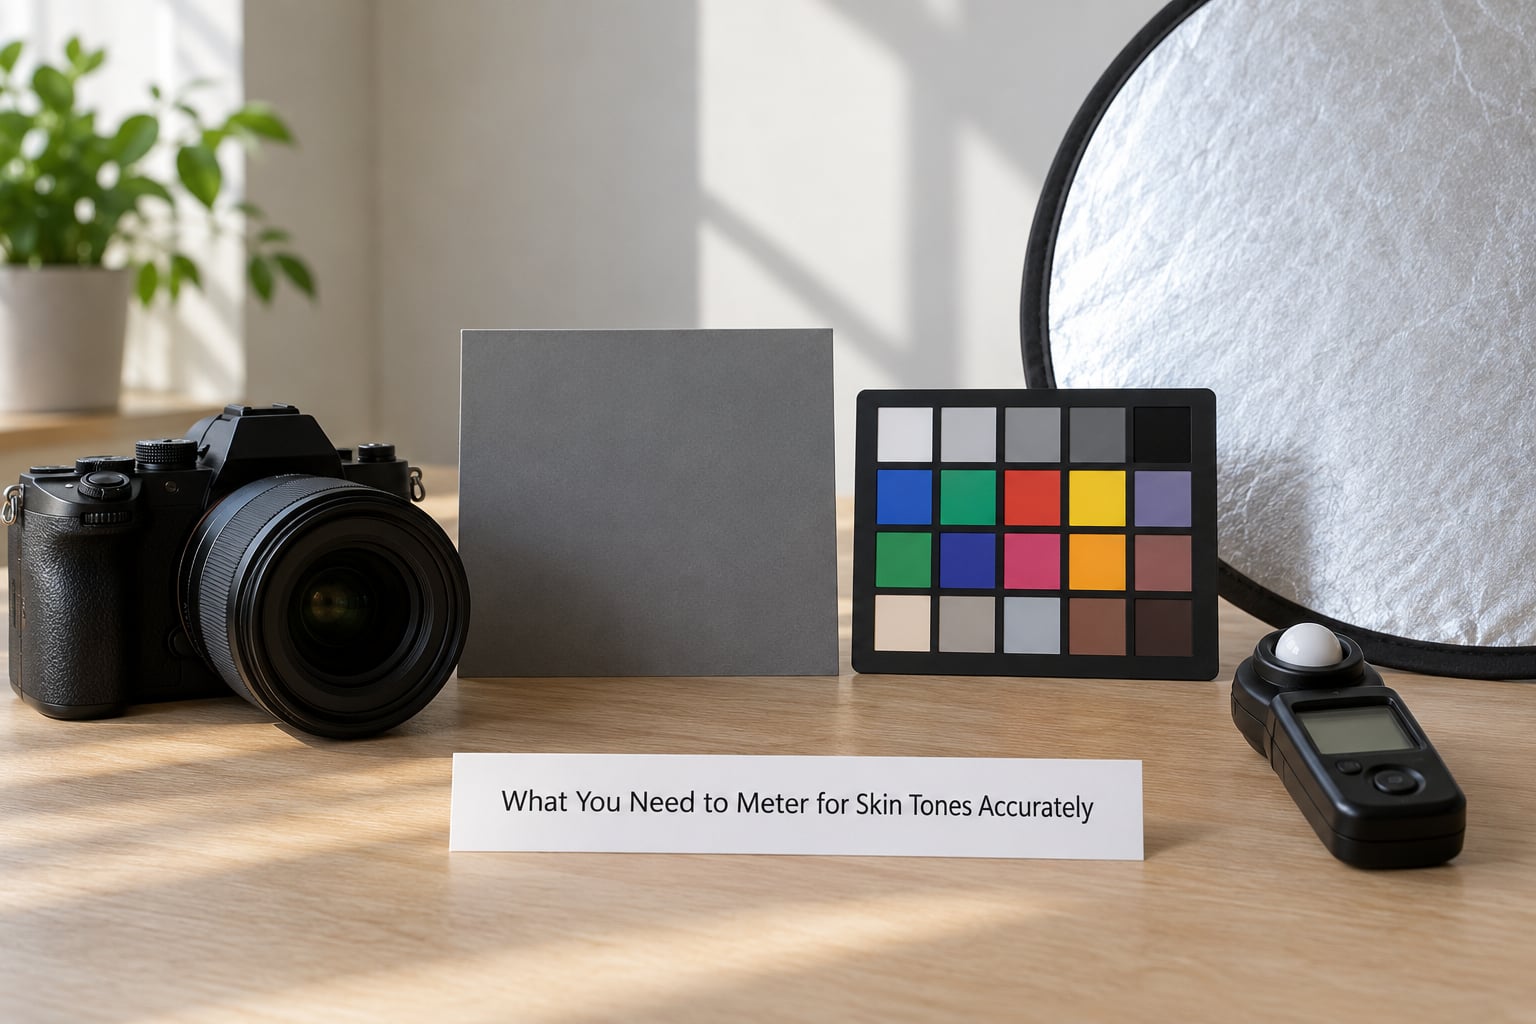
You need far less than a lighting kit. The essentials are a camera with a working light meter, a way to hold a reading steady, and something to verify the result on.
A meter you can trust. Every camera has one, and it is accurate even if the way it weighs the frame is not what you want. What varies between bodies is how much of the frame it considers, which is exactly the thing you are about to override.
Exposure compensation or manual mode. Auto exposure with compensation is fine for a first pass. Manual mode with a locked reading is better once light is shifting, because nothing changes between frames without you deciding it should.
A histogram and a highlight warning. The live histogram on the rear screen or in the viewfinder shows you where tones are landing. The blinkies, called highlight warnings on some bodies, show you exactly which pixels are clipping. Between them you have a real answer instead of a feeling.
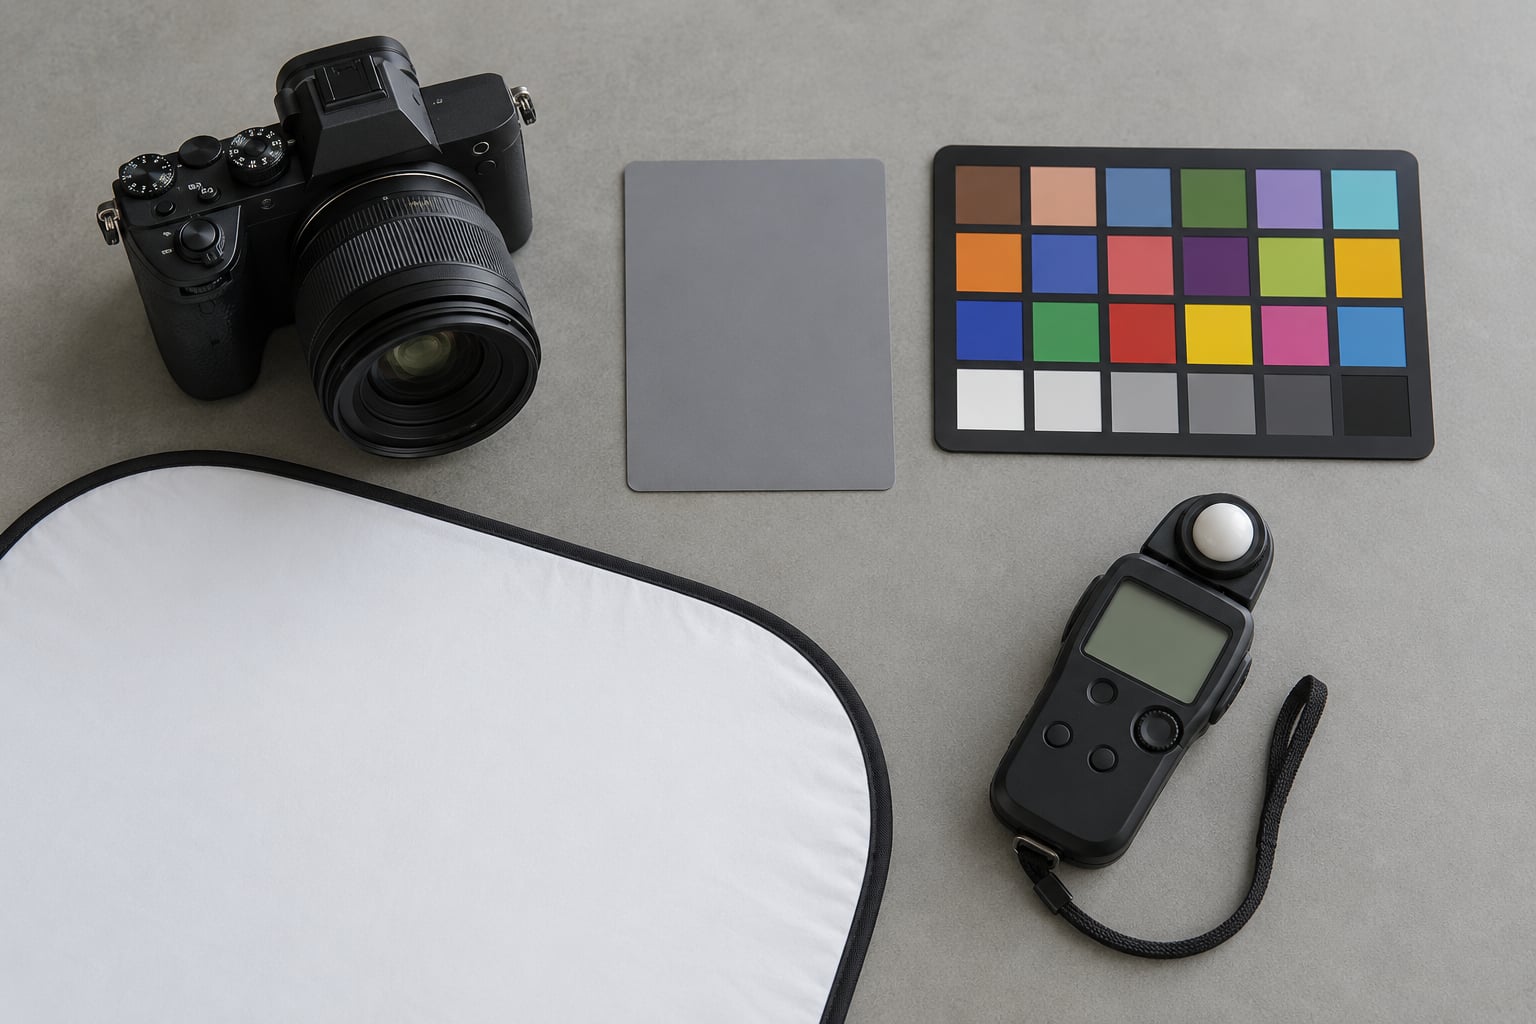
A grey card or color checker. This is the honest reference. Fill the frame with an 18% grey card in the same light falling on the face, meter it, and middle grey is by definition correct. It is the only measurement that carries no judgment call at all. A color checker adds a white point you can set custom white balance from and a skin-tone patch you can sample later in post, which is the workflow a Reddit user in r/Lightroom described: hold a grey card on the lit side of the face, expose, and you have both a white balance point and an exposure marker in one frame.
A hand-held light meter, if you shoot events or location work. An incident meter takes the light out of the equation entirely. It reads the light falling on the subject rather than the light coming back off them, so subject tonality never enters the calculation. That is why a Sekonic or Minolta in the bag is still worth its weight for a wedding, where you are walking into rooms you have never seen.
A reflector and a way to move the light. Most metering mistakes are lighting mistakes wearing a disguise. A white card or a collapsible reflector under the shadow side of a face fixes the contrast that made the reading look wrong in the first place.
Optional but useful: zebra or false colour display. Both Canon and Sony bodies can overlay the rear screen with brightness warnings, and a false colour mode paints measured levels in false colours. Once you know the number, you stop guessing.
Set the camera up before the subject arrives. RAW, manual exposure, 1/125s or faster and a wide-open aperture as a starting point, ISO left low unless the light forces it, and the metering mode chosen deliberately rather than left on whatever the last shoot ended with.
Step-by-Step: How to Meter for Skin Tones
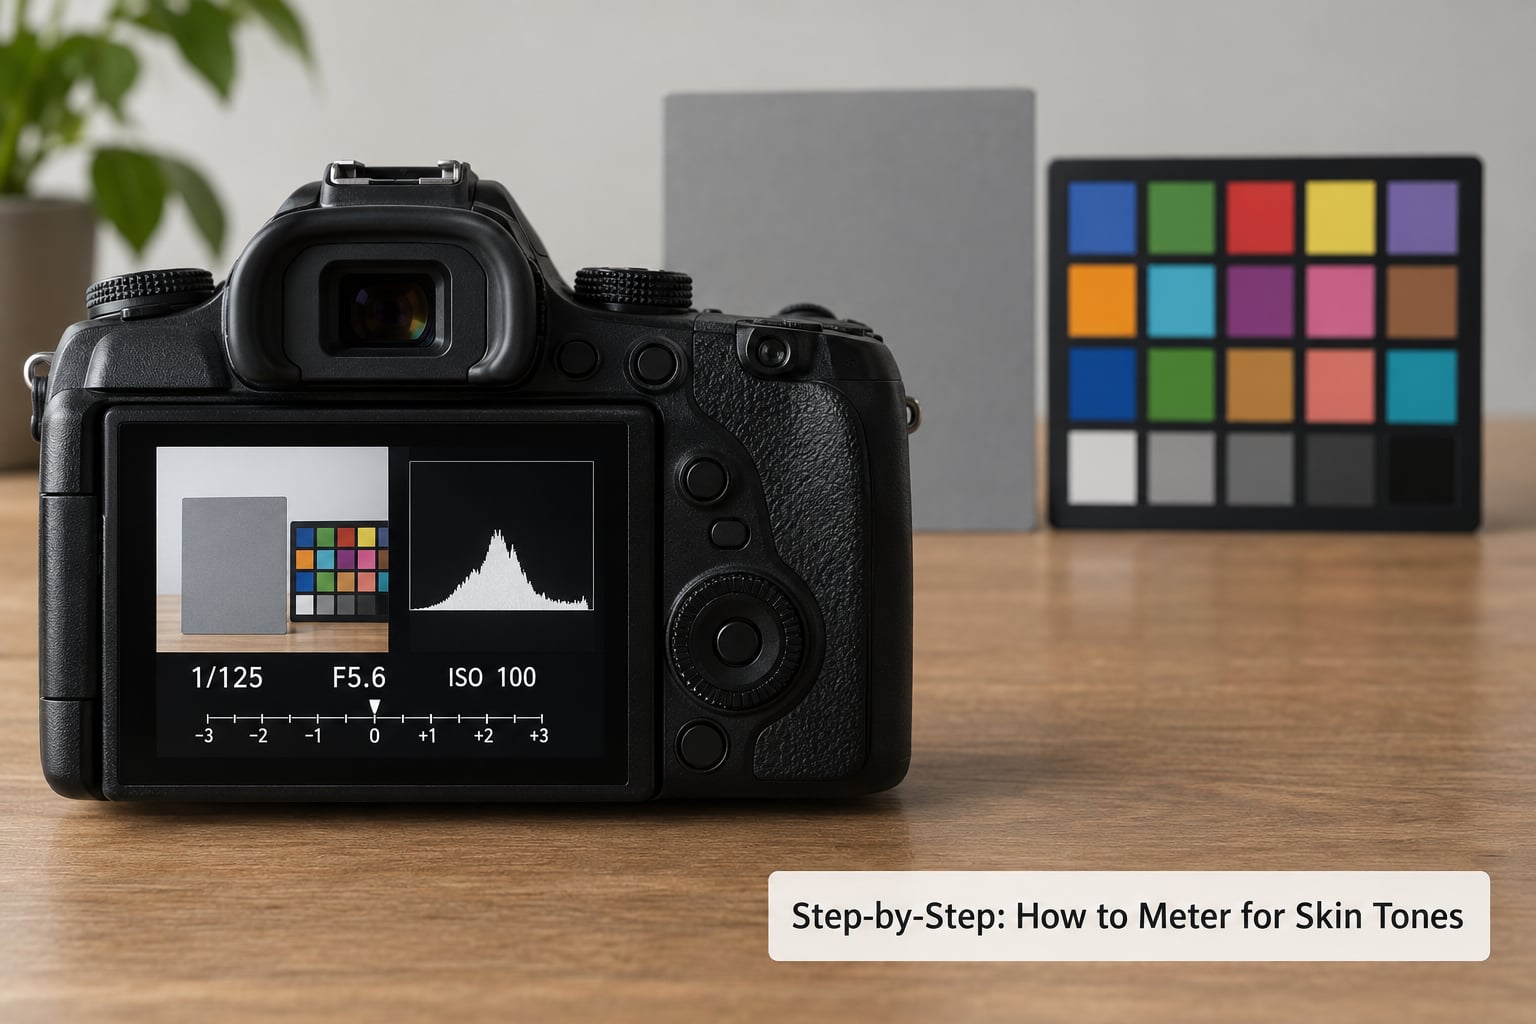
There are two ways to get a reading and both end at the same place. You can use the meter in the camera, or you can use a hand-held meter and treat the camera as a recorder. Whichever you pick, the workflow below is the same.
Step 1: Find the brightest important skin area
Before you meter anything, look at the face and find the lightest part of skin that carries detail you care about: the forehead, the top of a cheekbone, the bridge of the nose, the highlight on the chin. That is your anchor. Metering the shadow side instead is the single most common error, and it costs you a stop and a half you never had to spend.
Ask the subject to turn their face a few degrees toward the light so that the lit side is broad and even rather than grazing. A face turned away from the source has a bright sliver and a dark mass, and you cannot hit both.
Step 2: Take a spot reading on the skin
Select spot metering and put the spot circle on the lit area of the face. The circle covers roughly 3 to 5% of the frame, so fill it with skin. Partial metering at 10 to 15% is the useful middle ground when the face is small in the frame or you want the average of face and neck.
Watch the distance. An incident-style reading taken close to the face is wrong; a reflective reading is correct only if you meter from the same distance you will shoot from. Light falls off, so a reading taken at arm’s length does not match a 200mm shot at five metres. Take the reading at your actual shooting position.
Step 3: Decide where that skin should sit, and convert it into stops
Now the part everyone wants a number for. The camera has just told you the settings that render the skin you metered as middle grey, which is Zone 5. The arithmetic is therefore simple: count the stops between Zone 5 and the zone you want that skin to occupy, and apply that many stops. Fair skin, which you want open and bright, sits a stop and a half to two and a half stops above middle grey. Deep skin, which you want to read as deep, sits a half stop to a stop below it. Rendering a deep complexion above middle grey is exactly what makes it look chalky.
| Skin tone (as it appears on the meter) | Target zone | Adjustment to a reading taken off the skin | Where it lands on the histogram |
|---|---|---|---|
| Very fair, pale, freckled | Zone 7 to 8 | +2 to +2.5 stops, then check blinkies | Peaks near the right edge, detail still visible |
| Fair, light | Zone 6.5 to 7 | +1.5 stops | Rising hump right of centre |
| Medium, olive | Zone 5.5 to 6 | About +0.5 stop | Peak just right of centre |
| Tan | Zone 5 | Close to the reading itself, maybe +0.3 | Peak near the middle |
| Deep brown | Zone 4.5 to 5 | Minus 0.3 to 0.5 stop, or leave the reading alone | Peak at or just left of the middle, still open |
| Very deep brown | Zone 3.5 to 4.5 | Minus 0.7 to 1 stop, then watch the specular shine | Peak left of centre, not pinned to black |
Those numbers are starting points, not law. They depend on how much light is on the face, what the background is doing, and how you intend to edit the file. What they are not is the folklore. The old film advice to always add one stop for light skin is not a rule, it is a lazy average of a wide range of tones, and it gets deep skin badly wrong in the other direction.
Step 4: Lock the reading and check it
Switch to manual and the reading now stays put. Or stay in aperture priority and dial in the compensation. Either way, the exposure will not drift between frames while the light holds.
Take a test frame and check it three ways. Look at the histogram and see where the skin peak sits relative to the right edge. Look for blinkies over the brightest skin and note that they mean a pixel is at pure white in that channel, which is gone from RAW. Turn on the rear screen at maximum brightness outdoors and look at the face, since an outdoor screen is dim and hides clipping you would otherwise catch.
If the skin clips, take a third of a stop off and check again. If the face looks flat and grey, the problem is usually contrast in the light, not exposure, and moving the light or adding a reflector will do more than any stop you can add.
Which Metering Mode to Use for Skin Tones
Use spot metering for portraits. It is the only mode where the reading means what you think it means, because only the spot circle contributes to the decision.
| Mode | Frame area it reads | Use it when | For skin tones |
|---|---|---|---|
| Evaluative / matrix / multi-zone | Whole frame, segmented | Fast general shooting, street, snapshots | Weak. A bright background pulls the reading down and the face goes too dark |
| Centre-weighted | Large centre circle, roughly 60% of frame | Portraits with the head near the middle | Workable, but the frame edges sneak into the reading |
| Partial | 10 to 15% of frame | Average of face and neck, or a small group | Good, a sensible compromise |
| Spot | 3 to 5% of frame | Any time the face is the subject | Best choice. The reading is exactly the patch you placed the circle on |
Evaluative metering is the reason people describe exposure as unpredictable. Move the focus point and the reading changes, because the camera is re-weighting zones. That behaviour is useful for a landscape and terrible for a portrait with a bright sky behind it. One forum answer on dpreview.com advises setting the camera to matrix metering and compensating down for a backlit scene, which works, but it is compensating for a known error rather than avoiding it.
Separate metering from focus if your camera allows it. Assign metering to a button and leave focus on the lens or the shutter, so locking your reading does not drag a focus point across the frame with it.
How to Meter for Skin Tones With a Reflected-Light Meter
A reflective meter measures the light coming off a surface and is calibrated so that an 18% grey card reads as middle grey. Everything about using one on skin is about how far that skin is from 18%.
Put a grey card in the same light as the face, take a reading, note the settings. Now remove the card and replace it with the face in the spot circle, take a second reading, and the difference between the two numbers is your offset. Do that for each person you are about to photograph and write the offsets down. After a few sessions you will know your own regulars, and a group of mixed skin tones stops being a guessing game.
When you have no reference at all, there is a trick worth knowing. Meter sunlit concrete or green grass, both of which sit close to middle grey, and use that as your stand-in. A commenter on neilvn.com also suggests averaging skin with hair to approximate a true midtone, which works surprisingly well on a head-and-shoulders portrait.
With a hand-held meter in reflective mode, the readings are only valid from the distance and angle you actually shoot. Take a reading, walk to the position, shoot.
How to Meter for Skin Tones With the Camera Meter
Same idea, fewer moving parts. Spot meter the lit forehead, read the shutter speed or aperture, add or subtract the offset from the table, and lock it.
For deeper skin tones specifically, trusting the reading untouched gives you almost the opposite of what you want, and the reason is physiological rather than a camera flaw. Deep skin reflects a smaller share of the light falling on it, so a meter told to render it as middle grey lifts the whole face and bleaches the colour out of it. That is also why the correction goes the other way here, a fraction of a stop down rather than up, and why you judge the result on hue and depth rather than on brightness alone. Meanwhile, deep skin has a wide tonal range and shows strong specular shine on the lit side, which is why large soft sources help more than exposure changes. A commenter in an African American portrait thread on neilvn.com described exactly this: darker skin has a huge tonal range, and getting it right is a genuine challenge rather than an edge case.
Protect the highlights first. Modern sensors give you several stops of shadow recovery in RAW, so an under-exposed face can be lifted. A clipped specular highlight on the forehead cannot, and the texture that tells you it is skin is gone with it. Shoot the test frame, check the blinkies, and only then commit.
Check the Exposure in Different Light
Window light: soft, directional, changes every few minutes. Meter the face, watch the highlight on the lit cheek for clipping, and re-check when a cloud passes.
Open shade: the easiest light there is. The whole frame is a midtone, so evaluative metering gets close on its own and the exposure barely changes as the subject moves. Meter here first when you are learning to read skin.
Mixed lighting indoors: warm lamp on one side, cool window on the other, and the meter reads an average of two colour temperatures that exist nowhere in the room. Meter the face, set white balance deliberately to the source you trust most, and be ready to shoot RAW.
Backlight: a bright window or sky behind the subject, and the face drops into shadow. Meter the face and the background will clip, which is usually fine and often the point. Lift with a reflector placed just out of frame, or move the subject into open shade instead of fighting it.
Harsh midday sun: the opposite problem. A bright patch of sun on a cheek and hard shade on the other side is a one-and-a-half-stop spread that no single reading will hold. Move into open shade or turn the face away from the sun. Metering cannot fix contrast that a diffuser would.
Groups with mixed skin tones: this is the question that fills comment threads, and the honest answer is that one exposure cannot make every tone look natural. Set the exposure for the darkest skin in the frame, confirm no face is clipping, and accept that lighter faces will be brighter. If you need more, separate the group. A reflector aimed at one face changes that face, not the reading, so a light meter carried around the group is worth more than any single spot reading.
Flash and incident metering: when you meter the flash with an incident head or a flash meter, skin tonality stops mattering because the meter measures the light, not the return. Use a grey card or a colour target in the flash’s place of the face, take a reading, and set the manual power. With TTL, the camera is doing a reflective read behind the scenes and the same skin-tone problem returns.
On a phone: open the native camera app’s pro or manual mode, which on both iPhone and Android gives you ISO, shutter speed and exposure compensation sliders. The key difference from a dedicated body is that you cannot change the metering pattern, so compensate instead. A light meter app with a spot-meter overlay plus the ability to shoot RAW gives you a real reflected reading, and combining the two is a workable substitute for a hand-held meter. Lock exposure by long-pressing or using the AE/AF lock control, which most phones have.
Why a Reading Goes Wrong in Practice
Metering the background or the brightest thing in the frame rather than the face. With a bright window behind the subject, the reading belongs to the window.
Averaging readings from a dark area and a bright area. This habit comes from averaging meter advice applied to a subject that is not one tone. It reliably produces a face that is wrong in both directions.
Metering a face turned away from the light, then blaming the number. The light placement was the problem.
Changing focus and exposure in one press with evaluative metering, so the reading moves every time you recompose.
Using a variable-aperture zoom at its widest setting. The f-number changes as you zoom, so a reading taken at 24mm does not hold at 70mm. This is raised often in forum threads and appears in almost no how-to article. Zoom first, then meter.
Judging brightness on the rear screen outdoors, where the panel is far dimmer than daylight and will not warn you about a near-clipping highlight.
Common Mistakes and How to Fix Each One
Here are the errors that come up most often, each with the correction that actually resolves it.
1. Trusting the meter to render skin as it looks. The meter is accurate; its assumption is not. Fix: always apply an offset from the table above, decided before the shoot rather than while looking at the result.
2. Exposing for clothing or the brightest jacket. A white shirt pushes the reading down and the face goes muddy. Fix: fill the spot circle with skin. If the spot circle is too small to sit on the cheek, move closer rather than zooming the meter pattern wider.
3. Averaging dark and bright readings. Fix: meter the brightest important skin area, the one whose shadow detail you can least afford to lose.
4. Placing the meter too close to the subject. A reading taken inches from the face does not match a shot from across the room. Fix: take every reading from the position you will shoot from.
5. Confusing white balance with exposure. Compensating with a colour tint to fix a face that is too dark changes the hue of everything else in the frame. Fix: set exposure with stops, set white balance separately, and shoot RAW.
6. Believing a blown highlight comes back in post. It does not. Fix: check the blinkies on every test frame, and if skin is clipping, subtract a third of a stop and check again.
7. Applying the “always add one stop” rule. It was a reasonable average for a limited range of film tones and it does not hold across the range of skin people actually have, in either direction. Fix: run your own calibration in three steps. Photograph a white card in flat shade, set the exposure the camera’s meter gives, then adjust until the card sits just short of the right edge of the histogram without blinking. The number of stops you needed is your camera’s calibration figure. Published figures for this put Canon DSLRs around +1.7 stops and Nikon bodies between 1.3 and 2 stops, which is why a rule of thumb copied between brands misfires. Two minutes, once, and you have a number that is true for your body.
Two habits tie it together. Protect highlights, then recover shadows in post from the RAW file, because that is the order your camera can actually fix. And meter before you talk to the subject, not after, so the conversation is about the photograph rather than the settings.
Frequently Asked Questions
What IRE should skin tones be?
For a well-exposed portrait, lit facial skin usually sits between 55 and 75 IRE on a false colour or zebra display, with a fair complexion at the top of that range and deep skin nearer 40 to 55. Treat anything flashing a warning colour as one stop too far. Zebras set at around 70 percent will catch skin that is about to clip, which is more useful than a global warning because it points at the patch.
What metering mode is best for portrait photography?
Spot metering, because the reading comes only from the small circle you placed on the face. Partial metering at 10 to 15 percent is the second choice when you want the average of face and neck. Evaluative or matrix metering weighs the whole frame, so a bright window behind the subject pulls the exposure down and leaves the face too dark.
How do I photograph darker skin tones?
Spot meter the brightest lit area of the face, then take about half a stop to a stop off that reading so the skin peak lands left of the middle of the histogram rather than pinned against black. Deep skin shows strong specular shine, so large soft sources help more than exposure changes. Shoot RAW and lift the shadows in post, because highlights clipped on deep skin cannot be recovered.
Do I add or subtract exposure for skin tone?
The reading you take off a face already renders that face as middle grey, so the direction of the correction depends on the tone. Fair skin needs about one and a half to two and a half stops added to sit bright and open. Deep skin needs half a stop to a stop taken off so it holds its depth instead of going chalky. Never move more than a third of a stop at a time, and re-check the blinkies each time.
Should I spot meter the face or the background?
The face, if the face is the subject. Meter the background only when the background is what matters, such as a silhouette or a bright blown window behind a subject you are lighting separately. For a normal portrait, fill the spot circle with lit skin, take the reading, then apply the offset for that complexion.
How do you meter for skin tones on a phone?
Open the pro or manual mode in your native camera app, which gives you ISO, shutter speed and exposure compensation. Place the spot meter app on the lit side of the face, add a stop or two for a light complexion or take half a stop off for a deep one, and lock the exposure with the AE lock control. Phones cannot change the metering pattern, so the manual offset is doing the work the spot circle does on a dedicated body.
Conclusion
Start here: find the brightest area of skin that holds detail you care about, fill the spot meter circle with it, and apply the offset for that complexion before you take a single frame. Then check the histogram and the blinkies on a test shot, and only commit when no face is clipping.
Everything else is a refinement. Calibration on your own body replaces borrowed numbers, a grey card removes the guesswork when you have time for it, and a reflector fixes more contrast problems than any stop can. But the loop is short: meter the face, decide where it should sit, add or subtract, look at the display, shoot. Do that once and the answer is already on your screen.