If you want to know how to fix orange skin tones in photos, correct them in a fixed order: set exposure first, neutralise the white balance second, pull the orange channel down in HSL or Color Mixer third, and only then retouch and grade. That order takes about ten minutes per image and it works whether you shoot RAW or handed over a JPEG.
The orange cast almost never comes from your camera sensor. It comes from the light in the room. Tungsten bulbs, warm fairy lights, candlelight and a window mixing with ceiling spots all push the same warm yellow-orange direction, and if the camera’s white balance sits on the daylight setting, that warmth stays baked into every face in the frame.
A few specifics make the difference. Work non-destructively. Keep a neutral reference in the frame. Change temperature in increments of five or ten rather than dragging the slider to the other end. And check your monitor, because an uncalibrated screen can make a correct file look worse than it is.
Table of Contents
- What You Need
- Step-by-Step
- 1. Check Whether the Orange Cast Is in the Original
- 2. Correct the White Balance First
- 3. Reduce Orange in Skin with HSL or Color Controls
- 4. Correct Only the Skin When the Cast Is Uneven
- 5. Use a Selective Color Adjustment for Persistent Orange Areas
- 6. Match the Correction to Neighboring Areas
- 7. Inspect the Result at Different Sizes and Outputs
- Common Mistakes
- Prevent Orange Skin Tones at the Shoot
- Frequently Asked Questions
- Why do my skin tones look orange in photos?
- Can I fix orange skin tones in Lightroom without Photoshop?
- Should I lower orange saturation or use a photo filter?
- How do I fix orange skin without making my portrait look grey?
- How do I keep a warm background while correcting orange skin?
- What should I do if the orange cast is very strong?
- Conclusion
What You Need
You need very little. A photo editor with white balance controls, an HSL or Color Mixer panel, and adjustment layers handles everything below, and you can do the whole job on a phone if that is all you have.
- An editor with white balance controls. Lightroom desktop, Lightroom mobile, Photoshop and Camera Raw, Affinity Photo, Capture One, and GIMP all have temperature and tint. Snapseed has white balance and a selective control. Apple’s Photos app and Google Photos have simpler versions with warmth and tint.
- An HSL or Color Mixer panel. This is the panel that lets you touch orange alone. In Lightroom it is under the Color Mix icon; on mobile it is Color, then Mix.
- Adjustment layers or masks. Curves adjustment layers in Photoshop, local adjustment brushes in Lightroom, or the Select and Mask tool. Without this you will fix the face and wreck the room.
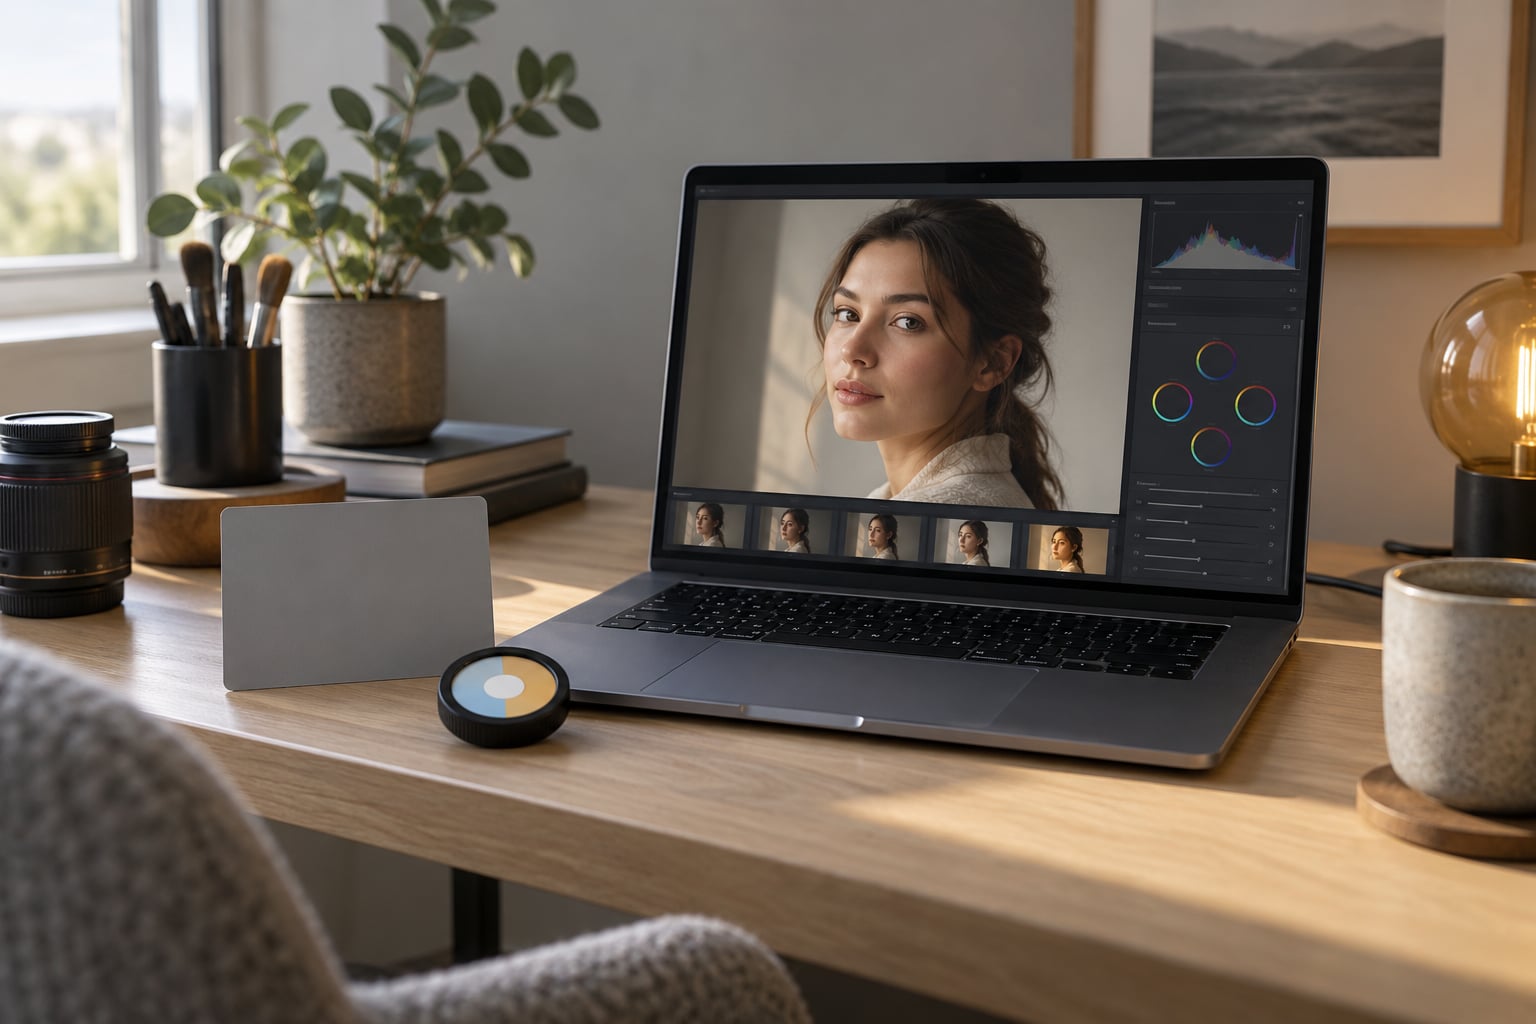
- A neutral reference. A grey card or colour checker in the frame, a white shirt, a grey wall, or any object you already know is truly white. This is the single most useful item on the list.
- A reasonably viewed display. Not a calibrated one necessarily, just a decent screen in neutral ambient light. Bright sunlight streaming onto the monitor is enough to send you chasing a cast that is not there.
- The RAW file if you have it. RAW lets you set white balance after the fact from scratch. A JPEG already has the camera’s decision baked in, so you are correcting rather than choosing.
Worth saying plainly: a grey card costs very little and it removes most of the guesswork from the whole workflow. Shoot one frame of it at the start of every lighting setup.
Step-by-Step
1. Check Whether the Orange Cast Is in the Original
Open the unedited file and look for something that should be neutral. A grey card, a white collar, a piece of white paper on the table, the whites of the eyes, a silver car in the background. If all of those read warm yellow or orange, you have a global colour cast and white balance will fix most of it. If those references look neutral and only the face is orange, this is a local skin problem and you will be working in HSL and masks instead.
That distinction saves you an hour. A lot of people drag temperature until the room looks right, then discover the skin is still off, or worse, that they have cooled an image that never had a cast to begin with.
Also check the histogram. A healthy neutral sits in three separated bands with visible gaps. Channels that overlap into one another across the full width usually mean a cast.
2. Correct the White Balance First
White balance is the first colour move you make. Set the exposure and contrast roughly where you want them, then fix white balance before touching anything else, because every later colour adjustment sits on top of it.
In Lightroom desktop: right-click the image, choose White Balance, then eyedropper, and click your neutral reference. In Camera Raw and Photoshop the same path is Filter, Camera Raw, then the white balance eyedropper in the lower right. In Affinity Photo and Capture One the eyedropper is right in the white balance panel. Snapseed puts it under Tune Image with White Balance and Neutralize.
If you have no eyedropper or no reference in the frame, drag Temperature toward the blue end and watch the neutral areas. Then use the Tint slider only if magenta and green are both wrong. Warm light usually needs temperature alone, and touching tint when the problem is temperature is what pushes people into green skin.
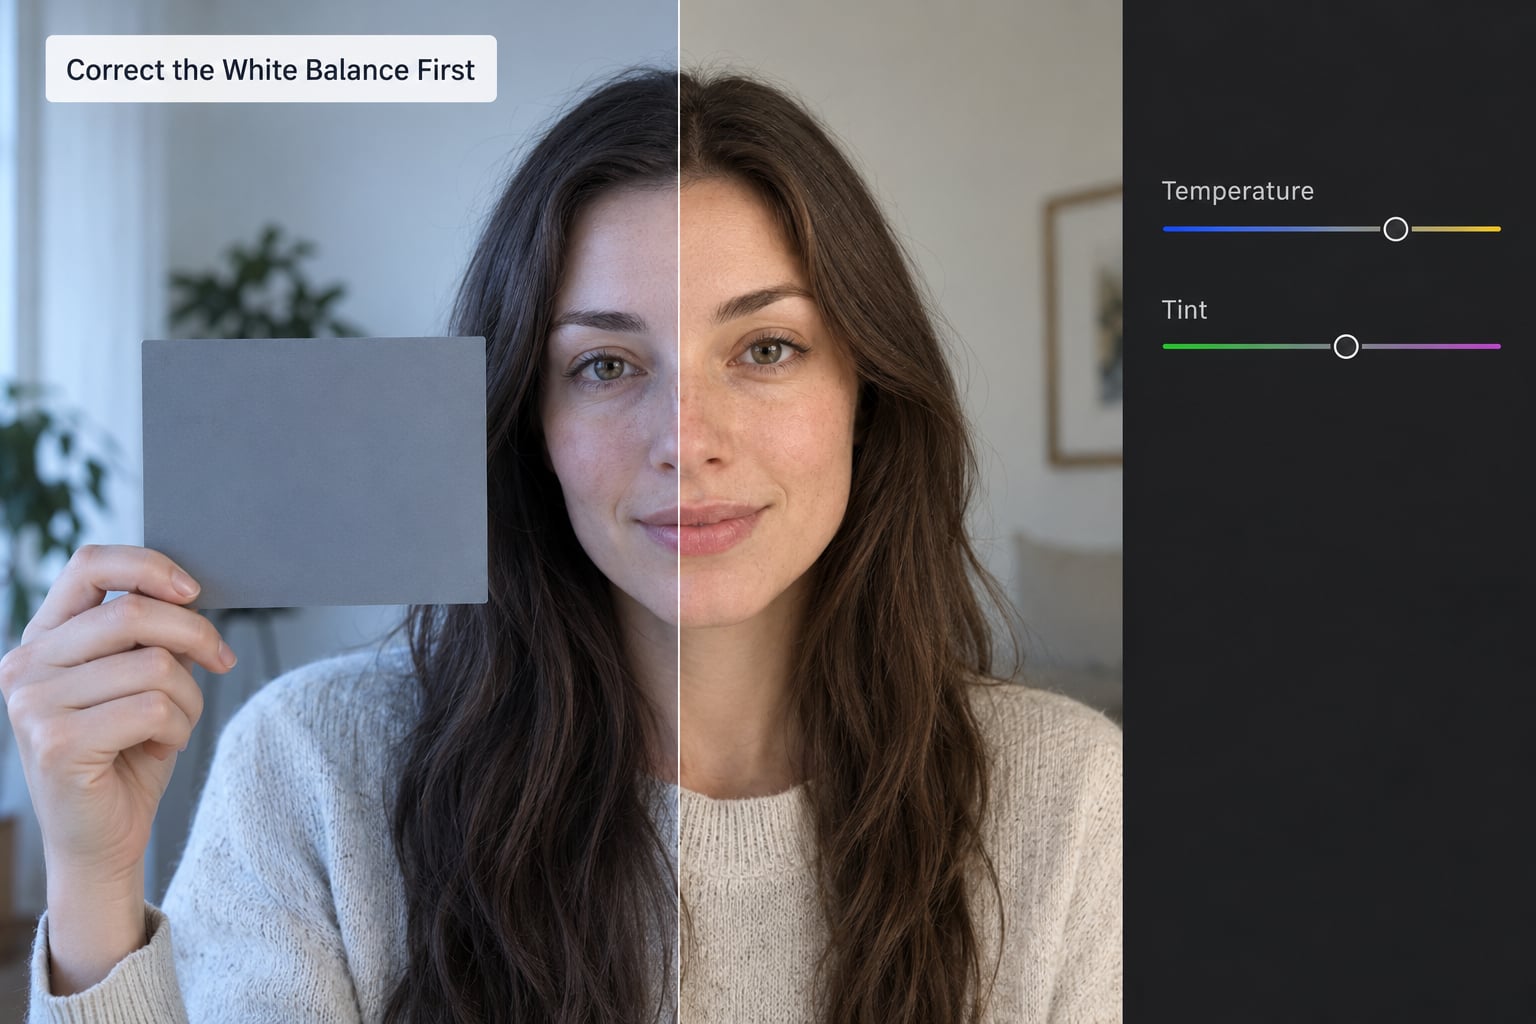
Work in increments of five to ten. If you need to move temperature by 800, do it in steps and check the neutral reference between each. A sudden large move is how images end up looking blue in the shadows and still warm on the face.
How you know it worked: the grey areas in the frame should now be genuinely neutral, the whites should read as white rather than cream, and the face should look less yellow. It will not be perfect. Skin is not neutral by nature, and the light itself was warm.
3. Reduce Orange in Skin with HSL or Color Controls
Now handle the orange channel on its own. This is the step that removes the remaining warmth from skin without touching the rest of the frame.
On desktop Lightroom, click the Color Mix icon to open the panel with red, orange, yellow, green, aqua, blue, purple and magenta columns for Hue, Saturation and Luminance. On mobile the same panel sits under Color, then Mix. In Camera Raw it is the Color Mixer panel. In Snapseed it is under Selective with the eyedropper and colour range slider.
Four moves do most of the work:
- Drop orange saturation by 10 to 20. This is the safest and usually the first move.
- Shift orange hue a few degrees. Dragging toward red deepens skin and dragging toward yellow makes it look sallow, so keep the shift small. Five degrees at most.
- Raise orange luminance by 5 to 15 if the skin went muddy and dull when you cooled the image. Lifting luminance keeps the colour alive where dropping saturation alone drains it.
- Use yellow sparingly. Because skin overlaps into yellow, a small drop there often finishes the job when orange alone still looks too warm.
Watch for the two failure modes. Push saturation too far and skin turns grey and lifeless. Push luminance down instead of up and the same thing happens, because you are removing the light in the colour, not just the colour.
For a person with deep or brown skin, treat saturation more gently than you would on fair skin. Deep skin already sits low in the luminance range, so a big saturation cut flattens the richness that was there. Drop saturation by 5 to 10 and lean on a small hue nudge and a midtone lift instead. Olive skin sits in the yellow-green range, so orange hue needs to move less and yellow needs the attention.
4. Correct Only the Skin When the Cast Is Uneven
When the room reads neutral but the face is still orange, stop using global sliders. A global change moves the walls, the wood, the shirt and the sky along with the skin.
In Lightroom, open the Adjustment Brush, set Range to Skin Tone or use Detect Faces, set the reference to Skin, then paint on the face. Adjust the orange hue and saturation on that brush only. Keep Exposure at zero so you are doing colour work rather than dodging and burning by accident.
In Photoshop, use Curves or a Hue/Saturation adjustment layer and mask it to the subject. Select Subject followed by Select and Mask with the Object Selection tool refines the edges of hair and shoulders. Set the layer opacity to roughly 60 to 80 percent and drop the fill opacity so the correction is a suggestion rather than a replacement.
For uneven lighting, work in layers rather than one pass. Soften the mask edges with a large brush feather, around 50 percent or more. A hard mask edge is the giveaway of amateur retouching, and it shows up immediately when the correction is strong.
For a portrait where the skin is the only problem, masking matters more than the numbers. Build the mask once, keep the correction gentle inside it, and the rest of the frame stays exactly as the white balance step left it.
5. Use a Selective Color Adjustment for Persistent Orange Areas
Selective colour, called Hue/Saturation in Photoshop and Point Color in some editors, targets a hue range with adjustable width and feathering. It is the right tool when one specific patch of the frame refuses to sit with everything else.
In Photoshop, make a Hue/Saturation adjustment layer, click the small mask icon next to the dropdown, move the eyedropper over the stubborn orange area, and adjust Range with the slider until the mask covers only that colour. Then pull Saturation down or nudge Hue a few degrees. Setting the range too wide pulls in lips, teeth, hair and warm background colours with it, so feather the selection down as soon as you see spill.
The same idea exists in Snapseed under Selective, and in GIMP under Colors, then Hue-Chroma, where you can pick a hue range and shift it directly.
Protect teeth and lips as you work. Teeth should be a clean neutral, not grey or yellow. Lips usually only need a tiny nudge, and hair that is genuinely warm brown will turn odd if the range overlaps it.
6. Match the Correction to Neighboring Areas
A correct face sitting in an untouched warm room looks wrong in a different way, and viewers read it as over-corrected rather than fixed. Compare the corrected skin against the uncorrected background and clothing, side by side, and keep adjusting until the face belongs to the scene.
Two checks help. Zoom to 100 percent and compare skin against a warm object in the same frame, like a wooden table or a brick wall. Skin next to a warm surface should be slightly cooler than it, not identical. Then flip the image on and off to see if the correction reads as natural or as an obvious edit.
If the face now looks pale against a warm sunset scene, drop the temperature correction a little and take the orange back out through hue instead. You can usually find a version that reads natural where the drastic version does not.
7. Inspect the Result at Different Sizes and Outputs
Zoom in to check texture and colour at 100 percent. Pores, hair and fine detail should still be there, and any mask edge should be invisible at that scale.
Then zoom out to the thumbnail view. Most people judge colour at thumbnail size first, and something that looked right at full zoom can read as too pink or too grey when small. This is also the fastest way to spot a background that changed colour without you noticing.
Finally, export or share the file and look at it somewhere else. Screens in bright rooms, phone displays at high brightness and projectors all shift perceived colour. If the correction looks strange on your phone but fine on the monitor, the file may already be right and the phone is simply showing more saturation.
Common Mistakes
Almost every bad orange correction comes from skipping a step, moving a slider too far, or correcting the whole frame when only the skin needed it. Here is what the symptoms mean and what to change.
| What you see | Likely cause | Fix |
|---|---|---|
| Orange across the whole image, including walls and white objects | White balance set wrong or lighting is heavily warm | Neutralise first with the eyedropper on a grey reference, then refine orange in HSL |
| Room looks right but the face is still orange | Cast is not global; it is lighting on the subject | Use a masked adjustment on skin only, not global sliders |
| Skin looks grey or lifeless after fixing the orange | Orange saturation or luminance dropped too far | Raise orange luminance by 5 to 15 and pull saturation back part way |
| Greenish skin after moving the temperature slider | Tint was pushed toward green instead of temperature being fixed | Return tint to zero and correct with temperature alone |
| Pink or magenta skin | Tint pushed too far toward magenta | Move tint back toward zero in increments of 5 |
| Visible halo or hard edge around hair and shoulders | Mask edge too sharp or mask opacity too high | Feather the mask to 50 percent or more and lower the layer opacity |
| Teeth or lips turned grey and dull | Selective colour range too wide | Narrow the range or subtract those areas from the mask |
| Looks fine on the monitor, oversaturated on a phone | Display difference, or an export without the right colour profile | Export sRGB and check the file on the device you deliver on |
| Orange appears after applying a preset | Preset applied to a file with an uncorrected white balance | Reset the preset amount, correct white balance, then reduce the preset amount and reapply gradually |
Two habits prevent most of these. Correct white balance before anything else, every time, and treat presets as the last step rather than the first. A preset cannot rescue a file with the wrong white balance. It can only push the wrong white balance further into orange, green or magenta, and you end up trying to undo damage instead of fixing a decision.
It also helps to edit a photo the size it will be delivered. Nobody ever complains that a portrait is slightly warm in a 12 megapixel file viewed at arm’s length.
Prevent Orange Skin Tones at the Shoot
Most of this article is repair work, but the easiest fix happens before you press the shutter. These are the steps that experienced shooters rely on, and they save more time than any editing trick.
- Shoot a grey card. Put one in the frame at the start of every lighting setup and re-shoot it every time the light changes. Then use the eyedropper and it is a fifteen-second correction instead of fifteen minutes.
- Set white balance deliberately. Match it to the lighting rather than leaving it on auto. On a JPEG camera, a custom white balance from the card is worth more than any later edit.
- Shoot RAW. It gives you the temperature and tint sliders with real room to move, and lets you convert from a captured white balance instead of nudging a baked-in one.
- Avoid mixed lighting where you can. Mixing tungsten and daylight gives you two different casts and no single white balance satisfies both. Turn off one source rather than trying to edit your way out.
- Watch for warm bounce. Wood floors, brick walls, warm gel lights and late golden hour all add orange that the camera records faithfully. It is not a defect, but it is a lot to undo.
- Calibrate your monitor when you can. Plenty of phantom orange problems trace back to an uncalibrated display. It does not have to be an expensive colourimeter to make a real difference.
None of that is complicated. It is just a few extra seconds per setup, and it removes the frustration of correcting a colour decision that never should have been made.
Frequently Asked Questions
Why do my skin tones look orange in photos?
Skin looks orange when the light in the scene is warm and the camera’s white balance does not compensate for it. Tungsten bulbs, candles, fairy lights, warm gel lights and late golden hour all push colour toward yellow-orange. When the camera is set to a cooler daylight balance, that warmth stays in the file and every face reads orange, often with the rest of the frame warm too.
Can I fix orange skin tones in Lightroom without Photoshop?
Yes, and most portraits never need Photoshop. Lightroom desktop has temperature and tint plus the Color Mixer panel for hue, saturation and luminance on orange, and the Adjustment Brush with Skin Tone detection for local work. On mobile, the same controls sit under Color, then Mix. Photoshop only becomes necessary when you want layered curves, Select and Mask precision, or hand-painted colour work.
Should I lower orange saturation or use a photo filter?
Lower orange saturation in the HSL or Color Mixer panel, not with a filter. Filters apply a global shift and drag the entire frame with them, which is why walls, wood and clothing end up looking wrong. Reducing orange saturation by 10 to 20, then nudging hue by a few degrees, keeps the correction where you want it: on the skin. Filters are a finishing look, not a correction.
How do I fix orange skin without making my portrait look grey?
Watch which slider you pull and by how much. Cutting orange saturation past about 20 drains the colour out of skin and it reads grey and lifeless. If that happens, raise orange luminance by 5 to 15 to bring the light back into the channel, and pull saturation part way back. Keeping hue shifts small and correcting only masked skin rather than the whole frame also protects colour.
How do I keep a warm background while correcting orange skin?
Use a mask instead of a global slider. Select the subject, then adjust orange hue and saturation only inside that mask, so the walls, wood and warm light stay exactly as they were. In Lightroom use the Adjustment Brush with Range set to Skin Tone; in Photoshop use a Curves or Hue/Saturation adjustment layer masked to the subject. Feather the edges around 50 percent so hair and shoulders stay soft.
What should I do if the orange cast is very strong?
Go back to white balance and use a reference rather than guessing. With the eyedropper on a grey card, white shirt or a known-neutral object, set temperature and tint properly in increments of 5 to 10 and check the neutral areas each time. If the cast is mixed across two light sources, correct toward the light falling on the subject and accept that the background keeps some warmth, or correct it separately with a second local adjustment.
Conclusion
Fix white balance first, using a neutral reference and small steps, before you touch any other colour control. Adjust orange globally in HSL or Color Mixer only when the whole frame is warm, and drop saturation rather than luminance so skin keeps its life. When the cast is local, mask it and work on skin alone so backgrounds and clothing stay intact. Then look at the result at thumbnail size and on the device you actually deliver on.