Shoot RAW for any portrait you might get paid for. A RAW file keeps the measurements your sensor actually made, so you can fix a blown window highlight, a mixed-tungsten face or a skin tone that went green after the shoot. JPEG is already compressed and finished when it leaves the camera, which makes it the faster choice for high-volume event work, press deadlines and test shots you will never deliver. This guide compares raw vs jpeg for portrait photography on quality, recovery, editing latitude, file size and workflow, so you can pick a format per shoot instead of arguing about it in the abstract.
Table of Contents
- Raw vs JPEG for Portrait Photography at a Glance
- Image Quality and Detail
- Highlight and Shadow Recovery
- Editing and Retouching Flexibility
- Colour Accuracy and Creative Control
- File Size, Storage and Backup
- Camera Workflow and Shooting Speed
- JPEG Quality Settings and File Delivery
- Which Should You Choose?
- Frequently Asked Questions
- Should portrait photographers always shoot RAW?
- Can I shoot RAW and JPEG at the same time?
- What JPEG quality setting should I use for portraits?
- Is RAW actually better, or does it just look different?
- Should I learn portrait photography with RAW or JPEG?
- Do RAW files use more camera memory during a shoot?
- Conclusion
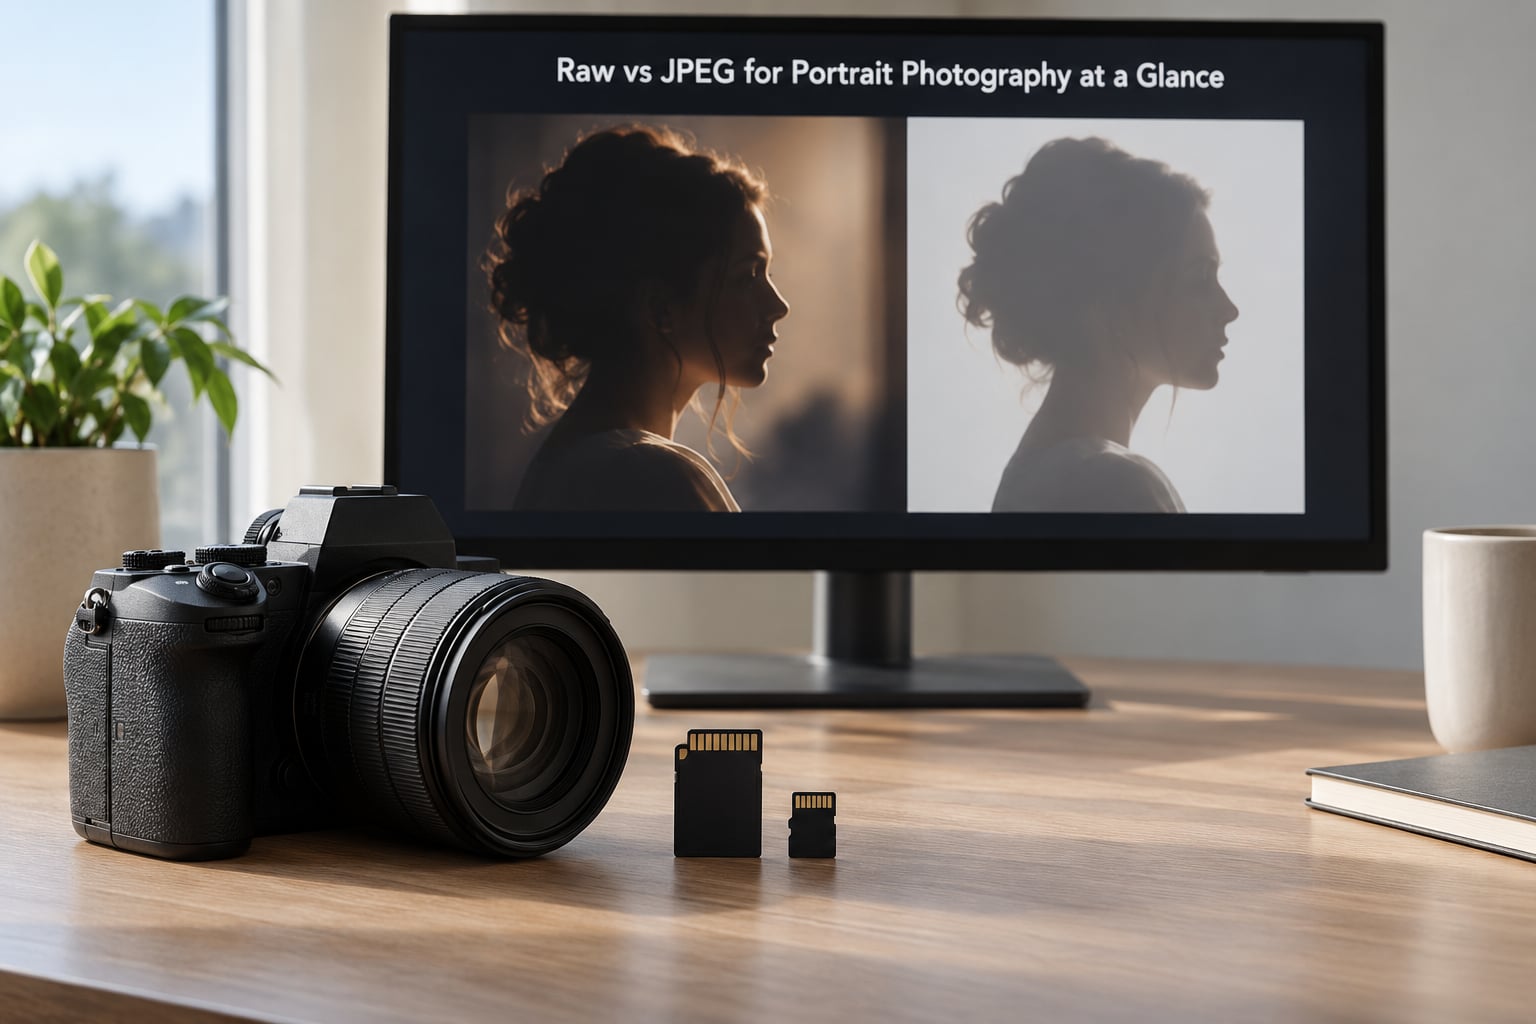
Raw vs JPEG for Portrait Photography at a Glance
| Criterion | RAW | JPEG |
|---|---|---|
| What the file holds | Unprocessed sensor measurements plus a small preview | Camera-processed, colour-graded and compressed image |
| Bit depth | Usually 12, 14 or 16 bit per channel | 8 bit per channel |
| Tonal transitions | Very smooth, no banding in skin gradients | Can band in flat, low-contrast skin areas if heavily compressed |
| Highlight recovery | Usually recoverable across a useful range | Clipped pixels stay clipped, no matter what software you use |
| Shadow recovery | Strong, but noise rises as you lift | Limited, and shadow noise gets baked in |
| White balance | Set in software, freely, non-destructively | Baked from your Picture Style at capture |
| Skin tone grading | Room to pull hue and saturation apart in a mixed-light face | What the camera decided is what you get |
| File size per frame | Roughly 25-70 MB on a typical full-frame body, more on high-resolution sensors | About 3-12 MB at Fine quality |
| Buffer and burst | Larger writes, buffer fills sooner | Faster writes, deeper bursts |
| Delivery readiness | Needs developing and export first | Open and send immediately |
| Best fit | Paid portraits, weddings, headshots, print work | Events, press, scouting, fast proofs, no-edit workflows |
How to Read the Raw vs JPEG for Portrait Photography Table
RAW and JPEG describe what the camera does with the light after the sensor measures it, not two different kinds of photograph. The row that matters most to portrait work is highlight recovery, because skin next to a window is the classic place where a JPEG file runs out of information. Everything else on this list is a consequence of that one difference.
Image Quality and Detail
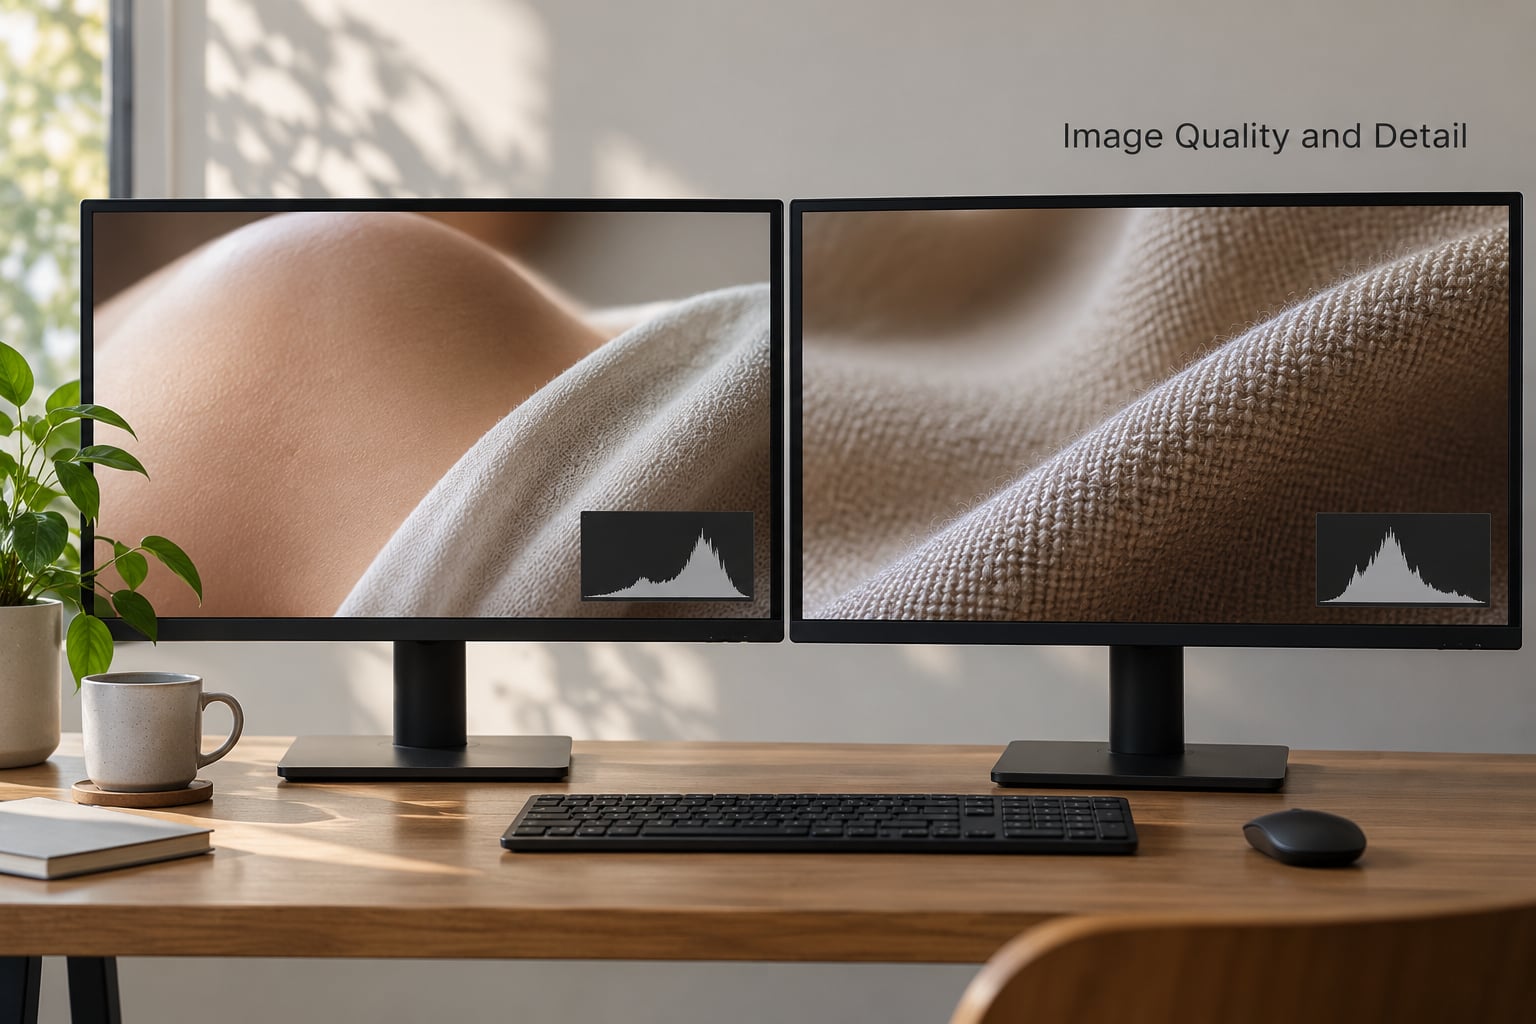
A RAW file holds 12, 14 or 16 bits of tonal information per colour channel. A JPEG holds 8. That gap is why a RAW skin gradient stays smooth while a heavily compressed JPEG can posterise across a cheek or a forehead, and why RAW gives you room to lift a shadow or pull a highlight back after the fact.
Where JPEG wins on a straight comparison is sharpness and micro-contrast out of the card. Camera JPEG engines apply their own tone curve, sharpening and noise reduction tuned by the manufacturer, so the file already looks finished. A default RAW develop is deliberately neutral, which is exactly why beginners sometimes decide RAW looks worse.
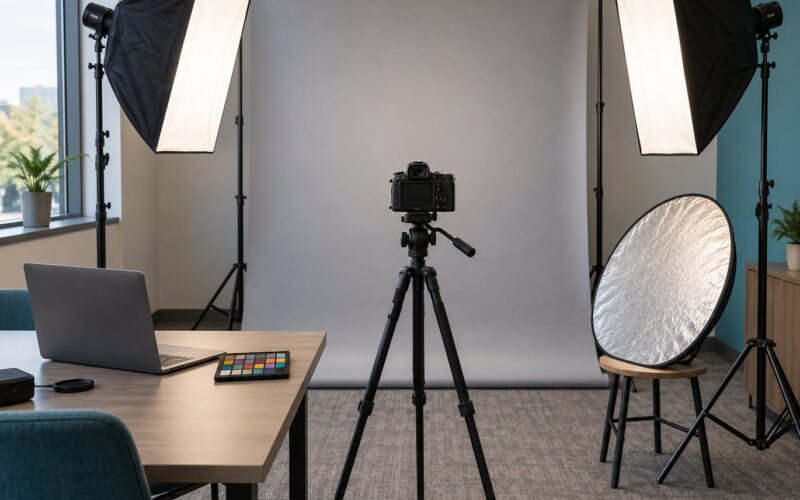
Consider a controlled studio portrait: one large softbox at 45 degrees, grey seamless background, f/2.8. At normal viewing size on a decent monitor, a good JPEG and a well-developed RAW are nearly indistinguishable. Push a 1:1 crop into an eye and the RAW holds cleaner detail, because nothing was thrown away before you got there.
Highlight and Shadow Recovery
Dynamic range is the total span between the darkest and brightest values a sensor can record in one frame. Raw vs JPEG for portrait photography is mostly a debate about how much of that span survives to your editing screen.
Photograph a face beside a bright window and you have a portrait with a lighting ratio of maybe 8:1. The RAW file keeps measurements above the clipping point, so pulling those highlights back in software is a routine correction. In a JPEG, any pixel the JPEG encoder wrote as pure white is gone. Recovery tools can only estimate what was there, which is why a rescued JPEG highlight often looks blotchy against smooth skin.
Open shade works the other way. The background and the shaded side of the face are several stops apart, and RAW lets you lift the face without dragging the whole frame into noise. Pull too hard on a JPEG shadow and you see the grain the camera already printed into the file.
Editing and Retouching Flexibility
White balance is the cleanest example. Shoot a portrait under mixed tungsten and daylight in the same frame and the camera will pick one white balance for the whole JPEG, leaving part of the face warm and part of it blue. A RAW file stores the colour temperature as metadata, so you set it in software and every correction stays reversible.
Exposure and tone follow the same logic. Nudging a RAW exposure slider re-renders the image from the original measurements, so you can go up and down. A JPEG has already been rendered, so adjustments stack on top of a fixed decision and lose quality as you push them.
For skin retouching, the difference is about selectivity. In RAW you can mask the face, protect the background, and separate redness from brightness. On a JPEG, dodge, burn and colour work fight the camera’s own processing. Retouching studios handling commercial portrait work generally want the negative for good reason.
Colour Accuracy and Creative Control
Nothing is more common than a portrait shooter saying their JPEGs look better than their RAW files, and the reason is boring rather than surprising. Your camera applies a Picture Style or film simulation, a tone curve, sharpening and colour rendering before writing the JPEG. A default RAW conversion skips all of that, so the image looks flat until you build a look.
The fix takes three steps. First, match the JPEG so you can see where the two diverge: set a neutral or default profile, then push contrast, blacks and whites until the RAW roughly resembles the JPEG. Second, adopt that Picture Style’s rendering as your baseline by finding a matching profile or copying its look into your own preset. Third, push past it, using the latitude you now know you have.
Colour captured is another thing to separate from colour shown. A RAW file is rendered through whatever camera profile your software assigns, and different profiles can shift skin noticeably. If you and your retoucher use different profiles, your client sees a different face than you did. Agree on one profile for the job. On deep skin tones, avoid aggressive saturation and hue shifts on the reds and oranges; raw vs jpeg for portrait photography does not change with skin tone, but the grading approach should.
File Size, Storage and Backup
Here is the part most comparisons leave vague. On a typical 45-megapixel full-frame body, expect roughly 40-60 MB per RAW frame, and closer to 80-100 MB on high-resolution sensors. A Fine-quality JPEG of the same frame is usually 8-15 MB. That is a five to one ratio, sometimes closer to ten to one.
Do the maths on a real session. A 40-image headshot sitting produces about 1.6-2.4 GB of RAW. A 200-image wedding ceremony at 50 MB a frame is around 10 GB. A three-day event shoot can pass 100 GB, which is why dual card slots matter: put RAW on both slots as a real-time backup rather than trusting one card to survive the day.
Back up before you format, every time, and keep at least one copy off the camera. Multi-terabyte drives are inexpensive now, and the reason to keep RAW files long term is revisitability. You may want the negative again in five years for a print, a book, or an exhibition, and a compressed JPEG cannot be reconstructed.
Camera Workflow and Shooting Speed
RAW writes more data per frame, so the buffer fills sooner and sustained burst rates drop on most bodies. That is why fast-action shooters in the community, covering airshows and sports, often run JPEG or a reduced-resolution RAW to keep the shutter free. Portrait sessions are rarely frame-rate limited, which is part of why the RAW argument holds so well here.
The real cost of RAW is not the shutter. It is culling, which means choosing the handful of frames worth keeping out of hundreds. Software like Lightroom or Capture One can display RAW previews, but opening hundreds of large files slows previews down on most laptops.
The workflow fix that experienced shooters describe is small JPEG proxies. Record a small, lower-quality JPEG alongside RAW, cull on those because they load instantly, then open only the selects in the full-resolution negative. On cameras with two card slots you can write small JPEGs to slot one and RAW to slot two, which also gives you an instant set of client-ready proofs.
JPEG Quality Settings and File Delivery
If you shoot JPEG at all, set quality to Fine or Large and resolution to the maximum. The lower settings exist to save card space, and they introduce compression artefacts you cannot remove later. On most bodies this is a single menu item under image quality, and it is the setting people most often leave on Standard.
Capture format and delivery format are separate decisions, and separating them makes both easier. Shoot RAW because the negatives give you room to retouch, then export a high-quality JPEG for online delivery and social, and a TIFF for large prints. Clients asking for JPEGs is not an argument against shooting RAW.
Editing a camera-produced JPEG is perfectly valid work. It just starts closer to its finished state, so budget your corrections around what is already been decided in-camera.
Which Should You Choose?
Use RAW when the image is a deliverable and the light is not fully under your control. Controlled studio work, on-location golden hour, weddings, headshots, anything you retouch and anything you print all belong here, because that is when highlight recovery and skin tone latitude get used.
Use JPEG when speed and volume beat latitude. Multi-shooter events, press work with a hard deadline, fast-action coverage, location scouting and test shots you will never deliver, and any beginner who does not yet edit. Shooting JPEG there is not laziness, it is picking the right tool.
And use both when the shoot is high stakes and you want insurance. Record RAW plus a small JPEG for every frame and the storage cost is modest, while culling stays fast and you always have a proof-ready file.
Frequently Asked Questions
Should portrait photographers always shoot RAW?
For any session you might get paid for, yes. RAW keeps the sensor measurements, so you can recover highlights on a face beside a window, correct white balance on a mixed-light portrait and grade skin without fighting the camera. The raw vs jpeg for portrait photography call flips only when speed outranks latitude: high-volume events, press deadlines, scouting and test shots.
Can I shoot RAW and JPEG at the same time?
Yes, and most working portrait photographers do. Most cameras can record both formats on every frame. Set the JPEG to a small size and use it as a proxy for fast culling, then open only your selects from the full-resolution RAW. On bodies with two card slots you can also write small JPEGs to one slot and RAW to the other, which doubles as a backup.
What JPEG quality setting should I use for portraits?
Fine or Large at full resolution. Lower settings trade away compression detail to save card space, and that detail cannot be recovered later. If you are recording JPEG as a culling proxy alongside RAW, a small size is fine on purpose. If the JPEG is the deliverable, use the highest setting your camera offers.
Is RAW actually better, or does it just look different?
RAW is better in the sense that it keeps more recoverable information, not that it looks better on the day you import it. Cameras apply a Picture Style, tone curve and sharpening to JPEG, so JPEGs often look finished while a default RAW develop looks flat. Match the JPEG rendering in software, then push past it, and the difference disappears.
Should I learn portrait photography with RAW or JPEG?
Start with JPEG if you want fast feedback while you concentrate on light and posing. A finished JPEG teaches you what your exposure actually did. Move to RAW once you are ready to develop files, and keep shooting both for a while so you can see the difference on your own frames rather than on a chart.
Do RAW files use more camera memory during a shoot?
They use far more card space and they fill the buffer sooner, so sustained burst rates can drop on many bodies. Memory card capacity is the practical limit: a 40-image sitting can run 2 GB or more, and a long event can pass 100 GB. Dual card slots and an off-camera backup solve both the space and the risk problem.
Conclusion
For portrait work, RAW is the default because it is the only format that still gives you choices after the shoot ends. Highlight recovery, white balance correction and skin tone grading all depend on data that a JPEG has already thrown away, and on a paid sitting there is no second take.
Here is what to do first. Pick one session you know well and shoot it in both formats. Compare how each handles a bright window and a face in shade, and note how long culling takes with large RAW files against small JPEG proxies. Then write down which format actually serves that kind of work, and use the other one only where speed wins.
That test usually ends the argument on its own. Most portrait shooters land in the middle: RAW for anything delivered and retouched, JPEG for anything that needs to be fast, and both recorded when the stakes justify the extra storage.