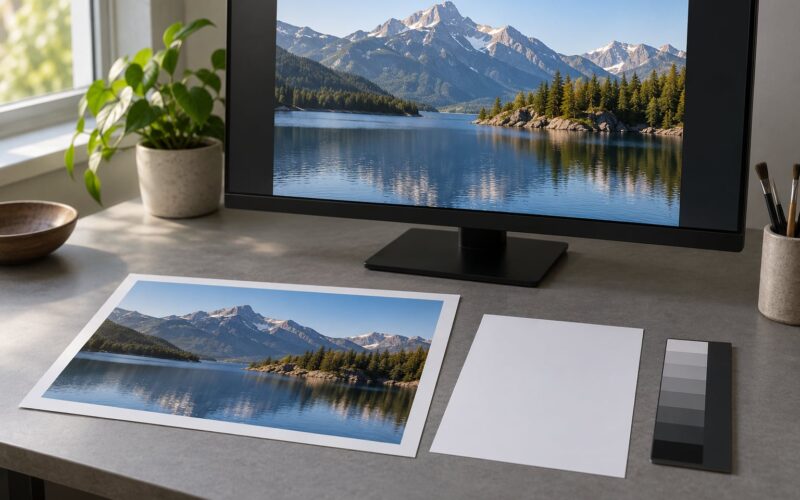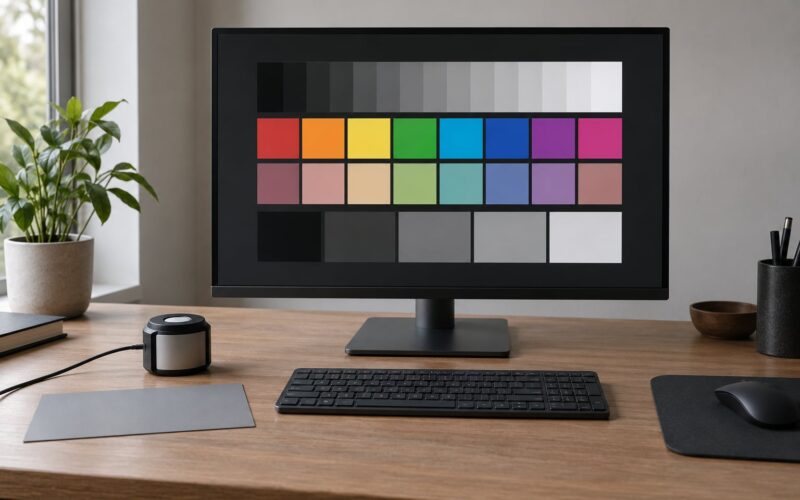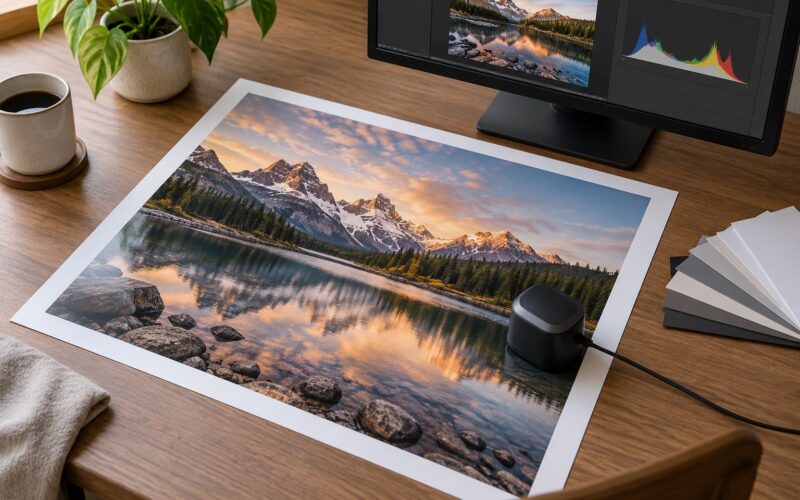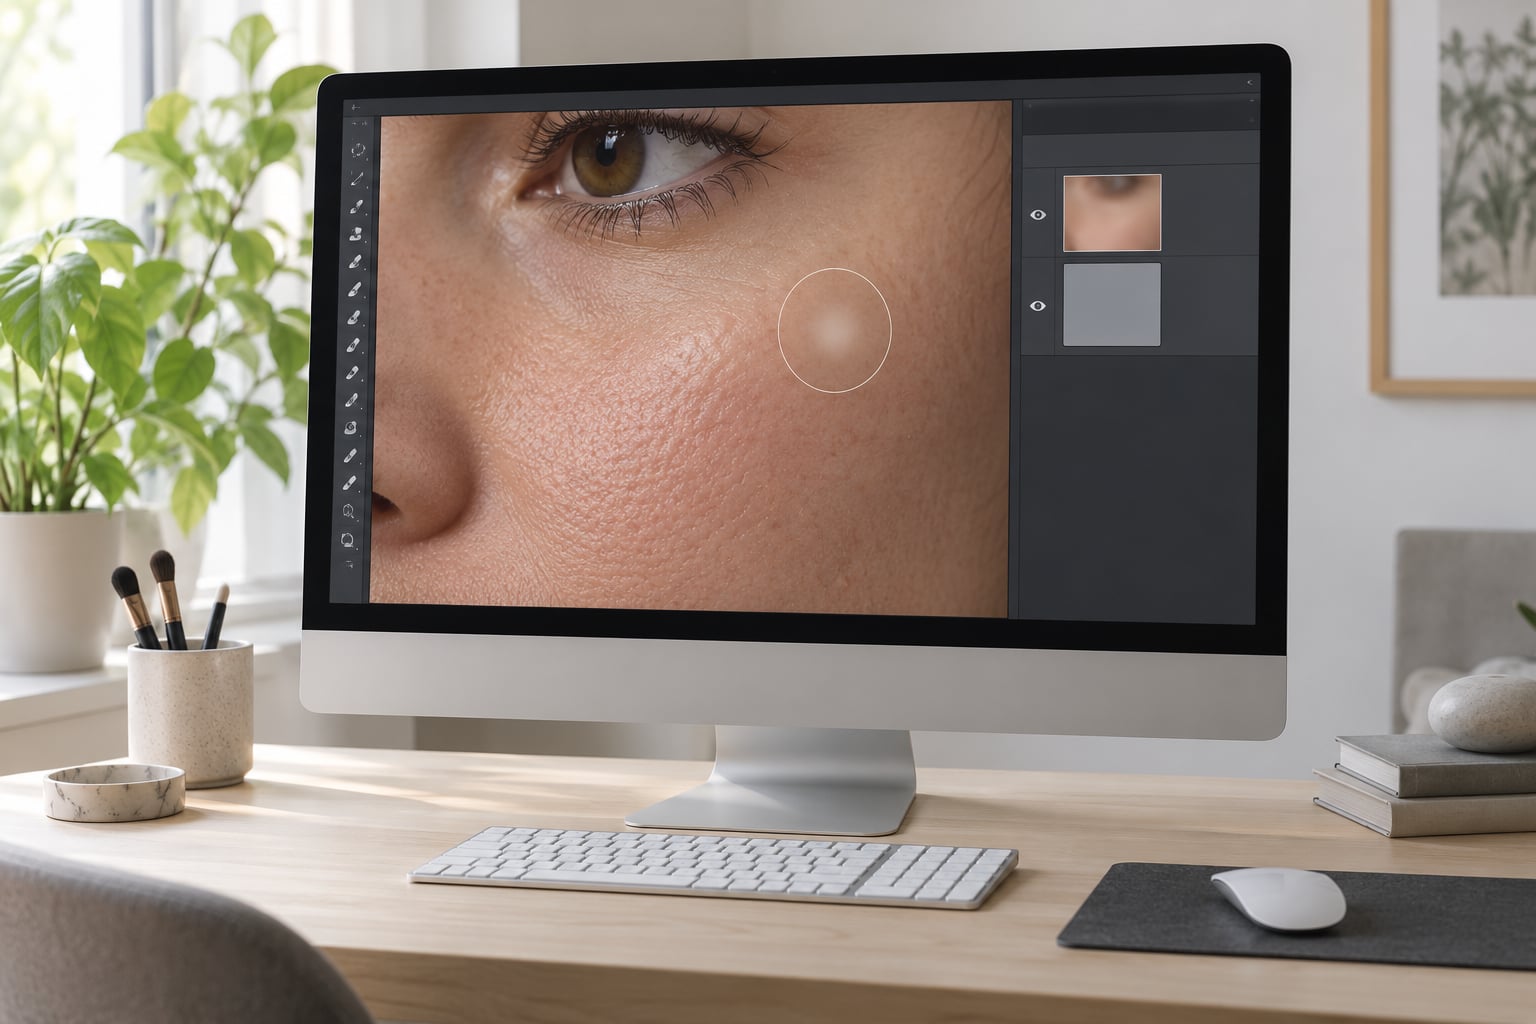
Frequency separation explained in one line: a portrait is split into two stacked layers, one holding fine detail like pores and hairs and one holding tone, shadow and colour, so you can fix one without wrecking the other. In Photoshop you build it by blurring a duplicate, subtracting it from the original with Apply Image, and adding the result back on Linear Light.
That sounds abstract until you watch it work on a face. You paint a soft, 1% flow brush over a blotchy patch of cheek on the low layer and the tone evens out. The pores underneath never move. Close up, the skin still has the same fine grain it had before you touched anything.
I’m a portrait photographer, and this is the first thing I do to almost every headshot that comes through the desk. It’s also the thing I see overused more than any other step in retouching, usually by someone who watched a two-minute video and skipped the part about what the technique is actually for. So this guide covers the concept first, the exact dialog settings second, and the failure modes third.
A word on scope: this is a technique explainer. No gear, no shopping. The only tool named is Photoshop, because the technique lives there. The steps are written for the current desktop version of Photoshop on Windows and macOS, and the menu paths are the same in recent releases.
Table of Contents
- What Is Frequency Separation?
- Why Use Frequency Separation for Portrait Retouching?
- How Does Frequency Separation Work?
- Frequency Separation Explained: A Simple Portrait-Retouching Workflow
- Choosing the Right Blur Radius for Different Portraits
- How to Keep Retouching Results Natural
- Common Frequency Separation Mistakes
- Frequency Separation vs. Other Portrait Retouching Methods
- When Frequency Separation Is the Wrong Choice
- Frequently Asked Questions
- What are the settings for frequency separation in Photoshop?
- What are the brush settings for frequency separation?
- Why does my frequency separation look plasticky?
- Why is my background getting smoothed along with the skin?
- Can I do frequency separation outside Photoshop?
- Is there a free frequency separation action in Photoshop?
- Conclusion
What Is Frequency Separation?
Frequency separation is a Photoshop technique that splits an image into two layers, one holding fine detail such as skin texture, pores and lines, and one holding tone, shadow and colour. Adjusting tone on one layer leaves the detail on the other untouched, which is why retouched skin can still look like skin.
The word “frequency” comes from signal theory, and it’s easier than it sounds. Detail in a photograph arrives at different rates. Fine stuff changes fast from pixel to pixel: pores, eyelashes, a stray hair, the edge of an eyebrow. Broad stuff changes slowly across the frame: the light falling across a cheekbone, the shadow under the jaw, the overall warmth of the skin.
Fine, fast-changing detail is called high frequency. Broad, slow-changing information is called low frequency. Photoshop doesn’t let you take them apart directly, so we approximate it with a blur.
| Frequency layer | What it holds | What creates it | Tools that belong on it | Classic mistake |
|---|---|---|---|---|
| High frequency | Pores, fine lines, hairs, blemishes, edge detail, micro-contrast | The original layer minus a heavily blurred version of itself | Spot Healing Brush, Clone Stamp, High Pass | Blurring the whole layer and losing all texture |
| Low frequency | Tone, shading, soft shadow shapes, colour, broad contrast | The blurred duplicate alone | Eyedropper, soft round brush at low flow, Surface Blur, Curves on a mask, dodge and burn | Painting hard edges and pushing colour outside the skin |
Notice what is not in that table: a smoothing brush. Frequency separation is not a skin-smoothing tool. It gives you a place to correct tone and a place to correct texture, and what you do with each is up to you.
Why Use Frequency Separation for Portrait Retouching?
The editorial reason is simple. Skin that is even in tone but still textured reads as real skin. Skin that is smooth in texture but uneven in tone reads as a doll or a mannequin, because real faces are textured and real faces are slightly uneven. Frequency separation lets you fix the thing that’s actually bothering you without touching the other thing.
It also keeps the edit reversible. Every change sits on its own layer, so if you overdo the tone evening you can reduce the layer’s opacity or mask it instead of starting from the raw file again.
And it’s honest about what a face looks like from a particular distance. If you’re delivering a 3000-pixel headshot, the pores should still be there when someone prints it at two feet.
Frequency separation explained in one sentence
Blur the image until only shading is left, subtract that shading from the original, and put the leftover detail back on top in a mode that recombines losslessly — the two layers add up to exactly the picture you started with.
If you only take one thing from this article, take that. It explains every setting that comes after it, including why Linear Light and Subtract are not optional.
How Does Frequency Separation Work?
The mechanism is arithmetic, and it’s the part most tutorials hand-wave. Here it is without the hand-waving.
You start with a copy of your image. You apply a Gaussian Blur to that copy, large enough that every pore and hair is gone but every shadow shape remains. That blurred copy is your low frequency layer: it holds everything that survived the blur, which by definition is the slow-changing information.
Then you subtract the blurred copy from the untouched original through Image > Apply Image with the Subtract blending option. Subtracting a blurred version of an image from the image itself removes everything the two have in common, and what they share is exactly the low frequencies. What’s left is a mostly mid-grey layer where dark spots are pores, spots and hairs, and bright spots are highlights on texture.
That leftover layer is your high frequency layer. It’s close to 50% grey because there’s very little actual information left in it — just detail, floating on neutral.
Finally you set the high layer’s blending mode to Linear Light, which adds brightness information back on top of the low layer in a way that doesn’t blow anything out. The two layers recombine into the original, pixel for pixel.
Why does this matter? Because if the sum equals the original, every edit you make to one layer only changes what that layer controls. That’s the whole trick, and it’s why a workflow built this way never fights itself.
Where the two layers meet is the crossover point: the blur radius you chose. Everything below that radius went into the high layer. Everything above it stayed in the low layer. Change the radius and you change the split.
The two Apply Image setups, and why tutorials disagree
You will find two different recipes in the wild and they look contradictory. They are both valid; they differ in what the high layer defaults to, and neither matters once you start painting. Use whichever you were taught, or use both to see the difference.
| Setting | Recipe A (Adobe’s) | Recipe B (older tutorials) |
|---|---|---|
| Layer | The blurred duplicate | The blurred duplicate |
| Channel | RGB | RGB |
| Blend | Subtract | Add |
| Scale | 2 | 2 |
| Offset | 128 | 0 |
| Invert | Unticked | Ticked |
| Result | Neutral grey with subtle light and dark detail | The same result, with light and dark swapped |
The practical difference: if the high layer in your setup looks washed out and bright rather than grey with detail, you built Recipe B and then set it to the wrong blend mode for it. Rebuild it with Recipe A and the mismatch disappears.
Frequency Separation Explained: A Simple Portrait-Retouching Workflow
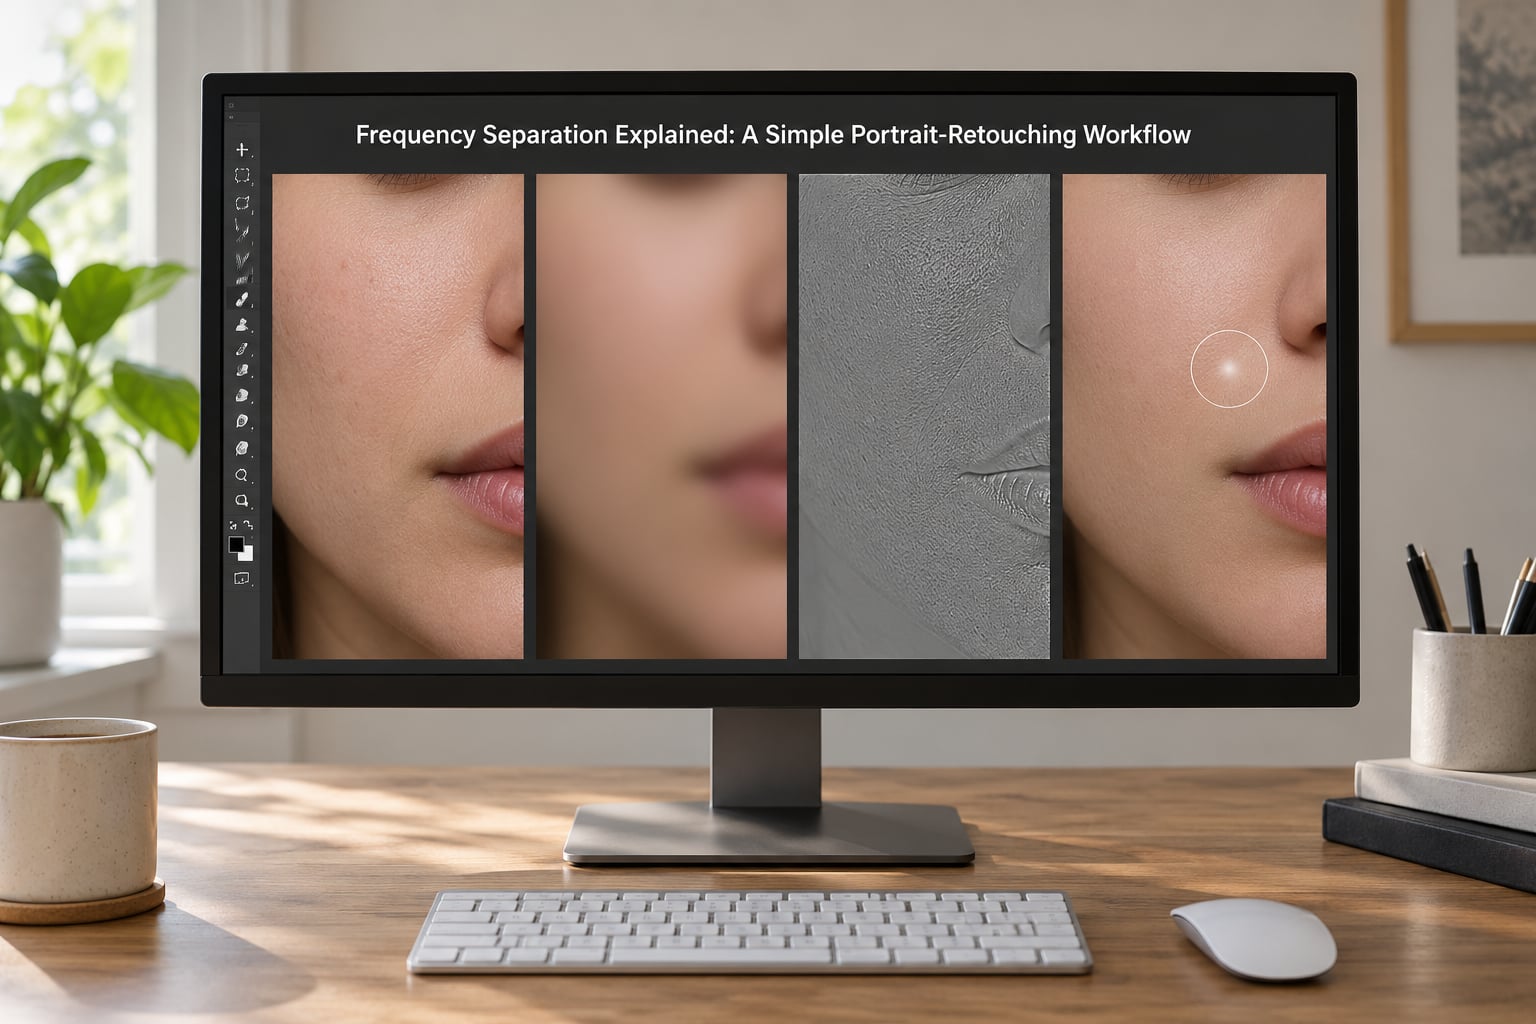
Eight steps. Do them in this order and the separation takes under a minute once you’ve done it a few times.
Step 1: Work in 16-bit mode
Go to Image > Mode > 16 Bits per Channel. Separating layers involves arithmetic, and in 8 bits you can visibly band in the shadows afterwards. This is the single easiest quality win in the whole workflow and it takes one click.
Step 2: Duplicate the Background layer
Drag the Background thumbnail onto the New Layer icon, or press Cmd/Ctrl+J. Name it something honest. Most people use “Low” or a duplicate name; keep the original Background locked underneath so you always have a clean reference.
Step 3: Create the low frequency layer
Duplicate again for a second copy. On one of them go Filter > Blur > Gaussian Blur. Set the radius using the guide below, then click OK to commit the blur to the layer.
Step 4: Apply the blur
With the blurred layer selected, go Layer > Layer Style > Blending Options. In the Blend If section click the small arrows icon, drag the black slider all the way right and the white slider all the way left, so both sit at 255. This hides the layer’s own edges so it composites invisibly underneath.
Step 5: Create the high frequency layer
Make one more duplicate of the original. This will hold the detail. Select the blurred low layer, select the untouched duplicate above it, then Image > Apply Image. Choose the blurred layer, set Channel to RGB, Blend to Subtract, Scale 2, Offset 128, leave Invert unticked, then OK. The upper layer turns into a neutral grey plate of pure detail.
Step 6: Set the blend mode and rename
Set the high layer’s blending mode to Linear Light. Rename your layers. Adobe uses “Shadows+Color” and “Skin+Texture”, which is more useful than “low” and “high” once you have four more layers on top.
Step 7: Group them and verify
Put both layers in a group named for the task. Then toggle the group’s visibility off and on while zoomed to 100%. Nothing should change. If the image looks different when the group is off, you have the wrong blend mode, the wrong Apply Image settings, or your blur wasn’t committed to pixels.
Step 8: Retouch in this order
High layer first: heal out blemishes with the Spot Healing Brush set to Content-Aware. Then low layer: even the tone. Then dodge and burn on a fresh 50% grey layer in Overlay mode to put light back where you took it away. Frequency separation is a preparation step, not the finish line.
Choosing the Right Blur Radius for Different Portraits
The radius is the decision that matters most, and it’s the one every guide leaves vague. “Blur until the pores disappear” is not guidance. What you’re looking for is a blur that removes detail smaller than the texture you want to keep, and nothing larger.
| Longest edge of your image | Starting radius | Typical use |
|---|---|---|
| 1000 to 1500 px | 2 to 3 px | Web headshots, small crops |
| 2000 to 3000 px | 4 to 6 px | Full-frame portraits, print at 8×10 |
| 4000 to 6000 px | 8 to 12 px | Full-resolution files, large prints, commercial work |
Scale the radius with resolution, not with your zoom level. A 5-pixel blur on a 12-megapixel file and a 5-pixel blur on a 100-megapixel file are not the same separation.
Now check it properly. Zoom to 100% and look at the high layer alone on a mid-tone area of skin. You want to see pores and small lines as light and dark marks on grey. If you see the shape of the face, or the outline of the nose and lips, the radius is too large — tone has leaked into the high layer and you’ll struggle to work close to the skin. If you see almost nothing, it’s too small and your low layer still carries detail that will smear when you brush.
Too small a radius is the most common cause of the dramatic, exaggerated pores people report on forums. Too large a radius is what makes retouching near edges miserable, because the high layer picks up contours it shouldn’t have.
How to Keep Retouching Results Natural
Almost every “my frequency separation looks wrong” post comes down to brush settings or sampling. These are the ones that work.
On the low layer: a soft round brush, opacity around 10%, flow 1% or 2%. Hardness around 30 to 40%. Small brush, many passes. If flow is above about 5% you will see streaks and blotches rather than a change in tone.
Sample with the eyedropper, don’t guess. Alt-click to lift a nearby good colour before you paint, then paint toward it. This is the difference between evening skin and inventing a colour that isn’t in the face.
Watch the background. On anything wider than a head and shoulders, mask the low-frequency brush to the skin before you start. Face and neck are one shape; the moment you carry a stroke onto the backdrop it starts smoothing the backdrop too. Select Subject gets you most of the way, then refine the edge mask with a large soft brush.
On the high layer: Spot Healing Brush set to Content-Aware, Sample All Layers, with a brush size matched to the blemish. Clone Stamp set to Sample: All Layers for anything larger. Work at low zoom. Healing a spot at 100% invites you to overwork it.
Restore micro-contrast last. Frequency separation costs you a little punch because you’re rebuilding the image from two softer pieces. After the retouch, add a high-pass sharpen at a small radius, or take the high layer as a source into a High Pass filter and bring it back over the composite at low opacity.
Check at more than one size. Look at the retouched area at 100%, then zoom out to 25%. At 25% you’ll see tonal problems that are invisible close up, which is roughly how your client sees the frame.
Common Frequency Separation Mistakes
Each of these has a specific fix. They’re ordered roughly by how often they come up.
Waxy, plastic skin. You smoothed texture instead of evening tone. The healing brush went over the whole high-frequency layer rather than individual blemishes. Go back and restore pores with the high layer’s own detail, and remember that a sharp, evenly toned face still looks wrong without dodge and burn on top.
Visible halos around the jaw, hairline or nose. Your low-frequency strokes crossed an edge. Increase the edge mask’s feathering and restrict strokes to inside the face shape, or use Surface Blur on the low layer for spot corrections rather than painting.
The background got smoother too. Unpainted skin and unpainted background share the low layer. Mask it, or revert the group and redo it with a mask from the start.
The low layer went patchy or mottled. Flow too high, and you’ve pushed colour in patches that don’t match. Undo back to a clean state rather than trying to correct a correction, then drop to 1% flow and sample with the eyedropper each time.
The high layer pulled in colour and contour. Blur radius too large. Rebuild with a smaller radius; you cannot rescue this with brush settings.
Banding in the shadows after export. You stayed in 8-bit. Switch the merged image to 16-bit before flattening, and export as 16-bit TIFF if the recipient’s software can handle it.
Everything looks fine until you zoom out, and the face looks flat. That is a dodge and burn problem, not a separation problem. Add a 50% grey layer in Overlay mode and burn and dodge the planes back in.
Frequency Separation vs. Other Portrait Retouching Methods
Frequency separation is one tool among several, and it’s the one that gets picked by default far too often.
| Method | What it’s for | Where it runs | Limitation |
|---|---|---|---|
| Spot Healing Brush | Removing isolated blemishes, dust, stray hairs | High frequency layer or the original | Can leave a soft plastic patch if overused |
| Clone Stamp | Copying real texture from a clean nearby area | High frequency layer or the original | Repeats patterns; needs a good source area |
| Surface Blur | Evening blotchy tone without smearing edges | Low frequency layer | Only for tone, never for texture |
| Dodge and burn | Restoring or sculpting light after an edit | Dedicated 50% grey layer in Overlay | Slow; rewards patience |
| Frequency separation | Separating tone from texture so each can be edited independently | Both layers | Slow to set up; unnecessary on small files |
| Camera Raw / Lightroom | Global tone, colour, contrast and texture sliders | Non-destructive raw adjustments | No pixel-level control; can’t isolate a single blemish |
A practical split: use Camera Raw first for overall tone and colour, frequency separation second for anything local that needs texture preserved, and dodge and burn last for light. If a job is a single spot removal, skip the separation entirely and heal it on the original.
When Frequency Separation Is the Wrong Choice
This is the section most guides leave out, and it’s the one that saves the most time.
Small images. On a file under about 1000 pixels on the long edge, the separation is all overhead and no benefit. The skin detail you’re trying to preserve is only a few pixels wide to begin with.
Distant or wide portraits. On a full-body or environmental shot where the face is a small part of the frame, the mask work and edge precision cost more than the retouch is worth. Work at higher zoom on a cropped version instead.
Heavily textured surfaces. Beards, freckle-heavy skin, stubble, and textured fabric all sit close to the crossover point you’re trying to define. The separation blurs across exactly the detail you need. Dodge, burn and targeted healing are cleaner tools there.
Major lighting changes. If you’re relighting a face rather than evening it, no amount of layer splitting will help. That’s a lighting decision, made on the shoot or with dedicated light-shaping work.
Tight deadlines on a long queue. Setting up takes a minute, but the low-frequency blending and dodge and burn after it take far longer. A 5-minute cleanup on a single blemish is faster on the original layer.
When the client wants skin that looks unretouched anyway. Commercial and editorial portraiture often calls for the opposite of smoothing. A gentle frequency separation that only evens blotchy tone is fine; anything beyond that reads as fake on close inspection, which is the single most common criticism you’ll see in retouching forums.
Frequently Asked Questions
What are the settings for frequency separation in Photoshop?
Duplicate your Background layer, blur one copy with Gaussian Blur at roughly 4 to 6 pixels for a 24-megapixel file, then select the blurred copy and the untouched duplicate. Use Image u0026gt; Apply Image with Channel set to RGB, Blend to Subtract, Scale 2, Offset 128 and Invert unticked. Set the resulting layer to Linear Light, then set Layer Style u0026gt; Blending Options u0026gt; Blend If black and white sliders both to 255 on the blurred layer.
What are the brush settings for frequency separation?
On the low frequency layer use a soft round brush at 10% opacity and 1 to 2% flow, with hardness around 30 to 40%, and build up in many small passes. On the high frequency layer use the Spot Healing Brush set to Content-Aware with Sample All Layers for blemishes, and the Clone Stamp also set to Sample: All Layers for larger areas.
Why does my frequency separation look plasticky?
Almost always the same cause: texture was smoothed instead of tone being evened. Healing the entire high frequency layer instead of individual spots removes every pore and leaves a flat surface no dodge and burn can rescue. Restore the detail, keep corrections on the low layer only, and finish with a gentle dodge and burn pass to put the light back.
Why is my background getting smoothed along with the skin?
The low frequency layer holds the whole frame, not just the face, so any brush stroke on it moves the background too. Mask the low layer to the skin before you start, using Select Subject and then refining the edge with a large soft brush. On wider portraits this step takes longer than the retouch, which is a sign to crop tighter instead.
Can I do frequency separation outside Photoshop?
Yes. The concept only needs three operations, which are blur, subtract and add back. Affinity Photo does all three, though its Apply Image equivalent works differently and its blend modes are not always named the same way. In Capture One and Lightroom Classic you can approximate the result with the Texture slider on a masked layer, without true separation.
Is there a free frequency separation action in Photoshop?
There are several free actions, but recording your own takes about a minute and removes the guesswork. Open the Actions panel, click the record button, run the eight steps above once, then stop and name it. Because you recorded it, the blur radius and Apply Image settings are yours, and you can group it into a button set for repeated use.
Conclusion
Start in 16-bit mode, duplicate, blur at a radius scaled to your file size, subtract with Scale 2 and Offset 128, and set the detail layer to Linear Light. Check that toggling the group changes nothing, then heal individual spots on the high layer and even the tone on the low one at 1% flow.
Leave dodge and burn for last, and resist the urge to smooth. If you remember that frequency separation explained simply means separating tone from texture, everything else in this guide follows from that one idea.