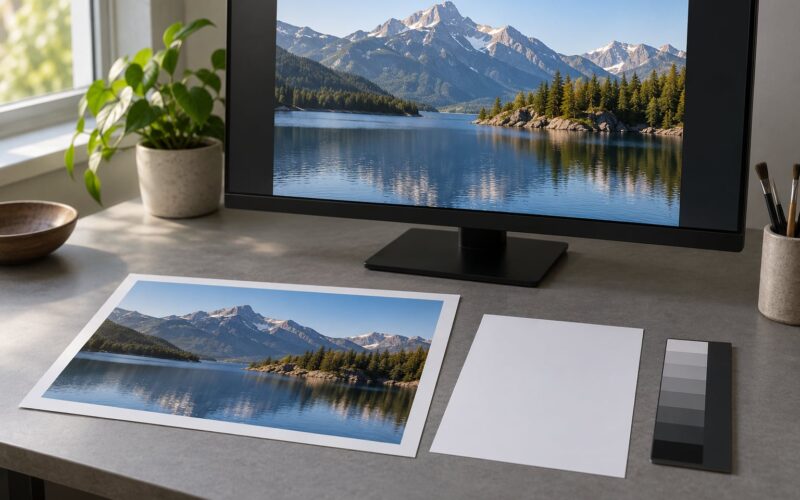
How to prepare photos for large format printing comes down to three numbers: the finished size, the distance it will be viewed from, and the pixels your file already has. Multiply width by height by your target pixels per inch, check that against your pixel dimensions, then convert to the printer’s profile for the exact paper or canvas and export a 16-bit TIFF. Budget 20 to 40 minutes per image once you have the workflow down.
The reason 300 DPI gets repeated everywhere is that it is right for one situation only: a print you examine from inches away. A 24×36 poster read from across a room needs a fraction of those pixels. Push detail past what the eye can resolve and you are only adding file size and waiting time.
Table of Contents
- What You Need
- Step-by-Step: How to Prepare Photos for Large Format Printing
- Common Mistakes
- Frequently Asked Questions
- What resolution do I need for a large format print?
- Should I sharpen a photo before sending it to a large format printer?
- What file format should I use for large format printing?
- Should I convert my image to the printer’s colour profile?
- Can I print a large poster from a JPEG?
- Does the paper or canvas change how I prepare the image?
- Start With the Printer’s Specifications
What You Need
Most of this list is free or already sitting on your desk. The two items people skip, and the two that cause most reprints, are the printer’s specification sheet and the media profile.
- Your highest-quality source file — the raw conversion or 16-bit TIFF, never a JPEG you have re-saved.
- Editing software with colour management — Photoshop, Lightroom, Affinity Photo, Capture One or GIMP all handle ICC profiles properly.
- The printer’s spec sheet — accepted file formats, minimum and maximum file size, whether they want RGB or CMYK, and whether they sharpen on their end.
- The media ICC profile — a separate profile for each paper or canvas, usually downloadable from the lab or printer site.
- A calibrated monitor — a colorimeter is the usual tool, and a neutral viewing light matters as much as the hardware.
- Sharpening applied at final output size — Unsharp Mask or Smart Sharpen, set for the magnification you actually printed at.
- Quality-control tools — the lab’s own file quality checker, plus a way to zoom to 100% and inspect edges.
Step-by-Step: How to Prepare Photos for Large Format Printing
1. Confirm the final print dimensions and resolution
Pixel dimensions equal print width in inches multiplied by your target PPI. That is the whole calculation, and it is the one most people get wrong by guessing at the printer’s DPI setting instead.
Here are the dimensions you need at 300 PPI for the sizes that come through the door most often.
| Print size (inches) | Pixel dimensions at 300 PPI | Approx. megapixels |
|---|---|---|
| 11 x 14 | 3300 x 4200 | 13.9 MP |
| 16 x 20 | 4800 x 6000 | 28.8 MP |
| 18 x 24 | 5400 x 7200 | 38.9 MP |
| 20 x 30 | 6000 x 9000 | 54.0 MP |
| 24 x 36 | 7200 x 10800 | 77.8 MP |
| 30 x 40 | 9000 x 12000 | 108.0 MP |
| 8 x 24 panorama | 2400 x 7200 | 17.3 MP |
| 12 x 36 panorama | 3600 x 10800 | 38.9 MP |
Then adjust for how far away the print will be seen. Viewing distance is the variable that makes 300 DPI a guideline rather than a rule.
| Viewing distance | Acceptable effective PPI |
|---|---|
| Touching the print, inches away | 300 |
| 1 to 2 feet | 200 to 300 |
| 2 to 5 feet | 150 |
| 6 to 10 feet | 75 to 100 |
| 25 to 50 feet (signage) | 20 to 40 |
Is 600 or 1200 DPI better? No. Those figures describe inkjet droplet density, a printer specification, not something your file has to match. Your file carries pixels, and the print shop divides them by the output size. A 3600 x 10800 panorama run as a 12×36 poster at 300 PPI is already past what most viewers resolve.
Check your own file’s pixel dimensions first: Windows right-click, Properties, Details, Image size. On Mac, open it in Preview and choose Tools, Show Inspector, or use the same panel in Bridge.
2. Check the printer’s colour profile and media
Ask the lab for the ICC profile that matches the exact substrate you are printing on. The same image on a matte fibre paper, a glossy photo paper and a canvas uses three different profiles, and using the wrong one shifts colour, contrast and black density.
Profiles normally come as ICC or ICM files from the printer’s website or on request. If the lab only publishes a single generic profile, ask whether they prefer that or an unprofiled RGB file — plenty of inkjet labs do their own conversion.
For most photographic work on inkjet large format printers, supply RGB and embed sRGB or Adobe RGB. Converting to CMYK yourself throws away colour volume, and the printer’s own black generation is tuned to its inks. The old advice about converting to CMYK belongs to the offset and dye-sublimation world.
Open the profile once before you commit. In Photoshop, View, Proof Setup, Working CMYK or Custom, and pick the profile. If the proof looks dramatically duller and more saturated than the file, you have the wrong profile loaded.
3. Make final corrections in a calibrated workflow
Fix the image once, for the print, not for the screen. Aim for a controlled master file rather than a version tweaked to compensate for a device you have not identified yet.
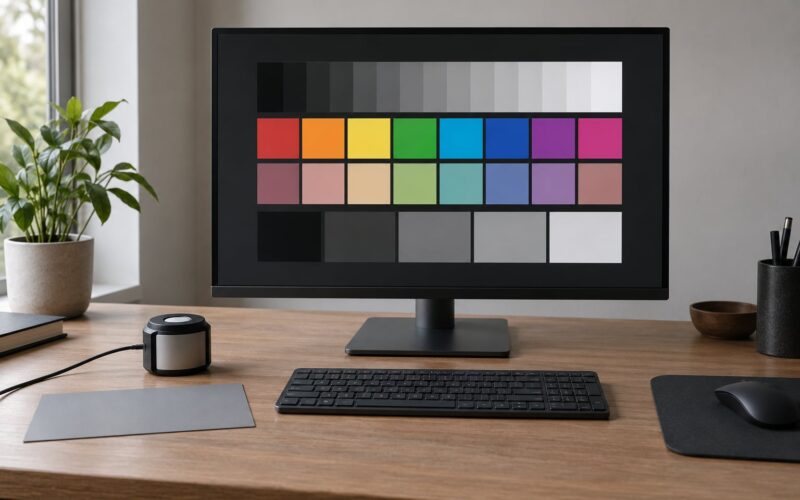
Calibrate the monitor first if you have not already. A colorimeter walks you through a few minutes of on-screen targets, and the payoff shows up immediately in skin tones and saturated blues. After calibration, judge colour only in neutral ambient light, ideally around 5000 to 6500 Kelvin.
Make the corrections in this order: exposure first, then white balance, then contrast and tone curve, then selective colour work. Adjusting contrast after saturation pulls colours off in a way that is tedious to unpick.
Convert to the destination profile before the final colour decisions, not after. Working in sRGB and then converting means the colour you approved on screen is not the colour you shipped.
4. Convert and export the print file
In Photoshop, open the cropped image, then Image, Image Size. Enter the target dimensions at your chosen resolution and uncheck Resample. That checkbox is checked by default when a new document size is chosen, and leaving it on silently rescales your pixels to fill a smaller box — the single most common cause of a pixelated print that arrives on a good day.
For color conversion, Edit, Convert to Profile, pick the media profile, and turn on dither and intentional RGB blending if Photoshop offers them. Both reduce banding in large smooth gradients like skies and studio backdrops.
Flatten the file, then File, Save As, TIFF. Use 16 bits per channel, no layers, LZW or ZIP compression, and make sure Embed Color Profile is ticked in the TIFF options.
In Lightroom Classic, the Export dialog takes a different route. Tick Save As Preview, then set Size to Long Edge with long edge in pixels, quality Maximum, and Format TIFF. Under File Settings, turn off Minimal Metadata Lines unless the lab asks for them. Lightroom has no resample trap, but it will happily hand you a file smaller than the print size if you leave the long edge on pixels but type the wrong number.
Use PSD if you want the layered master as well, and PDF when the file contains vector artwork, text or transparency. Save the flattened TIFF as the delivery copy and keep the PSD as your archive.
Bit depth is worth a sentence of its own. 16-bit per channel holds roughly a billion tonal steps per channel instead of about 16 million, which matters in skies and skin gradients where 8-bit files band visibly when printed large. Most labs will not be precious about 8-bit, but nothing is lost by giving them 16.
5. Sharpen for the output size and inspect the result
Enlarging an image softens it, so prints get a light sharpening pass at the end, applied after the resize. Photoshop’s Smart Sharpen set to High Sharpness with the Amount driven by your magnification works well: roughly 100 to 150 percent for a 1.5x enlargement, up to 250 percent at 4x or more.
Unsharp Mask gives finer control if you want to chase it. Keep the Radius low, near 1 to 2 pixels for most prints, and watch the edges at 100% for white or black fringes. Halos are the signature of over-sharpening, and on skin and hair they look worse than the softness you were trying to fix.
Decide whether the lab sharpens too. If their order form has a resharpen option, leave it on if you did no sharpening, and untick it if you sharpened yourself. Double sharpening is the usual reason a print arrives looking crunchy and outlined.
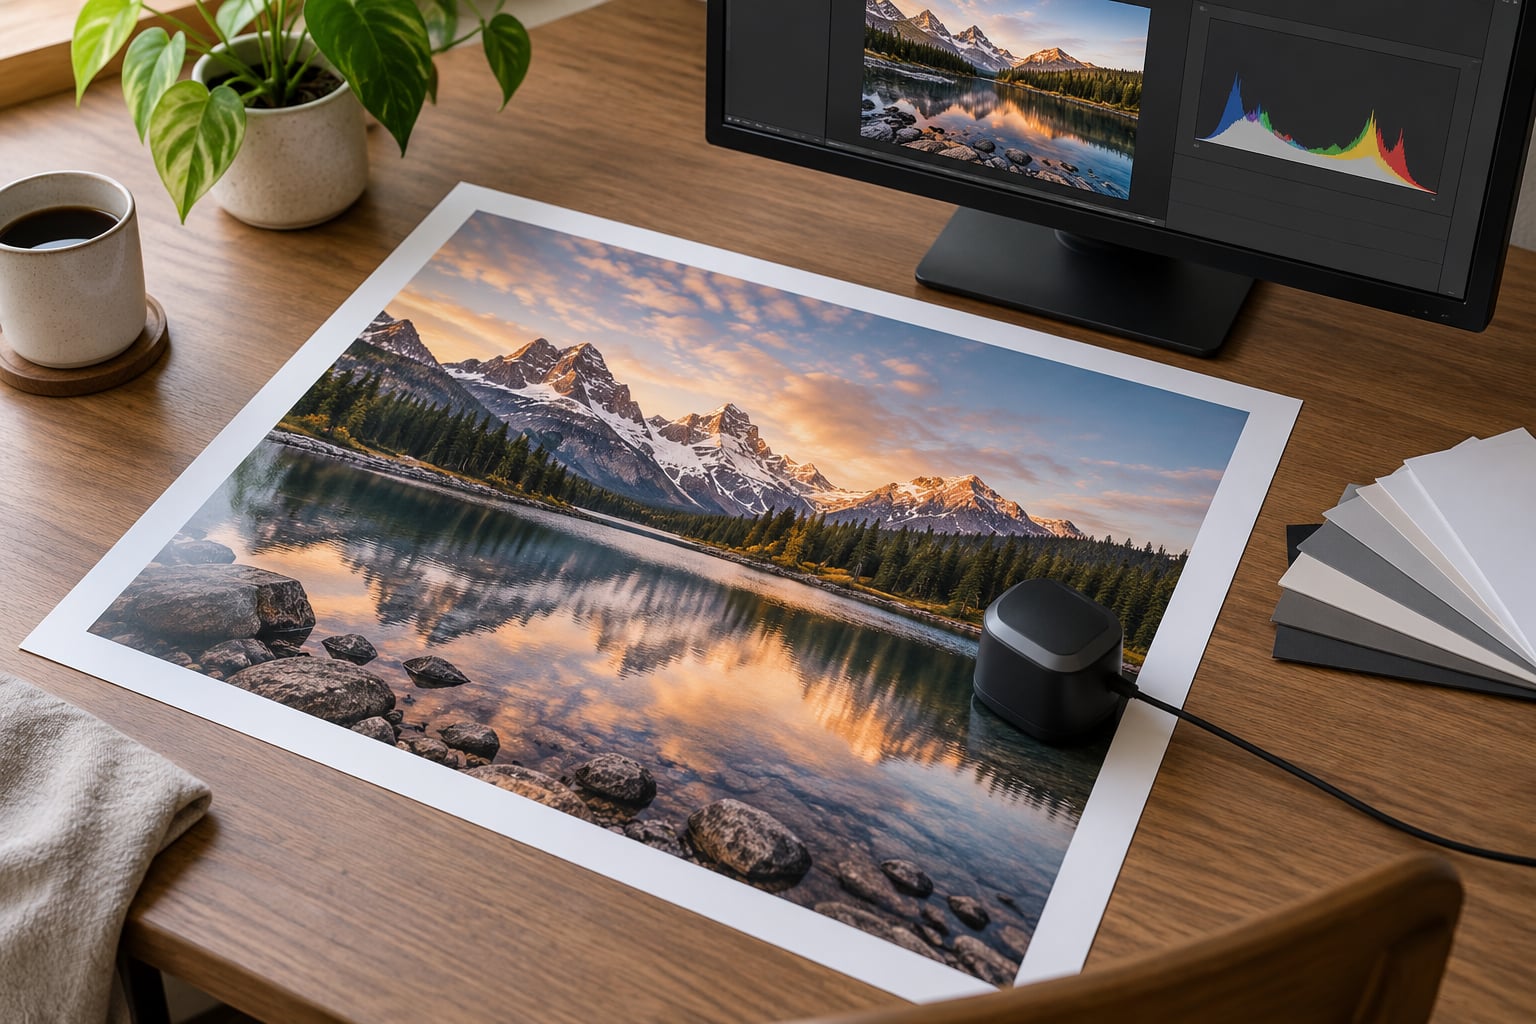
Now inspect before you send: zoom to 100% on faces and high-contrast edges, check the four corners for vignetting and the edges for crop clipping, and check the histogram for blown highlights or crushed shadows. Then name the file clearly with size and media in it, back it up in two places, and send it with a short note listing the print size, media, profile and whether you sharpened.
Common Mistakes
Most disappointing large prints trace back to one of a handful of fixable decisions. Diagnose by symptom and you are usually two minutes from the answer.
| Symptom | Likely cause | Fix |
|---|---|---|
| Pixelated or blocky edges | Not enough pixels for the output size, or Photoshop resampled on resize | Recheck the pixel math, uncheck Resample, or upscale before export |
| Soft with no visible detail | No output sharpening after enlargement | Sharpen at final size, lightly |
| Colour differs from screen | Uncalibrated monitor, or wrong media profile | Calibrate, then soft proof against the substrate profile |
| Banding in skies | 8-bit depth plus JPEG compression | Export 16-bit TIFF with dithering |
| White halos around edges | Over-sharpened radius | Reduce radius and amount, sharpen at 100% before resizing |
| Composition wrong at print size | Cropped after export, or the printer cropped for you | Crop to the exact aspect ratio before export and never leave resizing to the lab |
| Poster from a phone looks terrible | The file came through a messaging app and was recompressed | AirDrop, cable, cloud link or email the original, never the chat attachment |
When a file is simply too small, AI upscaling genuinely helps. Tools such as Topaz Gigapixel, Upscayl and similar models can add pixels before the print. Realistic magnification is 2x to 4x; beyond that results fall apart, and the model invents plausible detail rather than recovering real detail. That is fine for a decorative wall piece and wrong for a documentary or client proof.
One more trap worth naming. In Photoshop, choosing Fit Image to Canvas from the canvas size menu resamples silently. Use Image, Image Size and uncheck Resample instead, every time.
Frequently Asked Questions
What resolution do I need for a large format print?
Multiply the finished print width and height in inches by your target pixels per inch. A 24×36 print at 300 PPI needs 7200 x 10800 pixels. For anything seen from more than about three feet, 150 PPI is plenty, so 3600 x 5400 pixels covers it. Check your file’s pixel dimensions before ordering.
Should I sharpen a photo before sending it to a large format printer?
Only if the lab does not. Sharpen once, lightly, after resizing to the final output size. If their order form has a resharpen option, tick it when you have not sharpened yourself and untick it when you have. Doing both is the usual cause of crunchy edges and white halos around hair and foliage.
What file format should I use for large format printing?
A flattened 16-bit TIFF with the colour profile embedded is the safest default for photographic work. Send PSD as well if the lab accepts it and you want to keep layers. PDF works for anything containing vector artwork, live text or transparency. JPEG at maximum quality is acceptable but loses tonal range in large gradients.
Should I convert my image to the printer’s colour profile?
Convert to the media profile the lab supplies for the exact paper or canvas, and embed it in the file. For most inkjet printers, stay in RGB rather than converting to CMYK, since the printer handles its own ink limits and black generation better than a generic conversion does.
Can I print a large poster from a JPEG?
Yes, if it is the highest quality version and large enough in pixels. Export at full resolution, uncropped, at maximum quality. Avoid files that came through messaging apps, since those are recompressed and often far smaller than the original. A 12 MP phone file still yields a good 18×24 print at roughly 160 PPI.
Does the paper or canvas change how I prepare the image?
It changes the profile, not the resolution. Matte, gloss, metallic, canvas and cotton rag each have their own ICC profile with different white points, contrast and colour response. Ask the lab for the profile matching your chosen material and soft proof against it before committing to large quantities.
Start With the Printer’s Specifications
If you do one thing before editing anything, get the printer’s spec sheet and media profile in front of you. Size, format, colour space and sharpening policy all come from that document, and they decide every other choice downstream.
Then work the checklist in order: confirm the final dimensions, run the pixel maths at the PPI your viewing distance supports, load the exact media profile, correct on a calibrated display, resize with resampling off, sharpen at output size, export 16-bit TIFF with the profile embedded and inspect at 100% before it leaves your machine.
Budget half an hour on the first image of a batch and the rest move quickly. Keep the exported TIFF and the layered master in the same folder with matching names, and note the settings you used so the next one takes minutes, not an afternoon.