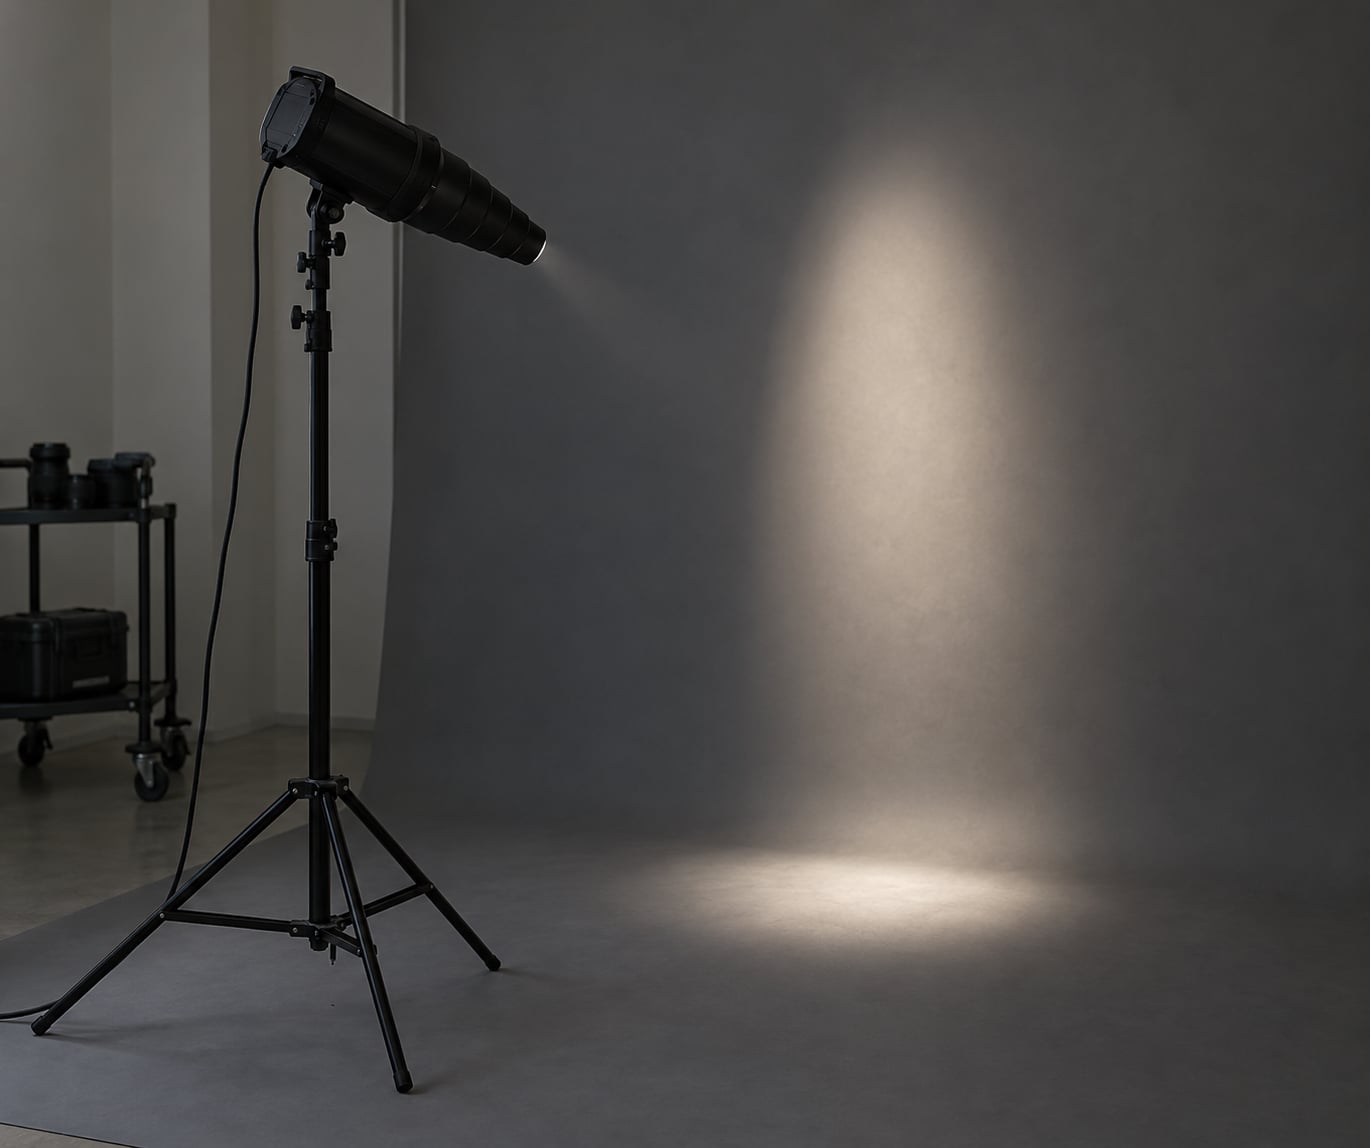
A snoot is a light modifier that clamps onto a flash or strobe and squeezes the beam into a narrow, controlled cone, so you can light one small part of your subject or background and let everything else fall away into shadow. Learning how to use a snoot for dramatic portraits comes down to three things: hold the light off the camera axis, keep it above eye level, and meter for the lit side so the shadow side stays dark.
If you get those three right, one small light does the work of three. If you get them wrong, a snoot just makes an expensive spotlight that flattens everyone it touches.
A snoot does not make a portrait dramatic on its own. It makes one narrow band of the frame predictable, and once you control that band you can decide what the rest of the frame does.
What You Need
The core kit is short, and most photographers already own half of it.
- A light source. A monolight or bare-bulb strobe gives the cleanest, hardest beam. A speedlight works, but the flash head’s built-in reflector wastes a lot of the snoot’s output unless you tape the front over. LED continuous panels work too, with a caveat about heat and battery life.
- A snoot, or another beam-control tool. An optical snoot has a lens inside that gathers and focuses the beam. A regular snoot is just a tube that flags off stray light. Either blocks spill; only one focuses and projects.
- The right adapter. Snoots are sold for specific mount systems, and this is where people get stuck. A Bowens-mount snoot needs a Bowens strobe or a Bowens-to-Profoto style adapter. Speedlight snoots are a different family entirely.
- A light stand and a clamp. You need real height and real reach, so a short tabletop stand will not cut it.
- A trigger. Any radio trigger that fires your strobe from the camera position. Manual firing works too, and while you are learning it is honestly faster.
- Flags and black foam board. These are what hold the blacks down. A V-flat or a sheet of black foam board on the shadow side costs almost nothing and does more for drama than any second light.
- An assistant, if you have one. Aiming a small beam at a face while you are behind the camera is the single hardest part of the exercise.
Notice what is not on that list: a big softbox, a second strobe, a colour gel kit. You can add those later. Get the single beam clean first.
Optical snoot, grid, or Fresnel? Pick the right beam tool
People often treat these four as interchangeable. They are not, and choosing the wrong one is the most common reason a dramatic portrait attempt looks like a spotlight aimed at a person.
| Modifier | Beam control | Light loss | Best job in a dramatic portrait |
|---|---|---|---|
| Optical snoot | Very tight and focusable | Low, the lens concentrates the beam | Hard spotlight look, pattern projection, edge control on the background |
| Regular snoot | Tight at the tube only, no focusing | High, it absorbs stray light inside | Killing spill off a bare strobe head so nothing else catches it |
| Grid | Even controlled spread across a set angle | Medium | A directional key that still covers the whole face or full body |
| Fresnel spot | Adjustable from flood to spot | Medium to high | Cheap, forgiving way to get a variable beam while you learn |
One honest warning here. A non-optical snoot is a flag shaped like a tube. Buy that expecting a projector and you will be disappointed, which is the single most common complaint in photography forums from people who assumed every snoot focuses light.
Lens focal length decides the beam, not the snoot
With an optical snoot, the lens you mount sets the character of the beam. Longer glass gives a narrower, harder spot that throws further. Wide glass gives a softer, wider pool with gentler falloff.
| Lens | Beam character | Practical use |
|---|---|---|
| Around 24mm | Wide pool, soft edge, fast falloff | Close group work, forgiving setups, bright backgrounds |
| Around 50mm | Balanced spot, workable at portrait distances | The everyday choice for head-and-shoulders work |
| Around 200mm | Tight hard spot, strong magnification | Background projection, distant setups, texture on skin |
Wide lenses also mean the lens focuses close, so your working distance shrinks. That is fine in a studio and awkward outdoors.
Step-by-Step
Run these six steps in order for every new setup. Once you can repeat the numbers, you can walk into any room and rebuild the shot.
1. Choose a Light Source for the Snoot
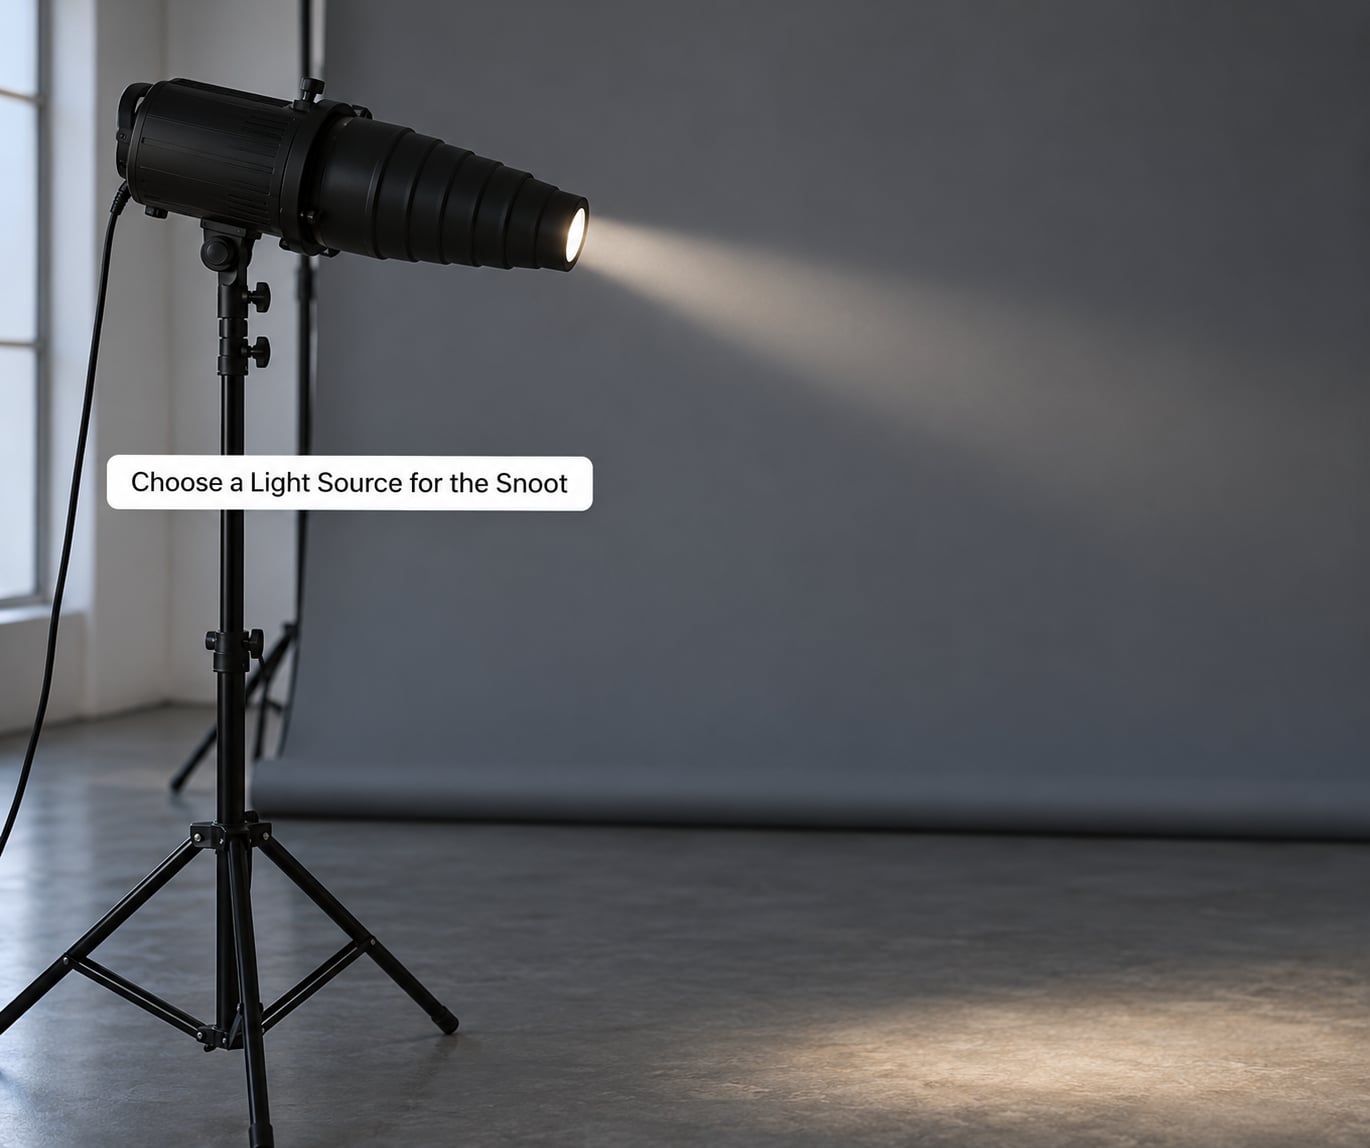
Start with what you actually have. A bare-bulb strobe into an optical snoot gives you the most light for the least fuss, because there is no built-in reflector eating the beam before it reaches the glass.
Fit the snoot and confirm the mount is seated properly. A snoot that is half on will leak a halo of light around its rim and that halo is exactly what kills the dark background you were after.
How do you know it worked? Turn the light up and point it at a plain wall from four or five metres away. You should see a clean edge and a fast drop outside it. Soft, even, no defined edge means the snoot is loose or the source is leaking around it.
Continuous LED panels are the other option. They need no radio trigger and they show you the beam before you shoot, which makes aiming far easier. The trade is heat, since the front of the panel and any snoot adapter get hot enough to be uncomfortable after a few minutes.
2. Position the Snoot Above and to the Side
Place the light high, off the camera axis, and closer to the subject than you think. The classic dramatic portrait sits the snoot roughly 30 to 45 degrees off the camera line and slightly above the subject’s eye level, casting the shadow from the nose down and across the far cheek.
Raise the light higher and you move into a top-down look where the eye sockets fall into shadow and the cheekbones catch light. That is moody and unforgiving. Lower it toward eye level and you flatten the face and lose the very contrast you added the snoot to create.
Distance matters as much as angle. Start about 1.5 metres from the subject for head-and-shoulders work. Closer means a smaller, harder pool of light and a faster falloff across the body. Further means broader coverage but a softer edge.
How do you know it worked? The lit side of the face should read clearly and the shadow side should still hold some detail, not go to pure black. If the shadow side is gone, the light is too close or too frontal.
3. Shape the Beam and Check the Falloff
Start with the narrowest beam your setup allows and widen it by moving the light away from the subject rather than by opening the snoot. Distance gives you a natural, even gradient. A snoot opened up gives you a hot centre with a fast, sometimes ugly edge.
Check the falloff before you touch the camera. Look at the transition where light ends and shadow begins on the face. A soft transition reads as flattering and natural. A hard edge cutting across the cheekbone reads as a mistake, even when the shadow side is doing exactly what you wanted.
This is also where a cookie earns its keep. A cookie or gobo taped inside the snoot, or clipped across the front, shapes the edge of the beam, throws a pattern, or softens one section. Use metal where you can. Paper cookies scorch, because the light inside a snoot gets genuinely hot and concentrated.
Got it working? You see a clean, deliberate edge instead of an accidental-looking circle.
4. Set the Exposure for the Lit Side
Meter the illuminated cheek, not the average of the whole frame. A spot meter or your camera’s highlight warning gives you the lit side directly, and that value is the exposure for the entire portrait.
A starting point that works for most studio strobes: manual flash mode, shutter at your sync speed around 1/200, ISO 100, and aperture wide open or one stop down, between f/2.8 and f/4. Then set flash power so the lit side lands where you want it rather than adjusting exposure in post.
Working in manual flash mode matters more with a snoot than with most modifiers, because strobe flash duration is so short that ambient light contributes almost nothing below sync speed. Your blacks stay black because the room contributes nothing, not because you pulled them down later.
How do you know it worked? The lit cheek sits just under clipping, the shadow side is two or three stops darker, and you have not touched the shadows slider in editing.
5. Refine the Pose, Background, and Contrast
Pose the body away from the camera and turn the face back toward the light. The angle between the body line and the face line separates the subject from the frame and stops the pose reading as flat and frontal.
Keep the eyes inside the beam and just inside the brightest part of it. Eyes at the edge of the pool look lifeless, and eyes fully lit from directly front flatten the expression, so aim for the lit side of the eye to be brighter than the other.
Now handle the background. Put the subject as far from the backdrop as you can manage, because light falls off with distance and the further back the backdrop sits the darker it stays. If the beam still lands on the background and forms a bright hotspot, flag it or aim the snoot a touch higher and let the beam miss behind the subject entirely.
Fill is the last decision, not the first. If you need any, a white card or reflector on the shadow side at very low power, roughly two stops under the key, opens the dark side just enough to read. More than that and you have spent the entire drama budget on the mistake you were trying to avoid.
How do you know it worked? Zoom in on the histogram and you see a gap between the highlight peak and the shadow block, with nothing piled up at pure black.
6. Make Test Portraits and Diagnose the Result
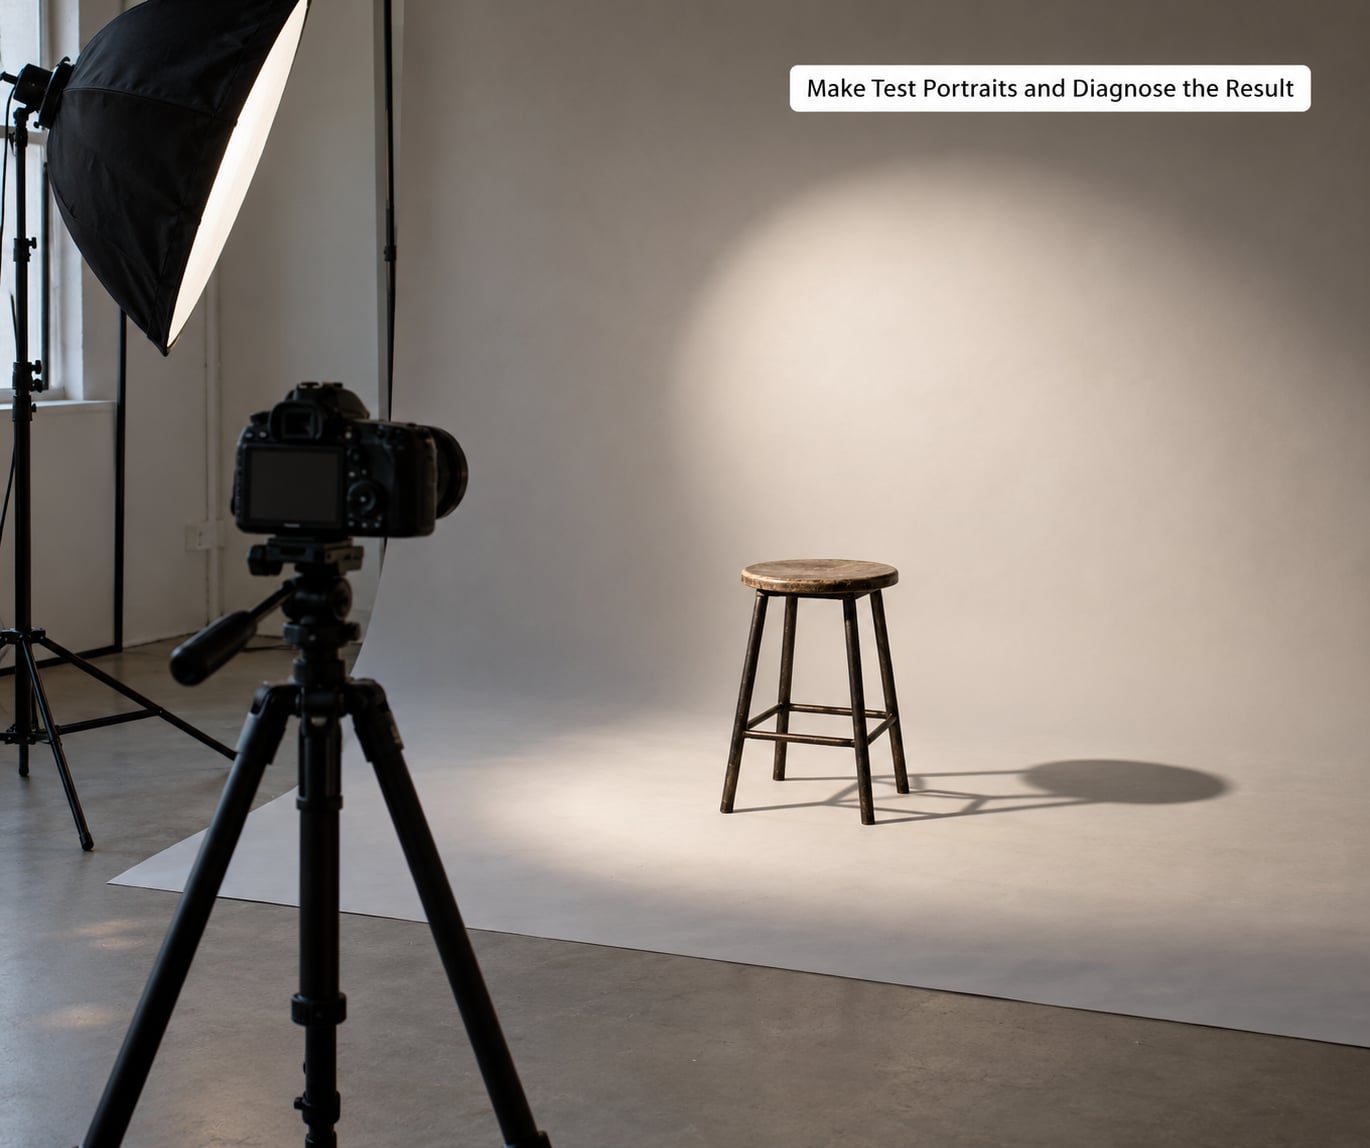
Leave the frame empty and shoot a test with the subject stepped out. That one image tells you the beam size, where the shadow lands, whether the background is clear, and whether the flag is doing its job. It takes five seconds and saves a dozen headshots.
Bring the subject back and work through a short list on every frame.
- Is the beam covering the whole face or clipping the chin?
- Is the nose shadow falling in the direction you intended?
- Do both eyes have a catchlight, or only one?
- Is the background clear, or is there a hot spot behind the head?
- Is focus on the near eye?
- Did the exposure shift between frames, or is it holding steady?
If the exposure keeps drifting, you are almost certainly in an auto mode fighting a flash meter. Switch to manual flash and the frames stop moving between poses.
How do you know it worked? Five consecutive frames with the same beam, the same shadow, and the same background. That consistency is what makes the second half of the shoot fast.
Three setups worth copying
Once the single-light version feels automatic, these three are small changes to the same setup rather than new gear.
Rembrandt strip. Raise the light above eye level and push it further round to the side. The nose shadow joins the shadow on the far cheek and you get the classic triangle of light on the dark cheek.
Rim or kicker. Aim the same snoot behind the subject at the shoulder and head, underexposed to protect the highlights, and let the background fall away. Keep the front of the subject dark and this becomes a silhouette with an edge.
Background only. Take the subject out of the beam entirely and project onto the wall behind them. This gives you the pattern and texture work that makes the snoot worth owning, since the person is lit separately by ambient or a second source.
Common Mistakes
Aiming the snoot straight at the camera axis. A beam coming from behind or level with the lens gives you flat, symmetrical light. Move it off axis, roughly 30 to 45 degrees, and let the shadow do the work.
Standing too close. Close in and the pool of light shrinks, the falloff gets harsh across the body, and the shadow side can drop to solid black. Move back a half metre and re-evaluate before you move power.
Adding fill too early. Fill light at any strength above a token bounce pulls the contrast apart. Add fill last, at roughly a two-stop deficit, and only where you genuinely need to read the eye on the shadow side.
Losing all detail on the shadow side. Usually a sign the light is too close, too frontal, or the ambient in the room is higher than you think. Kill the ambient first, then move the light back and up.
Letting the beam hit the background. A bright circle behind your subject pulls the eye away from the face. Flag it, push the backdrop further back, or tilt the snoot so the beam overshoots and misses.
Leaving ambient light uncontrolled. Room light is what softens hard shadows and flattens the blacks you worked for. Black out the windows, kill the overheads, and shoot below sync speed in manual flash so the room contributes nothing.
Shooting stopped down for everything. Aperture controls how much of the beam reads as sharp versus how much falls off, not how dramatic the portrait is. Wide apertures give soft defocused edges and creamy background; stopped-down apertures give you a crisp projected pattern. Choose based on the look you want, not habit.
Using paper cookies and grabbing a hot snoot. Paper scorches inside a snoot, and the metal gets hot enough to burn a fingertip after a few minutes of continuous firing. Use metal cookies, grip the body of the snoot rather than the tube near the source, and give it a cooling break between long sequences.
One more beginner trap worth naming. If you bought a regular non-optical snoot expecting pattern projection, it will never do that job. It flags light. For projection, you need an optical snoot or a dedicated projector body.
Frequently Asked Questions
What is a snoot used for in portrait photography?
A snoot restricts a flash or strobe to a narrow, controlled beam so you can light one small part of a subject or background and let everything else fall dark. Portrait photographers use it to create hard-edged shadows, deep blacks, and a spotlight look that reads as dramatic or cinematic. It also projects patterns onto a wall through a cookie or gobo.
How far should a snoot be from the subject?
Start around 1.5 metres for head-and-shoulders portraits and adjust from there. Closer gives you a smaller, harder pool of light with fast falloff. Further away gives broader, softer coverage and a gentler edge on the shadow. Move distance before you move flash power, because distance changes the beam size and the light ratio at the same time.
Does a snoot work with continuous lighting?
Yes, and continuous LEDs are easier to aim because you can see the beam before taking the picture. The trade is heat: continuous sources run hot, the snoot body gets uncomfortable to hold, and you need a bigger power source or more time between long takes. Strobe users should grip the snoot body rather than the tube near the source.
Should I use a reflector with a snoot for portraits?
Use one only if the shadow side has gone completely black. A white card or reflector on the shadow side, roughly two stops under the key, lifts the dark side just enough for the eye to read. Add more fill than that and the hard contrast the snoot created gets flattened. Always add fill after the beam is shaped and the exposure is set.
Can a snoot create Rembrandt lighting?
Yes. Raise the snoot above eye level and move it further round to the side so the shadow from the nose meets the shadow on the far cheek. That join forms the small triangle of light below the eye on the dark cheek that defines Rembrandt lighting. Keep the beam tight enough to cover the face without spilling far onto the background.
How do I avoid a distracting hotspot in the background?
Move the subject as far from the backdrop as the room allows, since light falls off with distance and a distant backdrop stays darker. If the beam still lands on the wall, tilt the snoot slightly higher so it overshoots, or set a black flag on a stand between the light and the backdrop. Raise the light and aim at the head rather than the torso.
Conclusion
Start narrow. Put the snoot above eye level and 30 to 45 degrees off the camera axis, meter the lit cheek so it lands just under clipping, then walk the light backwards to widen the beam until the whole face is covered.
Leave the shadow side alone until the beam is right, then judge it on a monitor. Once you can repeat those numbers in a different room, learning how to use a snoot for dramatic portraits is done.