Butterfly lighting puts a single key light high above your subject’s face and angled down at about 30 to 45 degrees, so the nose drops a small symmetrical butterfly-shaped shadow onto the upper lip. Learn how to do butterfly lighting for portraits and you own the most flattering one-light pattern there is, using gear most people already own. Set the room up once and you can dial the same look on any face in under five minutes.
It is also the pattern beginners get wrong most often, almost always in the same way: the light ends up too high, the shadow touches the top lip, and the eye sockets go black. The shadow under the nose is your live feedback, so once you know what a correct one looks like, every other adjustment becomes guesswork you can skip.
What You Need
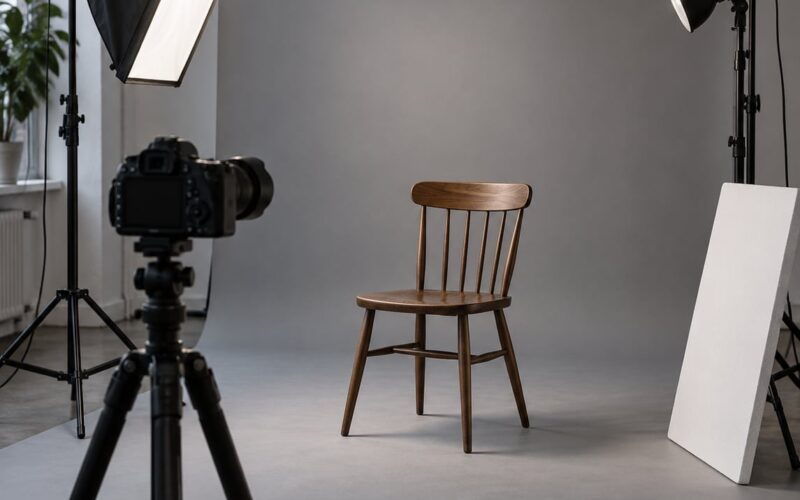
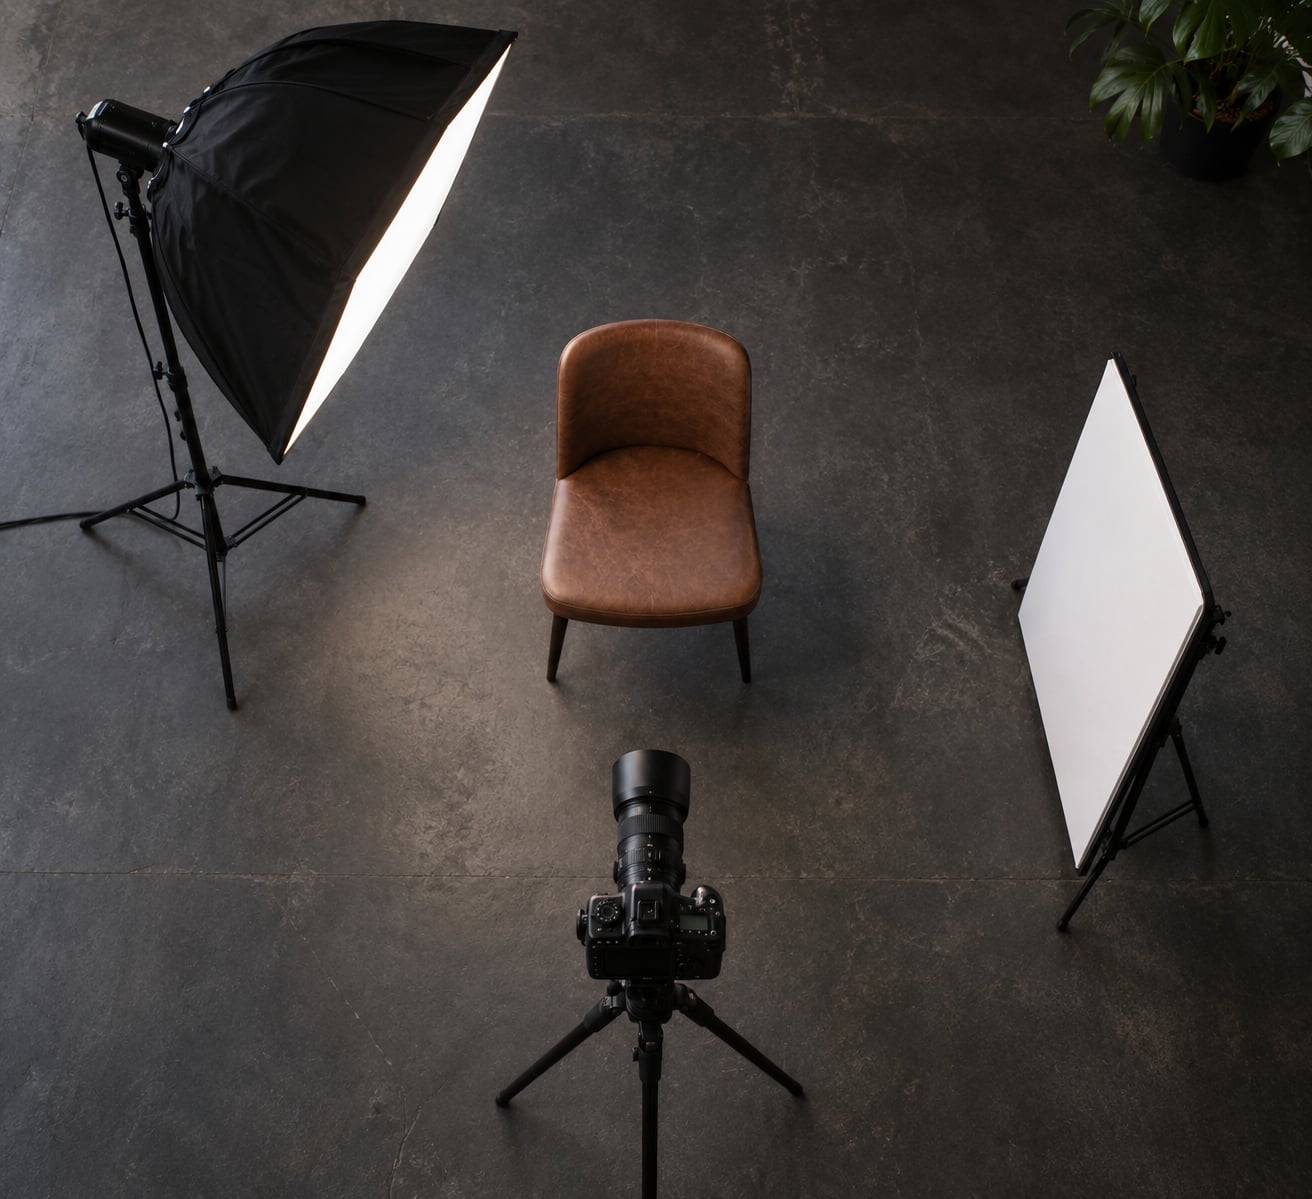
The whole rig is one light, one modifier and one white surface for bounce. Anything more is optional.
- Camera and lens: any camera you own. An 85mm or 100mm portrait lens gives a natural look, but a 50mm at f/2.8 is a fine starting point. Avoid wide angles close to the face, which stretch the nose.
- Key light: a strobe, a continuous LED panel or a speedlight. A single speedlight on a stand works fine.
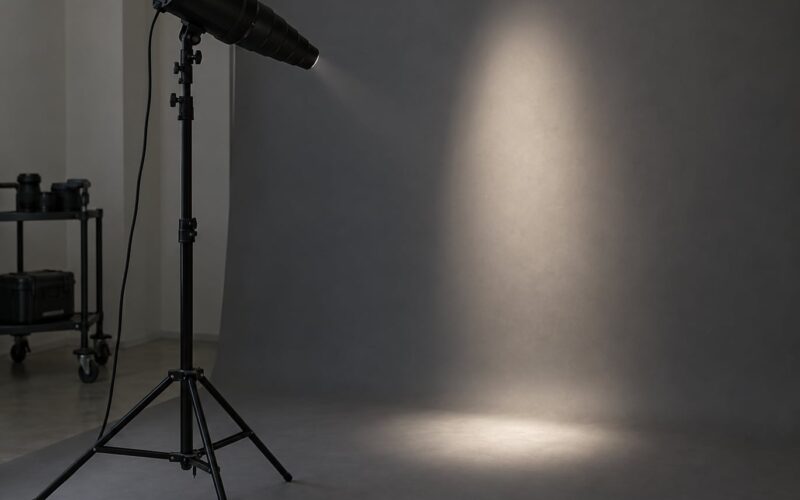
- Modifier: a softbox, octabox, beauty dish or shoot-through umbrella. The size matters more than the brand.
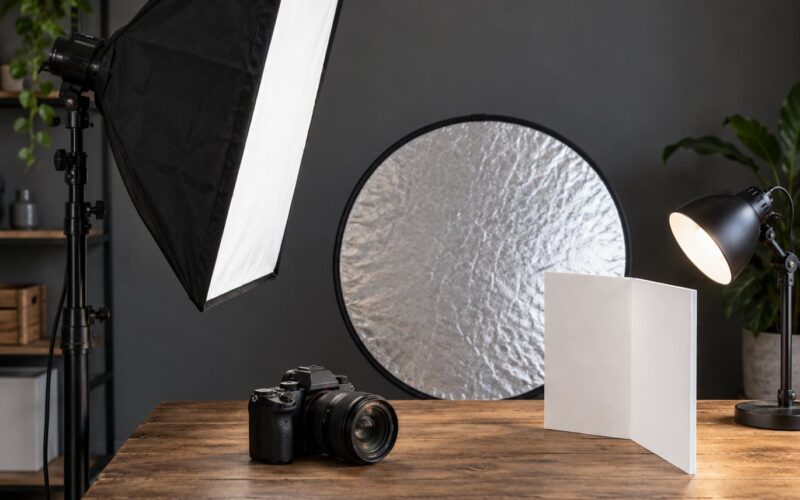
- White reflector or foam board: a 5-in-1 reflector or a piece of white poster board on a second stand, placed under the face.
- Light stand and, ideally, a boom arm: a straight stand works if it is tall enough. A boom lets you get the light overhead without a ladder.
- Room setup: a plain wall a few feet behind the subject, room lights off, and a chair or stool the subject can sit on.
That is the entire kit. Hair lights, background lights and flags are nice extras you can add once the base pattern is right.
Step-by-Step: How to Do Butterfly Lighting for Portraits
1. Choose a Clean, Simple Setup
Put the subject about 3 feet from a plain wall so you get a soft shadow behind them instead of a hard-edged one. Turn off every room light, including the ceiling fixture and any window you were counting on.
Set the camera at eye level with the subject’s eyes, not above or below. A camera tilted down puts the shadow and the catchlights in the wrong place and no amount of light moving will fully fix it.
Start around 85mm if you have it. Whichever focal length you choose, do a test shot with the light off first so you know your baseline exposure.
2. Position the Key Light Above and in Front
Put the light on the camera axis, directly in front of the subject and high enough to clear the top of their head. Then tilt it down toward the face.
An overhead source hits the forehead, bridge of the nose and tops of the cheekbones first, then falls off into shadow under the cheekbones, along the jaw and beneath the chin. That downward angle is what shapes the face and creates the shadow under the nose.
If the light sits level with the eyes, you get flat, even light and no shadow at all. If it sits below the nose, the shadow slides up onto the cheek. Height is the whole game.
3. Position the Key Light for Butterfly Lighting Portraits
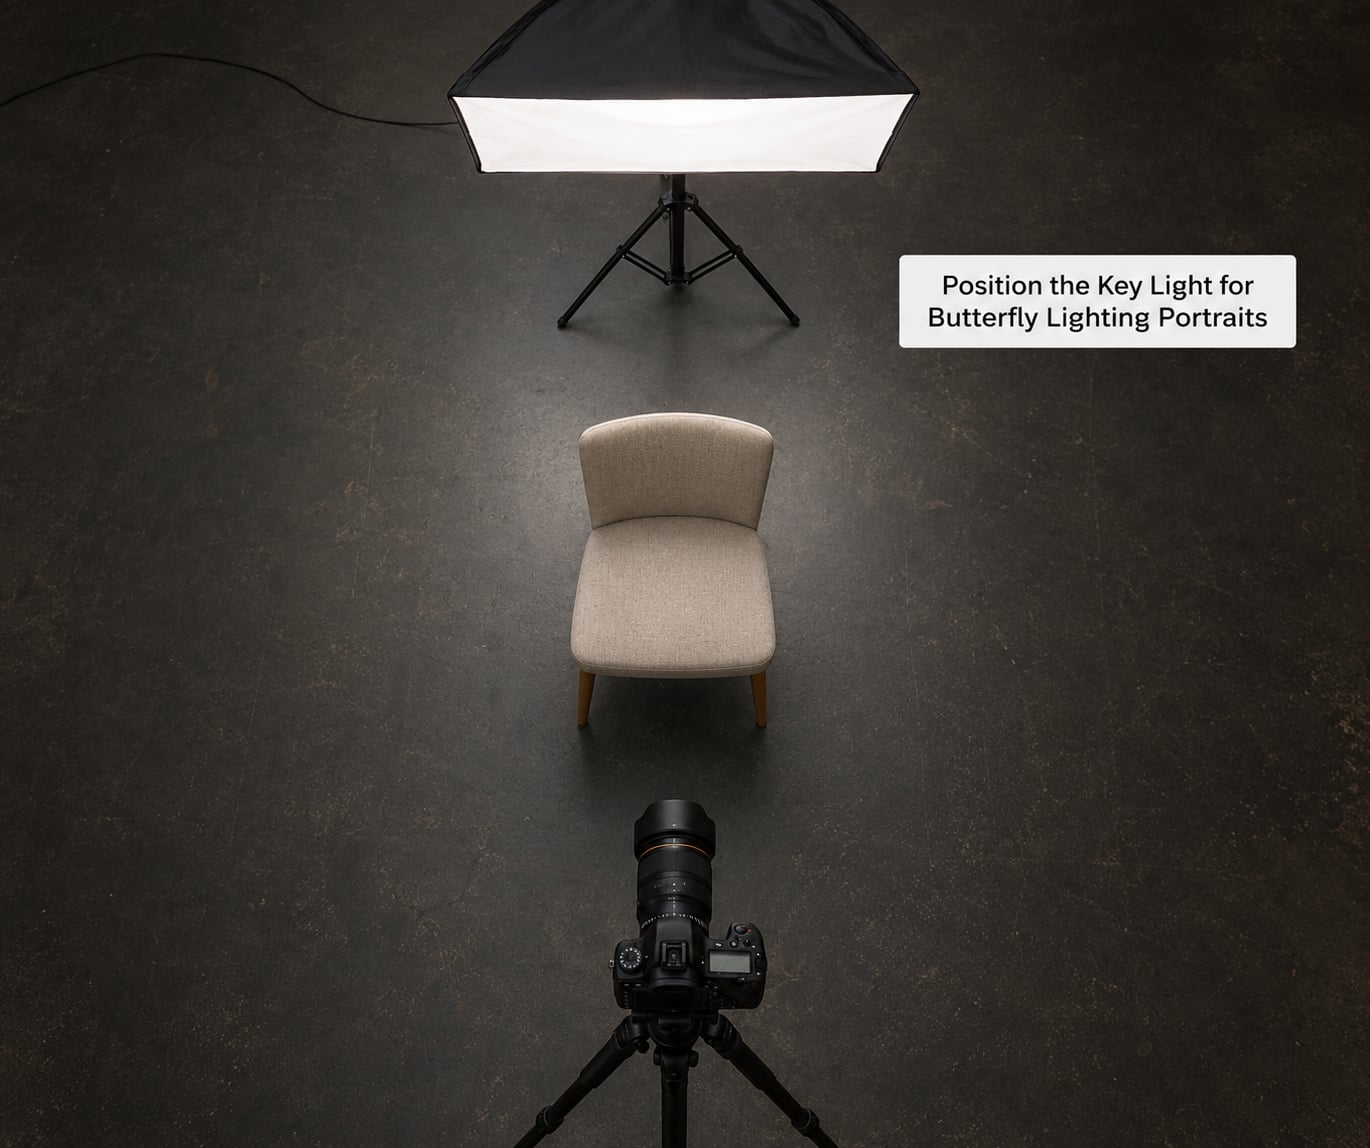
Now dial in the two numbers that matter: distance and height. Place the front of the modifier roughly 3 feet from the subject’s face and raise the light until it sits 30 to 45 degrees above the subject’s eye line, aimed down at the forehead.
Keep the light centred on the lens axis. As soon as you slide the key more than about 15 degrees off to one side, the nose shadow drifts to the side of the face and you are no longer shooting butterfly, you are shooting loop lighting.
Hold the reflector under the subject’s chin for a moment before you shoot. That bounce is what keeps the underside of the jaw from going completely black.
Modifier size shapes the transition between lit and shadowed areas more than power does. A large softbox gives a feathered edge and smooth skin. A beauty dish with a grid gives a brighter, harder falloff that shows texture, which suits oily or mature skin.
4. Add Just Enough Fill Light
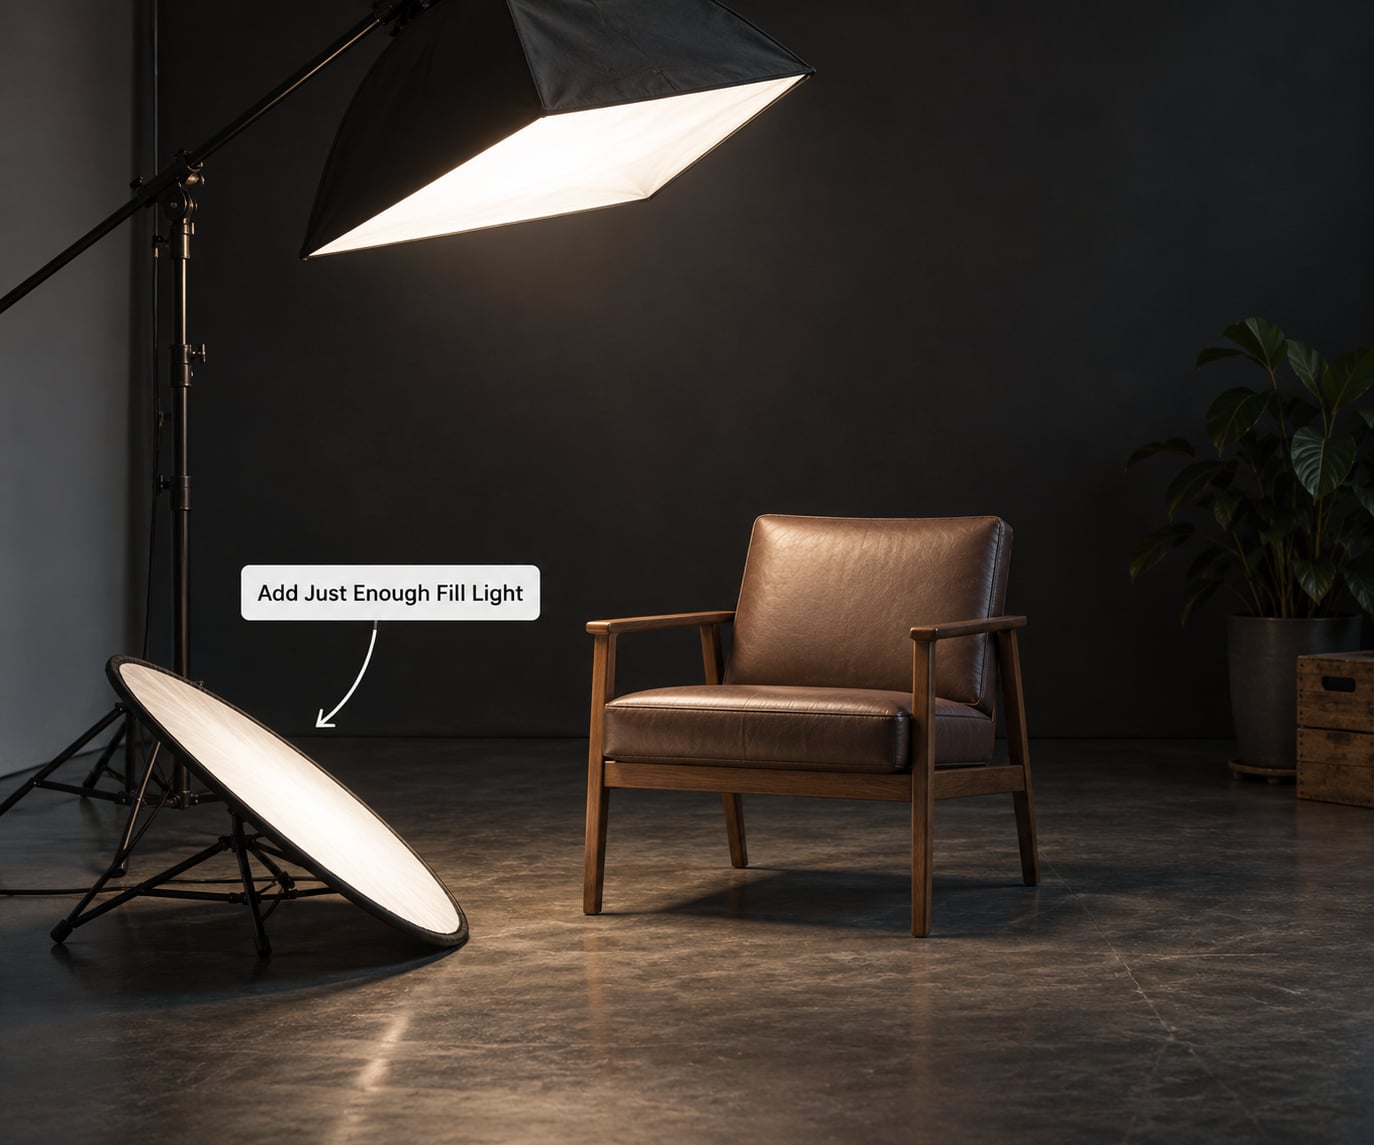
Place a white reflector directly below the light source near the subject, angled up at the face. Its job is to lift the shadow under the jaw by about one stop, not to erase it.
Start close and pull the reflector away to deepen the shadow. The further the reflector sits from the face, the smaller and dimmer its contribution, because light falls off with distance.
A white reflector gives neutral fill. Silver is brighter and harsher, and a gold reflector pushes everything warm, which rarely suits skin tones. Beginners often use white foam board instead, and that works fine.
Watch the catchlights while you adjust. They should sit in the upper part of the iris, and if the reflector swallows them, bring it back closer or angle it down slightly.
5. Set Exposure and Check the Result
Switch to manual exposure so nothing changes between shots. A solid starting point for a strobe or speedlight is ISO 100, f/2.8 to f/4, and 1/160 second, which is also the usual flash sync ceiling.
Meter for the highlights. Spot meter on the forehead, the brightest part of a butterfly-lit face, and let the jaw and neck fall into shadow naturally.
Shoot one test frame and check the histogram and the blinkers. If the forehead is clipping, close the aperture or drop the strobe power. If the shadow is muddy, the reflector is probably too close.
Do the three-second check before you keep shooting: shadow centred under the nose, shadow short and not touching the upper lip, catchlight visible in both eyes. Those three things passing means the pattern is correct.
Common Mistakes
Almost every bad butterfly portrait comes from one of six things.
- Light too low. The shadow slides up onto the cheek and the face looks flat. Raise the light until the shadow sits directly beneath the nose.
- Light too high. The shadow darkens, lengthens and touches the top lip, and the eye sockets sink into shadow. Bring the light down a few degrees.
- Light too far to one side. The shadow moves off-centre and the pattern becomes loop lighting. Push the stand back on the camera axis.
- Too much fill. The sculpting disappears and the face flattens out. Move the reflector further from the subject until the under-chin shadow shows detail again.
- Light too hard. A bare bulb gives harsh, dated shadows and sharp catchlights. Step back, and add a softbox or umbrella to grow the source.
- Catchlight cropped out or ambient light leaking in. Room light adds its own reflection in the eyes and ruins the symmetry. Kill it, and check your framing keeps the catchlight inside the iris.
A few adjustments worth knowing once the basics hold. For a long face, drop the light closer to 20 degrees above eye line so the face is not stretched vertically. For a round face, keep the light high and the pattern narrow to add length. Asymmetrical features do not suit butterfly lighting at all, since the pattern depends on balance, so switch to loop or Rembrandt for those.
You can run the whole thing with one speedlight and one stand. Put the stand at full height, hold the speedlight high and angled down, clamp the subject on a taller stool so you get the height from the sitter rather than the stand, and lean a white board against the wall below for fill.
Natural light works too. Stand the subject under open sky, or next to a window that is higher than their head, and hold white paper under the chin. Bright sun creates a hard-edged shadow, so open shade or a thin curtain gives you the softer version people actually mean when they say window light.
Practice it with a friend and a wall, no camera. Move the light up and down until you can call the shadow position by feel. That muscle memory is worth more than any gear, and it transfers to every other pattern.
Frequently Asked Questions
What direction should the nose shadow point with butterfly lighting?
It should point straight down, centred under the nose and sitting just above the upper lip. If the shadow falls to one side of the face, the key light has drifted off the camera axis. Bring it back over the lens, usually within about 15 degrees, and the shadow recentres itself.
Is butterfly lighting better with a softbox or an umbrella?
Neither is inherently better. A large softbox gives a feathered shadow edge and smooth skin, while a shoot-through umbrella wraps light around the face for a softer, more forgiving look. Choose the big source if you want the glamorous, polished result, and the umbrella if you are working in a small room with limited space.
How high should the light be above the subject?
Aim for 30 to 45 degrees above the subject’s eye line, measured from the face to the front of the modifier. Lower the light for long faces, around 20 degrees, and raise it slightly for round faces. Too high and the shadow lengthens, touches the upper lip and darkens the eye sockets.
Should a reflector be directly under the face?
Place it below the light source and angled up toward the chin, not flat on the floor. Starting close to the face gives a bright fill that lifts the jaw shadow by about a stop. Move it further away when you want the shadow deeper, and check that the catchlights stay visible in the upper iris.
Why does my butterfly portrait have dark eye sockets?
The light is usually too high, so the brow shadows the eyes and the under-nose shadow lengthens toward the lip. Drop the light a few degrees and check the shadow shape. Adding a white reflector below the chin also helps, since bounce reaches the sockets as well as the jaw.
Conclusion: Start with One Light Above the Face
The whole pattern fits in one sentence: one key light high above the face on the lens axis, one white reflector below, and a shadow under the nose that is centred, short and clear of the upper lip. That is how to do butterfly lighting for portraits with nothing more than a single light and a white board.
Begin there. Raise the light to 30 to 45 degrees, spot meter on the forehead, take one test frame, and check the shadow before you change anything else. Once you can hit that three-second check on the first try, fine adjustments like face shape, catchlight shape and skin texture become easy.
Last updated: October 2026