A high key portrait is lit so soft and flat that shadows all but vanish, the background falls away to white, and the subject still holds detail in the skin. Shooting one at home takes about twenty minutes to set up and needs nothing more exotic than a window, a white surface and a piece of white card.
Start by clearing up one myth, because it is what ruins most first attempts. High key is not overexposure. Overexposure clips the highlights and erases texture you can never get back. High key is controlled brightness: the skin sits where it should, usually between middle grey and just under clipping, while the background behind it is pushed the other way, to pure white.
Three things decide whether the technique works: a large soft source close to your subject, a white background lit a little brighter than the subject, and an exposure that protects the face. Get those right and everything else is small adjustments. Here is how to shoot high key portraits at home, step by step, starting with gear you probably already own.
Table of Contents
- How to Shoot High Key Portraits at Home: What You Need
- Step-by-Step
- Common Mistakes
- Frequently Asked Questions
- What is the best lighting setup for high key portraits at home?
- Do I need a studio light to shoot high key portraits?
- How do I avoid blown-out skin in high key portraits?
- Can a white wall work as a high key portrait background?
- What camera settings work best for bright portrait photos?
- Should high key portraits be edited to look even brighter?
- Conclusion
How to Shoot High Key Portraits at Home: What You Need
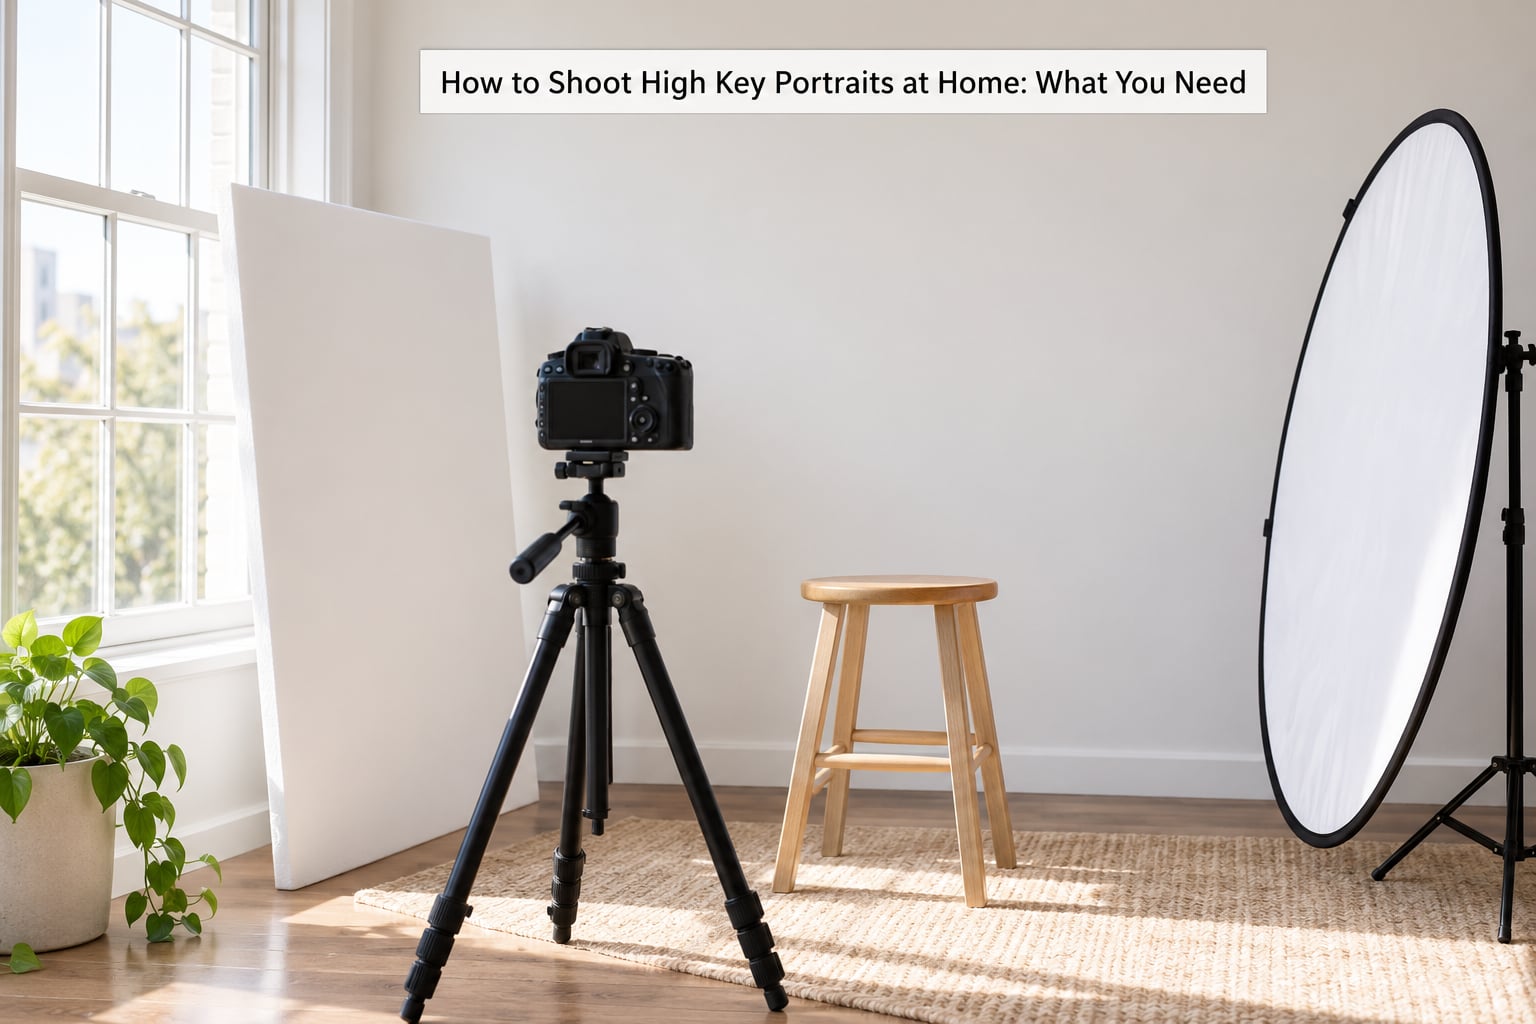
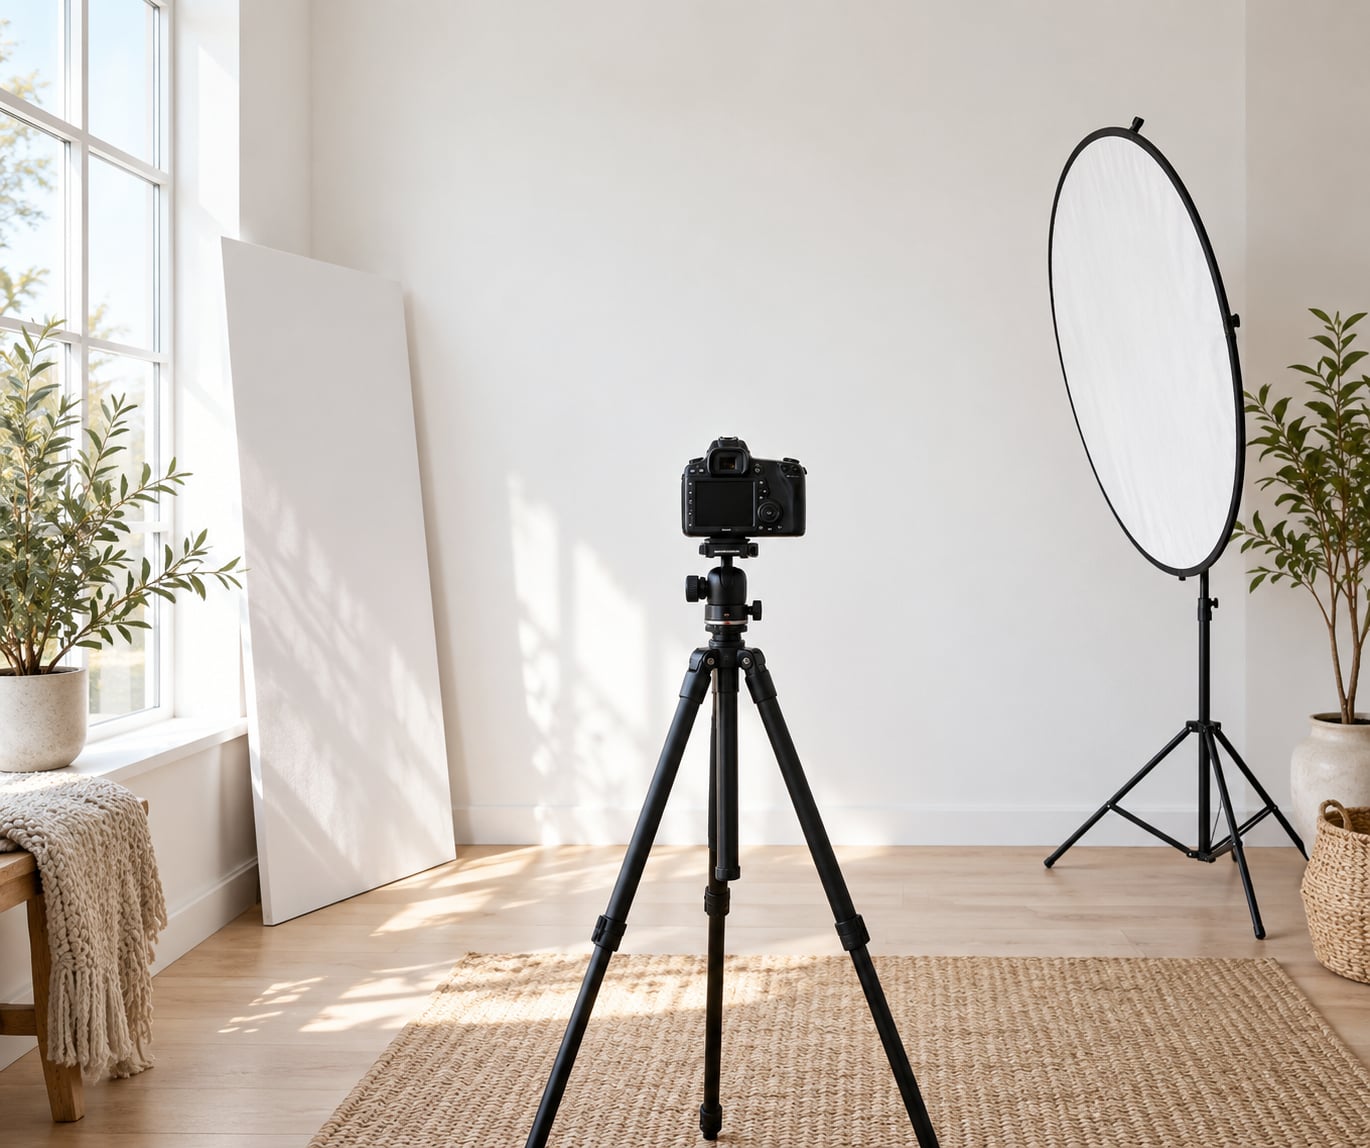
The essentials are short. A camera, a lens you would use anyway, a tripod or a stack of books, and something white and matte behind your subject. That last item is the one people get wrong, so buy or borrow it first.
For the white surface, work down this list in order of preference:
- A white wall. Free, already vertical, and usually the best option. Paint helps only if it is truly flat white.
- A sheet of white backdrop paper or foam board. Smooth, cheap, and it hangs flat with a few pieces of tape.
- An ironed white bed sheet. Works, but the folds and creases need a proper steam press, not a quick hand-smooth.
- A white shower curtain or a white vinyl tablecloth. Good texture, no wrinkles, and it hangs from a shower rod with a couple of hooks.
For light, you have two honest options at the window stage: the window itself, or one continuous LED panel. Everything else is upgrade, not requirement.
For bounce, a piece of white foam board or a white card is the single most useful tool in the whole setup. It sits on the shadow side of the face and lifts it with no extra power. A collapsible reflector does the same job faster if you shoot often, but a flat white board leaned against a chair works exactly as well.
The scaling ladder, so you know what to add and when:
- Window plus reflector. No purchase beyond the white card. Overcast days give the softest result of all.
- Window plus a light second white surface. Two walls, or a wall and a bedsheet placed behind at an angle to even out the grey.
- One LED panel plus reflector. The panel lets you shoot after sunset and gives you consistent results day to day.
- Two lights. One for the subject, one dedicated to the background. This is where the background stops looking grey.
A tripod is not optional once you start dialing in settings by hand. Holding the camera still is what makes test shots comparable.
Step-by-Step
Four stages, in this order. Light first, settings third, and only then ask your subject to move.
How to Shoot High Key Portraits at Home: Create the Background
Clear the room first. Every object in frame is a distraction once the backdrop goes white, so remove everything from the walls, the floor and the surface your subject will sit on. Then choose your white and get it as close to pure white as you can find.
Position matters more than people expect. Put the white surface behind your subject and as far from them as the room allows, ideally four to six feet. This is the constraint that catches beginners in a small room: stand your subject too close and the shadow of their head and shoulders appears on the backdrop the moment the light comes from the front or side.
If the room is tight, you have three options. Push the subject further from the wall and move the camera closer instead, angle the subject so their back is not square to the backdrop and the shadow falls out of frame, or add light to the background so the shadow is brighter than the shadowed part of the backdrop and effectively disappears. That third option is what a studio does, and one LED panel aimed at the wall is enough.
Keep the white surface matte. Glossy or satin finishes produce a hot spot that reads as a grey blob once the camera meters for it.
Position Your Light for Soft, Even Illumination
High key works because shadows get filled. That needs a big, close source on the key side and a white reflector or fill light on the other side, set to a lighting ratio of roughly 1:1 to 2:1, meaning the shadow side sits about one to two stops below the lit side.
With a window, put your subject about one to two feet from the glass, angled about 45 degrees to one side rather than straight on, so the face still gets shape. Place the reflector or white card close on the opposite cheek, angled inward. Close means close. A window two feet away is soft; the same window across the room is a hard small source, and you will chase shadows all afternoon.
With an LED panel, the same geometry applies: about 45 degrees off camera axis, high enough to be slightly above eye level, three to four feet from the subject. If the face still looks hollow on one side, the fill is too weak. Bring the reflector closer before you turn anything up on the key.
Then treat the background as its own subject. Aim a second light at the wall from above and to one side until it reads as white on the camera’s rear screen, not just to your eye. Most cameras render white brighter than the human eye does, so trust the screen and the histogram here.
Watch for spill. Any light pointed into the front of your lens will flare, haze the frame and kill the clean look. Keep lights behind or well outside your camera’s view and check for flare in every test shot.
Set Camera Settings for a Bright Portrait
Switch to manual and dial these in as a starting point. They are ranges, not rules, but they keep you out of the noise and away from motion blur.
| Setting | Start here | Why |
|---|---|---|
| Mode | Manual | Metering will try to average a white room down to grey every time |
| ISO | 100 to 200 | Flat bright tones show grain badly, so keep it as low as the light allows |
| Aperture | f/5.6 to f/8 | Sharp across the face, shallow enough to blur the room behind |
| Shutter speed | 1/125 to 1/200s | Fast enough for a still subject; raise ISO before dropping below 1/125 |
| Flash sync | At or below your sync speed, usually 1/200 | Going over it gives uneven exposure across the frame |
| White balance | Daylight, around 5500K | Keeps skin tones neutral; shoot RAW and refine later |
| Metering | Evaluative, verified against the histogram | The histogram is the real decision tool, not the meter reading |
| Exposure compensation | Plus 1 to plus 2 EV | Pushes the background to white without moving the subject off the wall |
Read the histogram with one rule: the background may clip freely, the face may not. Clipping on the far right of the wall is exactly what you want. Clipping under the forehead, nose or cheek is a face you cannot recover in software, so step down a third of a stop and check again.
If you use window light, you will often need a shutter speed faster than the table suggests, or a wider aperture, to avoid a soft frame. Raise ISO to 400 before you drop below 1/125, and accept a little grain over a blurred cheek.
Direct the Subject and Capture the Final Look
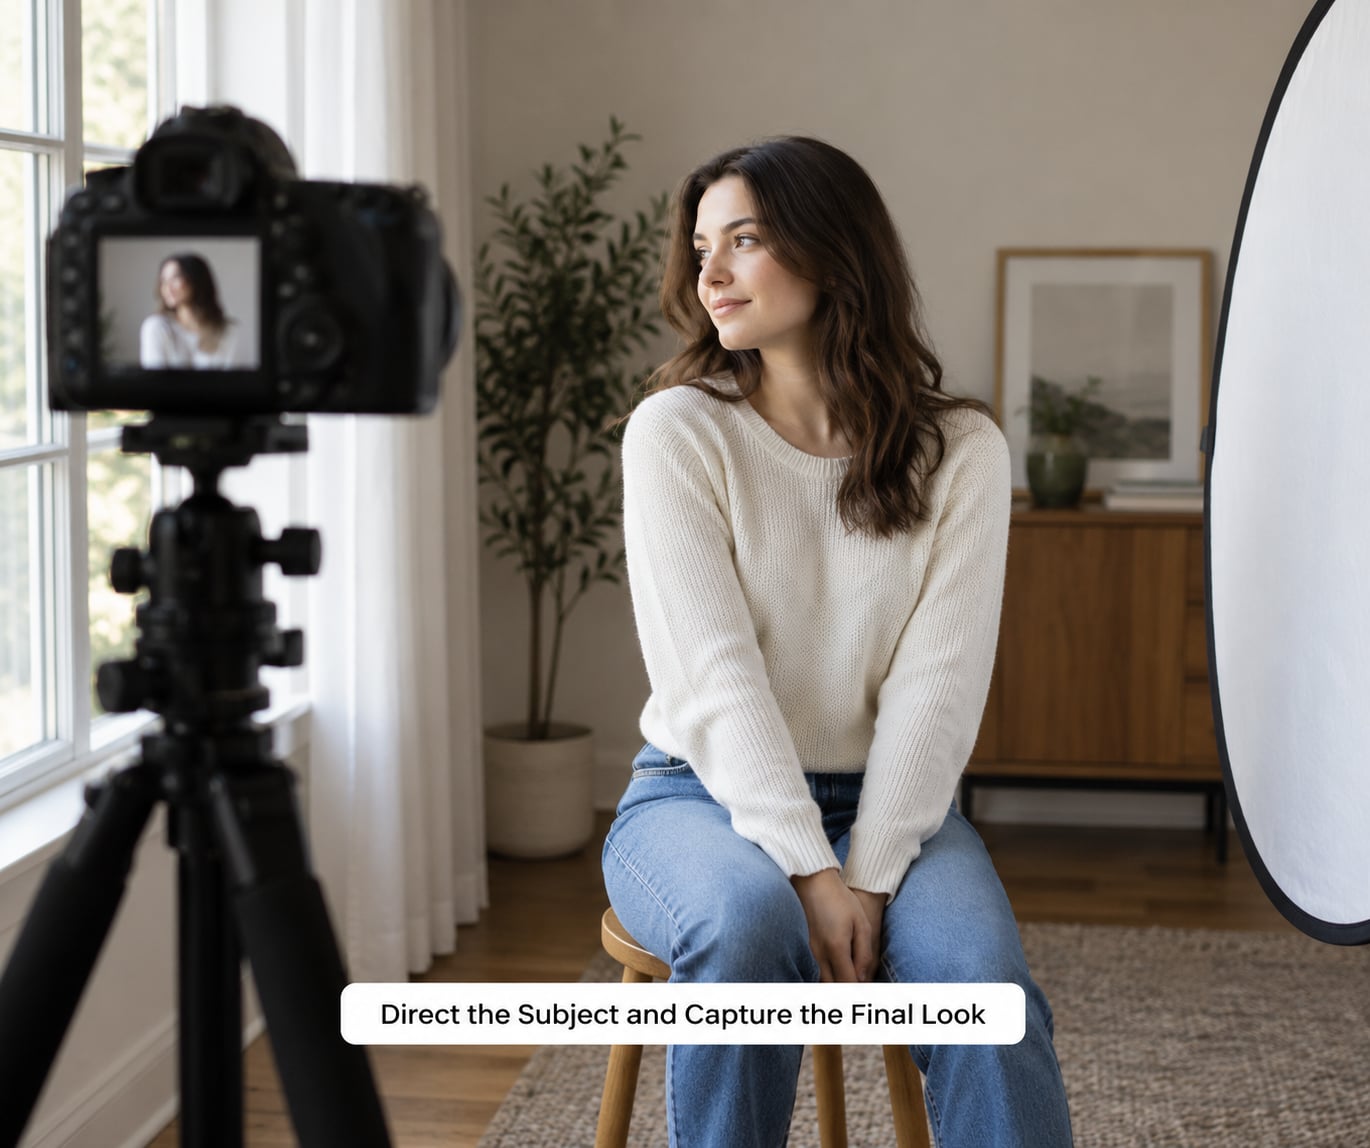
High key portraits work because the expression does less work and the light does more. Ask for a small, closed-mouth smile and let the shoulders drop. Turn the head slightly, push the chin forward and down, and keep the eyes on something level with the camera.
Check the catchlight. The window or panel should put a small bright shape in each eye, and if it does not, the source is in the wrong place for the angle you asked for.
Focus on the eye nearest the camera and shoot a few test frames. Then look for three things in order: is the background white, is the shadow side of the face alive, and are the highlights under the cheekbones and nose still holding detail. Adjust one variable at a time, usually the distance of your reflector or a third of a stop of exposure.
Common Mistakes
Nearly every problem in high key has a symptom you can spot on the camera’s rear screen before you leave the room.
The background reads mid-grey. This is the most common beginner error by a distance. A white wall absorbs most of the light hitting it, so it needs its own light aimed at it. Add a second source behind and above the camera, aimed at the backdrop, or add one to two stops of exposure compensation. If the face is already correctly exposed, positive compensation is the quickest fix.
Skin looks blown out and lifeless. The background is white and the face is clipped. You cannot recover clipped skin. Drop exposure compensation, close down a third of a stop, move the key light further away for softer falloff, and shoot RAW.
A shadow of the head sits on the backdrop. Your subject is too close to it. Move them forward, or light the background harder so the shadow falls below the white clipping point.
One side of the face is darker than the other. The fill is too weak. Bring the reflector closer rather than raising the key, and aim for the 1:1 to 2:1 ratio.
Visible grain all over the frame. You shot at a high ISO out of habit. High key is exactly the situation where noise shows, because the tones are flat and bright. Drop ISO and compensate with aperture or light.
Skin looks orange or patches of mixed colour. You have mixed daylight from a window with warm ceiling bulbs. Turn the interior lights off, close the curtains on any lamp you need, and set white balance to Daylight.
Backdrop creases and grey smudges. Iron or steam the fabric, tape the edges flat, and clean the wall before you start. In editing, a small brush with a soft edge and low opacity fixes shallow creases that were never clipped.
The finished portrait looks flat and lifeless rather than bright. You clipped everything, including the face. Bright and washed out are different results. Lift the shadows slightly, add a gentle tone curve and keep a little contrast so there is shape in the face.
Frequently Asked Questions
What is the best lighting setup for high key portraits at home?
A large soft source close to your subject, angled about 45 degrees, with a white reflector on the opposite side and a white background lit slightly brighter than the subject. A north-facing window works better than a south-facing one because it never gets direct sun, and an overcast day gives the softest light of all. Add a second light aimed at the backdrop when the background keeps reading grey.
Do I need a studio light to shoot high key portraits?
No. Window light plus a white reflector and a white wall is a complete setup, and most first high key portraits should be shot that way. A continuous LED panel is the first sensible upgrade, mainly because it works after dark and gives consistent results. Strobes and softboxes change the quality of light, not whether the technique is possible.
How do I avoid blown-out skin in high key portraits?
Expose for the face, not for the background. Watch the histogram and treat clipping under the forehead, nose and cheekbones as a stop too far, while clipping on the far right of the wall is exactly what you want. Shoot RAW, keep the key light further away for softer falloff, and add brightening in editing rather than at the shutter.
Can a white wall work as a high key portrait background?
Yes, and it is usually better than fabric. A flat white painted wall is free, seamless and never creases. Stand the subject four to six feet away from it, or angle them so the shadow falls out of frame. If the wall renders mid-grey, it needs light aimed at it or one to two stops of exposure compensation.
What camera settings work best for bright portrait photos?
Start in manual mode at ISO 100 to 200, f/5.6 to f/8 and 1/125 to 1/200s, with white balance set to Daylight around 5500K. Use evaluative metering but confirm every shot on the histogram. With flash, stay at or below your sync speed, usually 1/200. Add one to two stops of exposure compensation to push the background to white.
Should high key portraits be edited to look even brighter?
Not usually. Most of the brightness belongs in the shoot, where you control the falloff and the shadow ratio. In editing, keep the background at pure white and use the sliders on the face: lift shadows a little, recover any recoverable highlights, and add a gentle tone curve for shape. A phone works well for this if you shoot RAW and know what clipping looks like.
Conclusion
Start with one window, one white wall and a piece of white card, and put your subject four feet in front of that wall. Shoot a test frame and check two things only: is the background white, and does the face still hold detail. Fix those two, then refine the angle, the reflector distance and the expression from there.