Low key portrait lighting is a style where the subject is lit by one dominant source placed to the side, so one half of the face is fully lit and the other falls into deep shadow, usually against a dark background. Learning how to shoot low key portraits with one light comes down to three things: a source angled hard to one side, a modifier that stops it spilling onto the room, and an exposure that keeps the shadow side dark without turning it into an empty hole.
You can do it with a speedlight bounced off a wall, a continuous LED panel, or a single strobe head, and a small room is enough. The whole setup takes about ten minutes to build and the settings are simple: manual flash power, ISO 100, an aperture around f/4, and a shutter just under your sync speed.
Table of Contents
- What You Need
- Step-by-Step
- How to Shoot Low Key Portraits with One Light: Choose the Light
- 1. Define the low-key look
- 2. Position the light and background
- 3. Set the camera for shadow detail
- 4. Pose the subject around the shadows
- 5. Meter the highlights and shadows
- 6. Direct and make small adjustments
- 7. Review the results and lock the look
- Common Mistakes
- Frequently Asked Questions
- Do I need a softbox to shoot low-key portraits with one light?
- What is the best background for a low-key portrait?
- Should I expose for the shadows or the highlights?
- Can I use a single on-camera flash for a low-key portrait?
- How do I keep the shadows dark without losing facial detail?
- Do I need to edit a low-key portrait to make it look dramatic?
- Conclusion
What You Need
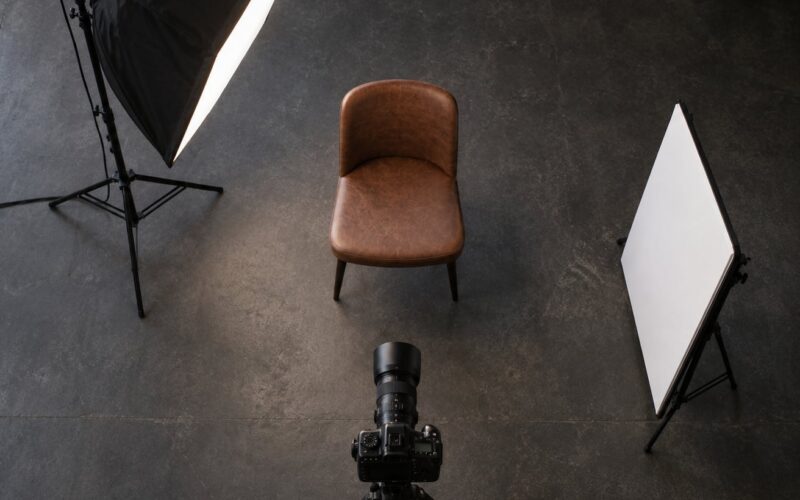
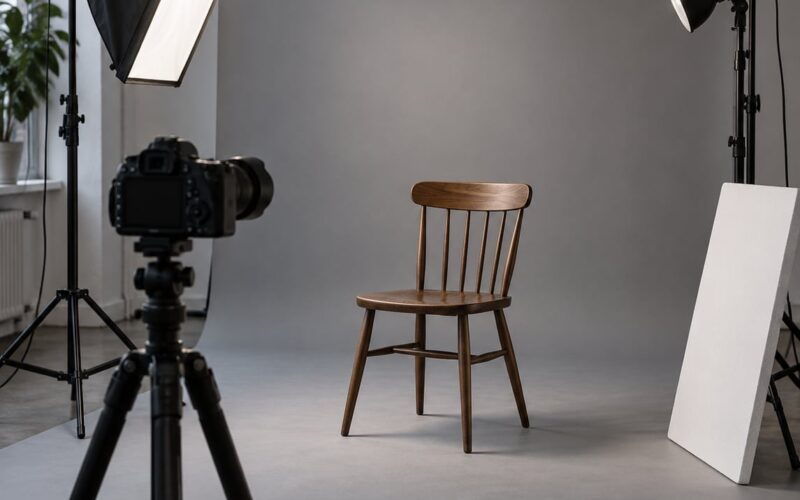
Low key is one of the easiest looks to build from minimal gear, but the gear has to be arranged so you control where the light lands and where it does not. Here is the kit list, in the order it matters.
- A camera you can shoot manual flash with. Manual power beats TTL here because you want identical frames across a whole session while you move the subject’s head.
- One light source. A speedlight on a stand, a continuous LED panel, or a single strobe head all work. Continuous sources are easier to learn on because you can see the shadow before you shoot.
- A light stand with a boom arm if you are using a strobe or LED, so the light can sit high and to the side without a second pair of hands.
- A modifier. A small softbox, strip box, beauty dish, or a grid and snoot on a strobe. This is what keeps the light contained and the shadows shaped.
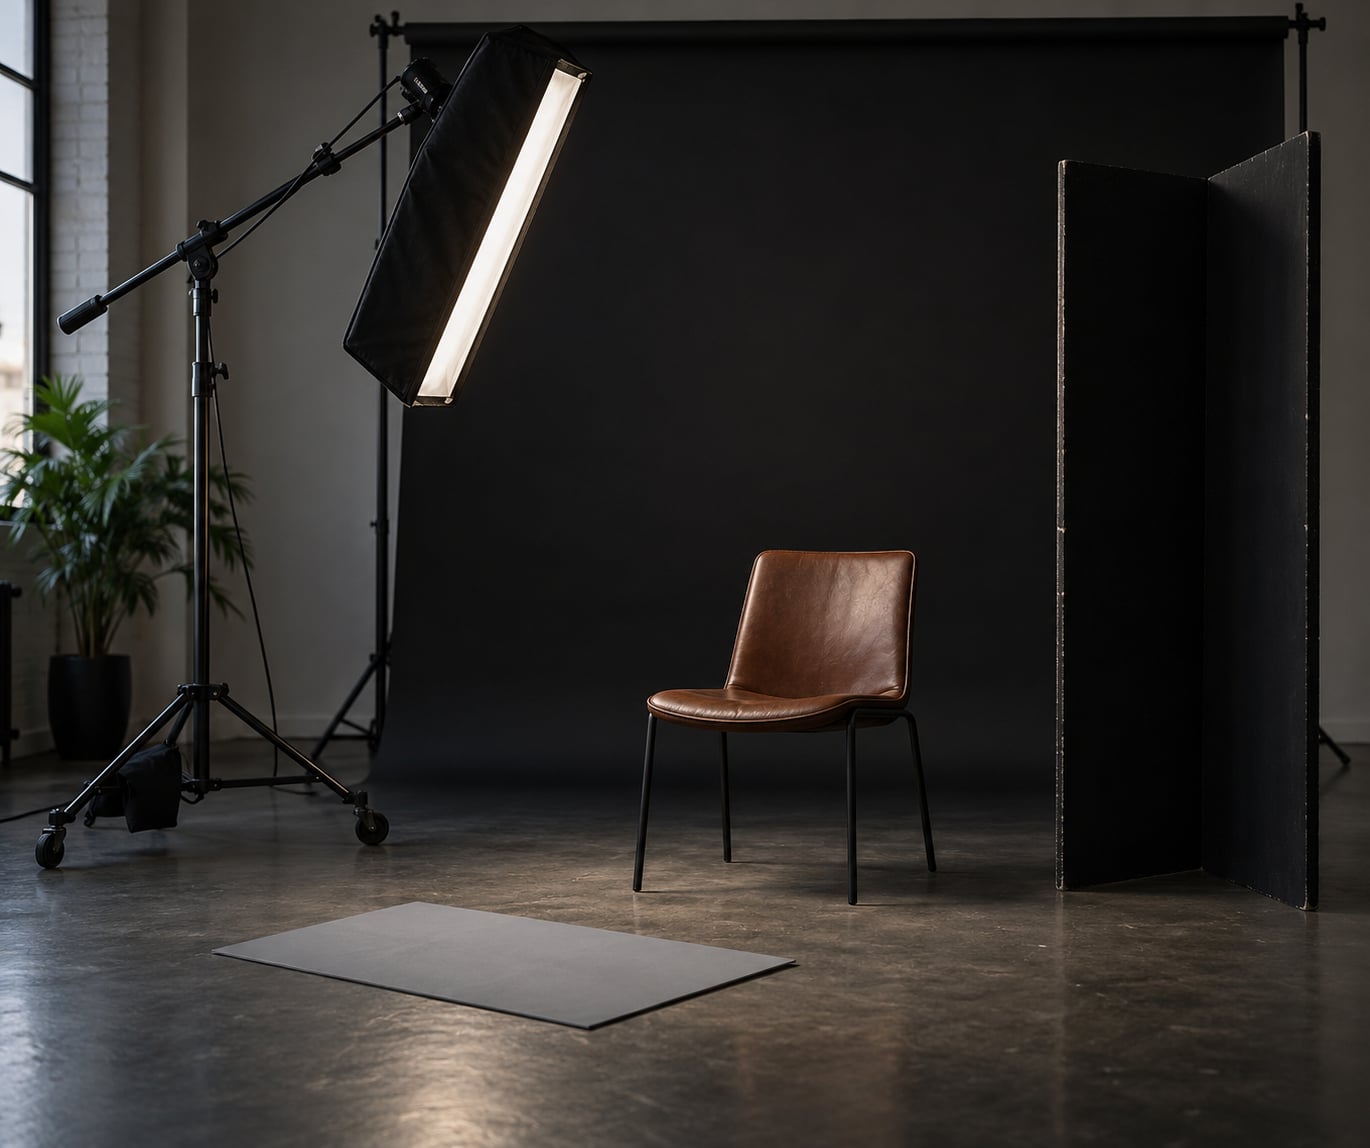
- Two black flags or a black V-flat for negative fill. This is the one item most beginners skip and the one that does the most work.
- A dark backdrop that sits far behind the subject, plus gaffer tape or clamps to black out windows and stray lamps.
- A trigger if the light is off camera: a radio transmitter and receiver, or the optical sensor built into most speedlights as a fallback.
- Safety gear: sandbags on the stand base and a cord tidy. A boom arm tip over with a strobe on the end is a real injury, not a hypothetical one.
The one thing that does most of the work: negative fill
Negative fill is simply putting a black surface on the shadow side so it reflects almost nothing back. Without it, a bare wall or ceiling bounces stray light into the shadow half of the face and the whole frame goes flat grey. With it, you get deep shadow from one light, which is the entire trick of the look.
A reflector does the opposite. Some people use a small white or silver card at low power to hold a little detail in the shadow, and that works fine for headshots where you need some facial detail on both sides. For a moodier frame, leave it out. You can decide which one you want after you see the first test frames.
Step-by-Step
How to Shoot Low Key Portraits with One Light: Choose the Light
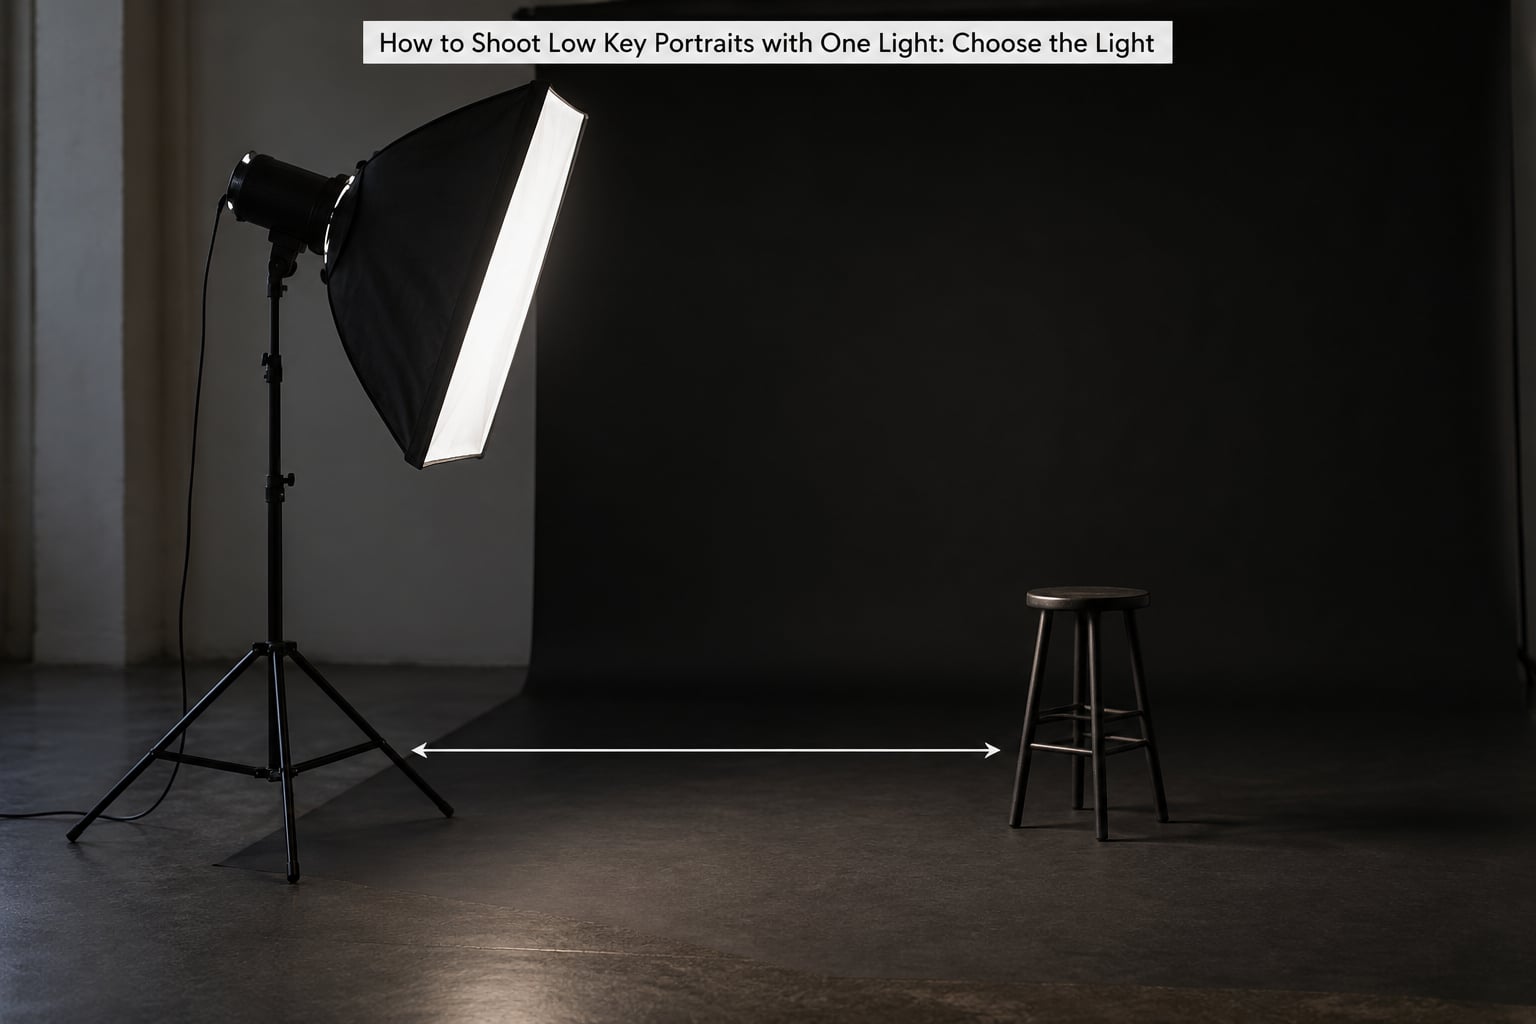
Light size decides softness, and softness decides how fast your shadow-to-highlight transition runs. A big soft source close to the face gives a gentle gradient from lit to unlit. A small source gives a hard edge and a fast falloff, which reads as more dramatic and more graphic.
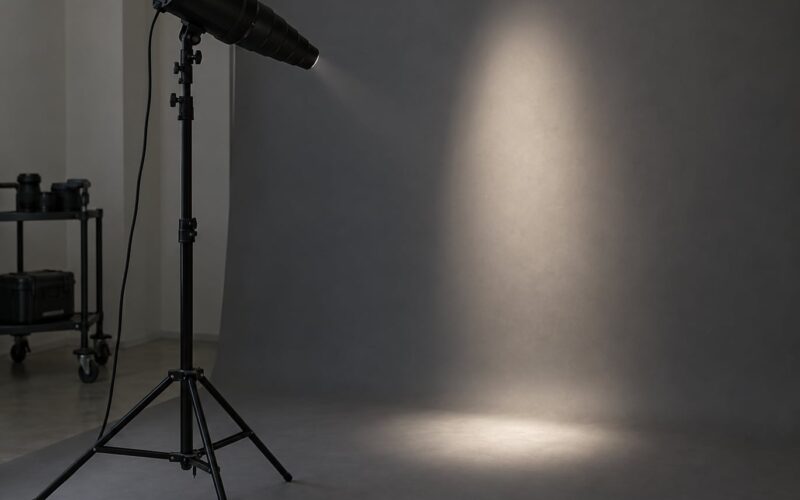
For most low key portraits, aim for a source roughly the size of a dinner plate at a metre or so from the subject: a small softbox, a beauty dish, or a strobe head with a grid. The grid matters more than people expect, because it stops the beam from washing the background and it keeps the edge of the light on the face where you put it.
Power and distance are a pair, not separate settings. Because of the inverse square law, doubling the distance quarters the light on the subject. That means a light moved from one metre to two is two stops darker, so when you move the stand you have to raise the power or open the aperture to match. I mark the floor with tape at each distance I use so I stop guessing.
What the light should NOT do is spill. Anything that reaches the walls, the ceiling or the backdrop comes straight back as fill and flattens your shadows. Turn the modelling lamp on while you set up, if your light has one, so you can see the spill before you commit.
1. Define the low-key look
Before anything is plugged in, decide what you are actually making. Low key means the majority of the frame sits in the lower half of the tonal range, with a small area of bright skin as the focal point. High key is the opposite: most of the frame is light, and shadows are soft and open. Moody is not a technical term, it is just a description people use for low key once post-processing starts.
Write down three things before you move any equipment: how dark the shadow side should be, how far below the subject the background should sit, and which side of the face is doing the work. Without that, you end up tweaking settings instead of chasing a look you never defined.
A quick test: put a black card with white and grey patches next to the subject in frame. When you review the finished image, the card tells you whether your shadows are genuinely deep or just underexposed. That reference turns a vague feeling into a number you can repeat.
2. Position the light and background
Put the subject about one and a half to two metres in front of a dark backdrop. Every extra metre between subject and background drops the light hitting the background by roughly two stops, which is what turns a grey rectangle into black.
Place the light at 45 to 90 degrees from the camera axis and about 30 to 45 degrees above eye level. Closer to 45 degrees gives you a loop or Rembrandt shape with a small triangle of light on the shadow cheek. Closer to 90 degrees gives you split lighting, where the nose casts a shadow across the far side of the face and half the frame disappears into black.
Flag the light so nothing hits the backdrop. Then set a black V-flat just outside the shadow side of the subject’s face, angled to catch spill coming off the cheek. That one panel is usually the difference between a shadow that reads as dark grey and one that reads as black.
| Light angle from camera axis | Head turn | Resulting look |
|---|---|---|
| 45 degrees, 45 degrees high | Turned away from the light | Loop shape, gentle falloff, friendly but not low key enough on its own |
| 60 degrees, 30 degrees high | Turned away from the light | Short lighting, cheek shadow stays dark, face looks narrower |
| 70 to 90 degrees, 30 degrees high | Slight turn toward camera | Rembrandt triangle on the shadow cheek, classic low key |
| 90 degrees, at eye level | Square to the light | Split lighting, half lit and half in shadow |
3. Set the camera for shadow detail
Start manual. ISO 100, f/4 for a headshot with a soft background, 1/160 second on a camera with a 1/200 sync speed. Shoot RAW, because the blacks in a low key frame are exactly where JPEG starts chewing up detail in the shadows.
White balance to a fixed value, usually around 4000K for flash, so every frame in the set matches. A drifting white balance makes a sequence look like it came from three different sessions.
The compromise you are making is depth of field against shadow quality. Wide open gives a beautiful soft background but any movement from your subject goes soft too. f/5.6 is a good middle ground for portraits where you need the whole face sharp. Keep ISO at its base value and treat the aperture and flash power as your two working controls.
If your flash supports high-speed sync and you need more than your sync speed for freezing motion, turn it on and accept the power loss. You compensate by moving the light closer, which also softens it.
4. Pose the subject around the shadows
The pose is what makes a one-light frame look designed rather than accidental. Turn the head slightly away from the light so the lit cheek is the near one and the shadow side falls away from camera. That is short lighting, and it adds depth to a face that a flat front-on pose destroys.
Ask for the chin to come down and forward a touch. It lengthens the neck, sharpens the jaw, and moves the shadow line under the cheekbone into a shape you can control.
Hands matter too. A hand near the face gives you a dark shape in the frame, which is a low key frame’s best friend. Hands flat against a wall also give you cast shadows from the single light to work with, at no extra cost.
Small movements, big results. A five degree head turn changes the whole shadow pattern, so after any repositioning, shoot one frame before you adjust anything else.
5. Meter the highlights and shadows
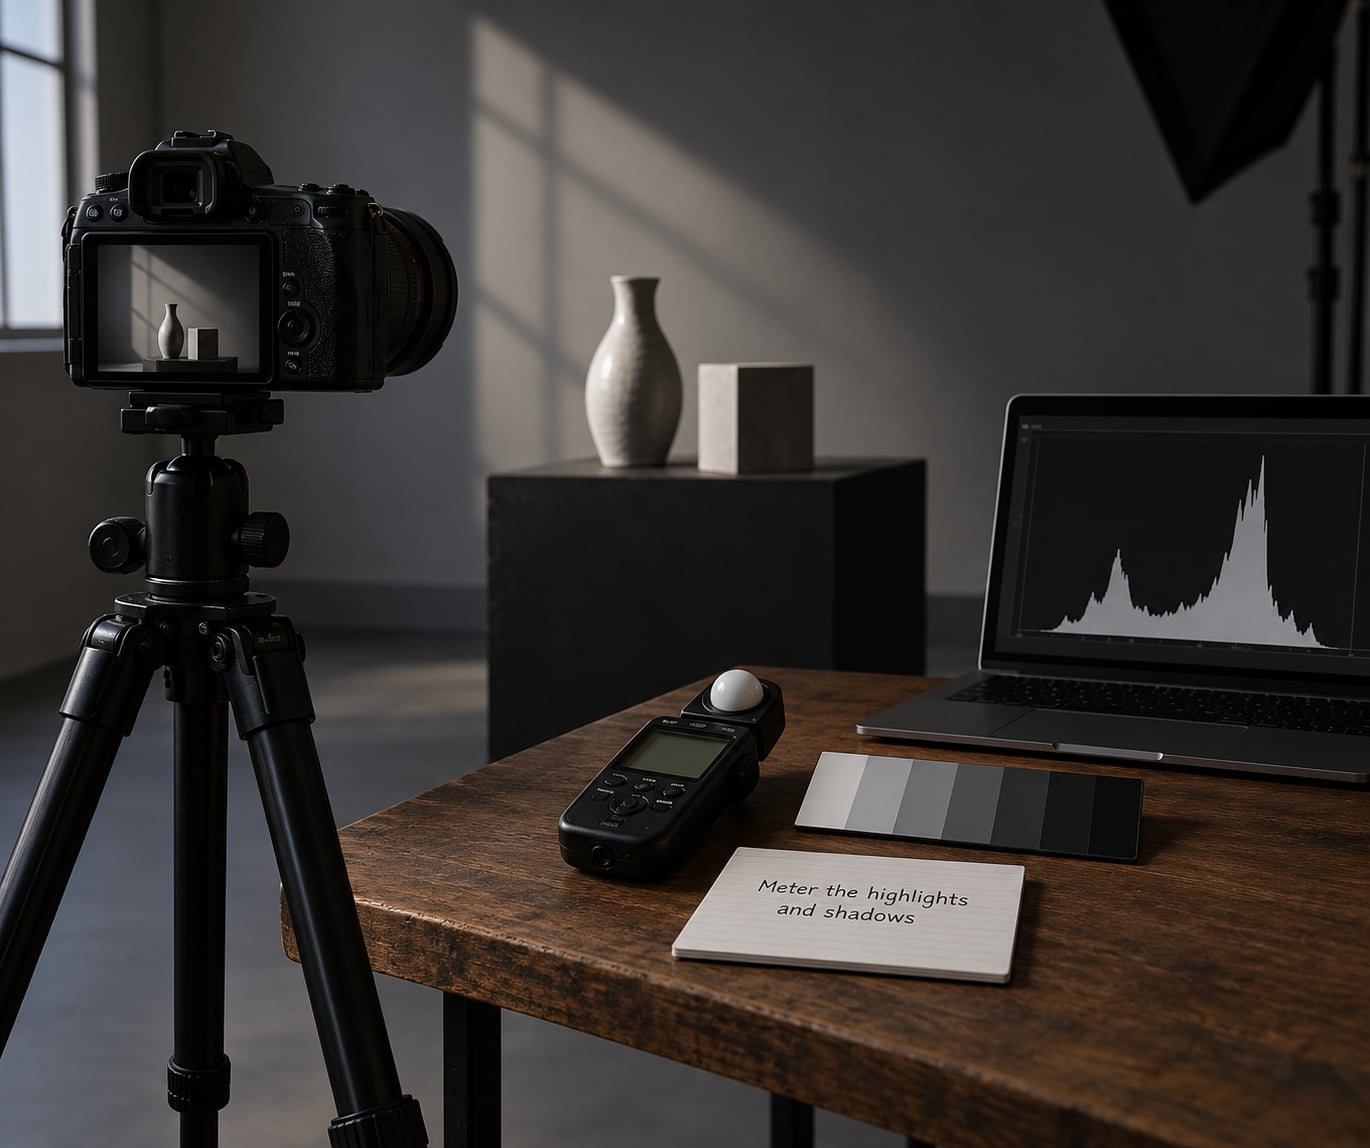
Meter for the lit side of the face. Aim for the skin on the bright cheek to sit around two thirds up the tonal range, not at the top of the scale, because low key looks fail when the highlights blow out and the skin turns papery white.
Then look at the shadow side. It should read as a dark tone with visible shape, not a solid black hole with no information in it. That is the difference between low key and a mistake, and it is the single most important judgement call in this whole process.
A light meter helps if you shoot the same setup repeatedly, but the histogram on your camera does the same job for free. Watch where the data piles up on the shadow side. If everything is stacked hard against the wall at the left edge, you have gone too far.
Once the light is dialed in, stop changing exposure and change the light instead. Moving power around makes your highlights inconsistent from frame to frame, which is much harder to fix later than a small lighting adjustment.
6. Direct and make small adjustments
Work in a loop: shoot a frame, look at it at full size, name one thing to fix, fix only that, shoot again. Trying to correct pose, expression, shadow shape and power in a single pass is how sessions stall.
Check the catchlight first. It tells you instantly whether the light is where you think it is and whether the modifier is actually attached. A rectangular catchlight means softbox, a round one means bare head or beauty dish, and no catchlight at all means the angle is wrong or the source is behind the subject.
Then check edge separation. Where the shadow side of the head meets the background, look for a rim of light along the hair or ear. If the two merge, either move the light slightly forward and higher, or push the background further away and darker.
7. Review the results and lock the look
Review at full size, not on the camera screen at arm’s length. On the screen you cannot see shadow detail; at full size you can see exactly how much information is sitting in the blacks.
Separate the two kinds of dark: intentional shadow and exposure error. Intentional shadow has soft detail and a shape you can trace. Exposure error has either no shape at all, or the shape you planned is nowhere in the frame.
When a set of frames is consistent, write the final settings down: light position in degrees, distance in metres, modifier, aperture, shutter, ISO, and flash power. That one note is worth more than any tutorial, because it is tuned to your room, your light, and your camera.
Common Mistakes
Almost every failed low key frame comes down to one of six things, and each one has a specific correction rather than a general suggestion to adjust settings.
| What you see | What is causing it | Correction |
|---|---|---|
| Shadow side is solid black with no detail | Negative fill is too close, or the exposure is set for the shadow instead of the lit cheek | Meter the lit side, and pull the black flag 30 to 45 cm further from the subject |
| Background is grey, not black | Light is spilling onto it, or it is too close to the subject | Grid or flag the light, then push the backdrop a metre further back |
| Image looks flat despite one light | Light is on axis, or a white wall is bouncing fill back into the shadow | Move the light to 60 to 90 degrees and put a black V-flat on the shadow side |
| Hot spots on the forehead or nose | Light is too close and too high, so specular reflections dominate | Drop the light and move it back, or diffuse it and slightly raise ISO instead |
| Eyes look lifeless | No catchlight, or the light is above and behind the head turn | Rotate the subject’s head slightly back toward the light until the catchlight returns |
| Grainy shadows | Bright room forcing the shutter up, or shadow recovery pushed too hard in editing | Black out the room properly and shoot RAW instead of raising ISO in post |
Two habits fix most of these before they happen. Kill the ambient first: windows, television screens, and other people in the room contribute more stray fill than most beginners expect. And take your test frames with the subject in the exact position you intend to shoot, because moving them changes everything.
One more thing worth knowing: low key is a poor choice for very light skin, pale hair, or bright clothing, because there is nothing left to absorb light. That does not mean skip it, just pick darker wardrobe and shoot a frame at the start to check you still have room to shape it.
Frequently Asked Questions
Do I need a softbox to shoot low-key portraits with one light?
No. A bare strobe head with a grid, or a speedlight bounced off a wall or ceiling, produces excellent low key results because the light stays contained and hard. A softbox softens the transition between lit and shadow, which flatters the face but reduces the drama. Many photographers shoot one session with a small softbox for portraits and a gridded head for anything moodier.
What is the best background for a low-key portrait?
A matte black or very dark grey backdrop placed well behind the subject, ideally a metre or more further than feels necessary. The distance matters more than the colour, because the inverse square law means every extra metre drops the light on the background by roughly two stops. Matte surfaces matter too, since anything glossy or light coloured will pick up a hotspot.
Should I expose for the shadows or the highlights?
Expose for the lit side of the face and let the shadow fall where it falls. Meter so the skin on the bright cheek sits around two thirds up the tonal range, then check the histogram to confirm the shadow side still has detail stacked against the left edge. Exposing for the shadow fills the face with light and cancels the entire effect.
Can I use a single on-camera flash for a low-key portrait?
Yes, but the shadow lands on whichever wall or backdrop is behind the subject, and the result usually looks accidental rather than composed. Better to get the flash off camera with a light stand and a radio trigger, or use the built-in optical sensor as a receiver with the flash firing from a dark corner of the room. Continuous LED panels are the easiest starting point because you can see the shadow before shooting.
How do I keep the shadows dark without losing facial detail?
Use negative fill rather than exposure tricks. A black V-flat or foam board placed just outside the shadow side absorbs spill that would otherwise lift the blacks, and pulling it 30 to 45 cm away from the face gives a visible edge in the dark. Shoot RAW so the shadow data survives, and add a faint reflector only if a headshot genuinely needs detail on both sides.
Do I need to edit a low-key portrait to make it look dramatic?
Not to get the look, since the drama comes from the lighting rather than the slider. You do need a short edit to finish it: lift the shadows slightly so the darkest areas keep shape, add a small amount of contrast, and hold the blacks just short of clipping. Where editing helps most is colour, since a slight cool shift in the shadows and warmth in the skin separates the two without touching the structure.
Conclusion
Start with one light, one background, and one shadow pattern. Put the light at 60 to 90 degrees and about 30 degrees above eye level, flag it so nothing reaches the backdrop, set a black V-flat on the shadow side, and meter for the lit cheek at ISO 100, f/4, and 1/160 second.
Shoot one frame, check the catchlight and the shadow detail, and adjust a single thing. Repeat that loop for ten minutes and you will have a look you can repeat on a different subject, in a different room, the next day. Written down, those notes become a setup you can build in any location, which is the real payoff of learning how to shoot low key portraits with one light.