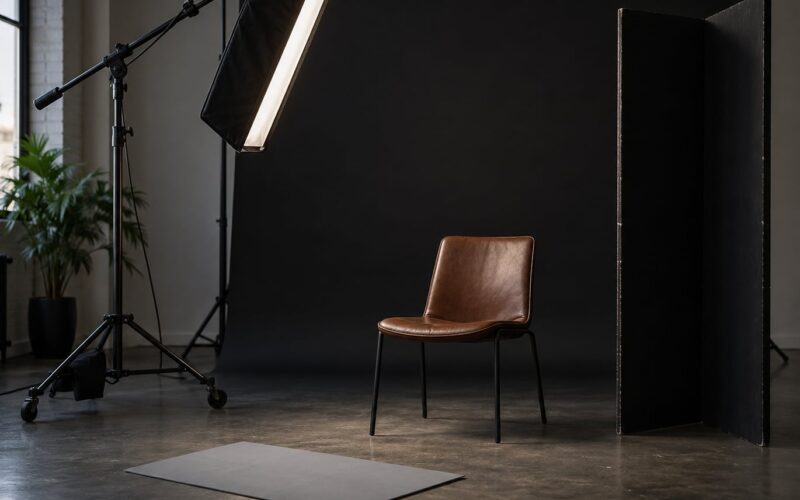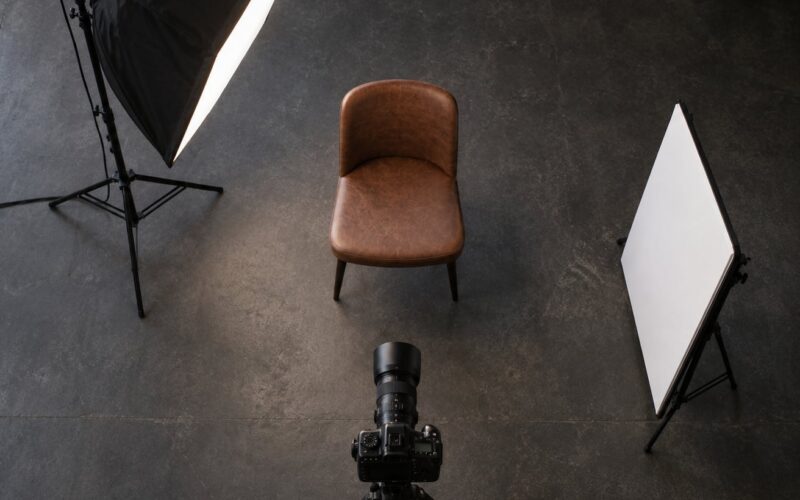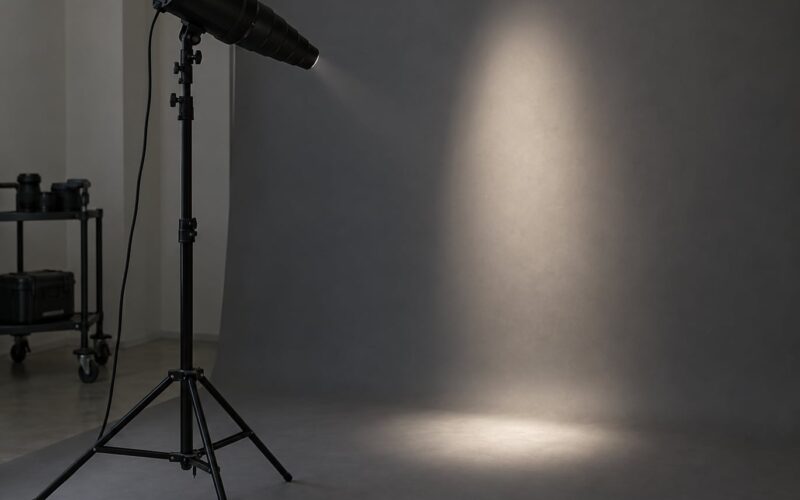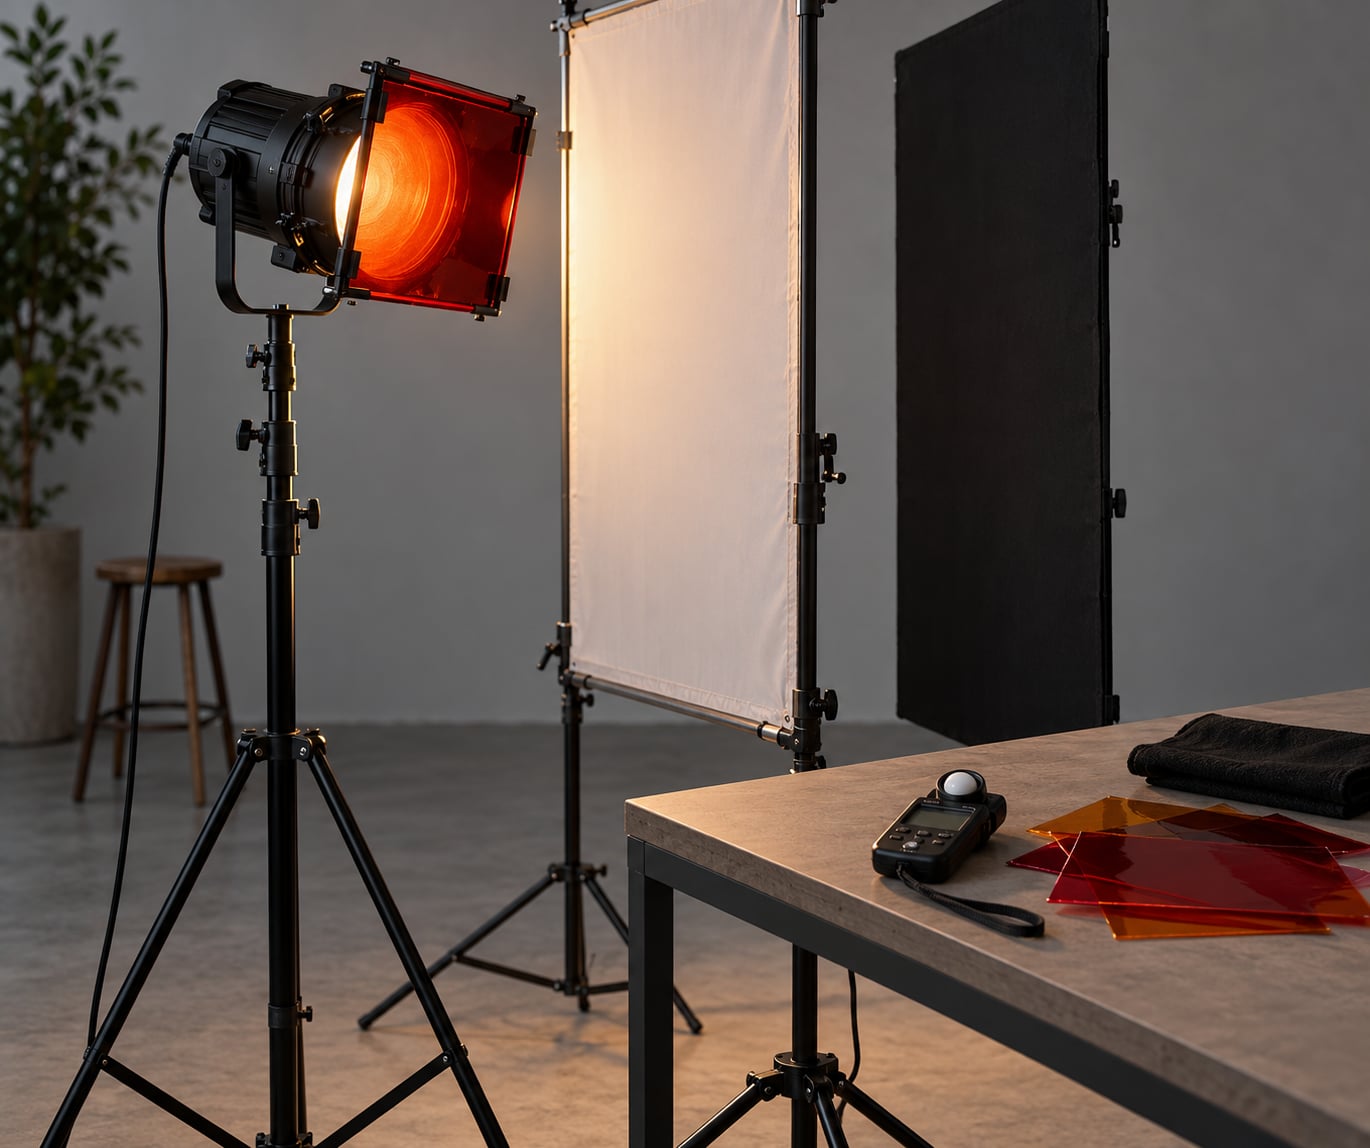
If you want to know how to use gels for creative portrait lighting, the short answer is simple: pick the mood you want first, choose one gel colour that matches it, and control the light around the gel rather than the gel itself. Gels are thin coloured sheets that sit in front of a light source. They change what the light looks like before it ever reaches your subject, and they take minutes to put in and take out. Most first attempts fail because the colour is applied to the face instead of to the edge, or because nobody compensated for the light the gel ate.
I shoot editorial and family portraits, and the gel tricks I use are simple on purpose. A gelled rim light, a washed background, or a warm tungsten look can be set up and broken down faster than changing a modifier. This guide walks through the equipment, the six-step process, and the fixes for the mistakes that show up on every shoot.
What You Need
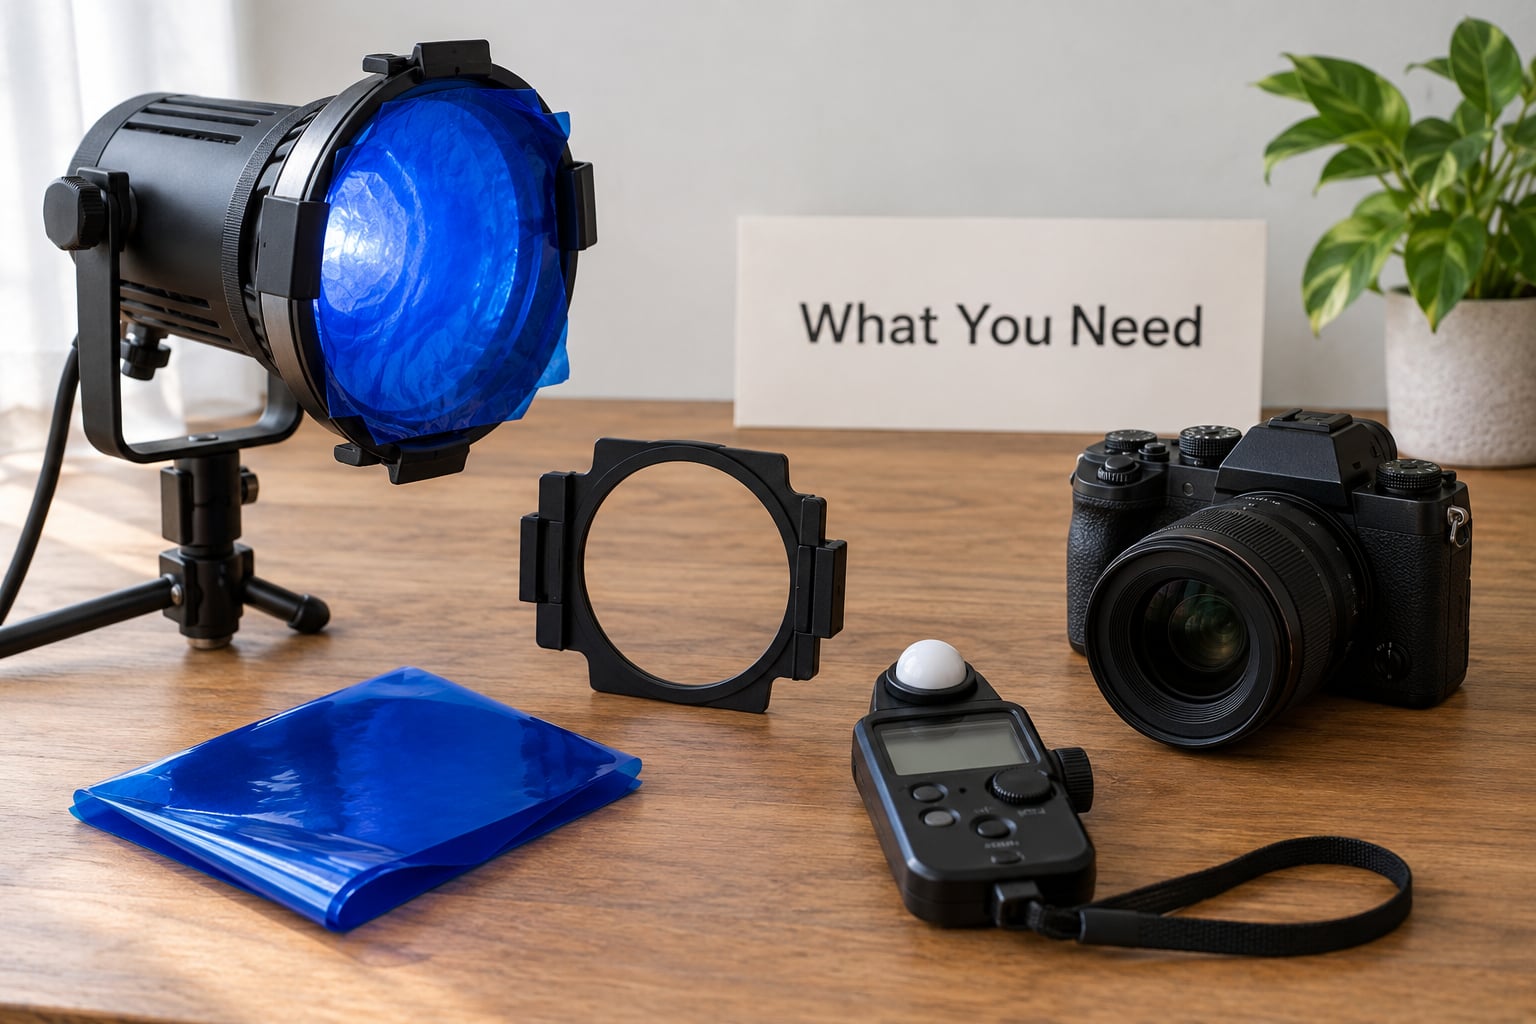
Gels are the cheapest part of a lighting kit and the easiest to improvise around. You need far less than you think to get a clean result.
- A light source. A studio strobe, a continuous LED or an off-camera speedlight all work. Continuous LED panels give you a live preview of the colour before you trigger anything, which is the easiest way to learn.
- A gel assortment. Start with a clear and neutral density (ND) gel, a colour temperature orange (CTO), a colour temperature blue (CTB), and two or three creative colours such as deep red, steel green or magenta.
- A holder or clips. Many strobe reflectors take a gel sheet that slots or screws into a frame at the front. If yours has no holder, gaffer tape or a couple of gel clips on the barn doors work fine.
- A modifier. A softbox, umbrella or reflector bowl on the key light keeps skin texture soft while the rim or background light stays harder for definition.
- Camera and lens. A fast prime gives you room to keep the ISO low when the gel steals light.
- A light meter, or a fixed test setup. A meter tells you exactly how much output the gel cost you. Without one, set exposure manually and never move it between shots.
- Heat-safe handling tools. Gels get hot. Keep a pair of gloves or long sleeves within reach if you are working with a bare-bulb head or a high-wattage modelling lamp.
One note on materials: professional gels from the usual colour filter brands are heat-resistant polyester, cut thin so they barely affect airflow. Cellophane, coloured glass paper and acetate are not. They will give you colour, but they are a short-term experiment, not something to leave on a hot fixture.
Step-by-Step
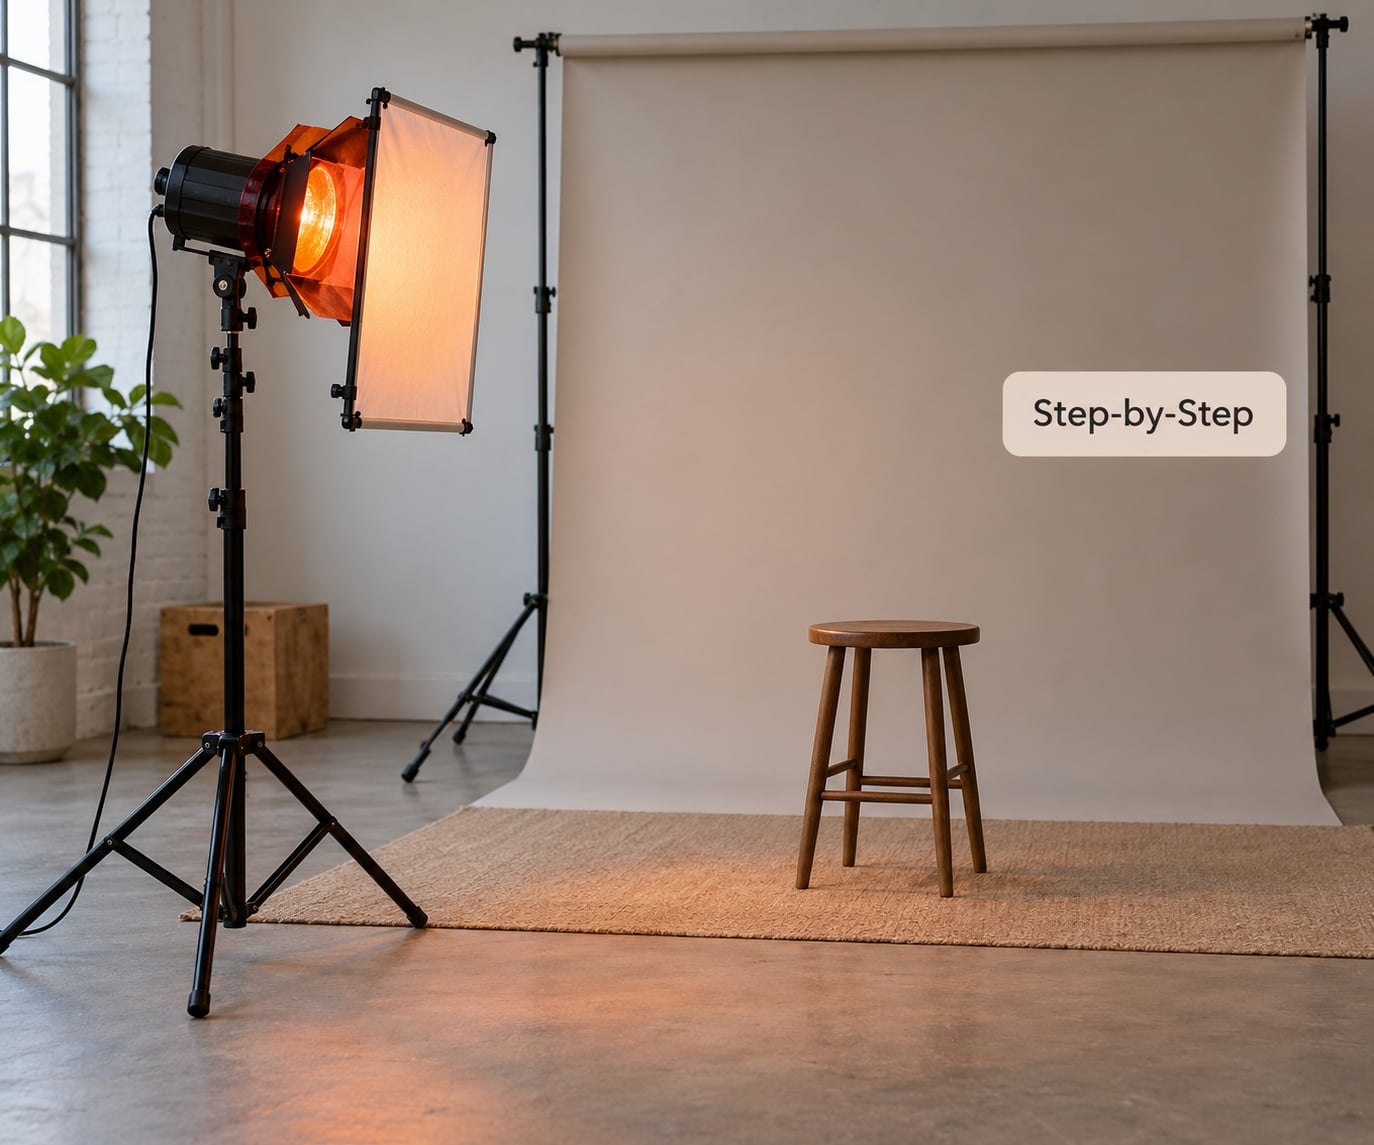
Six steps, in order. Most of the failures I see come from jumping straight to step two and picking a colour because it looks nice on the table.
1. Define the Portrait’s Visual Mood
Decide what the picture should feel like before you touch a gel. Dreamy, mysterious and romantic usually want soft warm light with low contrast and a coloured edge. Energetic and graphic portraits want hard, saturated colour with strong separation. Cinematic work usually pairs a cool background with a warmer subject.
Write the mood in one sentence and keep it next to the camera. If a choice in step four does not serve that sentence, it does not go in the frame.
2. Choose the Right Gel Color
Colour temperature decides whether skin looks alive or strange. Warm gels push skin toward orange and red, which flatters most complexions. Cool gels pull skin toward grey and green, which is why a blue gel straight on the face flattens it almost every time.
Complementary pairs give the most punch because the two colours sit opposite each other on the colour wheel. Warm orange against cool blue is the classic version. Analogous pairs, such as amber with red, sit next to each other and read as softer and more unified.
Here is the placement rule I use most often:
| Gel family | Effect on skin | Where it works best |
|---|---|---|
| Warm orange, amber | Flatters most complexions | Key light, background wash |
| Deep red, magenta | Pushes skin toward pink or sallow | Rim light, edge accent only |
| Blue, cyan | Greys skin, exaggerates texture | Background, rim, never the key |
| Green | Cast a green skin tone quickly | Creative accent on hair or a shoulder |
| CTO and CTB | Match flash to the room, keep skin true | Key light in mixed lighting |
| Neutral density | No colour shift | Exposure control when balancing lights |
If you only remember one thing from this table: keep saturated colour off the face and put it on the edge or the wall behind your subject.
3. Attach and Position the Gel Safely
Cut the gel to fit the holder and attach it with the supplied clips, tape or a frame. Do not tape directly onto a hot reflector or a bare bulb. If the light has a modelling lamp or runs hot, turn it off before the gel goes on, and never touch the fixture while it is lit.
Keep the gel flat. Wrinkles catch and scatter light, which is the fastest route to a patchy or muddy result. A stretched sheet held with gaffer tape at the corners will behave like a clean, even filter.
Leave an escape path for hot air rather than sealing the head completely. And keep the gel a working distance from the subject rather than pressed close to them, since a saturated colour at close range floods the face and the nearby wall.
4. Balance the Color With Other Lights
Use each light for one job. The most reliable arrangement is a clean, ungelled key on the face plus one gelled light behind or beside the subject as a rim, and a second gelled light washing the background.
White balance is the part people get wrong. For correction gels, set your white balance to the target colour temperature rather than fighting it: a full CTO on flash aimed at a tungsten-lit room works when you balance to roughly 3200K, so the flash blends into the ambient instead of flashing blue-white across it.
Correction gels on LED panels are less predictable than on flash. Users on photography forums warn that CTO and CTB only behave correctly on LEDs when the gel is matched to that fixture’s own output, so check before you rely on the conversion.
5. Set Exposure and Test the Result
Every gel eats light. A clear colour correction gel costs very little, but a dense creative gel commonly removes one to two stops, and stacked gels remove more. Measure after the gel is on, never before.
Here is the test routine I run on every gelled setup:
- Set the camera to manual exposure and shoot RAW.
- Place a grey card or an 18 percent grey card in the frame and take one reference frame.
- Check the histogram and adjust aperture, ISO or flash power until the card sits where you want it.
- Move the gelled light closer or further away in small steps and watch the falloff on the background.
- Shoot a final frame and zoom to 100 percent to check skin detail before you commit.
Fixing exposure once and never touching it afterwards is what makes a repeatable look. If the colour reads weakly, the answer is almost always more light on the background or a closer gel, not heavier editing.
6. Refine the Creative Portrait Look
Once the base setup holds, layer deliberately. Two translucent gels over each other produce a cleaner, deeper colour than one heavy gel, and they let you tune by subtraction, which is how you work out how to use gels for creative portrait lighting with more range than a single sheet allows. You can also add a diffusion frame behind the gel to keep the colour soft.
Watch the shadows as you layer. Two gels close to a small light reduce output enough that you will need to open up, and opening up on a coloured light can expose every wrinkle and skin texture the colour was hiding.
Flag the spill. Black card on the camera side of the gelled light keeps colour off a white wall or a ceiling, and it protects skin tones from contamination.
Common Mistakes
Almost every disappointing gelled portrait comes from one of these seven problems.
Wrong colour temperature. A blue or green gel on the key light makes skin look dead. Fix: keep the key clean, and put colour on the rim, the background, or a small accent.
Colour that reads weak or muddy. The gel is too far from the source, too thin, or competing with daylight. Fix: move the gelled light closer to its target, close the curtains, and measure exposure after the gel is attached.
Wrinkled or badly cut gel. Creases scatter light unevenly. Fix: stretch the sheet flat and tape or clip it at the corners, never at the middle.
Overheating. A gel taped onto a hot bare-bulb head can warp, and a fabric modifier left too close to a gelled head is a real fire risk. Fix: switch off the modelling lamp, use a low-wattage bulb, or leave an escape path for hot air. Gel only a fan-cooled head or an LED you have tested.
No separation between subject and background. If the gelled light hits both, everything turns the same colour and the frame goes flat. Fix: aim the gelled light at the background only, and flag it from the subject.
Colour too close to the face. Saturated light a short distance from your subject spills onto the skin and onto nearby walls. Fix: increase the distance and use a narrow beam or grid to contain it.
Over-editing in post. Pushing saturation to rescue a weak gel pushes skin toward orange and clips a channel. Fix: solve it at the capture stage with more light on the coloured surface.
Two smaller habits help more than any accessory. Keep the gels organised by strength in a folder so you grab the right one under pressure, and label your gel packs with the conversion they perform rather than the colour name, because half CTO and eighth CTO look nearly identical in daylight.
Frequently Asked Questions
Can I make my own light gels?
Yes, for testing ideas, but treat DIY gels as a temporary experiment. Coloured cellophane, acetate and coloured glass paper all produce usable colour for a short session with a cool LED or a strobe with the modelling lamp switched off. They will not match the saturation of a professional polyester gel, and they are not heat-resistant, so never leave one on a bare-bulb head. Buy proper gels before a paid shoot where the colour has to be right.
Are lighting gels safe?
They are, with basic precautions. Professional polyester gels are rated for the heat a normal strobe or LED produces. The risk comes from heat-trapping a fixture, not from the gel itself. Switch off modelling lamps before attaching a gel, keep an escape path for hot air, use a fan-cooled head or a low-wattage bulb for long sessions, and never place a gel close to a fabric softbox or paper backdrop while the light is running.
How much light does a gel absorb?
A clear colour correction gel costs you almost nothing, usually a fraction of a stop. Dense creative gels commonly remove one to two stops, and two layered gels can cost considerably more. Never guess the loss. Meter after the gel is attached, then adjust aperture, ISO or flash power to put the grey card where you want it.
How do I white balance gelled flash?
Shoot RAW and set white balance to the colour the light should read as, not the colour the room already has. A full CTO gel on flash in a tungsten room wants roughly 3200K so the flash blends into the ambient. For creative gels, most photographers leave the white balance alone and let the colour land as it falls, then fine-tune in post.
Should I gel the subject or the background?
Gel the background whenever you can. It gives you strong, saturated colour with no compromise to skin tones, and it is easier to control because the light has a large flat surface to land on. Gel the subject only for a rim or hair accent, where the colour hits the edge of the face rather than the middle of it.
Conclusion
Start with the smallest possible job: choose one mood, pick one gel colour, and shoot one frame at a fixed manual exposure with a grey card in the shot. Fix your exposure, look at the skin tones at full size on the monitor, and only then decide whether the colour needs more light behind your subject or a softer diffusion in front of it. Once that single frame works, the same six steps repeat for every look you build afterwards.