Learning how to use off camera flash for the first time is mostly about doing one small thing properly rather than five things badly: put a single flash on a stand, fire it from the side of the camera, and set your exposure in a fixed order. Once that works, everything else is a variation on it.
The good news is that one speedlight on one light stand will get you further than a pop-up flash ever could. Most beginners need about ten minutes of setup and twenty minutes of practice, and they don’t need to buy anything beyond a trigger and a stand to start.
Table of Contents
- What You Need
- Step-by-Step: How to Use Off Camera Flash for the First Time
- Common Mistakes
- Frequently Asked Questions
- Do I need a separate flash trigger to use off camera flash?
- Can I use off camera flash with a camera that has no flash hot shoe?
- Should I bounce off camera flash from a ceiling or wall?
- How far should the flash be from my subject?
- What camera settings should I start with for flash portraits?
- What is the easiest way to practice off camera flash at home?
- Start With One Light
What You Need
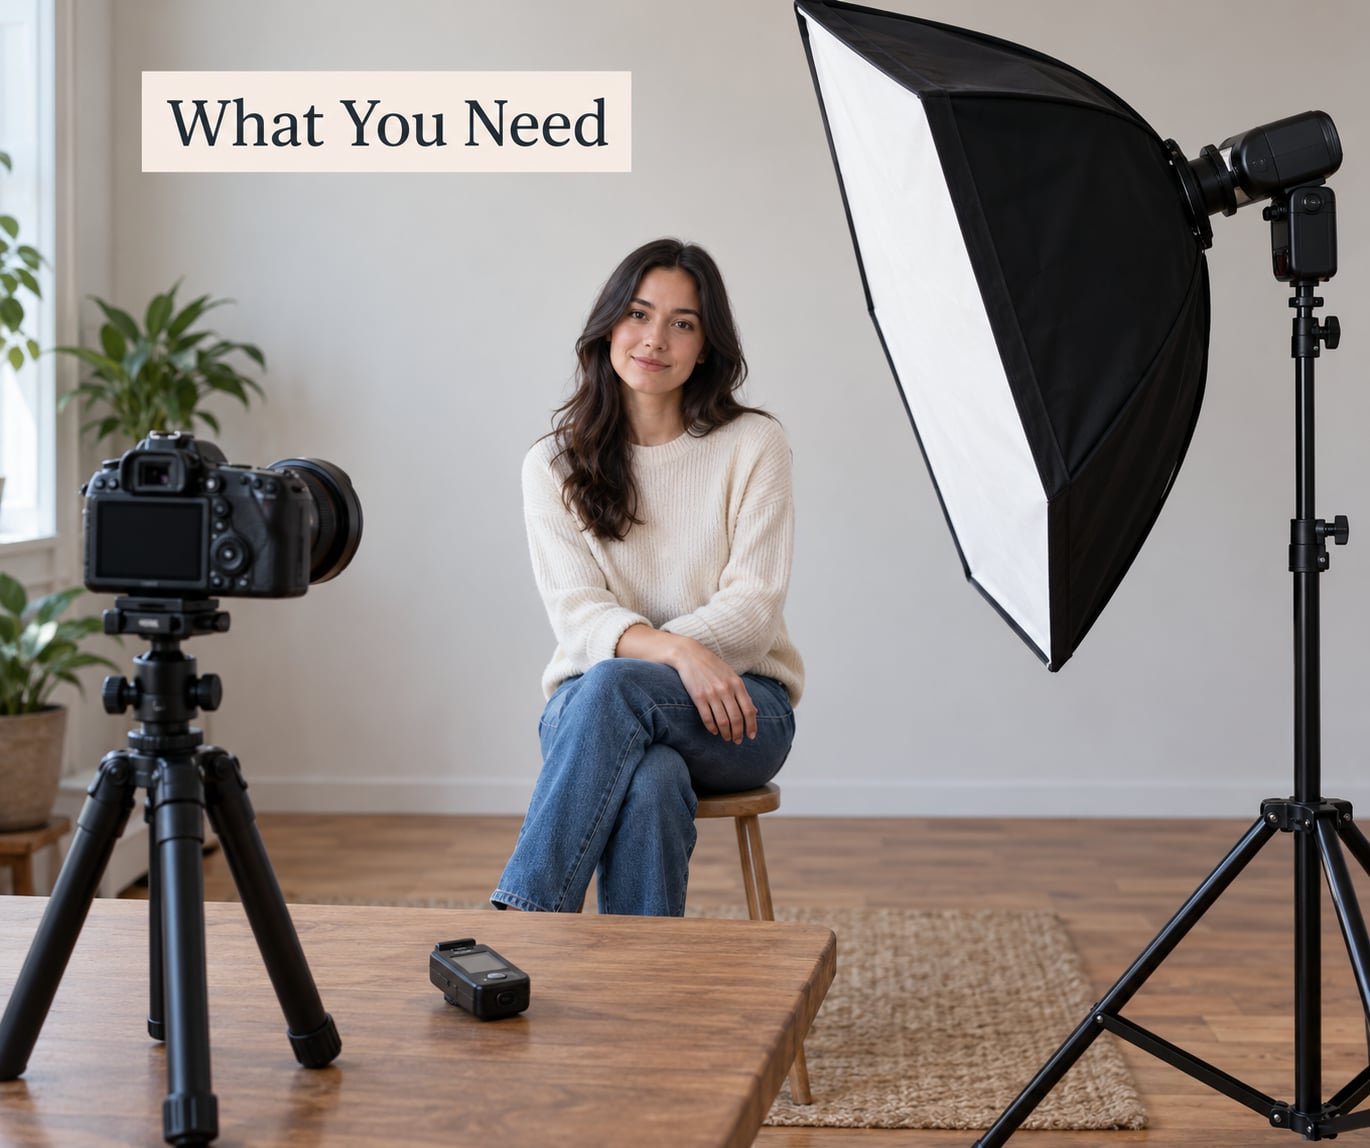
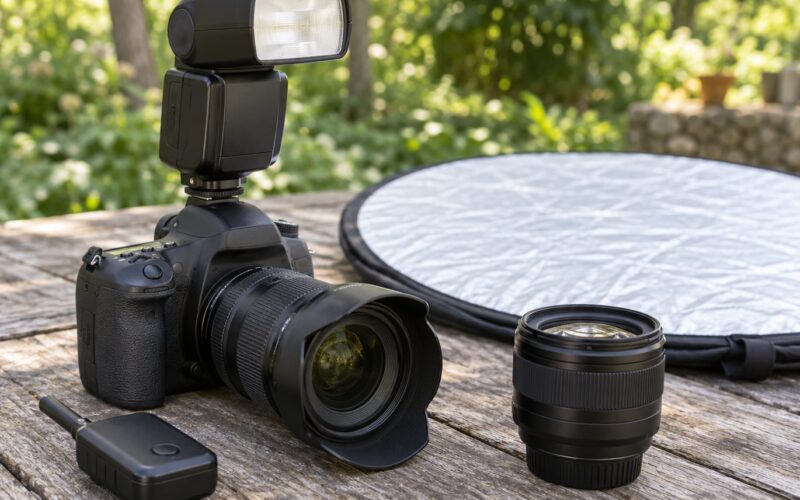
A camera with manual mode and a hot shoe, and a speedlight that is manual-only if you want to keep it simple. Most entry-level speedlights work. Canon, Nikon, Godox and Yongnuo all make them, and the manual-only versions are usually the cheapest and the most reliable.
A light stand with a small bracket or ball head to hold the flash at an angle instead of straight up. You can skip this if you have a heavy table and a stack of books, and I have genuinely done that.
A radio trigger, which is one transmitter that slides into the camera hot shoe and one receiver you clip to the flash. This is the one piece I’d call essential. More on why in a second.
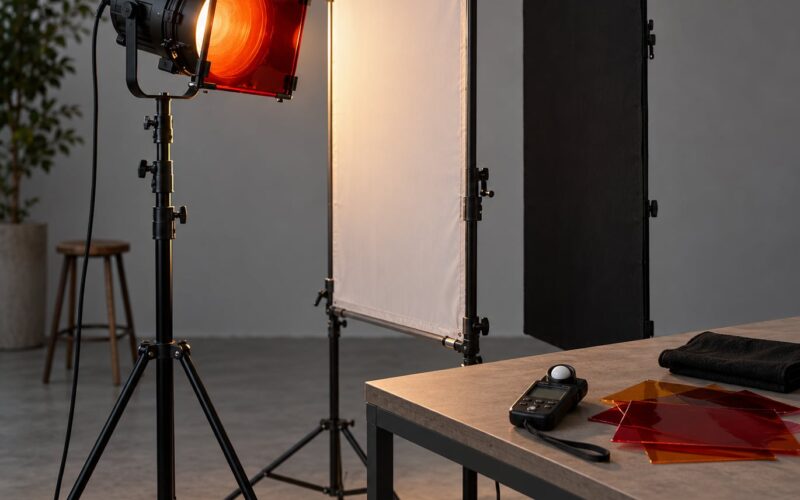
A subject, a wall, and ten minutes. You can skip the umbrella, softbox and light meter entirely at this stage. Bounce off a white ceiling for your soft light until you know what you’re doing.
Step-by-Step: How to Use Off Camera Flash for the First Time
1. Set the Camera in Manual Mode
Switch to manual and set the shutter speed first, because it is the one setting with a hard limit. Put it at or below your camera’s flash sync speed, usually 1/200s or 1/160s, and check your camera manual for the exact number.
Then choose your aperture. f/4 is a good starting point for one subject indoors because it gives you enough light and keeps most of the face in focus.
Set ISO last among the camera settings. Leave it low, around 400 for a dim room, so the flash is not asked to fight it. Manual mode matters here because flash exposure does not compensate the way the camera does. If you change aperture or ISO later, you have to go back and re-balance the flash power yourself.
You know step one worked when the background goes dark and the room feels underexposed. That’s fine, the flash is about to fix the subject.
2. Position the Flash Away From the Camera
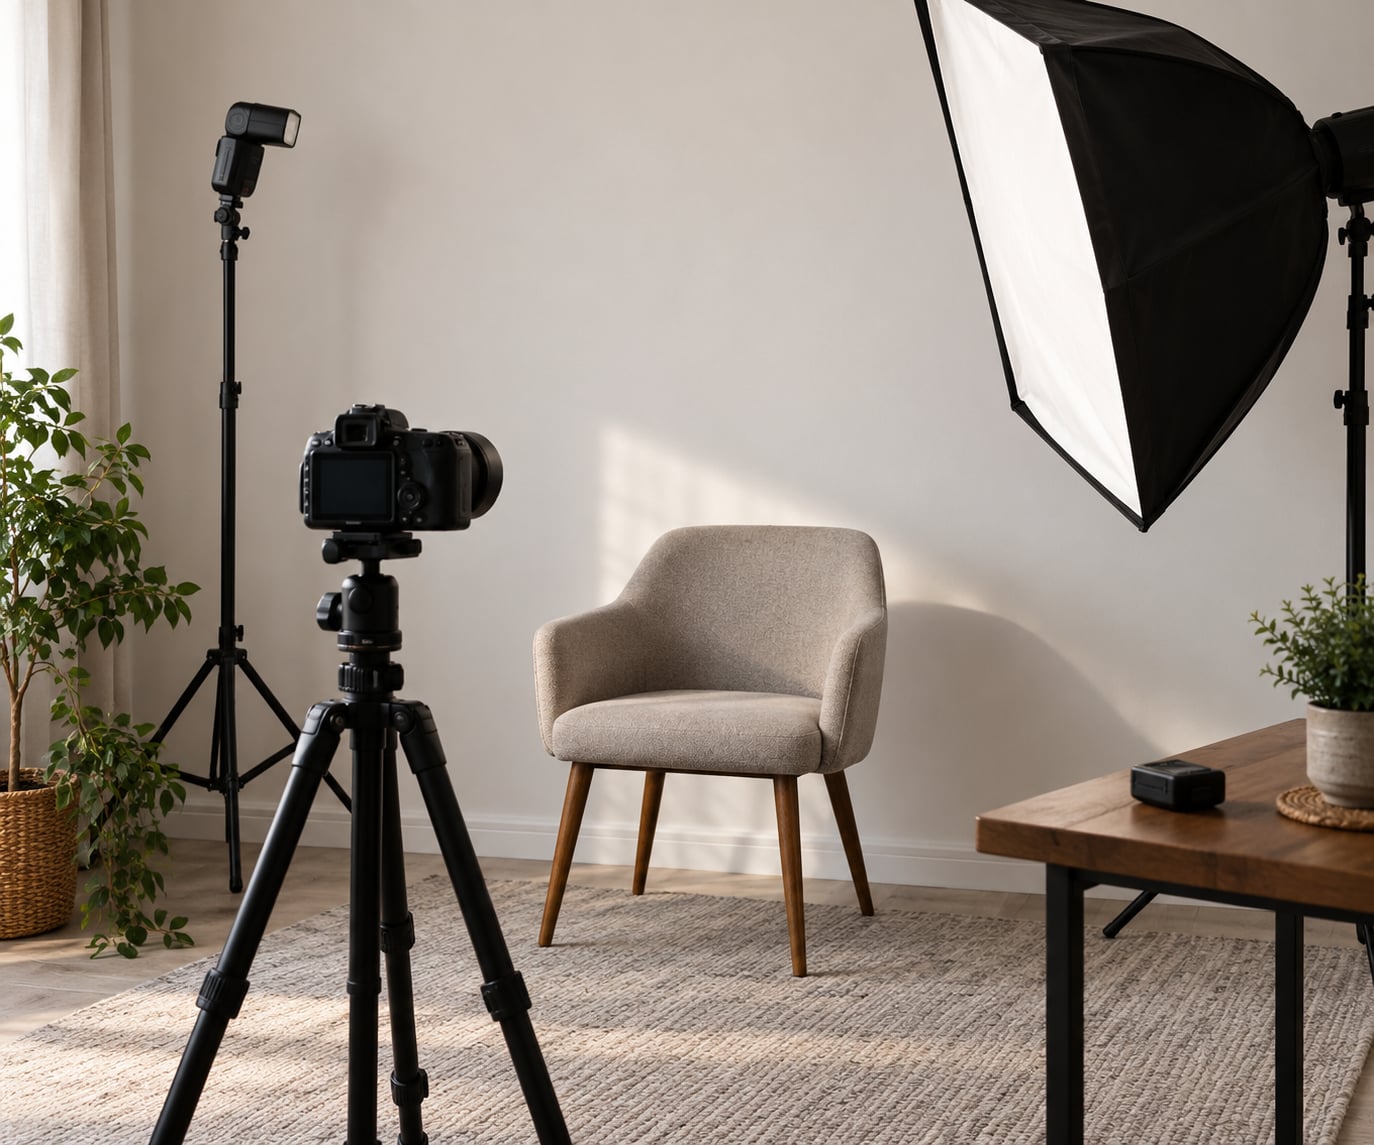
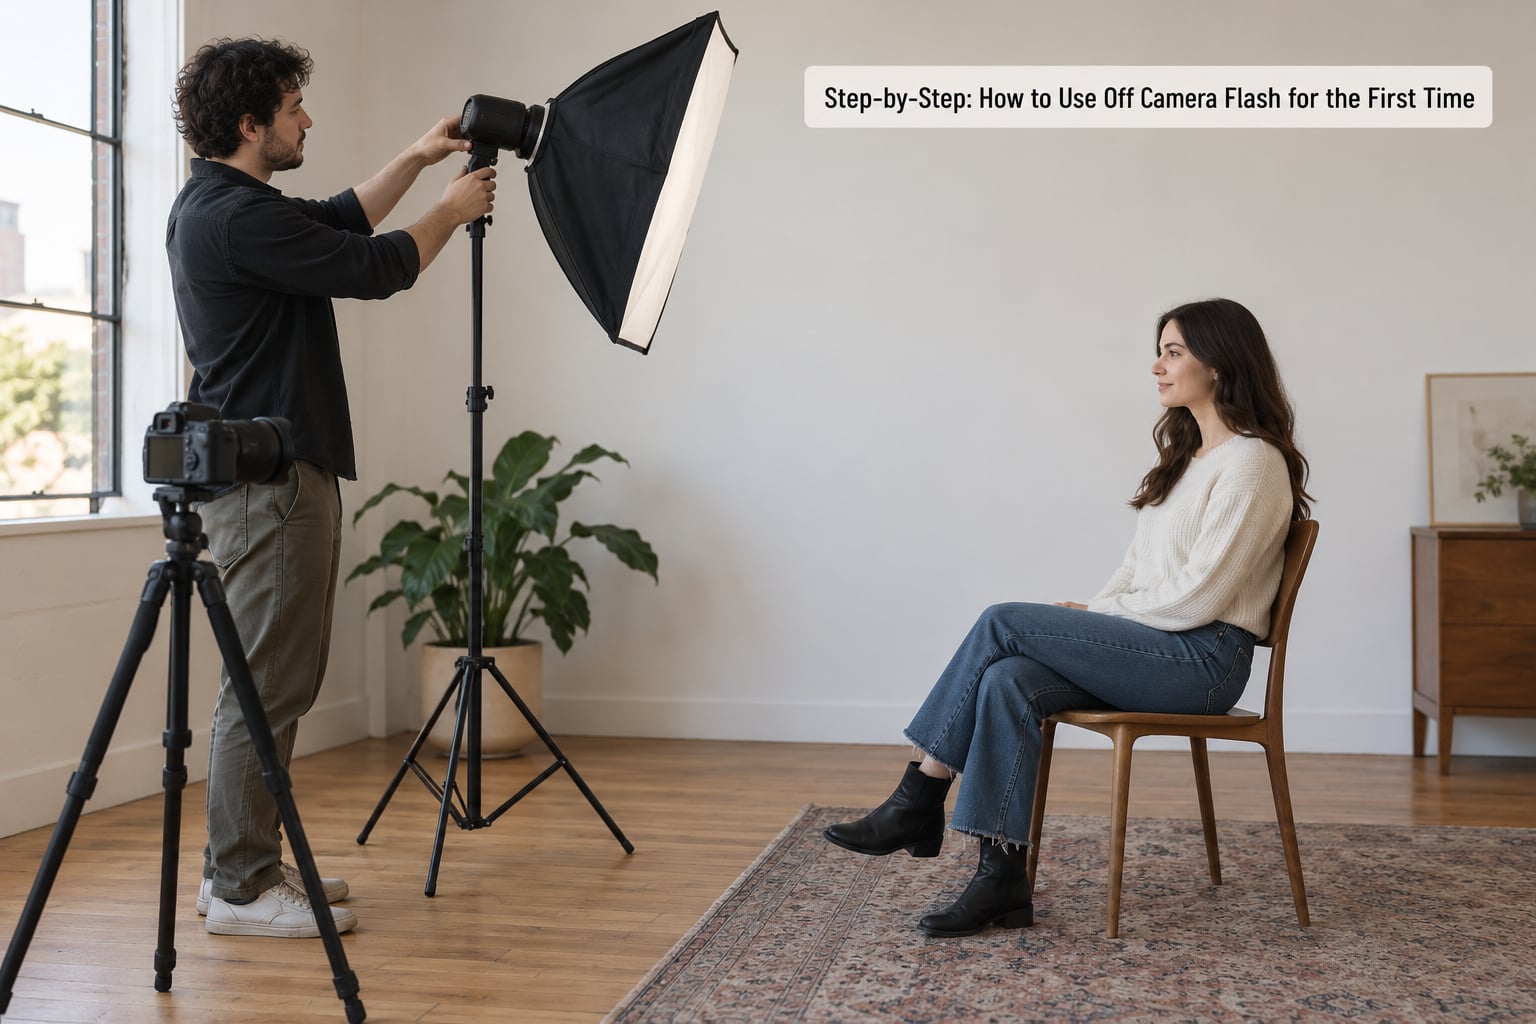
Put the flash on the stand about 45 degrees to one side of the camera, slightly above the subject’s head, and aimed down at the face. This is the position most portrait and event photographers default to because it gives shape without drama.
Height matters more than people expect. Too low and you get shadows climbing up under the eyes. Too high and the catchlights, the small reflections in the eyes that make a portrait feel alive, end up hidden under the brow.
Look at the shadow on the wall behind your subject. A soft, gentle shadow means your light is large and close. A hard-edged one means the light is small or too far away.
3. Connect the Trigger or Cable
Seat the transmitter in the camera hot shoe until it clicks, and clip the receiver to the flash’s cold shoe. On both, set the same group and channel. Mismatched groups are the single most common reason a flash works on camera but not off it.
On the flash itself, turn manual flash power on and put the flash into remote or slave mode if it has one. Then take a test shot. The flash should fire at the same instant as the shutter, which you can verify by checking the recycling behaviour when you shoot in bursts.
A PC sync cable does the same job physically, and it never misses a signal. The cable is why the short answer to “do I need a trigger” is technically no, but you’ll fight yourself trying to move the light around with a cord, so buy the radio one.
4. Start at Low Flash Power
Turn the flash power down low, around 1/8 or 1/4 of full, and shoot again. Most speedlights have click stops rather than a smooth dial, so count the clicks if you’re not sure where you are.
Then check the histogram on the camera. Bright pixels piling up on the right side means you’re blowing out skin, and a blown-out face is the thing people usually mistake for harsh light.
If the frame is too dark, add power one stop at a time rather than changing the aperture. Keep the flash and the ambient exposure separate and you’ll always know which one to fix.
5. Refine the Light for Your Subject
Once the exposure is right, change the light and nothing else. Point the flash at the ceiling to bounce it, which throws the light back down and makes it noticeably softer for free.
Move closer for softer shadows and further for harder ones. That’s the inverse square law doing its thing: doubling the distance quarters the light on the subject, so you compensate with power.
If you add a modifier, keep it within roughly one to two times its own diameter of the subject. A softbox much bigger than the distance to the face stops making the light softer, because the size of the source is what matters, not the fabric.
Take another test shot after every move. Ten small iterations teach you more than an hour of reading.
Common Mistakes
Putting the flash too close to the subject. Tight shadows and a flat look follow. Move the stand back a step and add power to compensate.
Aiming the flash straight at the subject with nothing in front of it. Bare flash is a tiny, hard light source and it will look worse than the pop-up. Bounce it or put something between the flash and the face.
Ignoring the ambient exposure. You set the camera for the flash and then forget the room behind your subject blows out. Shoot a frame with the flash off to check what the background is doing.
Going above sync speed without high speed sync on. Your shutter speed and flash sync speed are the same number for a reason, and if you pass it you’ll get a dark band across part of the frame. Leave it alone until you’re comfortable.
Reading overexposure as harsh light. A blown-out face and a small light source look identical at a glance, and the fix is completely different in each case. Check the histogram before you buy anything bigger.
Setting the flash power in automatic or TTL mode while working manually. It fights your settings and makes every shot a little different. Put the flash in manual power and leave it there.
Frequently Asked Questions
Do I need a separate flash trigger to use off camera flash?
Technically no. A PC sync cable connects the flash to the camera and never misses a signal, but it tethers your light to the camera and limits where you can put it. In practice almost everyone buys a two-part radio trigger, one transmitter in the hot shoe and one receiver on the flash, because it removes the line-of-sight problems you get with optical triggering and lets the light sit anywhere in the room.
Can I use off camera flash with a camera that has no flash hot shoe?
Yes, with a little more thought. If your camera has a PC sync socket, a cable still works. Without one, a camera with a built-in pop-up flash can trigger a remote flash optically or through its own wireless system, and mirrorless bodies usually accept a small connector block or adapter in place of the hot shoe. Check your camera model before buying anything, because the connector shape differs between brands.
Should I bounce off camera flash from a ceiling or wall?
Yes, and it should be your first soft-light trick because it costs nothing. Aim the flash up at a white ceiling from about a metre in front of your subject, and the ceiling spreads the light into something close to a large softbox. Watch for colour: bounce off a painted wall or a ceiling with a fluorescent fitting and you may pick up a green or yellow cast you will correct later.
How far should the flash be from my subject?
Start about 1.5 metres away for a single subject indoors, then adjust based on what you see. Distance controls hardness and falloff: closer means softer shadows and more rapid loss of brightness, further means harder shadows. If you are using a modifier, keep it within one to twice its diameter of the subject, because past that point the size of the source stops mattering and only the distance does.
What camera settings should I start with for flash portraits?
Switch to manual and work in a fixed order: shutter at or below your flash sync speed of roughly 1/200s, then aperture at f/4, then ISO at about 400, then flash power starting near 1/8. Set the flash in manual power too, so nothing changes underneath you. Shoot one frame with the flash off to see what the background is doing, then dial flash power up or down one stop at a time.
What is the easiest way to practice off camera flash at home?
Pick a dark room, one willing subject, and a plain wall. Turn off the household lights so you can see exactly what your flash is doing, then work through a short routine: same spot, same distance, one stop less power each time. Ten frames like that will teach you more than a full weekend of moving furniture, and nothing you practise indoors will be wasted when you take the flash outdoors.
Start With One Light
Finish the whole sequence once before you buy anything else. One flash, one stand, one trigger, a fixed settings order, and about twenty test shots in a dark room.
Only when that feels boring should you think about a second light for a rim, high speed sync, or anything with the word TTL on it. One light learned properly will carry you further than three lights you copied from someone else. Updated October 2026.