High speed sync lets you use flash at shutter speeds faster than your camera’s normal sync limit, usually 1/200s, so you can shoot a bright outdoor portrait at f/1.8 instead of stopping down to f/11. You enable HSS on the flash, set manual flash power, and balance it against the ambient exposure. The whole point is a wide aperture and a background you control, in full daylight.
The technique takes about ten minutes to learn and most of the work is in step one: finding light. If you understand why a given patch of shade works, the camera settings almost set themselves.
Table of Contents
- What You Need
- Step-by-Step
- Common Mistakes
- Frequently Asked Questions
- What is high speed sync used for in outdoor portraits?
- What shutter speed should I use for high speed sync outdoor portraits?
- Does high speed sync work with any camera and flash?
- Should I underexpose the background when using HSS outdoors?
- Does high speed sync make flash light softer?
- When is high speed sync better than using an ND filter?
- Conclusion
What You Need
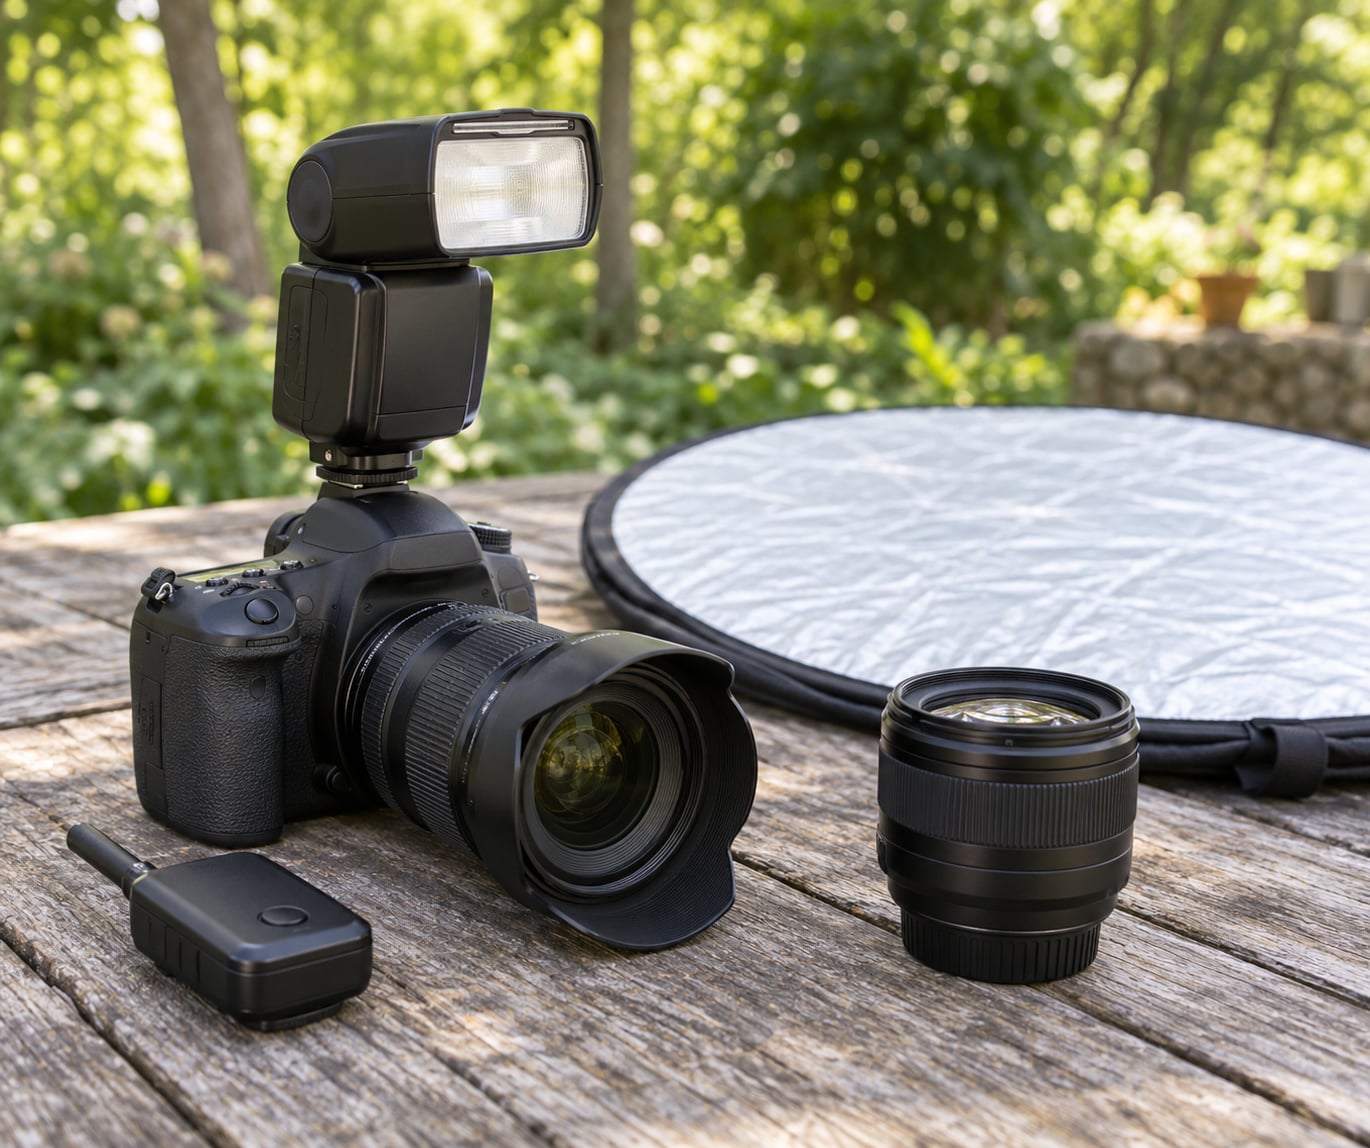
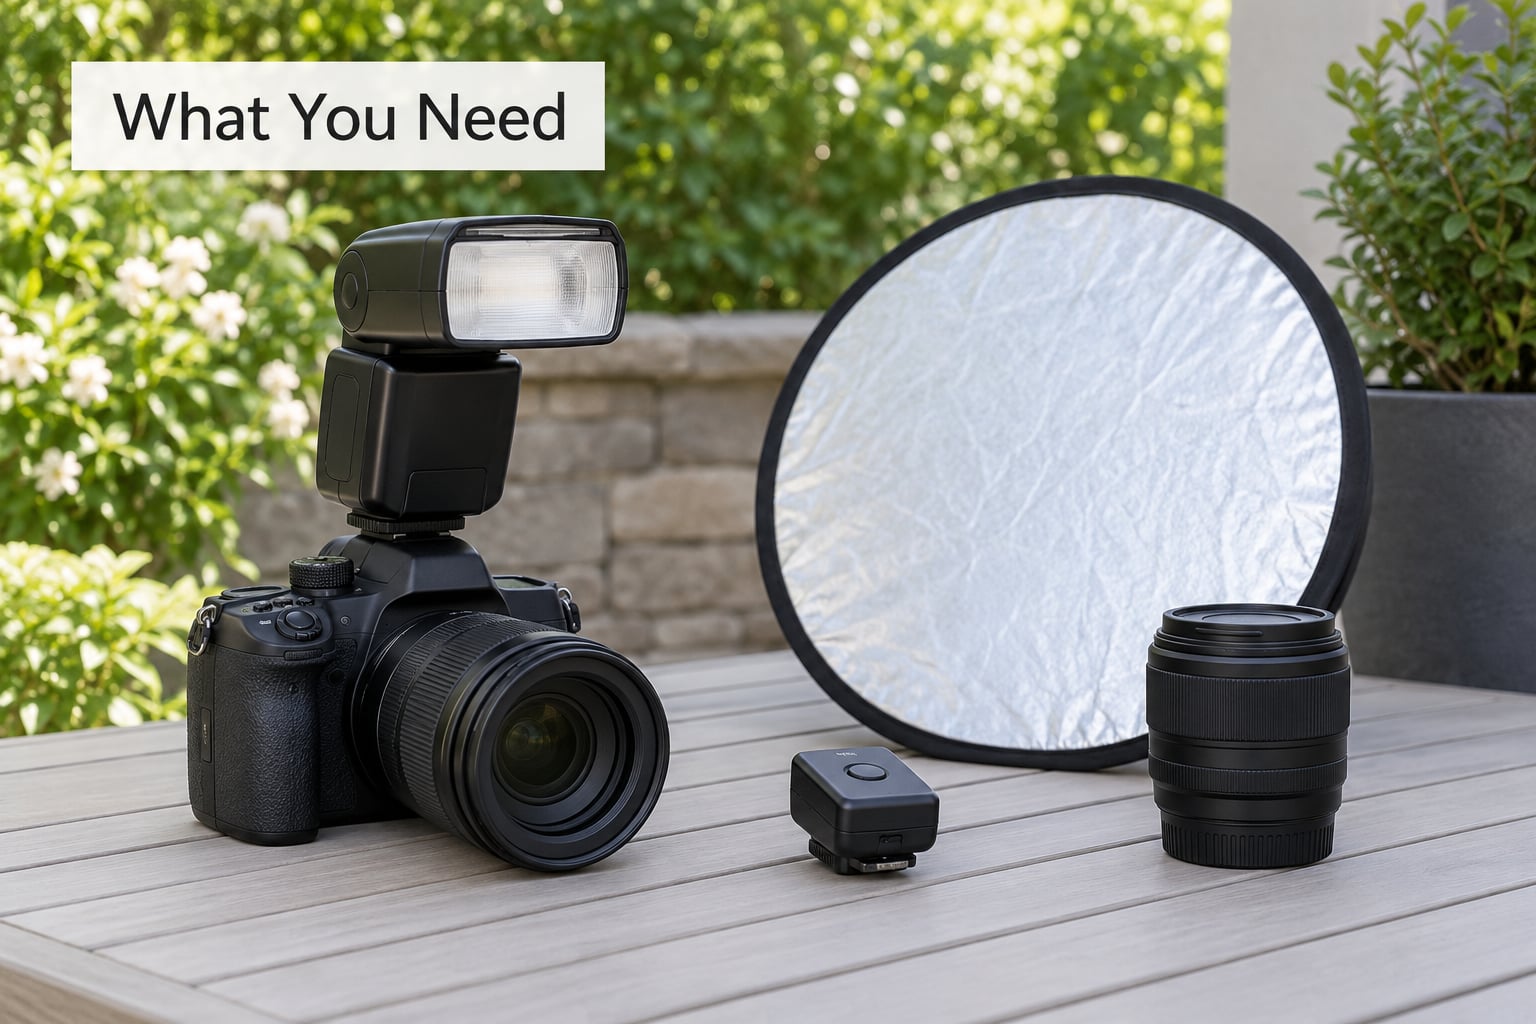
You need a camera body with a hot shoe or a PC sync port, a lens you can focus with, and a flash that offers an HSS or FP sync mode. Most modern speedlights do, including the Canon 430EX II-RT, the Nikon SB-500 and the Godox V1 and V2.
Add a trigger or transmitter so the flash sits off camera. A bare radio trigger is enough for a single manual flash, and a transceiver such as the Godox X1R or the Flashpoint R2 handles groups of lights and keeps the controls on the camera.
A reflector or a modifier is worth carrying. A small collapsible reflector fills the shadow side for free, and a 32-inch umbrella or a small softbox turns a hard point of light into something you can place. Both cost light, and in HSS you have less light to spend, so treat them as a choice rather than a default.
Handy extras: spare batteries, a lens cloth for sand and spray, and a light meter with an HSS or flash-pulse mode. Optional but useful are a small LED panel for hair or edge light, a white or amber gel, and an ND filter if you would rather avoid HSS on a given day.
Exact menu names and button layouts differ between Canon, Nikon and Sony bodies, so check your camera manual for the HSS or FP sync setting and confirm the trigger’s high-speed sync mode before you shoot.
Step-by-Step
How to Use High Speed Sync for Outdoor Portraits in Bright Shade
Learn how to use high speed sync for outdoor portraits by understanding one constraint. Your camera’s flash sync speed is the fastest shutter that fully opens the sensor while the flash is on, and it sits around 1/200s on Canon bodies, between 1/250s and 1/320s on Nikon, and roughly 1/160s to 1/250s on Sony.
At 1/200s in open shade, the ambient light is often already bright enough that f/1.8 gives you a blown-out face. Closing the aperture to f/8 fixes the exposure and throws away the shallow depth of field that separates your subject from the background.
HSS resolves the standoff. The flash fires a rapid train of low-power pulses across the whole exposure rather than one burst, so the flash contributes light at 1/800s, 1/1600s, 1/4000s and beyond. You pay for it in output, typically one to two stops, and you get your aperture back.
The relationship to remember is simple. Aperture controls depth of field and, with ISO fixed, the brightness of everything the flash does not reach. Shutter speed above the sync limit controls how much of that ambient light spills in. Flash power controls your subject. Move each one and only that one changes.
Step 1: Find the Right Outdoor Light
Stand your subject in open shade, not direct midday sun. Look for the edge of a building, a wall, a line of trees or a parked van, and turn them so the shade covers the face evenly. Open shade reads as soft, even light with a gentle falloff across the body.
Backlight works too, and it is often the better look. Face the subject toward the sun and shoot with the sun behind them, then use flash or a reflector on the front. HSS makes this easy because you can hold a fast shutter for a sharp face and still keep the exposure.
Ignore the screen brightness, which lies outdoors, and read the histogram instead. If the background is glowing white with no detail, you are in direct sun. Walk further into the shade or turn ninety degrees.
Step 2: Set the Camera for High Speed Sync
Start at manual exposure with the flash also in manual. Many photographers working this way on photography forums report that ETTL hunting and inconsistent flash output in bright light is the main reason they switched, and manual makes your settings repeatable frame to frame.
A reliable starting point for one person in open shade: manual mode, shutter 1/800s, aperture f/2.8, ISO 200. That is well above most sync limits, keeps ISO low enough for clean files, and leaves the flash doing real work.
On the flash, open the HSS or FP sync menu, pick manual power, and set output to about 1/16 to 1/8 of full for a speedlight at arm’s length. On Nikon bodies this feature is often called FP sync, and Auto FP is the automatic version of it.
How to tell it worked: you see a dark band on the preview when you shoot above the sync speed with HSS off, and that band disappears the moment you switch HSS on. If it stays, the flash is in the wrong mode or the trigger is not in high-speed sync.
Step 3: Position the Flash to Create Flattering Light
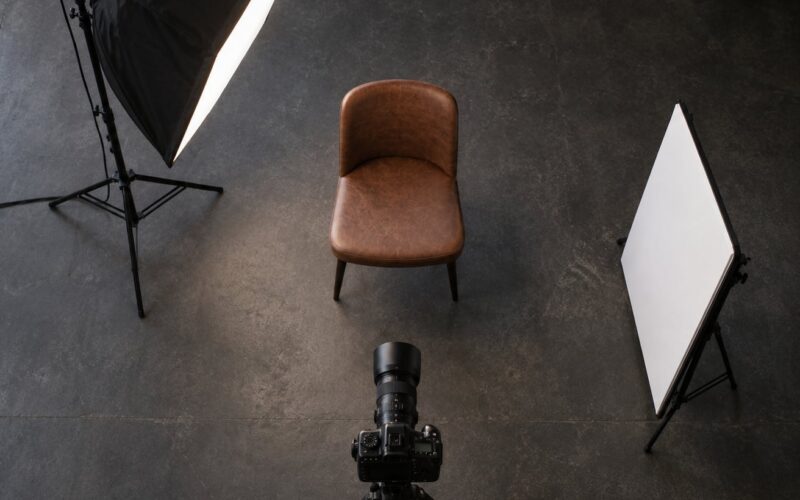
Put the speedlight above and to one side of your subject, angled down at maybe 45 degrees. That position, off camera and slightly raised, is the classic portrait pattern because the shadow under the chin falls away from the face instead of sitting directly beneath it.
Start close and work out. Softness comes from the size of the light relative to its distance, so a bare speedlight at a metre is a small hard source and a speedlight at four metres is a large soft one. Moving the flash back also cuts the light reaching your subject, which matters when HSS has already taken away one to two stops.
Check the position by firing a test frame and squinting at it. A nose shadow that crosses the cheek instead of dropping straight down means the light is too low or too close to the camera axis.
Step 4: Dial In Flash Power and Ambient Exposure
Set the ambient exposure first without firing the flash. Meter the background, then use exposure compensation to make it a little darker than you think you want, because the flash will bounce light back into the scene and lift everything behind your subject.
Now bring the flash in at low power and add power in small steps. Each click on a speedlight is roughly a third of a stop, so watch the face rather than the numbers. You want the skin a stop or so below the background for a normal look, and clearly below it for a dramatic one.
If your meter has an HSS or flash pulse setting, measure the flash and ambient separately. Meters that cannot read HSS will give you a reading, but a reading of a flash train looks like a fraction of the real output, which is why many photographers chimp the LCD instead.
Step 5: Check Focus, Motion, and Background
Use a single autofocus point or switch to manual focus at the same distance. With a speedlight close to the subject, depth of field is thin enough that focus errors from the flash’s own position are easy to make.
Be realistic about motion. HSS chops the flash into pulses, so effective flash duration at 1/8000s is a fraction of the total exposure, and you will not freeze a fast-moving subject the way a single full-power burst at 1/200s can. For a child jumping, dial the power up and drop the shutter.
Look for uneven coverage across a group, dark banding from stepping outside the HSS range, and hot spots on the nearest face when the flash is too close. The fix is distance, not output. Push the light back until the spread covers everyone.
Common Mistakes
Shooting above the sync speed with HSS switched off gives you a dark band across part of the frame, the classic rolling-slit artefact. Turn on HSS, or drop the shutter to the sync speed.
Confusing HSS with burst shooting is common and worth naming. High speed sync is about flash behaviour at fast shutter speeds, not about frames per second. A camera firing ten frames a second still needs HSS to light the frame at 1/1000s.
Blowing out the background happens when you dial flash power to fix a dark face and forget that the ambient light is already strong. Underexpose the ambient by a third of a stop first, then raise flash power to taste.
Putting the speedlight too close to your subject gives harsh light and a red-eye-prone look, and it also wastes range you cannot get back in HSS. Most of the time, another 30 centimetres solves it.
Expecting HSS light to behave like normal flash softness is the quiet disappointment. The light is dimmer, so your meter, your eyes and your instinct all read it as harsher than it is. Judge softness on shape, not brightness.
Outdoor Portraits in Harsh Sunlight: Tips for Better Results
When you cannot find shade, high speed sync still works but every choice costs power. Moving subjects need a faster shutter, which needs more flash output, which you may not have at midday. Test the range before you commit, and consider an ND filter instead, since it keeps full flash power by letting less light in.
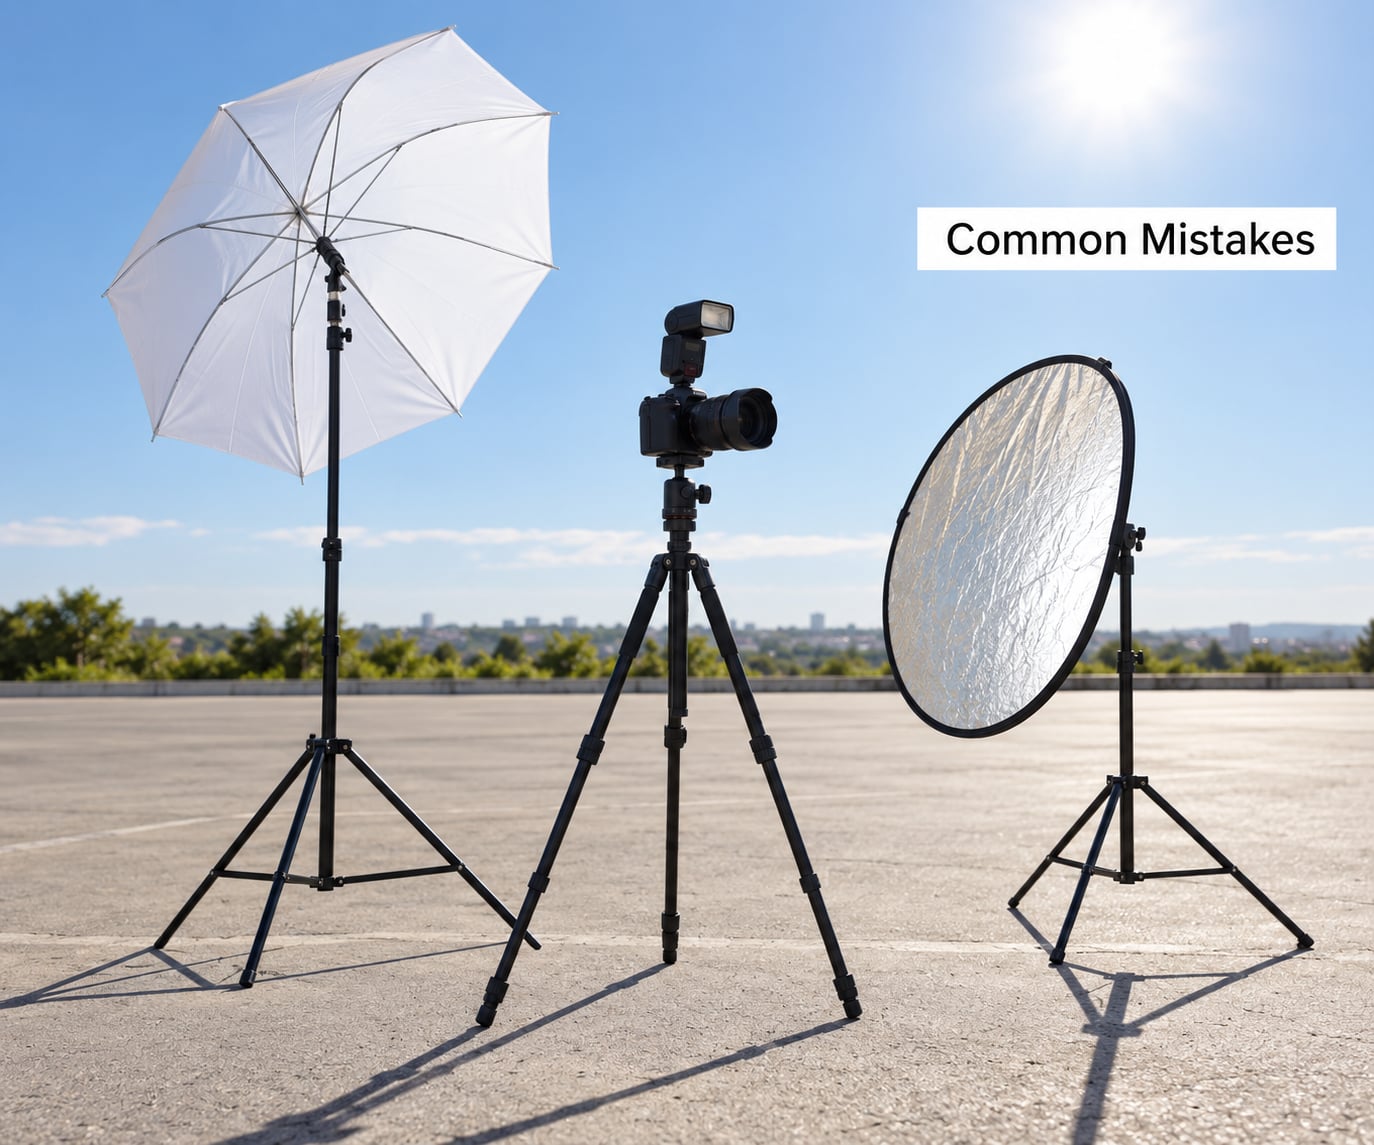
Wind is the other midday problem. A softbox on a light stand will move, and once you have balanced the exposure you do not want to rebuild it. A small reflector is steadier, or bounce the flash into a nearby surface and shoot with the modifier in your bag.
For long-distance placement across a courtyard or a beach, do the maths on power loss before you set up. HSS costs one to two stops, a modifier costs roughly two more, and distance costs the rest. A bare flash at 1/800s will not reach across a plaza, so move closer or use a strobe.
Gels and a second light earn their place in full sun. A warm gel on the flash matches skin tones under blue sky, and a low-powered second head behind your subject separates hair from a bright background without touching the front exposure.
Frequently Asked Questions
What is high speed sync used for in outdoor portraits?
High speed sync lets you shoot with flash at shutter speeds above your camera’s sync limit, usually 1/200s. That means you can keep a wide aperture such as f/1.8 to f/2.8 in bright daylight for shallow depth of field, and still control how bright the background reads. Without it you would have to stop down to f/8 or f/11 and lose the separation between your subject and the background.
What shutter speed should I use for high speed sync outdoor portraits?
Start at 1/800s for a single subject standing still, with a single flash at arm’s length. Go to 1/1600s or faster for movement, and be ready to lose flash power with every step because HSS output falls as the shutter rises. Keep ISO at 100 or 200 to preserve detail in the bright ambient light, and change aperture before you change shutter.
Does high speed sync work with any camera and flash?
It works when both ends support it. The body needs a compatible hot shoe or PC sync port and a trigger set to high-speed sync, and the flash needs an HSS or FP sync mode. Most recent speedlights and radio triggers include it. Older or third-party gear sometimes fires without the function, so check the manual for both devices before your shoot.
Should I underexpose the background when using HSS outdoors?
Usually yes, by a third of a stop to a full stop. Meter the background without the flash, then dial it down before you add flash power. Flash spills light back into the scene, so a background you metered as correctly exposed will usually render a little hot once the flash fires. Check the histogram and adjust from there.
Does high speed sync make flash light softer?
No. HSS changes how the light is delivered, not how it looks. The pulses make the flash dimmer, which makes it read as harsher in bright conditions, and light through a modifier is still softer than bare flash. If softness matters more than speed on a given shot, use an ND filter to reach a wide aperture at a normal sync speed.
When is high speed sync better than using an ND filter?
HSS is better when you want a wide aperture without changing filters, when you need to rebalance flash and ambient between frames, or when you are stacking several shots of the same scene. An ND filter is better when you want to keep every stop of flash power, especially with a speedlight, or when you are working at a normal sync speed anyway. Many photographers carry a 3-stop ND as a backup.
Conclusion
Start with light, not settings. Put your subject in open shade with an even spread across the face, switch the flash into HSS or FP sync, and set 1/800s at f/2.8 with ISO 200 as your baseline.
Then set the ambient exposure first and the flash power second, so you always know which control you are adjusting. Once you can place your subject in good light and balance those two dials, high speed sync stops being a technique and starts being your default outdoor setup.