If you’re wondering why does my flash look harsh in photos, the short answer is almost always the same: a bare flash head is a tiny, hard light source sitting right on the lens axis. That combination gives you hard-edged shadows, blown-out skin, and the flat look people describe as a three-D effect on their face. The fix is rarely buying gear. It’s about making the light bigger, moving it off the lens, and pulling it further away.
I’ve spent years shooting receptions, backstage portraits and family sessions in rooms that had nothing but a ceiling and a hot shoe. The pattern held every time. Photographers blamed their flash, their camera, their skin. It was almost never any of those things.
So this guide works like a diagnosis instead of a gear list. We’ll start with what is actually happening in the light, then work through the fixes in the order that gives you the biggest result for the least effort.
Why Does My Flash Look Harsh in Photos?
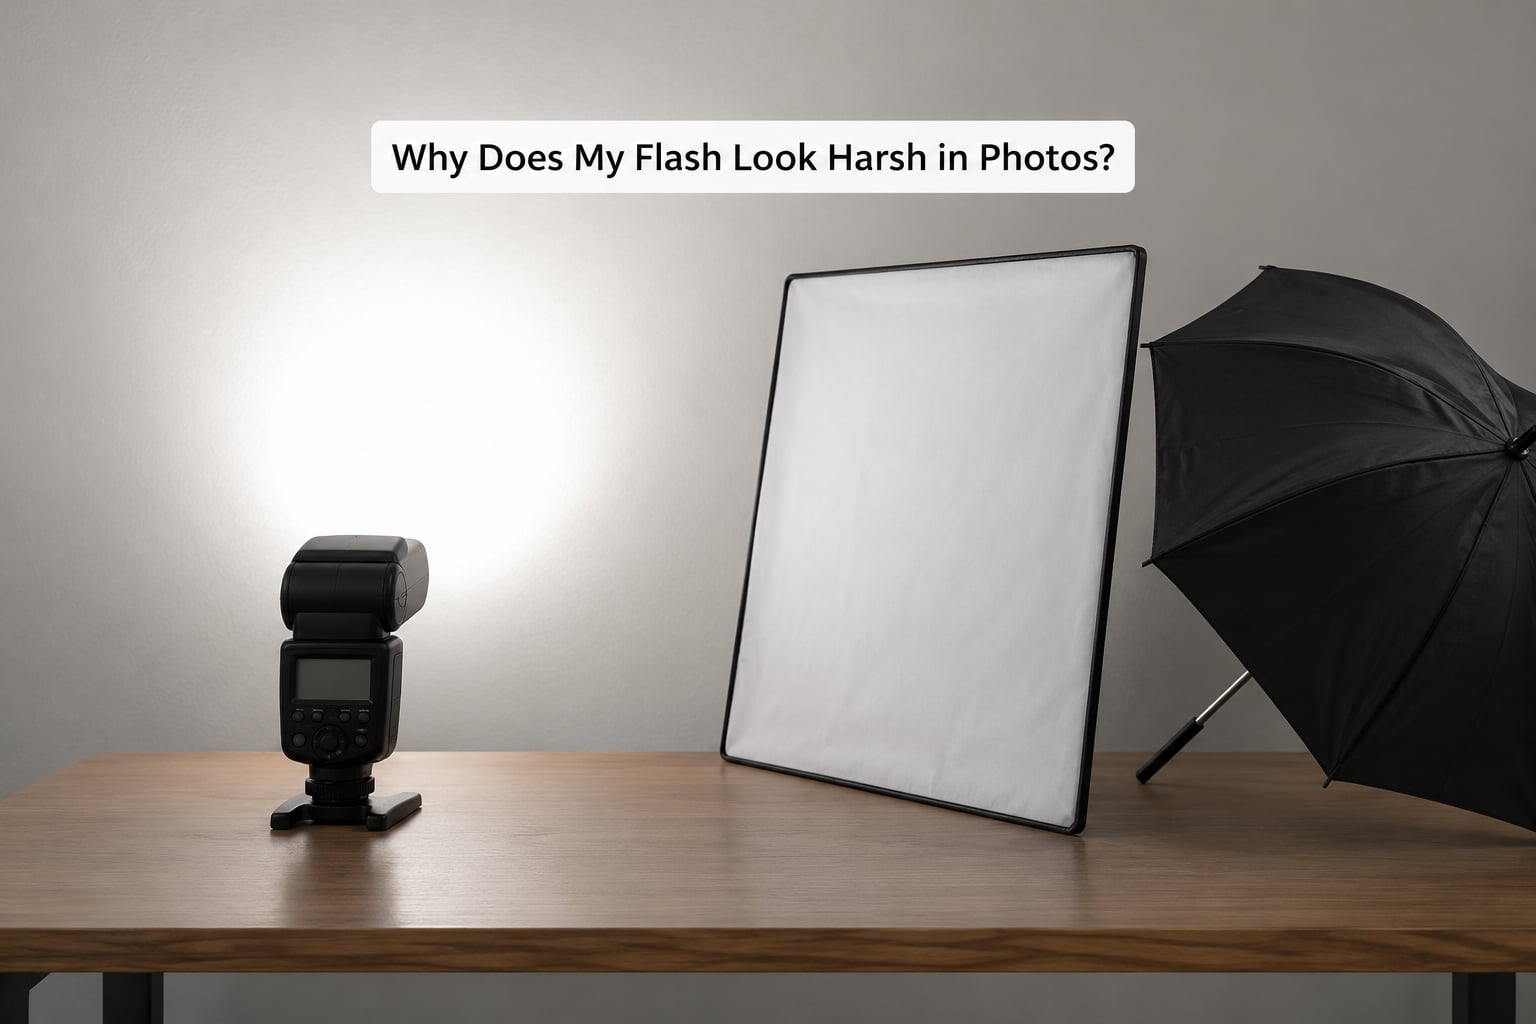
Flash looks harsh because the source is small, hard and un-diffused, and it sits almost directly on your lens axis. A small source casts hard-edged shadows; an on-axis source fills them in so the face looks flat; too much output clips skin highlights to white.
That is the whole diagnosis in two sentences. Everything else on this page is a way of changing one of those three variables: apparent size of the light, angle, or power.
A flash head is only a few centimetres across, roughly the size of a dinner plate, which means it acts like a miniature sun. A miniature sun is not flattering. Softness in photography comes from the apparent size of the source compared with the size of the subject. A window is big, so window light wraps around a face. A flash head is small, so it stamps a shadow under the nose and jaw with a crisp edge.
The second half of the problem is position. On-axis light arrives from the same direction as the lens, so every shadow the face casts gets filled in by flash coming back from the front. The result is a face with almost no sense of shape. Move that same flash out to the side and the shadows come back, and with them comes the shape of the person.
What Makes Flash Light Look Harsh?
Harsh light is a quality problem, not a brightness problem. Bright flash can be beautiful and dim flash can be ugly, so learning to separate the two symptoms is most of the battle.
| What you see in the photo | Likely cause |
|---|---|
| Sharp-edged shadow under the nose, chin or cheekbone | Small source close to the subject |
| Face looks flat, no visible cheekbones or jaw | Light firing from the same angle as the lens |
| Skin patches clipped to pure white, no detail left | Too much flash power for the exposure set |
| Bright red or glowing pupils | Light entering the eye and reflecting off the retina |
| Round white or yellow dots in the eyes | The bare flash reflected straight back as a catchlight |
| Shiny forehead and nose, dull cheeks | Direct hit on skin oil, off-axis elsewhere |
| Pores and fine lines exaggerated | Low light striking the skin straight on instead of wrapping |
| One half of the face darker than the other | Off-axis light with no fill on the shadow side |
| Frame looks like it has a light leak or glow | A long ambient exposure with flash, often rear-curtain sync |
The last row catches people out constantly. If your flash pictures look foggy or glowy around a moving subject, the flash is usually fine. You have a slow shutter with the flash firing at the end of the exposure, so a ghost of the ambient room gets recorded around your subject. It reads as a lighting fault and it isn’t one.
Red-eye and the round catchlight deserve their own note. Both are symptoms of a bare, on-axis source, and both shrink dramatically once the source moves off the lens axis. If the catchlights in your portrait look like two headlights staring back at you, that’s your flash head sitting exactly where it shouldn’t.
How to Soften Flash Light for Portraits
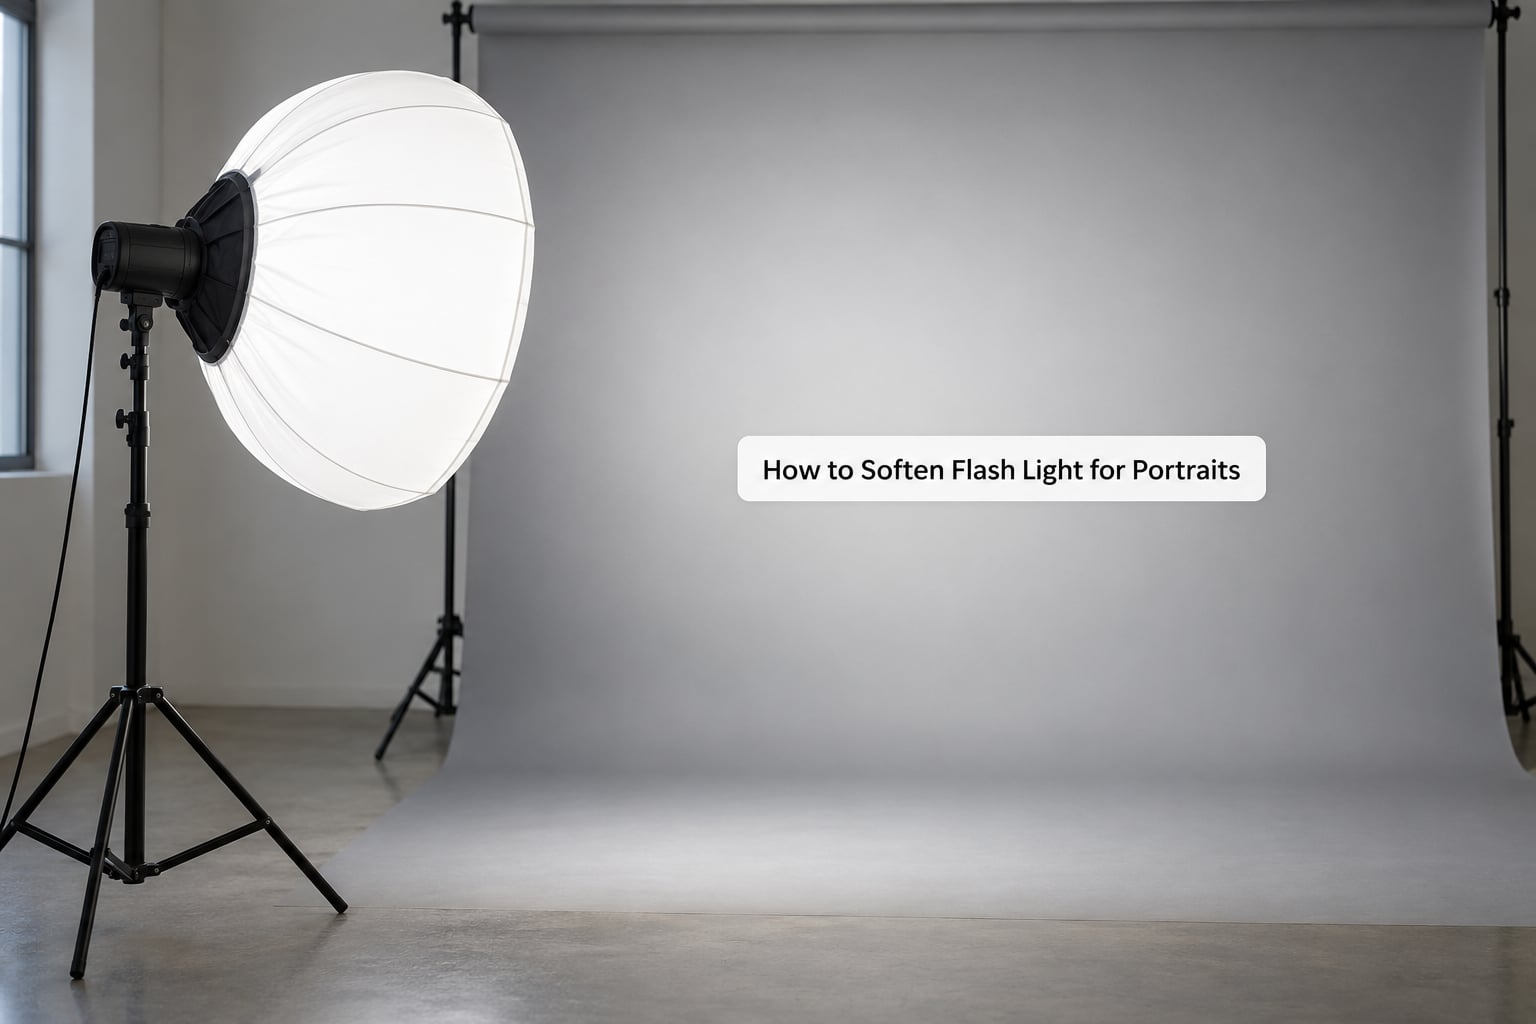
Soften flash by making the source appear larger, moving it further from the subject, and angling it off the lens axis. Those three changes do more than any exposure setting. Power only decides how bright the picture is.
How to make flash less harsh: the ranked fix ladder
Work down this list in order. Stop as soon as the light looks the way you want, because each step costs something in time, light output or setup speed.
- Bounce it off a ceiling. Point the head up so the ceiling becomes the source. Free, and the single biggest change most people can make today.
- Move the flash off the camera. Put it on a stand or a light stand with a bracket, roughly 45 to 90 degrees to the side. On-axis light is what flattens faces.
- Pull the flash further from the subject. Moving from half a metre to two metres roughly doubles the apparent size and softens every edge.
- Use a white bounce card opposite the flash. A sheet of foamcore or even a white wall fills the shadow side and controls the light ratio.
- Attach a diffuser dome or small softbox. A cheap fabric dome costs you one to two stops of output but changes the shadow character completely.
- Add an umbrella. A shoot-through umbrella gives broad wrap; a reflective umbrella throws a tighter, more directional beam. Watch the spread difference.
- Use a large softbox. Bigger softboxes win on softness but only if you also add distance. A huge softbox held close is still hard light.
- Add fill or negative fill. White card or silver reflector to lift shadows, black foamcore beside the subject to deepen them.
- Raise the ambient level. Turn on room lights, open curtains, or add a second dim flash behind the camera. More ambient light means the flash matters less.
The rule that explains all nine
Apparent size of the light source is the physical size of the light divided by its distance from the subject. That ratio, not the brand of modifier, decides how soft a shadow looks.
This is where most advice goes wrong. A large softbox held half a metre from your subject’s face is still hard light, because the subject is close relative to the source. Take the same softbox to three metres and the shadows wrap. Photo.net regulars have argued about this for years, and they’re right.
Two useful numbers to keep in your head: a speedlight works best four to eight feet from the subject, and a white wall used as a reflector is the cheapest effective modifier that exists.
Which fix costs what
| Fix | Cost | Softness | Portability | Setup speed |
|---|---|---|---|---|
| Bounce off ceiling | Free | Good, depends on ceiling | Excellent | Instant |
| White wall or card | Free | Fair to good | Excellent | Instant |
| Move off-axis | Free if you have a stand | Good | Good | About a minute |
| Small diffuser dome | Low | Good | Excellent | Seconds |
| Shoot-through umbrella | Low to mid | Very good | Fair | About two minutes |
| Softbox with stand | Mid | Very good | Poor | About five minutes |
How to tell the light got softer
Shadow edges should have a gradient rather than a border. Look at the nose shadow: a hard light gives you a defined line, a softer source gives you a fade from dark to light across the width of the nose. Turn the flash off briefly and check that your background brightness stays the same while the shadow detail returns, which confirms the flash is what is casting it.
A 60-second DIY diffuser works better than nothing at all. Tape an index card over the flash head with a rubber band, or stretch a white cotton sock over it. On r/AskPhotography people have been doing exactly this for years. It will not match a softbox, but it will soften the edges and it costs nothing.
Why Does Harsh Flash Make Skin Look Bad?
Harsh flash hits oily areas with a specular highlight the camera records as pure white, while shadowed skin sits two or three stops lower and records as grey. That spread is wider than the sensor can hold, so you get shiny forehead next to dull cheeks and no detail in either.
Three things drive it. Direction decides whether oil on the forehead reflects into the lens, and only light coming from roughly the same angle as the lens does that. Power decides whether skin tones clip. Texture is the third: raking light across skin exaggerates pores and fine lines, while light that wraps around the face hides them.
Worth separating here: not everything that looks bad is the light. Blur from a shutter speed too slow for the movement leaves a soft image that people often blame on flash. Focus landing on the background rather than the near eye flattens a face for reasons that have nothing to do with lighting. A high ISO in a dark venue adds grain and blotchy colour that reads as ugly skin.
Quick check before you touch your lighting: take one shot with flash, then one without. If both look bad in the same way, the problem is focus or motion. If only the flash frame looks bad, it is the light.
For texture and shine, the practical order is: soften and reposition first, drop power second, use fill to lift shadows third. Skipping straight to software is why so many people end up with waxy skin instead of a photograph.
How Do Flash Settings Change the Look?
Lowering flash power fixes an overexposed image. It does not soften a shadow. Exposure controls brightness; softness comes only from apparent size, distance and direction.
That distinction is worth sitting with, because it is the most common mistake in the forum threads on this topic. People see a blown frame and stop down the aperture, then wonder why depth of field disappeared and the shadows are still just as hard.
| Setting | What it controls | What it does not fix |
|---|---|---|
| Flash power | Brightness of the flash itself, in third-stop steps | Shadow hardness, flatness, red-eye |
| Aperture | Overall exposure and depth of field | Shadow quality, skin texture |
| ISO | Sensitivity of the background and ambient exposure | Anything about the flash quality |
| Shutter speed | Ambient contribution and motion blur | Flash exposure below the sync speed |
| White balance | Colour cast from bounce surfaces or venue lights | Hardness or clipping |
Start in manual flash at quarter power and walk the distance from there. Watch the inverse square law working for you: doubling the distance from the subject means a quarter of the light arrives, so you compensate with two stops of power and keep the same brightness with far softer shadows. That is the free version of a bigger modifier.
Keep the shutter at or under your camera’s sync speed, usually somewhere between 1/160 and 1/200 of a second, or use high-speed sync when you need a wider aperture. In a bright room, raise the ISO and the shutter inside the sync limit to bring up the ambient, which softens the flash’s grip on the frame without any extra gear.
Colour is a separate problem from harshness. Bounce off a warm ceiling and you pick up its colour cast, which a tungsten reception will make worse. A quick grey-card reading or a fixed white balance set for the room fixes the cast and leaves the softness intact.
TTL is fine for the first frame when you have no time, then switch to manual and lock it. Once power is fixed, you can move the light freely and re-shoot without guessing, and that is when you start learning where the light should go.
How Can You Fix Harsh Flash Without Buying More Gear?
Most harsh flash problems are solved with positioning and paper. Here is what still works when there is no ceiling, no budget, or no hot shoe at all.
Bounce off a wall instead of a ceiling. Outdoors or in a venue with high ceilings, angle the head at a nearby pale wall. A white wall used as a giant reflector is the most underrated cheap modifier there is, and photographers on photo.net have recommended it for years.
Use a white card as a mini bounce. Hold white foamcore or a sheet of white card under the flash head so the light splays before it leaves. This is the version of the ceiling bounce that works while you hold the camera in one hand.
Fill from the opposite side. If you can only manage direct flash, put a white card on the shadow side of the face. Hard light plus fill reads far better than hard light plus nothing.
Turn the room lights on. Ambient light is the cheapest softbox available. More ambient means the flash contributes a smaller share of the exposure, and every shadow it casts gets less contrast.
Reposition the subject. Turning someone so the light falls across the face at an angle instead of straight on changes the picture more than any accessory.
Phone flash deserves its own note, because there is no hot shoe and no tilt. What you can do is turn off the built-in flash, find the biggest window or opening you can, and hold the phone so the light comes from the side of your subject. If you must use the flash, use night mode for the ambient and accept that the flash frame will be flat. There is no modifier that solves a light you cannot move.
Frequently Asked Questions
Why do I look so bad in flash photos?
Flash light is small, hard and un-diffused, so it lands directly on oily skin while shadows fall on everything else. Because the flash fires from the lens axis, those shadows get filled back in and your face loses its shape. Making the source bigger, moving it off-axis and dropping power one to two stops fixes most of it.
How do I make flash less harsh?
Work down this order: bounce the flash off a ceiling, move it 45 to 90 degrees off the lens, push it four to eight feet from the subject, add a white bounce card on the shadow side, then attach a diffuser dome, umbrella or softbox. Stop as soon as the shadows look soft, since every step costs time or light output.
How do I make photos not look so blown out with flash?
Lower the flash power rather than closing the aperture, so you keep your depth of field. Turn on room lights to bring the background up, and raise the ISO and shutter inside the sync limit to lift the ambient. Once highlights on skin are clipping to pure white, some detail is already lost, so prevent the clipping rather than trying to recover it.
How do I get rid of harsh lighting in photos?
Check what you can still control before opening editing software. Clipped highlights are lost data and only come back a little. Shadow hardness, red-eye and flat facial modelling cannot be recovered at all. Everything softer has to happen in the room: bigger source, more distance, off-axis placement, less power.
Should I use a diffuser on my flash?
A diffuser is worth it, mostly because it is small and fast to deploy. A fabric dome turns a hard on-axis source into something much closer to a softbox, and you can also tilt the head to bounce through it. Budget for one to two stops of light loss, which is why you should raise power or lower your ISO after attaching one.
How do I soften a harsh light without a diffuser?
Bounce it off a ceiling or a pale wall, tape an index card over the head with a rubber band, or add a white foamcore card on the shadow side. Moving the flash further from the subject works too, since apparent size equals source size divided by distance. Raising the ambient by turning on room lights softens the whole frame without touching your setup.
Conclusion
Make one change tonight: tilt the flash up until the ceiling does the work. That is the first action, and it costs nothing. If you have already done that, move the flash off the lens axis, then push it further away.
The governing rule for why does my flash look harsh in photos is apparent size divided by distance. Bigger source, more distance, less power on the flash itself. Change one variable at a time and take a test shot after each, because the two problems people confuse most are harsh light and overexposure. Only one of them is about where the light goes.