If you have wondered how to photograph a corporate headshot session that produces fifty consistent portraits instead of fifty different ones, the answer is process, not gear. Brief the client, set your lighting and camera position once, work from a written shot list, and give every subject the same posing and expression direction before you start improvising. Budget about ten focused minutes per person, and spend the real effort on the hour before anyone sits down.
Corporate headshot photography is a volume business with a craft problem inside it. The technical side is simple; keeping forty people feeling at ease and looking like themselves is the part that decides whether the marketing team re-orders you next year.
Table of Contents
- What You Need
- Step-by-Step: How to Photograph a Corporate Headshot Session
- 1. Define the client’s needs and image use
- 2. Build a shot list and efficient schedule
- 3. Prepare the set, test exposure, and check focus
- 4. Direct each subject from arrival to first capture
- 5. How to photograph a corporate headshot session for a consistent team grid
- 6. Direct expressions and natural personality
- 7. Capture variations without losing consistency
- 8. Review, retouch, color-match, and deliver
- Common Mistakes
- Frequently Asked Questions
- How long should a corporate headshot session take?
- What lighting is best for professional business portraits?
- Should corporate headshots have a plain or environmental background?
- How do you make nervous subjects comfortable on camera?
- How many headshots should each person receive?
- What retouching is appropriate for a corporate headshot?
- Conclusion
What You Need
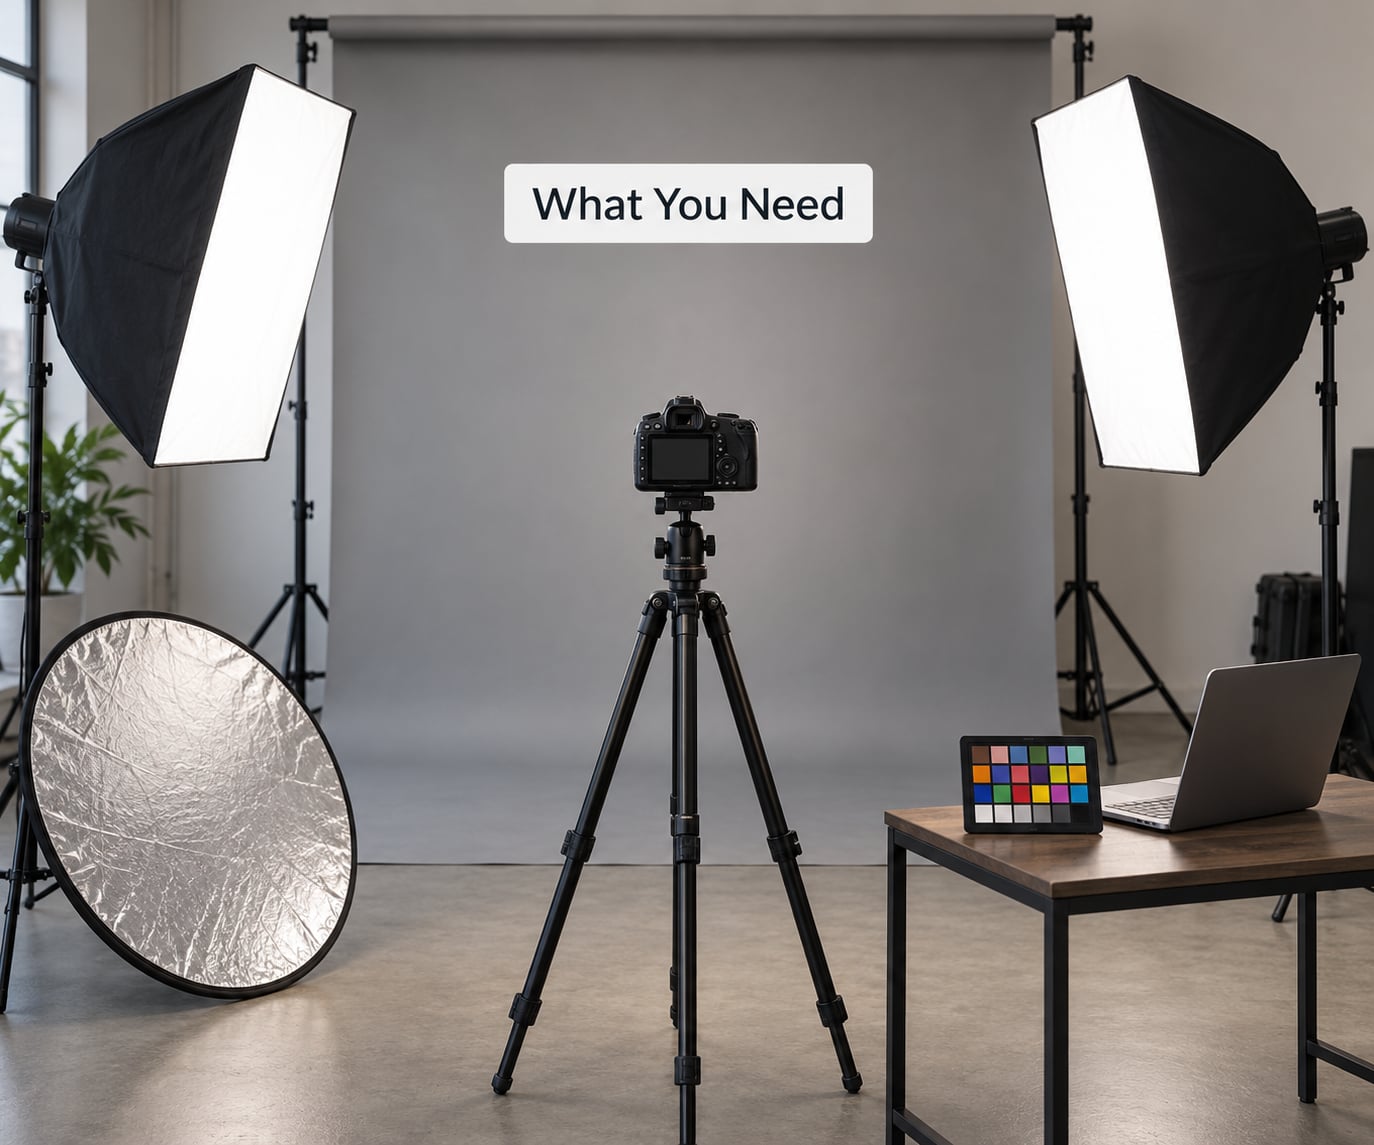
A corporate session runs on a kit that fits in a car and sets up in half an hour. Here is what I consider non-negotiable and what you can leave at home.
Camera and lens
A full-frame or APS-C body with a tilt screen saves you time, because you stop crouching for every frame. For portraits, 85mm or 105mm at f/2.8 or faster gives the flattened facial proportions that read as professional. A 70-200mm at 135mm works well when you need reach across a room.
A kit zoom at 18-55mm is workable for a test session but weak for a paying one. Wide focal lengths stretch noses and shrink shoulders, and headshots are the one genre where that distortion is impossible to hide. The exception is environmental portraits where you step back to include a desk, a wall or a window.
Lighting
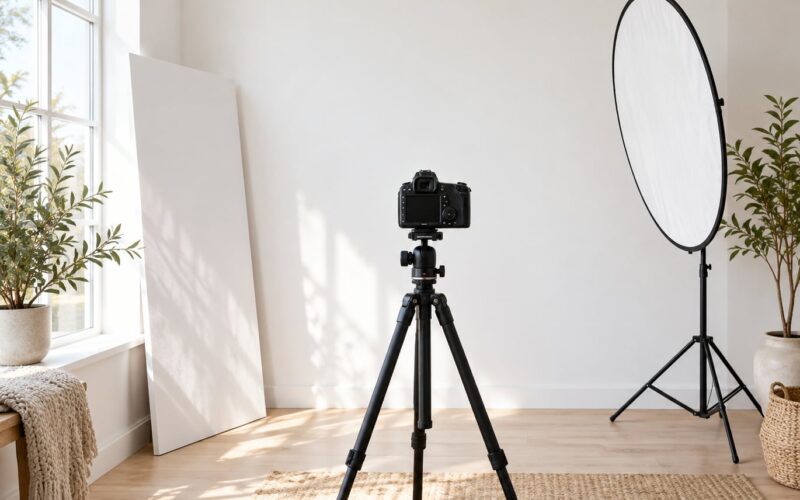
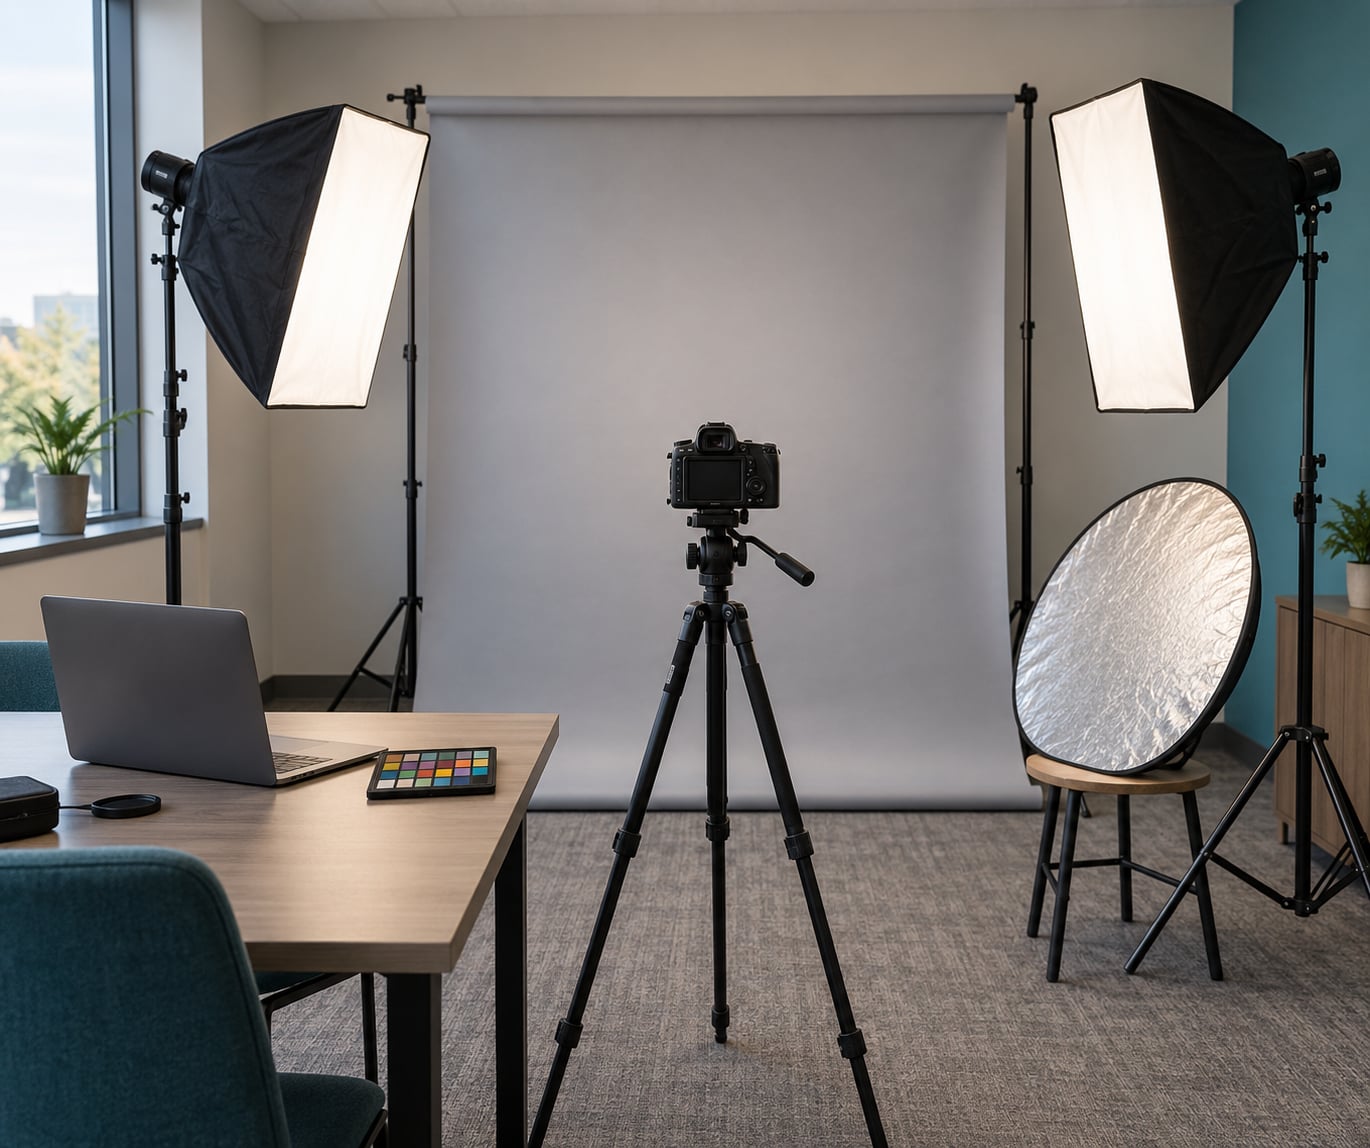
Two strobes with triggers, or two continuous lights, both work. Most photographers end up with one large softbox or octabox as the key at roughly 45 degrees, slightly above eye level, and a second light or white reflector on the opposite side to lift the shadow side.
A fifth of a stop of light difference between the two sides of a face reads as natural. Half a stop or more starts to look like a catalogue. If you can only bring one light, put a white foam board close to the shadow side rather than bouncing a second strobe into it.
Background
A collapsible backdrop on a stand, or a clean wall with a trolley behind it for casting. Bring tape and a couple of gaffer strips to hide cables, since the camera sees everything the eye forgives.
Support gear
A light meter and a gray card for exposure and white balance, a color checker for matching every frame in the batch to one reference, a stool for subjects who want to sit, a laptop with tethering cables, spare batteries, and a small clamp light if the room has none.
Power matters more than people expect. Bring a surge-protected extension reel, confirm there is a wall outlet near where the backdrop will stand, and check whether the room’s wifi will hold an upload while thirty people are on their phones.
Preparation tools
A printed shot list, a client roster with the order of people, a release form, and a styling note per person sent in advance. Ask for two outfit options and note glasses, hair, and any retouching requests so the makeup artist and you are not improvising at 9 a.m.
Step-by-Step: How to Photograph a Corporate Headshot Session
1. Define the client’s needs and image use
Ask where the portraits will appear before you pick a lens. A LinkedIn profile needs a square-safe head-and-shoulders crop with headroom above the eyes. A press kit and an annual report want horizontal space, a wider frame, and often more environmental context. Conference screens and large-format print need resolution and detail rather than a tight crop.
Get three answers in writing before the session: crop, background and retouching level. If the organization wants light cleanup that keeps pores and fine lines, say so out loud on the call, because a heavily smoothed face is the number one reason marketing teams reject a batch and refuse the re-order.
2. Build a shot list and efficient schedule
Working out how to photograph a corporate headshot session efficiently comes down to writing the sequence once and following it for every person, so nobody gets a rushed slot because they arrived late. A workable ten-minute slot: two minutes greeting and reset, two minutes posture and jaw, three minutes expression variations, two minutes on the neutral expression, one minute for a second look or outfit, and a buffer.
Put hair and makeup at one end of the rotation so people can settle before their slot rather than spending the slot waiting. Mark the roster with outfit notes and flag anyone who asked for a specific background or a photo of a colleague, so those pairings happen while both are fresh.
For large teams, agree the whole-day shape up front: ten minutes per person, a short break every hour, and a target of thirty to forty people in a full day once you account for look changes. Tell the coordinator the real number early. A schedule that slips is the most common reason a corporate relationship ends.
3. Prepare the set, test exposure, and check focus
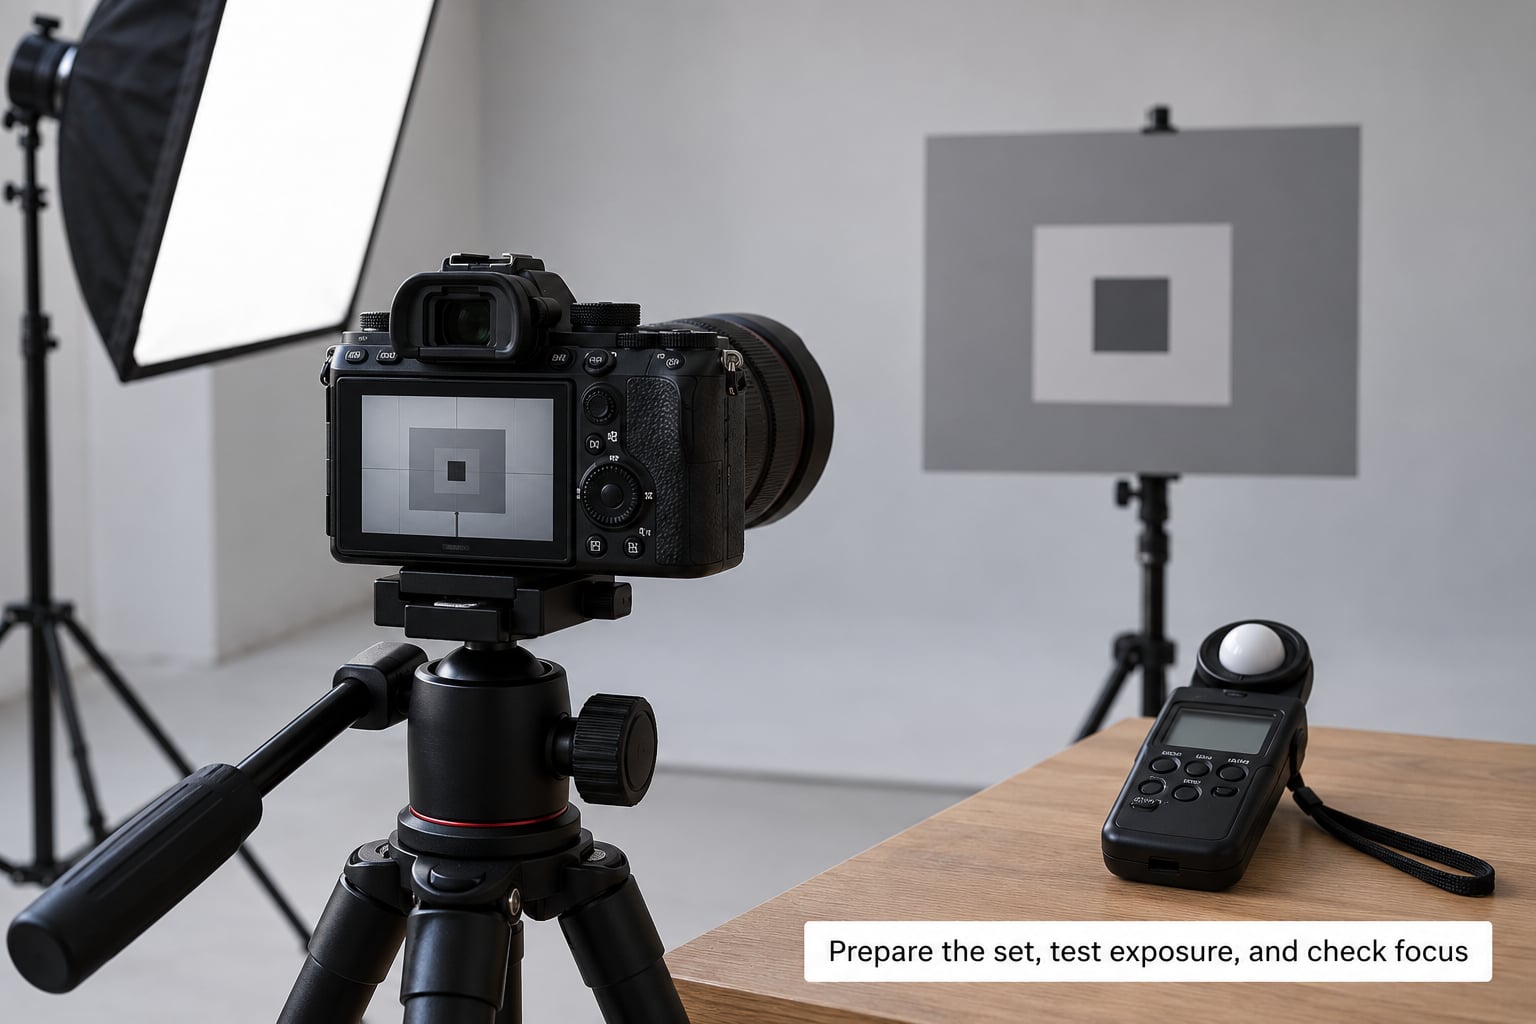
Set the backdrop first, then place the key light relative to it, then bring the camera in. Move the camera last and mark its position with a piece of tape on the floor, so every subject stands in the same spot.
Meter the face, not the backdrop. Set your aperture around f/4 for enough depth of field to keep both eyes sharp when the subject leans toward you, fix the shutter at whatever keeps the strobe output steady, and set ISO as low as the room allows. Lock white balance on a custom setting from the gray card rather than auto, because auto drifts between a fair-skinned subject and a deep brown one and leaves you correcting skin tones for hours.
Photograph the color checker as frame one of every setup. Then check focus on your own hand at head distance, and again at the distance from camera to subject when they tilt forward. A headshot session lives or dies on eye sharpness, and it is the cheapest thing to verify.
4. Direct each subject from arrival to first capture
Tell people what you are about to do in two sentences: I will start with a relaxed neutral look, then add a smile, then we will do a second crop. People relax once they know the shape of the next ten minutes, and the guesswork disappears from their face.
Make one adjustment at a time and say it out loud. “Drop your front shoulder toward me,” then pause, then “now bring it back a little.” Stacking three directions at once makes people freeze. Capture a relaxed baseline image early, within the first ninety seconds, so you have a usable frame no matter what happens later.
Show them the image on the camera screen only between looks, not as a running commentary. Many subjects fixate on a single blemish on a large display, and several photographers working high-volume corporate days have told me they stopped tethering for exactly that reason. Tether for your own control if you like it, but keep the screen pointed away from the person being photographed.
5. How to photograph a corporate headshot session for a consistent team grid
Keep the camera at or just above eye level, far enough back that the lens sits near the top of the head. Use a focal length that leaves a little air around the shoulders and enough headroom that nothing is tight against the top edge.
Turn the body about 20 to 30 degrees away from the camera while the head comes back toward the lens. That narrow angle slims the shoulders and stops a flat, symmetrical pose that reads like an ID photo. Ask for weight on the back foot, shoulders down and back, chin forward a fraction and down a fraction.
Consistency comes from repeating one composition. Same camera height, same distance, same background, same aperture, same f-stop for every subject in the batch. Variation belongs in the expression and the crop, not in the camera position.
Watch the background edges behind shoulders. A seam or a chair back sitting half an inch from a head is the single most common flaw in a corporate batch, and it is nearly invisible to the subject and glaring on a website grid.
6. Direct expressions and natural personality
A fixed wide smile is the least useful expression you can ask for, because it tightens the jaw and the eyes stop reading. Prompt instead of instructing: “think about someone you just heard good news about,” or “tell me what you built last year.” Then shoot while they are mid-sentence rather than after it ends.
Build three looks for everyone. A neutral resting expression with the lips closed and a slight softness in the mouth, a warm smile that lifts the cheeks, and a direct confident look made by asking them to lower the chin very slightly and hold the gaze. Consistency across three looks matters more than any one of them being perfect.
Watch the live image rather than talking continuously. Ninety seconds of silence while you watch the eyes is more productive than two minutes of direction you are too busy to deliver. When a face finally relaxes, make the frame immediately.
7. Capture variations without losing consistency
Once the approved looks are done, add the alternates the client actually asked for: a second crop, a different outfit, a plain background plus an environmental frame with the office behind them, or a black and white conversion made from the same file. Shoot the alternate first, then return to the baseline look so every person has the same primary image.
Do not reset the camera between alternates. Keep the same aperture and shutter, move the subject rather than the settings, and if you change the background, re-meter. Any drift in exposure here shows up as a visible brightness step when the marketing team drops the images into a grid.
8. Review, retouch, color-match, and deliver
Let each person pick their own favourite from a small set, usually four to six options. People are far harsher on themselves than they are on your work, so let the client pick the frame and you handle the finish. Keep a color and a black and white version of every delivered image; press, annual reports and social channels all use monochrome, and converting once at a high bit depth beats converting in a social app later.
Retouch non-destructively. Start with frequency separation to even out tone without flattening skin texture, heal stray hairs and temporary blemishes, dodge and burn gently to bring the eyes and cheekbones into balance, then match color against the color checker frame you shot at setup. Consistency across the batch is the point, so grade one image and apply that grade to the session.
Export a high-resolution file for print and press use, a web-resized file at roughly 1000 pixels on the long edge for the website and LinkedIn, and both in JPEG at high quality or TIFF if the client requests it. Name files consistently, such as lastname_firstname_corporate_date, and deliver through a private gallery link with a stated expiry rather than an email attachment.
Agree the turnaround time and the number of included retouches before the session, then send the finished set with a short note and an offer for a follow-up call. A two-week turnaround is normal for a corporate batch; anything promised faster needs a smaller batch behind it.
Common Mistakes
Rushing the briefing
When nobody agrees on crop, background and retouching level, you end up shooting it twice. Fix it with a fifteen-minute call and a written summary you send the day before.
Harsh or uneven light
Overhead office fluorescents and a bare window behind the subject create shadows under the eyes and colour casts that retouching cannot rescue. If the room light is ugly, kill it and shoot with only your own sources.
Inconsistent crops
Framing each person by eye produces a jigsaw on the company website. Mark the floor position, set the height once, and check every frame against the tape line.
Directing too much
People performing your instructions produce stiff portraits. Give one direction at a time, then let a few seconds of quiet do the work.
Over-retouching
Heavy skin smoothing is now one of the easiest tells in a business portrait, and many organisations now have internal guidance against it. Keep texture, remove distractions, and stop before the face looks unfamiliar.
Letting the schedule drift
One person taking four times their slot pushes the whole roster. Keep the running order visible, protect the break, and if the day is falling behind, cut alternates rather than quality.
Poor file management
Inconsistent naming and folder structures make delivery a two-hour job. Set the naming convention and folder structure at the start of the project, not the night you deliver.
Frequently Asked Questions
How long should a corporate headshot session take?
Allow ten focused minutes per person, plus a short break every hour. High-volume photographers shooting on location often plan for thirty to forty people across a full day once hair, makeup and outfit changes are counted. A subject wearing a single outfit usually needs eight minutes; allow fifteen when two looks are involved. Book fifteen minutes of buffer into the roster so one long slot does not push everyone behind.
What lighting is best for professional business portraits?
A large soft source at roughly 45 degrees and slightly above eye level, with the shadow side lifted by a reflector or second light, is the most reliable setup. Keep the two sides within about a fifth of a stop of each other or the result looks flat. Small hard lights create sparkle and texture that reads better in a dark room than a corporate office. Whatever your source, turn off the ceiling fixtures.
Should corporate headshots have a plain or environmental background?
Plain backgrounds give the most consistent grid across a whole team, which is why most company directories use them. Environmental portraits, shot in the person’s own office or workplace, add context and read more personable, but they vary far more between subjects. A common compromise is one plain primary look for everyone plus an environmental alternate for leadership and public-facing staff.
How do you make nervous subjects comfortable on camera?
Explain the process in two sentences, capture a relaxed baseline frame within the first ninety seconds, and give one direction at a time instead of a stack of corrections. Shooting quietly and watching the live image tends to settle people faster than talking. Tell them plainly that people rarely pick their own favourite, and hand them four to six options to choose from rather than asking for a decision mid-session.
How many headshots should each person receive?
Most photographers deliver one retouched primary image plus two or three alternates per person, and clients pick the primary from those options. Adding a colour and a black and white version of each approved frame covers most channels. Large batches vary widely, from a handful per person to twenty or more when the same session has to supply an annual report, a press kit and a website grid.
What retouching is appropriate for a corporate headshot?
Remove temporary blemishes, stray hairs, clothing lint and distracting background elements, then even out skin tone with frequency separation and apply light dodge and burn to balance the eyes and cheekbones. Match colour against a reference frame shot at setup so the whole batch grades together. Most organisations want texture preserved, and many now have internal rules limiting skin smoothing entirely.
Conclusion
Anyone learning how to photograph a corporate headshot session reaches the same conclusion: consistency comes from repeating one setup, not from finding a better light. Brief the client on crop, background and retouching, write the shot list, tape the floor position, meter the face, and lock the composition before the first person walks in.
Then give every subject the same treatment: a quick baseline frame, one direction at a time, three expression looks, and a small set of options to choose from. Start tonight by writing your shot list and testing your lighting against a colleague so the first person on the day is not your test subject.