To bounce flash indoors without ugly shadows, aim the head of your flash at the largest pale surface near the subject, keep that surface one to two metres from the flash, and move the light off the camera axis. Most ugly indoor flash shots come from the bounce angle being wrong, not from the flash itself.
Bounce flash means firing your speedlight, Speedlite or external flash unit at a ceiling or wall instead of at your subject. That surface becomes a big, dim light source, and because a larger light source gives softer light, the hard-edged shadows that direct flash throws behind people soften into gentle gradients. The catch is that naive bouncing creates its own shadow problems: no catchlight in the eyes, dark eye sockets, and a hard shadow on the wall behind your subject.
The whole technique takes under a minute to set up once you know which surface to pick. Read on for the angle guide, the starting settings, and the fix for each shadow failure.
Updated for October 2026.
Table of Contents
- What You Need
- How to Bounce Flash Indoors Without Ugly Shadows: Step-by-Step
- Common Mistakes
- Frequently Asked Questions
- Is it safe to bounce flash off a white wall?
- How do I bounce flash off the ceiling without raccoon eyes?
- Do I need a reflector to bounce flash indoors?
- What ISO, shutter speed and aperture should I use for bounced indoor flash?
- Why do my eyes look dark even though I bounced the flash?
- How do I fix a hard shadow on the wall behind my subject?
- Conclusion
What You Need
A camera with a hot shoe, a flash with a head that tilts and swivels, and something pale nearby to bounce off. Everything else on the list is a refinement, not a requirement.
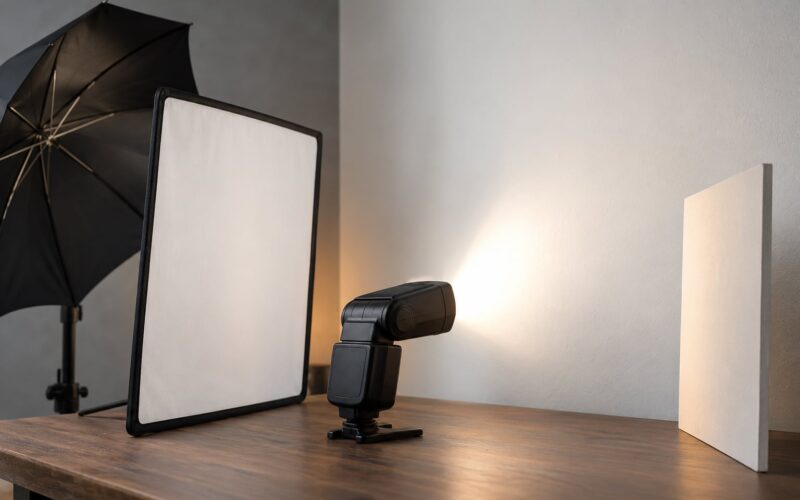
- A tilt and swivel flash. The head needs to reach roughly 90 degrees up and 90 degrees to the side. A built-in pop-up flash cannot do this at all, which is the single most common reason beginners think bouncing does not work.
- A pale surface. A white or off-white ceiling or wall works. So do white foam board, a pale painted wall, a white sheet, a shower curtain, a light wood cabinet interior, or a projection screen.
- A bounce card. Most flashes have one built into the body, and pull-out or detachable cards cost little. This is the tool that puts a catchlight back in the eyes.
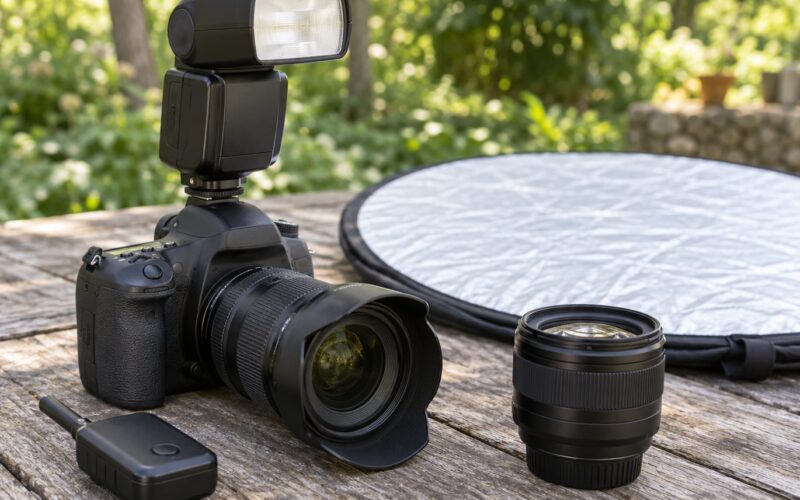
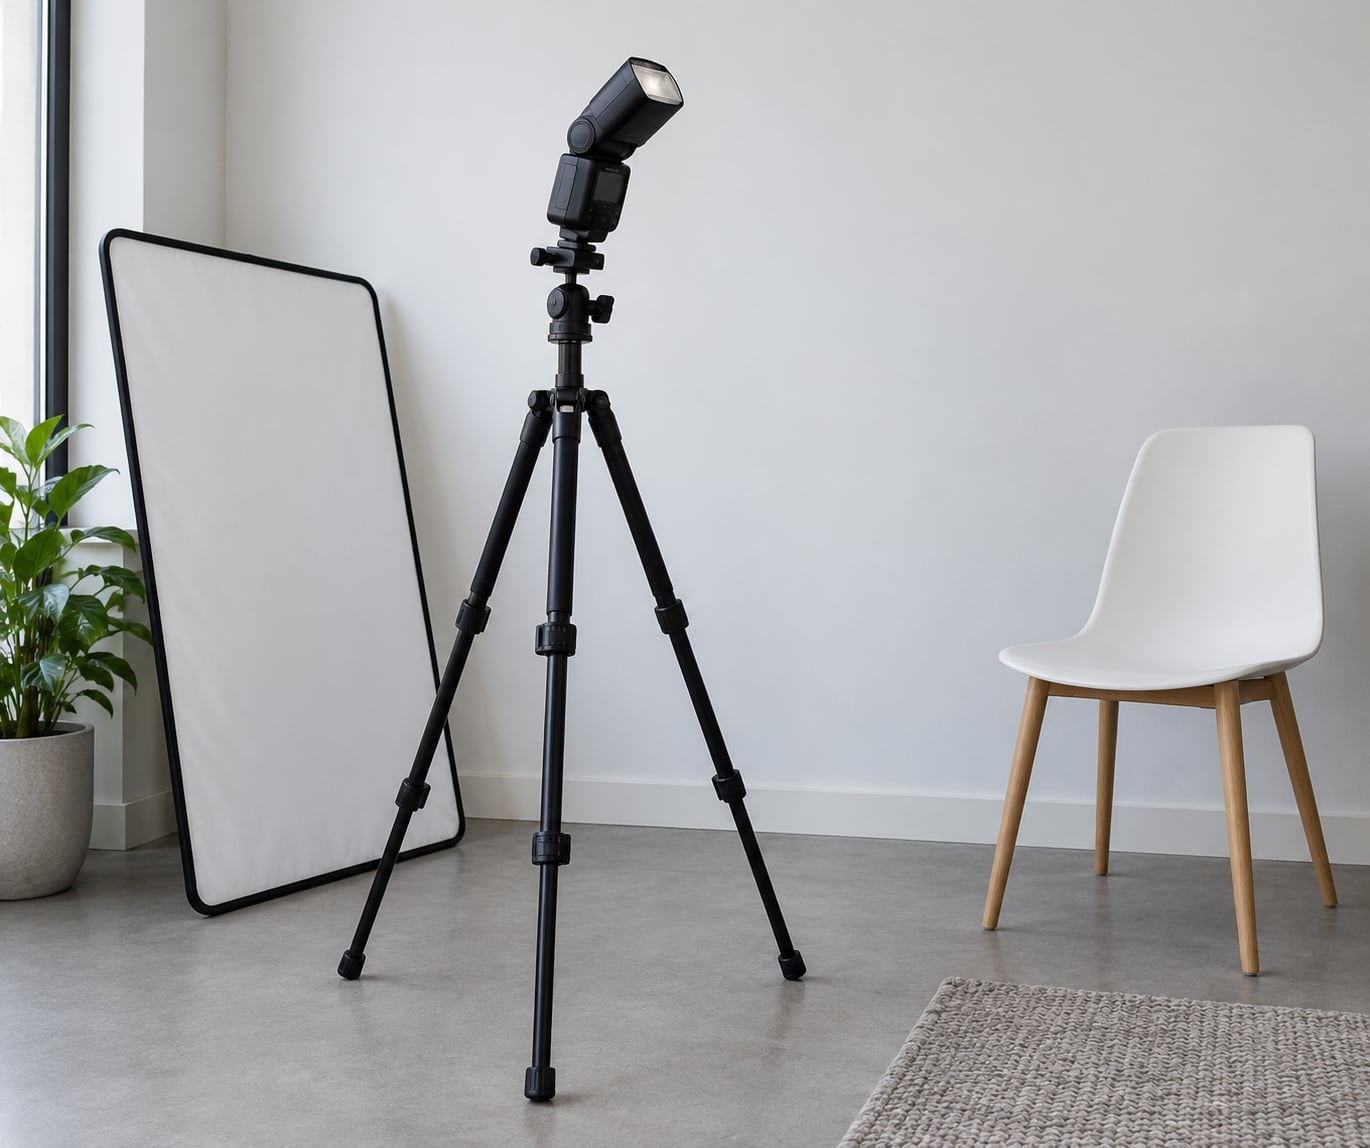
- A reflector or white card. Optional. This is your fill light and your shadow lifter when the room has nothing worth bouncing off.
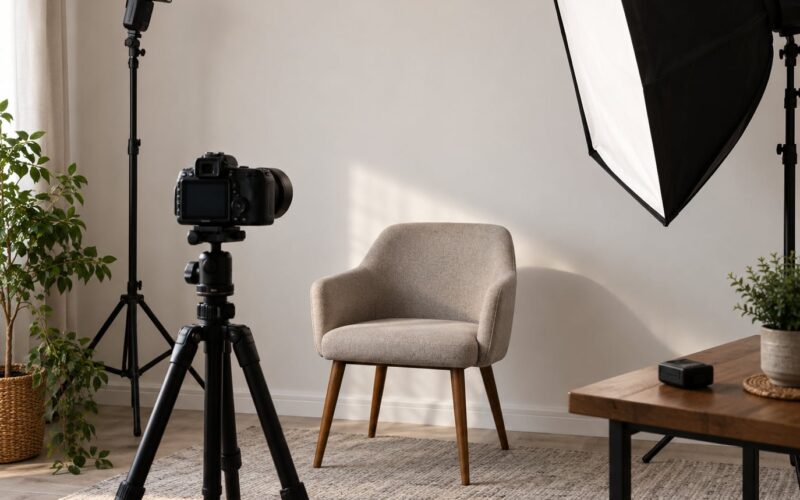
- A radio trigger or off-shoe cord. Optional, and the upgrade path when the ceiling is dark or missing. It gets the flash off the lens axis, which is where soft light really comes from.
None of this is expensive. I have shot entire receptions with a flash, a piece of white foam board cut to a metre square, and a hotel room wall, and the results were indistinguishable from a session with a full softbox kit.
How to Bounce Flash Indoors Without Ugly Shadows: Step-by-Step
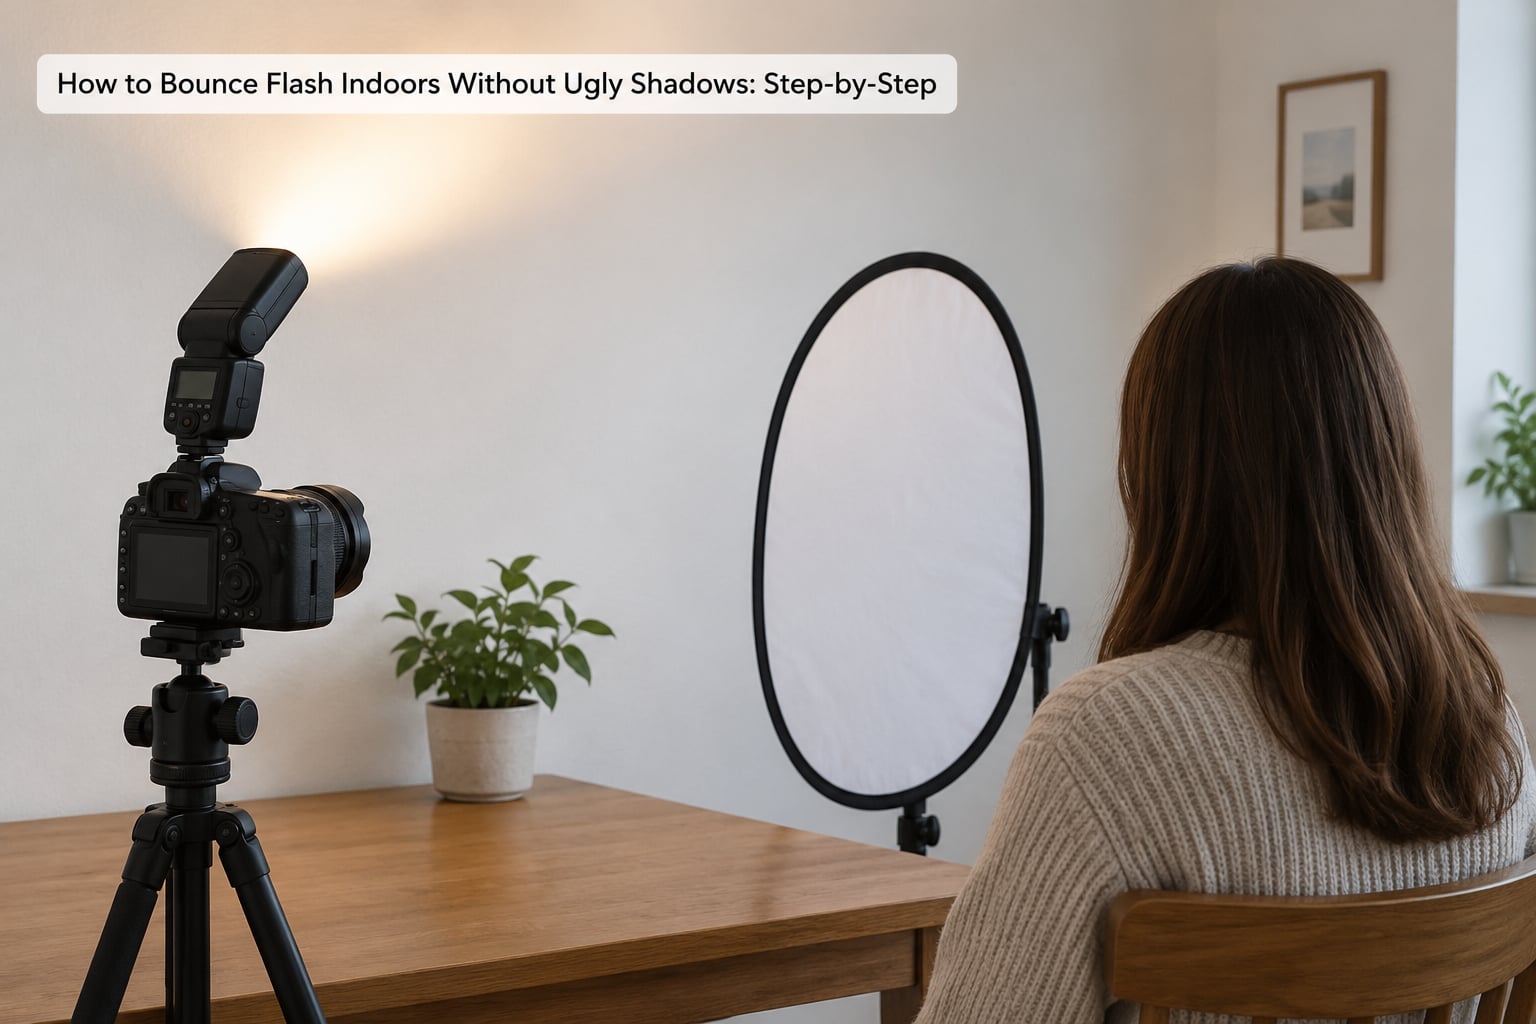
1. Inspect the Room and Identify the Shadow Direction
Stand where you plan to shoot and look at the room before you touch any settings. Find the existing light source, then find the shadows it already creates, because you want your flash to fill those shadows rather than add to them.
Face your subject and note which side of their face is darker. That darker side is the side you want your bounce surface on. If the window is behind them, bounce off the wall behind you so the flash wraps toward the window side of the face.
The rule I keep coming back to is simple: you bounce the flash into the direction you want the light to appear to come from. Deciding that direction first, then choosing the surface, prevents most of the failures listed further down.
2. Choose a Suitable Indoor Bounce Surface
The best bounce surface is large, pale and roughly opposite the shadow side. Colour matters more than people expect, because the surface tints every photon that returns to your subject.
- White or near-white ceiling — the evenest return light, but it comes from almost directly above, which drives shadows into the eye sockets and under the chin.
- White or pale wall — light arrives from the side, which gives a face three-dimensional shape, but leaves the far side of the face noticeably darker.
- Two walls meeting in a corner — the best of both. The corner acts as two large sources filling from either side, which is why so few tutorial pages mention it.
- White foam board — the reliable choice when the room has nothing usable. A metre square is plenty for a portrait at two metres.
- A white sheet or curtain — soft and cheap, and it works well if it hangs away from the wall so both sides glow.
- Coloured, wood-panelled or dark surfaces — usable, but you are accepting a colour cast and you will need more power. Dark ceilings cost real stops of light and stretch the recycle time, which is why the next frame often arrives late.
If you must use a coloured surface, set white balance manually rather than auto, or shoot a grey card under the flash first and correct from that. It is a five-minute habit that saves an entire reception.
3. Position the Flash Away from the Subject
Position the flash away from the shooting axis, because a light source sitting directly on the lens axis always throws a hard shadow behind your subject. Tilting the head upward already moves the effective source off that axis, and moving it further sideways softens it more.
Keep the flash head one to two metres from the bounce surface. Closer than about a metre and the return light is too dim and too uneven, while further away the fall-off means you can be three or four metres back and still get an underexposed frame. One to two metres is the range that works nearly every time.
| Bounce angle | Light arrives from | Shadow outcome | Best used for |
|---|---|---|---|
| Straight up, about 90 degrees | Directly overhead | Dark eye sockets, strong under-chin and under-nose shadow, flat looking subject | Very high ceilings, group photos where even coverage matters more than shaping |
| Straight to the side, about 90 degrees | One side of the subject | Shadow on the far side of the face, clean separation from the background | Portraits against a busy background, adding dimension to a flat face |
| Up and to the side, about 45 degrees | High and lateral | Soft shadow under the chin only, gentle modelling on the face | The general-purpose indoor choice, and the one I default to |
| Into a corner where two pale walls meet | Both sides at once | Open shadows, almost no shadow side, very even | Small rooms, close group shots, faces that need the most help |
| Bounce plus bounce card toward the subject | Soft from the surface, direct from the card | Fills the remaining shadow and returns a catchlight, with slightly firmer edges | Receptions and portraits where eyes look dead without it |
4. Set the Flash and Camera Exposure
Start in manual flash mode at a middle power setting, set your shutter speed at or above the sync speed, and let the aperture and ISO do the rest. Bouncing costs you roughly one to two stops of light compared with firing straight at the subject, so your first frame will usually come out dark unless you compensate.
| Setting | Portrait | Group or reception |
|---|---|---|
| Flash mode | Manual flash, one fixed power | TTL or E-TTL with flash exposure compensation |
| Shutter speed | 1/200s or your sync speed | 1/200s or faster to keep ambient contribution low |
| Aperture | f/2.8 to f/4 for separation | f/4 to f/5.6 for depth across a group |
| ISO | 400 to 1600, whatever the noise tolerance allows | 1600 to 6400 if needed, with flash still doing the exposure work |
| Flash exposure compensation | +0.3 to +0.7 to cover bounce light loss | +0.7 to +1.3 on a dark ceiling |
| White balance | Fixed manual, matched to the room | Fixed manual so a whole set of frames stays consistent |
If the wall is dark or you are bouncing a long way, raise ISO first because it does not slow your frames the way aperture does. Then open the aperture one stop, then increase flash power, in that order, and check recycle time before you commit to a rapid sequence.
5. Use a Reflector to Control Spill and Contrast
A white reflector or card on the dark side of the subject lifts the shadow without adding a second hard source, which is exactly the control you lost when you moved the flash away from the camera axis. Bring it closer for a softer, stronger fill and further away for a gentler one.
Pay attention to where else the light is going. A shiny floor throws a second image back up into the underside of faces, a mirror doubles every shadow, and a pale ceiling directly over a dark outfit gives a blown-out shoulder with a black face underneath.
Balance the flash against the room. If you want ambient light to show, shoot below sync speed and raise ISO so the flash only lifts the subject. If you want the flash to look like the dominant light, shoot at sync speed or faster so the ambient falls away and the background goes dark.
6. Check the Result Before Shooting
Take one frame at the start and run through five checks: shadow edge softness, catchlight presence, colour cast, exposure on the background, and stray reflections. This takes about fifteen seconds and it catches problems while they are still cheap to fix.
Sharp-edged shadows under the chin mean the angle is too steep, so tilt the head further to the side. Dead-looking eyes mean no catchlight, so pull the bounce card out. A warm or green skin tone means the surface colour is coming through, so set white balance manually. A hard shadow on the wall behind the subject means the light is too close to the lens axis, so angle it more.
Once all five read correctly, the setup is repeatable. Write the power, aperture, ISO and flash exposure compensation on a card in your bag and you will not re-solve it for the rest of the night.
Common Mistakes
Most disappointing indoor flash shots come from one of six predictable mistakes. Each has a specific fix.
- A flat white wall used for every shot. It produces soft light but no shaping, so faces look flat. Fix: bounce into the corner where two pale walls meet, or move the bounce angle higher and to the side.
- A steep ceiling bounce in a room with a low ceiling. Light drives straight down into the eye sockets and creates raccoon eyes. Fix: tilt the head 45 degrees to the side instead of straight up, or raise the flash off the camera on a trigger and bounce behind you.
- Mixed colour temperatures. A tungsten ceiling bounced alongside daylight through a window gives skin tones that match nothing. Fix: set white balance manually and let the flash dominate at sync speed.
- Too much flash power. Overdriving a bounced flash blows out the nearest part of the face while the fall-off leaves the rest dark, and it also runs the battery flat. Fix: lower the power a third of a stop at a time and check the histogram.
- Reflector placed wrong. A reflector directly under the subject bounces light into the underside of the face and the ceiling shade at the same time. Fix: place it low and beside the subject, angled back at the shadow side, never overhead.
- Misreading the fall-off. Bounced light obeys the inverse square law like any other light, so a subject close to the camera and far from the surface gets very uneven top-to-bottom fall-off. Fix: move the subject further from the bounce surface, or use a larger surface closer to them.
Two more habits close this out. Pull the bounce card out whenever the eyes look flat, accepting slightly firmer shadow edges in exchange for a catchlight, because light eyes with a soft shadow beat dark eyes with a perfect one. And when you are out of clean bounces, move the flash off the camera with a radio trigger or an off-shoe cord and point it at whatever ceiling the room has, even a dark one; it costs more power and gives less consistency, but it beats a hard direct flash every time.
Frequently Asked Questions
Is it safe to bounce flash off a white wall?
Yes, and it is the most common indoor technique there is. A flash head puts out very little heat compared with the room itself, so a painted wall or plaster ceiling is fine. Watch for three things instead: matte paint reflects evenly while gloss or gloss-semi leaves you a hot spot, wood panelling adds a strong colour cast you correct with manual white balance, and a wall directly behind your subject will catch their shadow.
How do I bounce flash off the ceiling without raccoon eyes?
Raccoon eyes come from light arriving at a steep downward angle, straight into the eye sockets, leaving the brow bone bright and the sockets dark. The fix is to stop bouncing straight up. Tilt the head about 45 degrees to one side so the light arrives laterally, bounce into a corner of two pale walls, or raise the flash off the camera on a trigger and bounce off a wall behind you. A bounce card aimed at the face fills the sockets too.
Do I need a reflector to bounce flash indoors?
No. A reflector is a fill tool, not a requirement for bouncing. It earns its place when the bounce leaves one side of the face too dark, or when a black outfit leaves the face floating against a bright wall. A white sheet of card held low and to the side works nearly as well as a purchased reflector. If the shadows look acceptable without one, leave it in the bag.
What ISO, shutter speed and aperture should I use for bounced indoor flash?
For a portrait, start at 1/200s, f/2.8 to f/4, ISO 400 to 1600 and manual flash at a middle power setting, then add plus 0.3 to plus 0.7 of flash exposure compensation to cover the stops lost to bouncing. For groups and receptions, widen to f/5.6 and push ISO as far as your noise tolerance allows. Shoot at or above sync speed when you want the flash to dominate the room.
Why do my eyes look dark even though I bounced the flash?
Two causes, and they need different fixes. If the head points straight up, light arrives from above and never reaches the eyes, so pull out the bounce card, which sends a controlled sliver of direct light toward the face and puts a catchlight in the eyes. If the subject has dark irises or is standing far from the surface, no bounce card will fix it, so move closer to the subject and raise the flash power a fraction.
How do I fix a hard shadow on the wall behind my subject?
Move the flash further off the camera axis. A head tilted straight up still leaves light travelling close to the lens line, so the subject’s shadow lands on the background. Tilting 45 degrees or more, bouncing into a side wall, or taking the flash off the camera with a radio trigger all move the shadow out of frame or soften it past notice. Stepping the subject a metre further from the wall also helps.
Conclusion
Point the flash at the largest neutral surface opposite the dark side of your subject’s face, keep that surface one to two metres from the head, and start a third of a stop above your usual flash power to cover the light you lose bouncing. Add reflector fill only where the shadow bothers you, pull the bounce card out when the eyes look flat, and stop as soon as shadow edges, catchlight and white balance read correctly. Write the power, aperture, ISO and flash exposure compensation down once you have it, because the setup you solve at 9pm is the setup that still works at midnight.